How to make digital copies of your old video tapes
Introduction
This is a short overview of one way to take your old video tapes and make digital copies of their contents.
To get started, you will need the following:
- old video tapes that you want to make copies of (VHS and its variants)
- a device that can read analog AV signals and convert them to digital signals
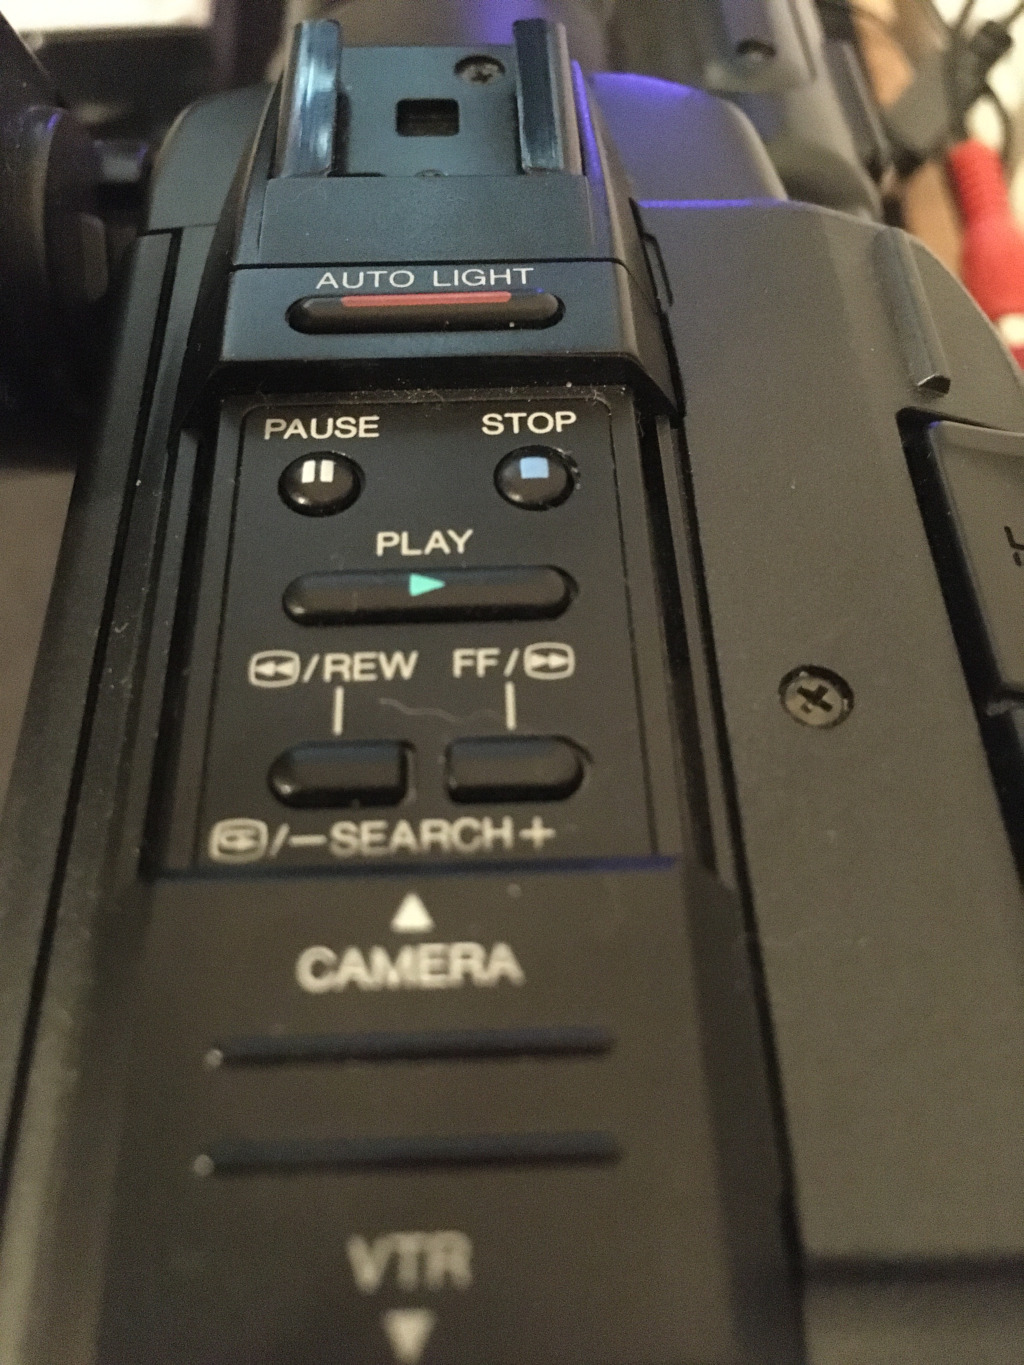
- a device that can play back the tapes (VHS player, camcorder etc.)
- in this example, we will be using a camcorder that has video playback capabilities.
- a computer with enough free space to store the digital copies
- for VHS and H.264+MP3, this means roughly 1.5GB of space for 1 hour of footage
- VLC media player
- time and patience
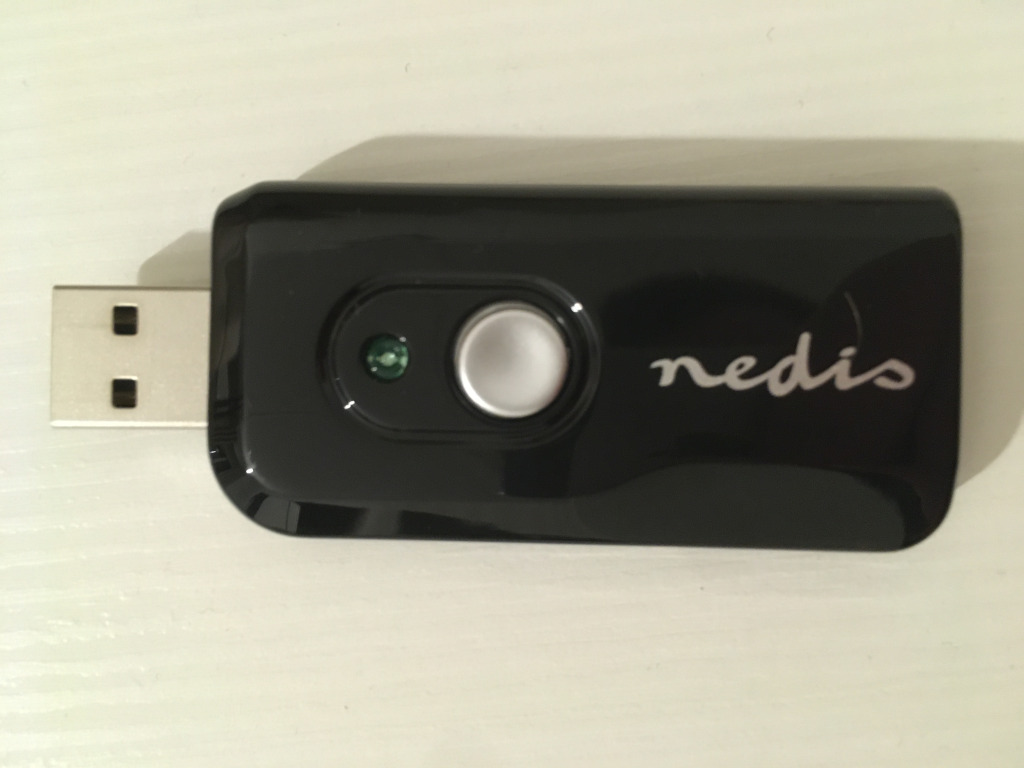
In this example, we will be using the Nedis VGRRU100BK. Not because it is any good, it was just something we had access to.

The process
Step 1: setting up the physical devices
Set up your video playback device so that it can play the cassettes that you are planning to record.
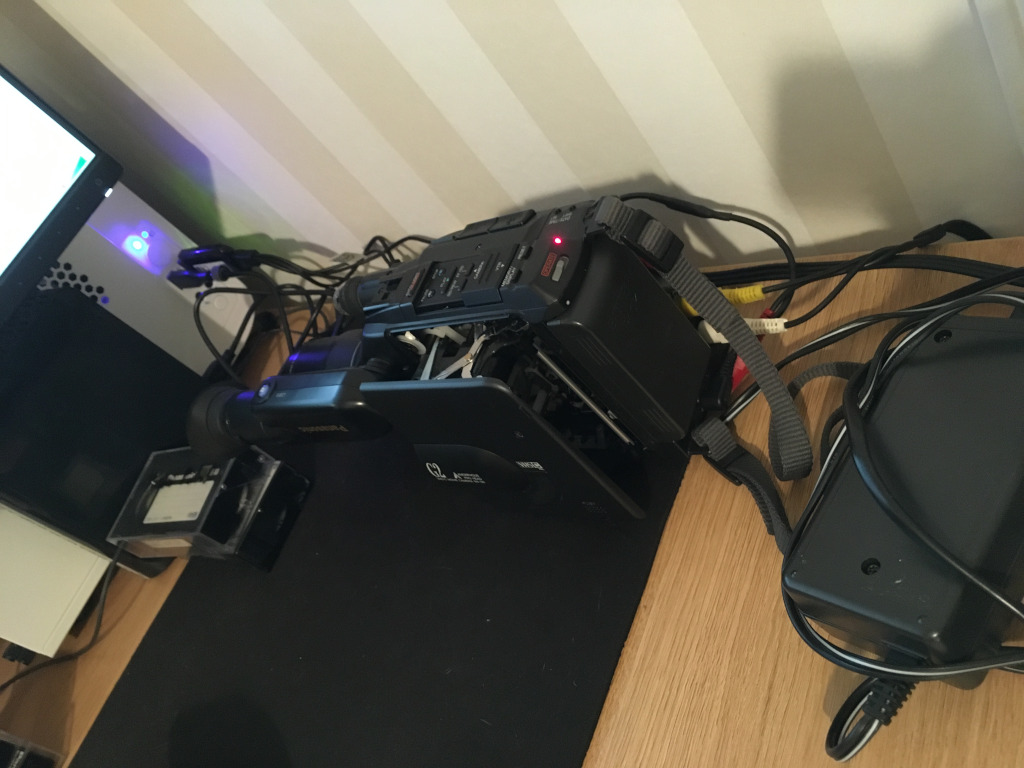
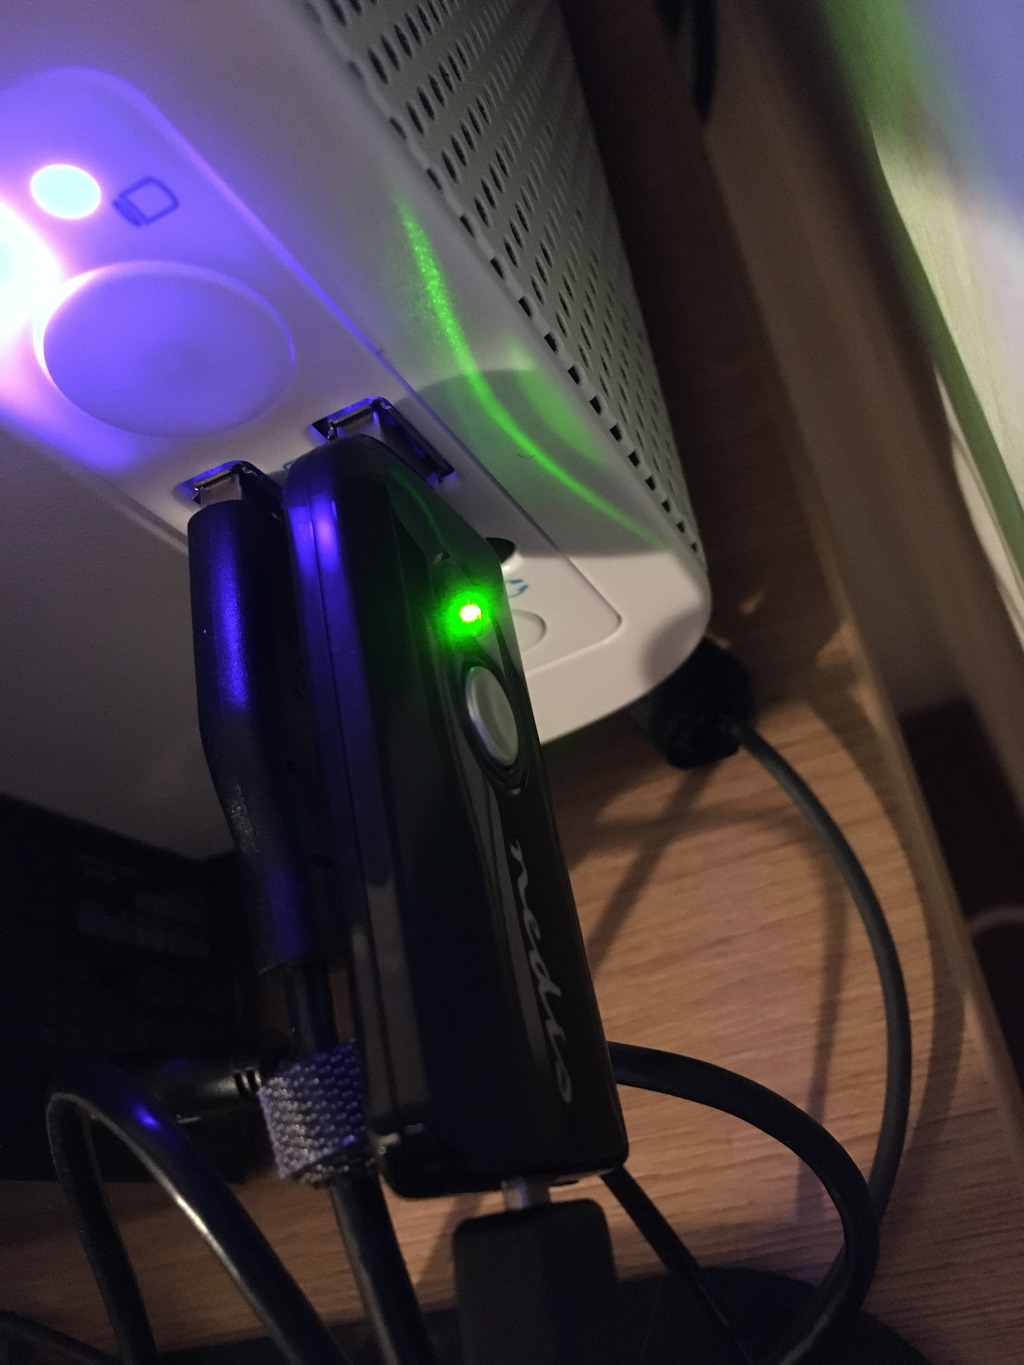
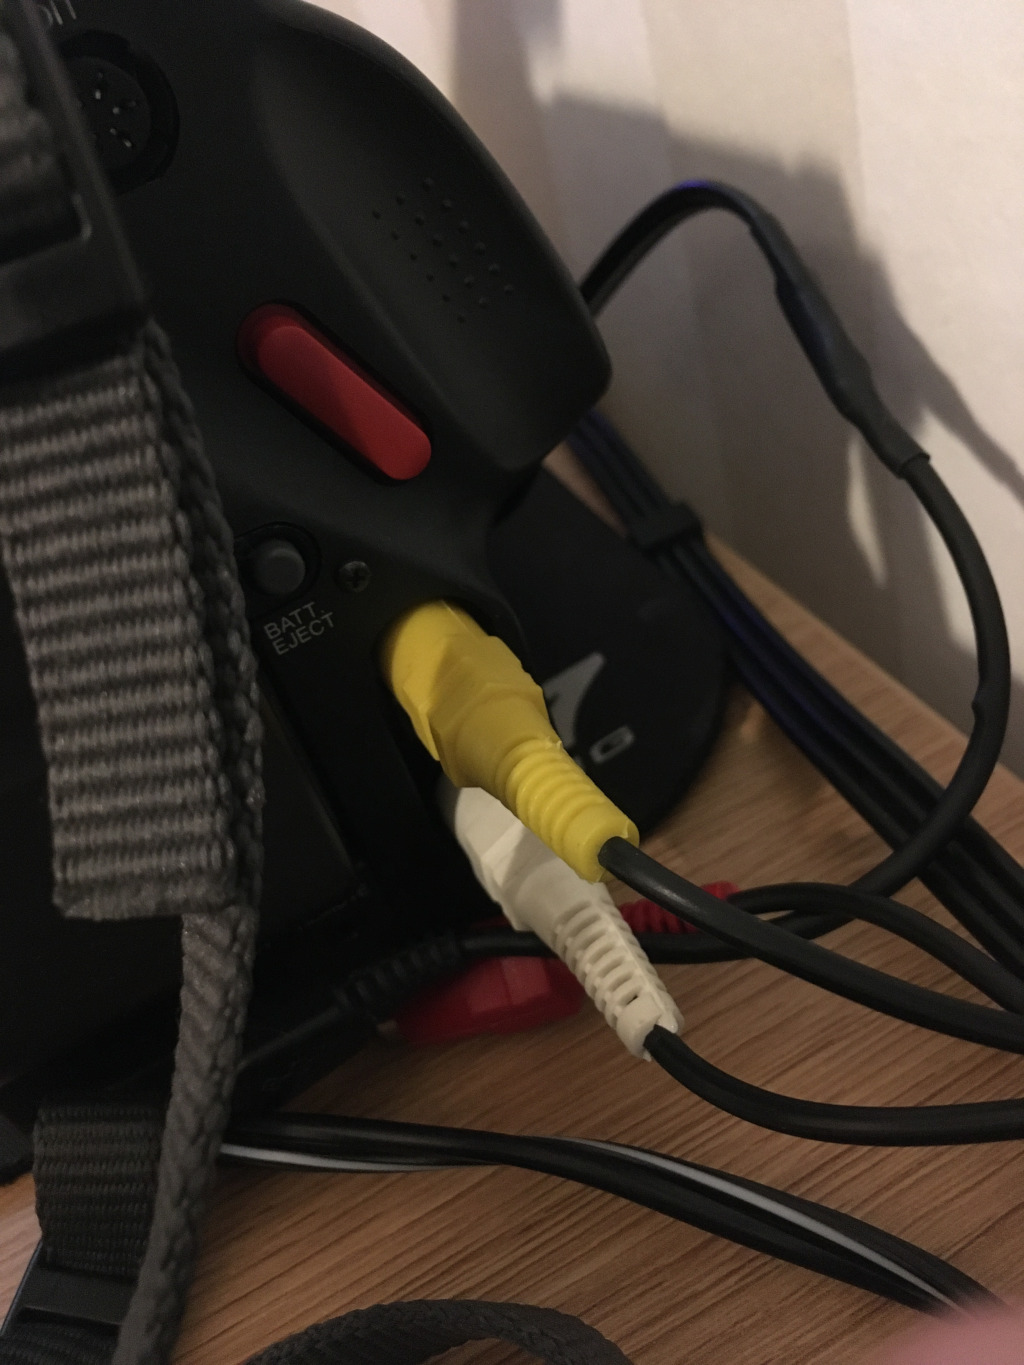
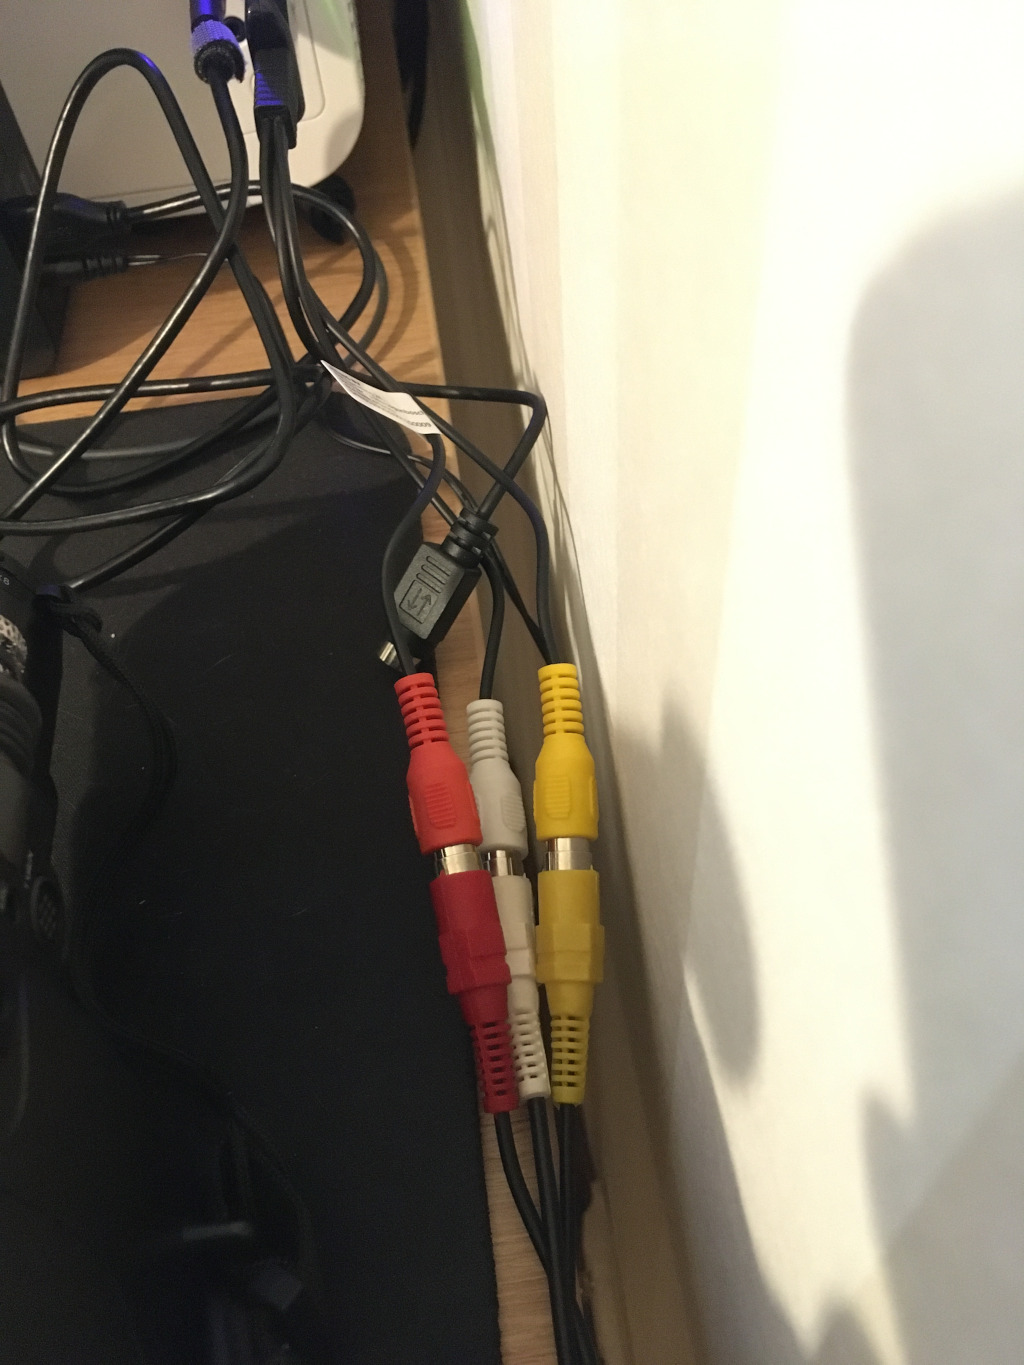
Connect the AV output cables (composite or S-video) to the input of the USB device. For this specific device, it means connecting the appropriate composite AV cables together and connecting them to the USB stick using a proprietary connector.
The end result might look something like this:
Step 2: testing the initial display output
In this example, we will be using VLC to play and record the videos. We are using Linux here, but the process should be very similar on Windows.
Open up VLC.
In the top-left corner, click on Media and select Open Capture device....
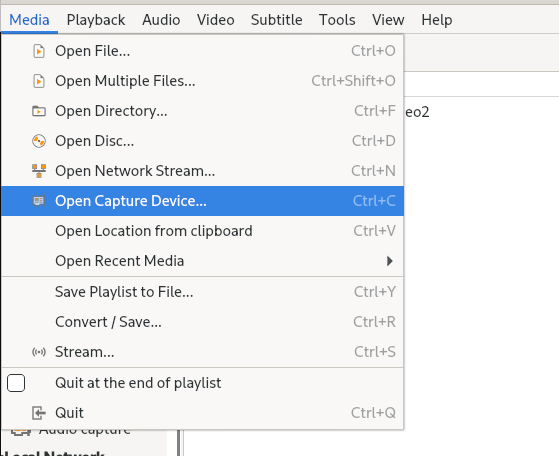
You should see a screen similar to this one:
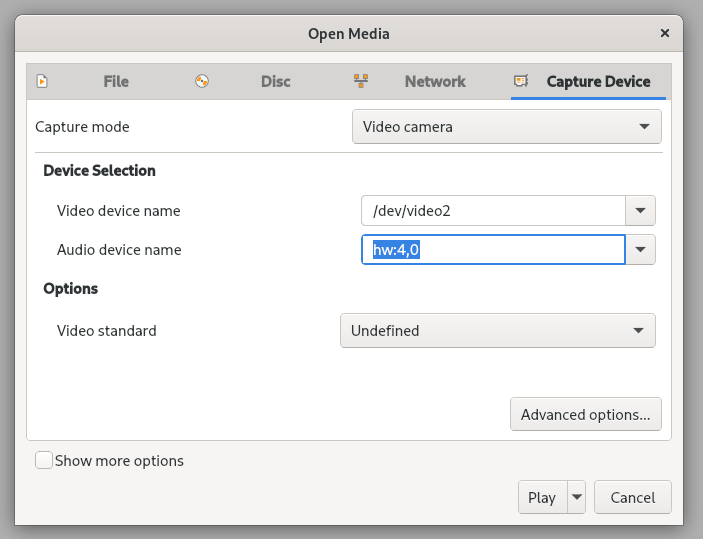
Your computer probably has multiple options for selecting audio and video devices, since microphones and webcams will likely show up here. If you are unsure which one is the correct one, go through each one-by-one until you find the options that work.
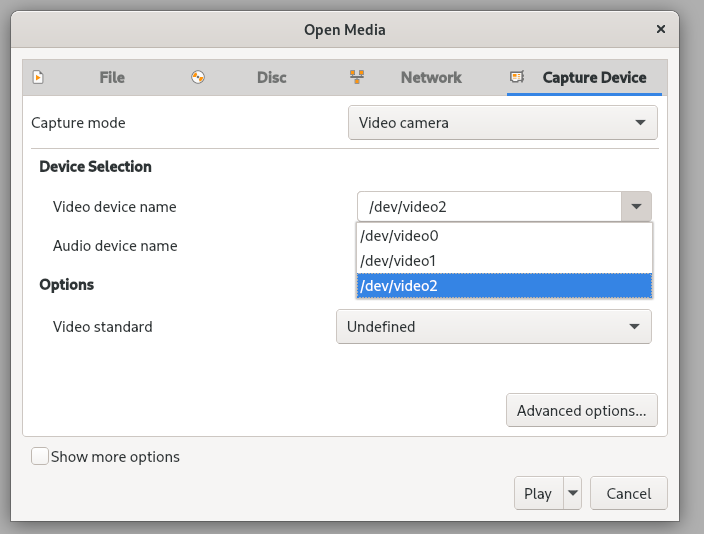
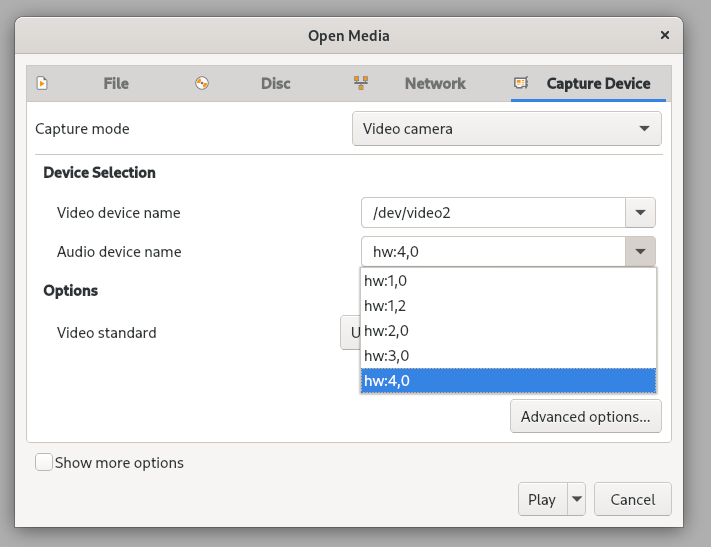
In this example, our video capture device is named /dev/video2 and the audio feed for the capture device
is hw:4,0.
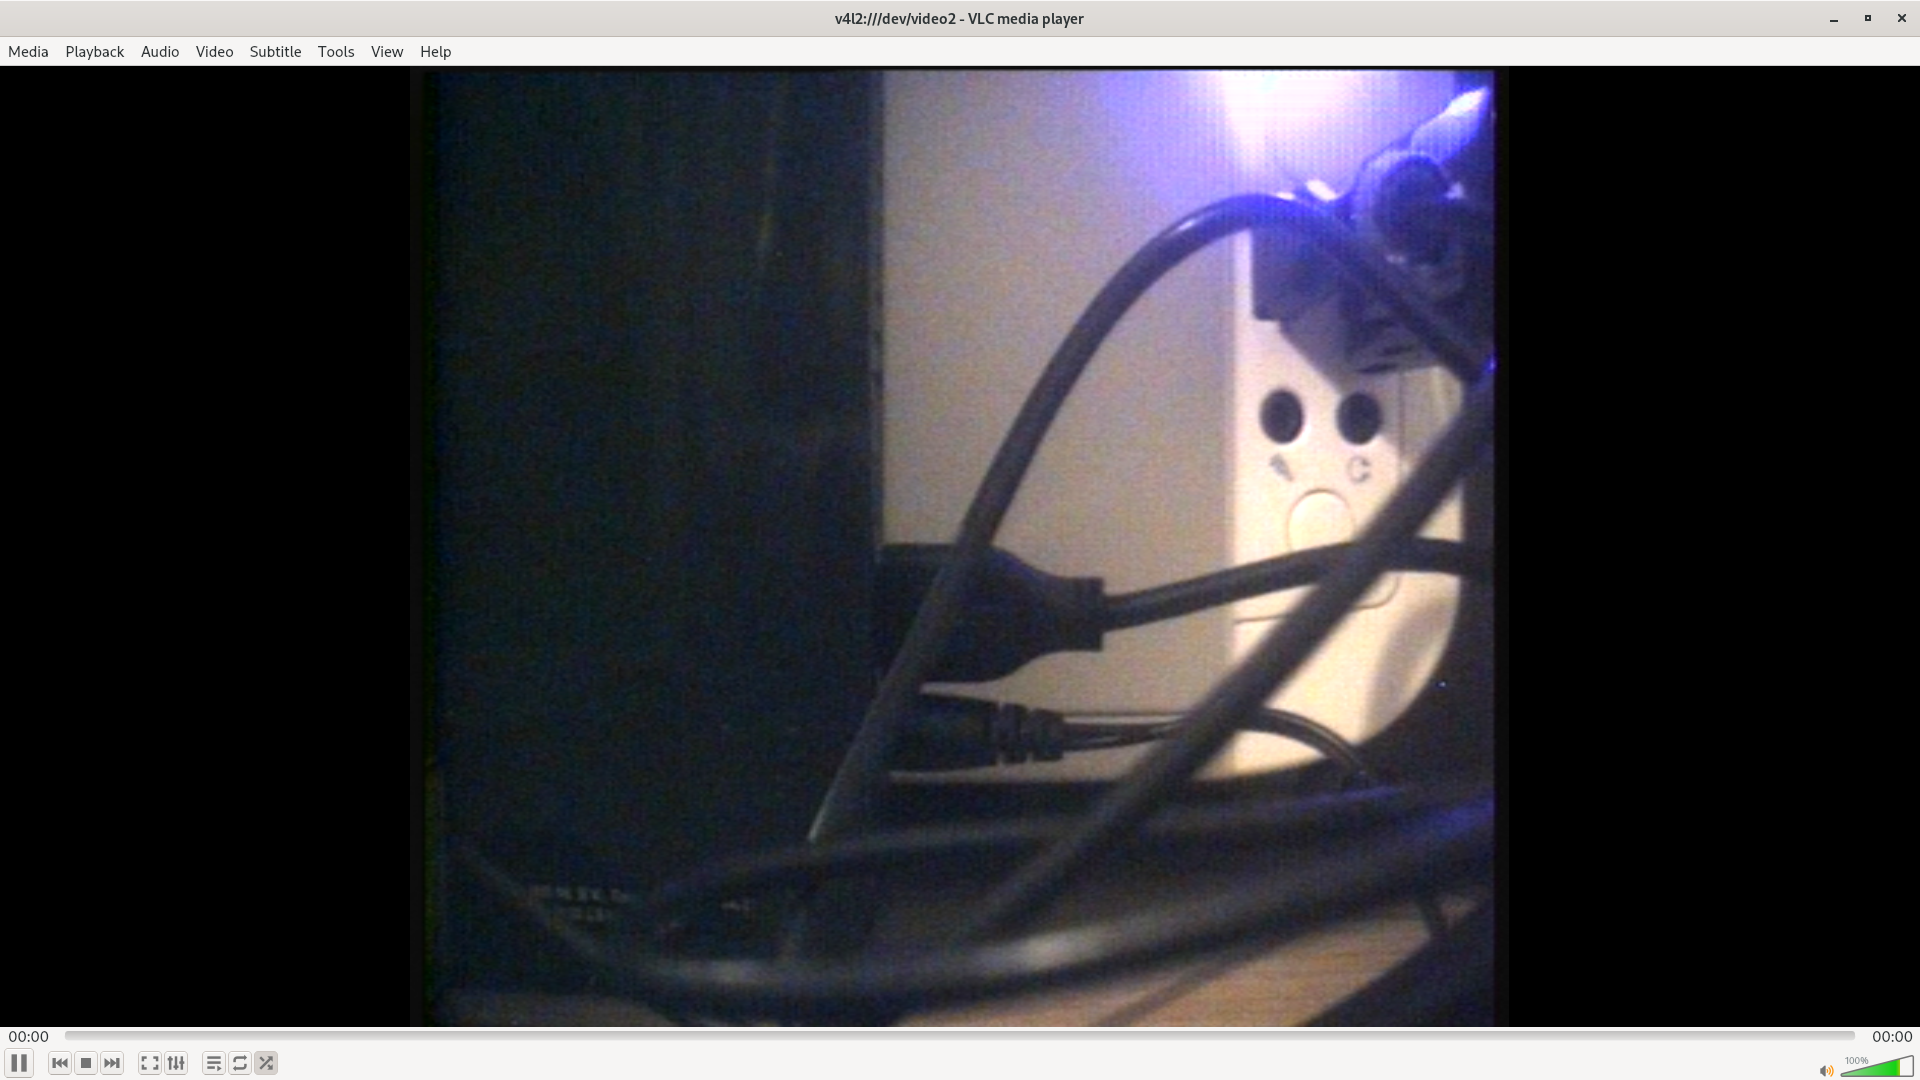
In the bottom-left corner, you have the option to play back the video signal directly in VLC. You can use this to check which video and audio device is the correct one.
If all goes well, you should be able to see the output in VLC:
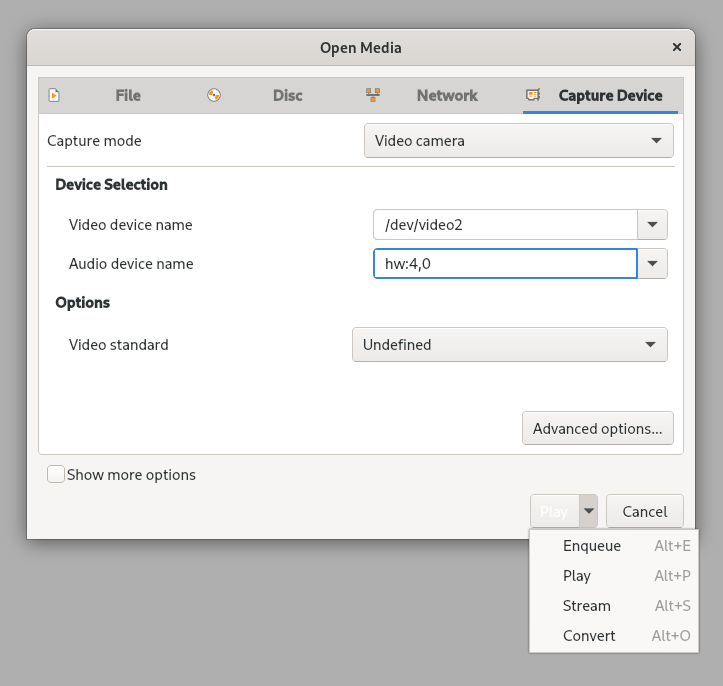
Step 3: recording
Once you have found the correct configuration, you can click on the arrow next to the Play button and
select the Convert option.
In this view, you can configure deinterlacing, select the video profile, and set where the resulting video file will be saved.
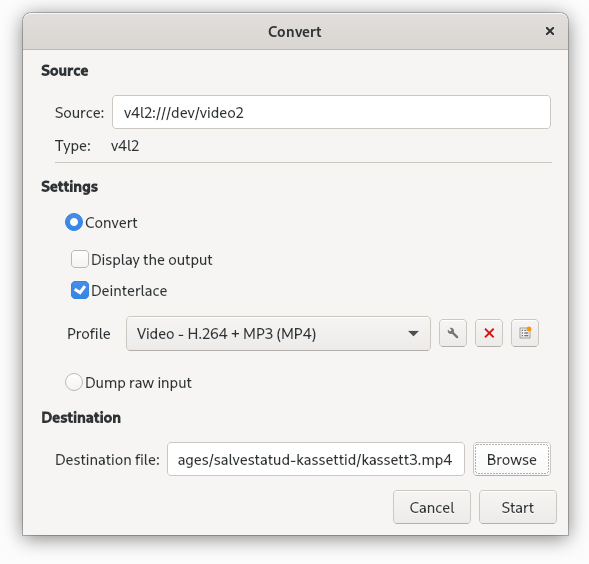
For our purposes, we have chosen to deinterlace the video, since it provided a higher quality output, and we have stuck with MP4 as the output format because it is an acceptable default option for us.
Displaying the output while converting the video did not work for us and that might be related to how VLC accesses the video feed in Linux (only one program can read the stream at a time, it seems).
You can now click Start in VLC to start recording the video. You will also need to hit Play on your video playback
device.
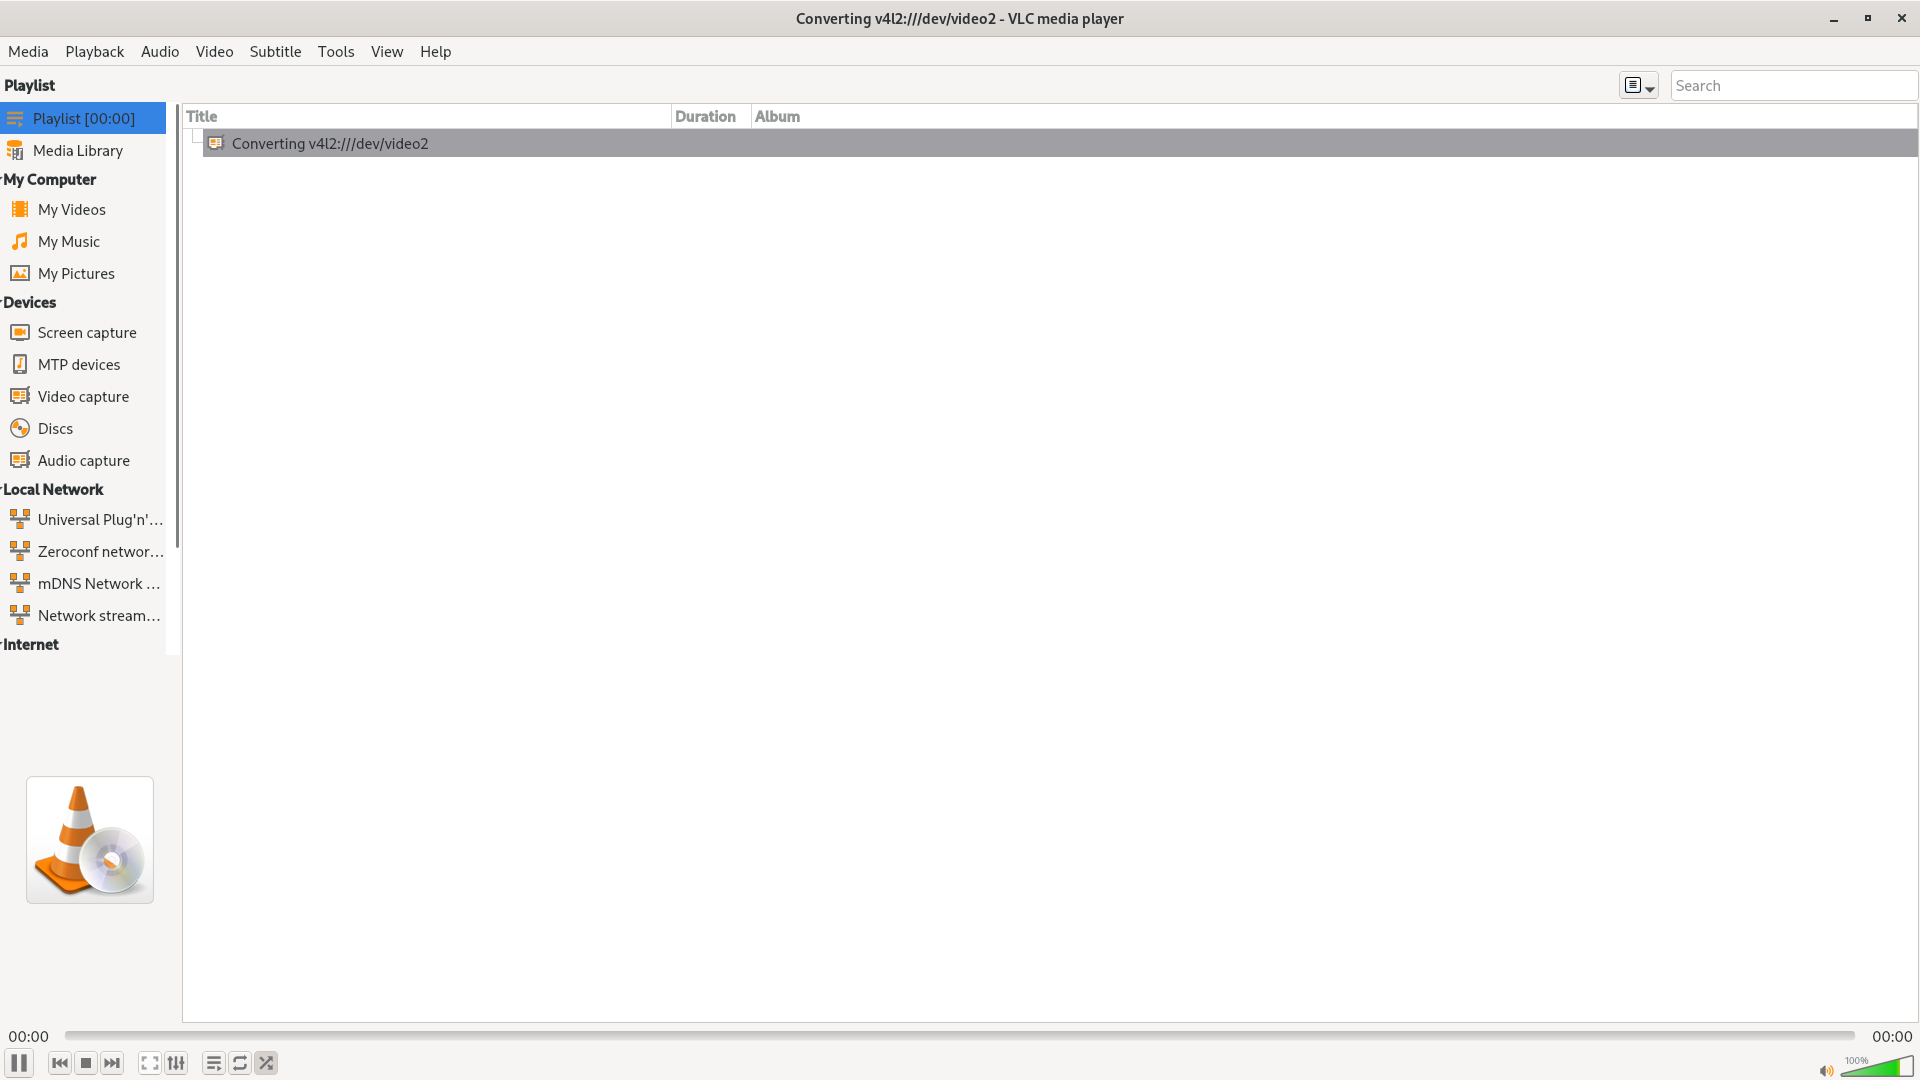
Wait until the VHS tape has finished playing and then hit the stop button in VLC.
Step 4: verify results
You can now open the resulting video file and check the results.
If you have additional VHS tapes to record, then repeat step 3.
Troubleshooting notes
There were some challenges to get this setup working.
Not able to read the output from the USB capture device
Being able to read the video signal from the USB capture device turned out to be a headache. The software that comes with the USB capture device (Arcsoft ShowBiz) had issues displaying the video signal and was generally unreliable and crashing.
Other software, like OpenShot and Kdenlive video editors, could not recognize the video capture device.
Since we found that this USB capture device emulates an USB webcam, we tried viewing its signal using a browser or a camera app in the OS (Cheese in Linux, Camera in Windows), but that did not work out either.
We eventually found success with VLC and then chose it for performing our video recording effort. It has multiple advantages over the software shipped with the capture device itself:
- it just works
- free and open source, meaning that you can do your recording on different platforms
- no need for a license key
- up to date (Arcsoft ShowBiz installation files were unchanged since 2012)
VLC truly is a Swiss army knife for media playback and recording.
VHS playback troubles
We initially tried the recording process with a proper VHS player, but while recording the footage and reviewing it later, we noticed that at random points the VHS player had fast-forwarded over portions of the video.
The camcorder did not exhibit this behaviour, so we went with that. However, with the camcorder we could only output mono sound, which means that the resulting video file will only have one sound channel present. This will be especially noticeable when listening to the recorded footage using headphones. To fix this, we used HandBrake to copy the single audio channel to both channels, which resolved that issue for us.
Subscribe to new posts via the RSS feed.
Not sure what RSS is, or how to get started? Check this guide!
You can reach me via e-mail or LinkedIn.
If you liked this post, consider sharing it!