I’ve reached the self-hosting endgame
Setup
After I had a perfectly functional, quiet and performant server up and running, I fell victim to my imagination and completely changed my self-hosting setup. Again.
Here it is, in all its glory:
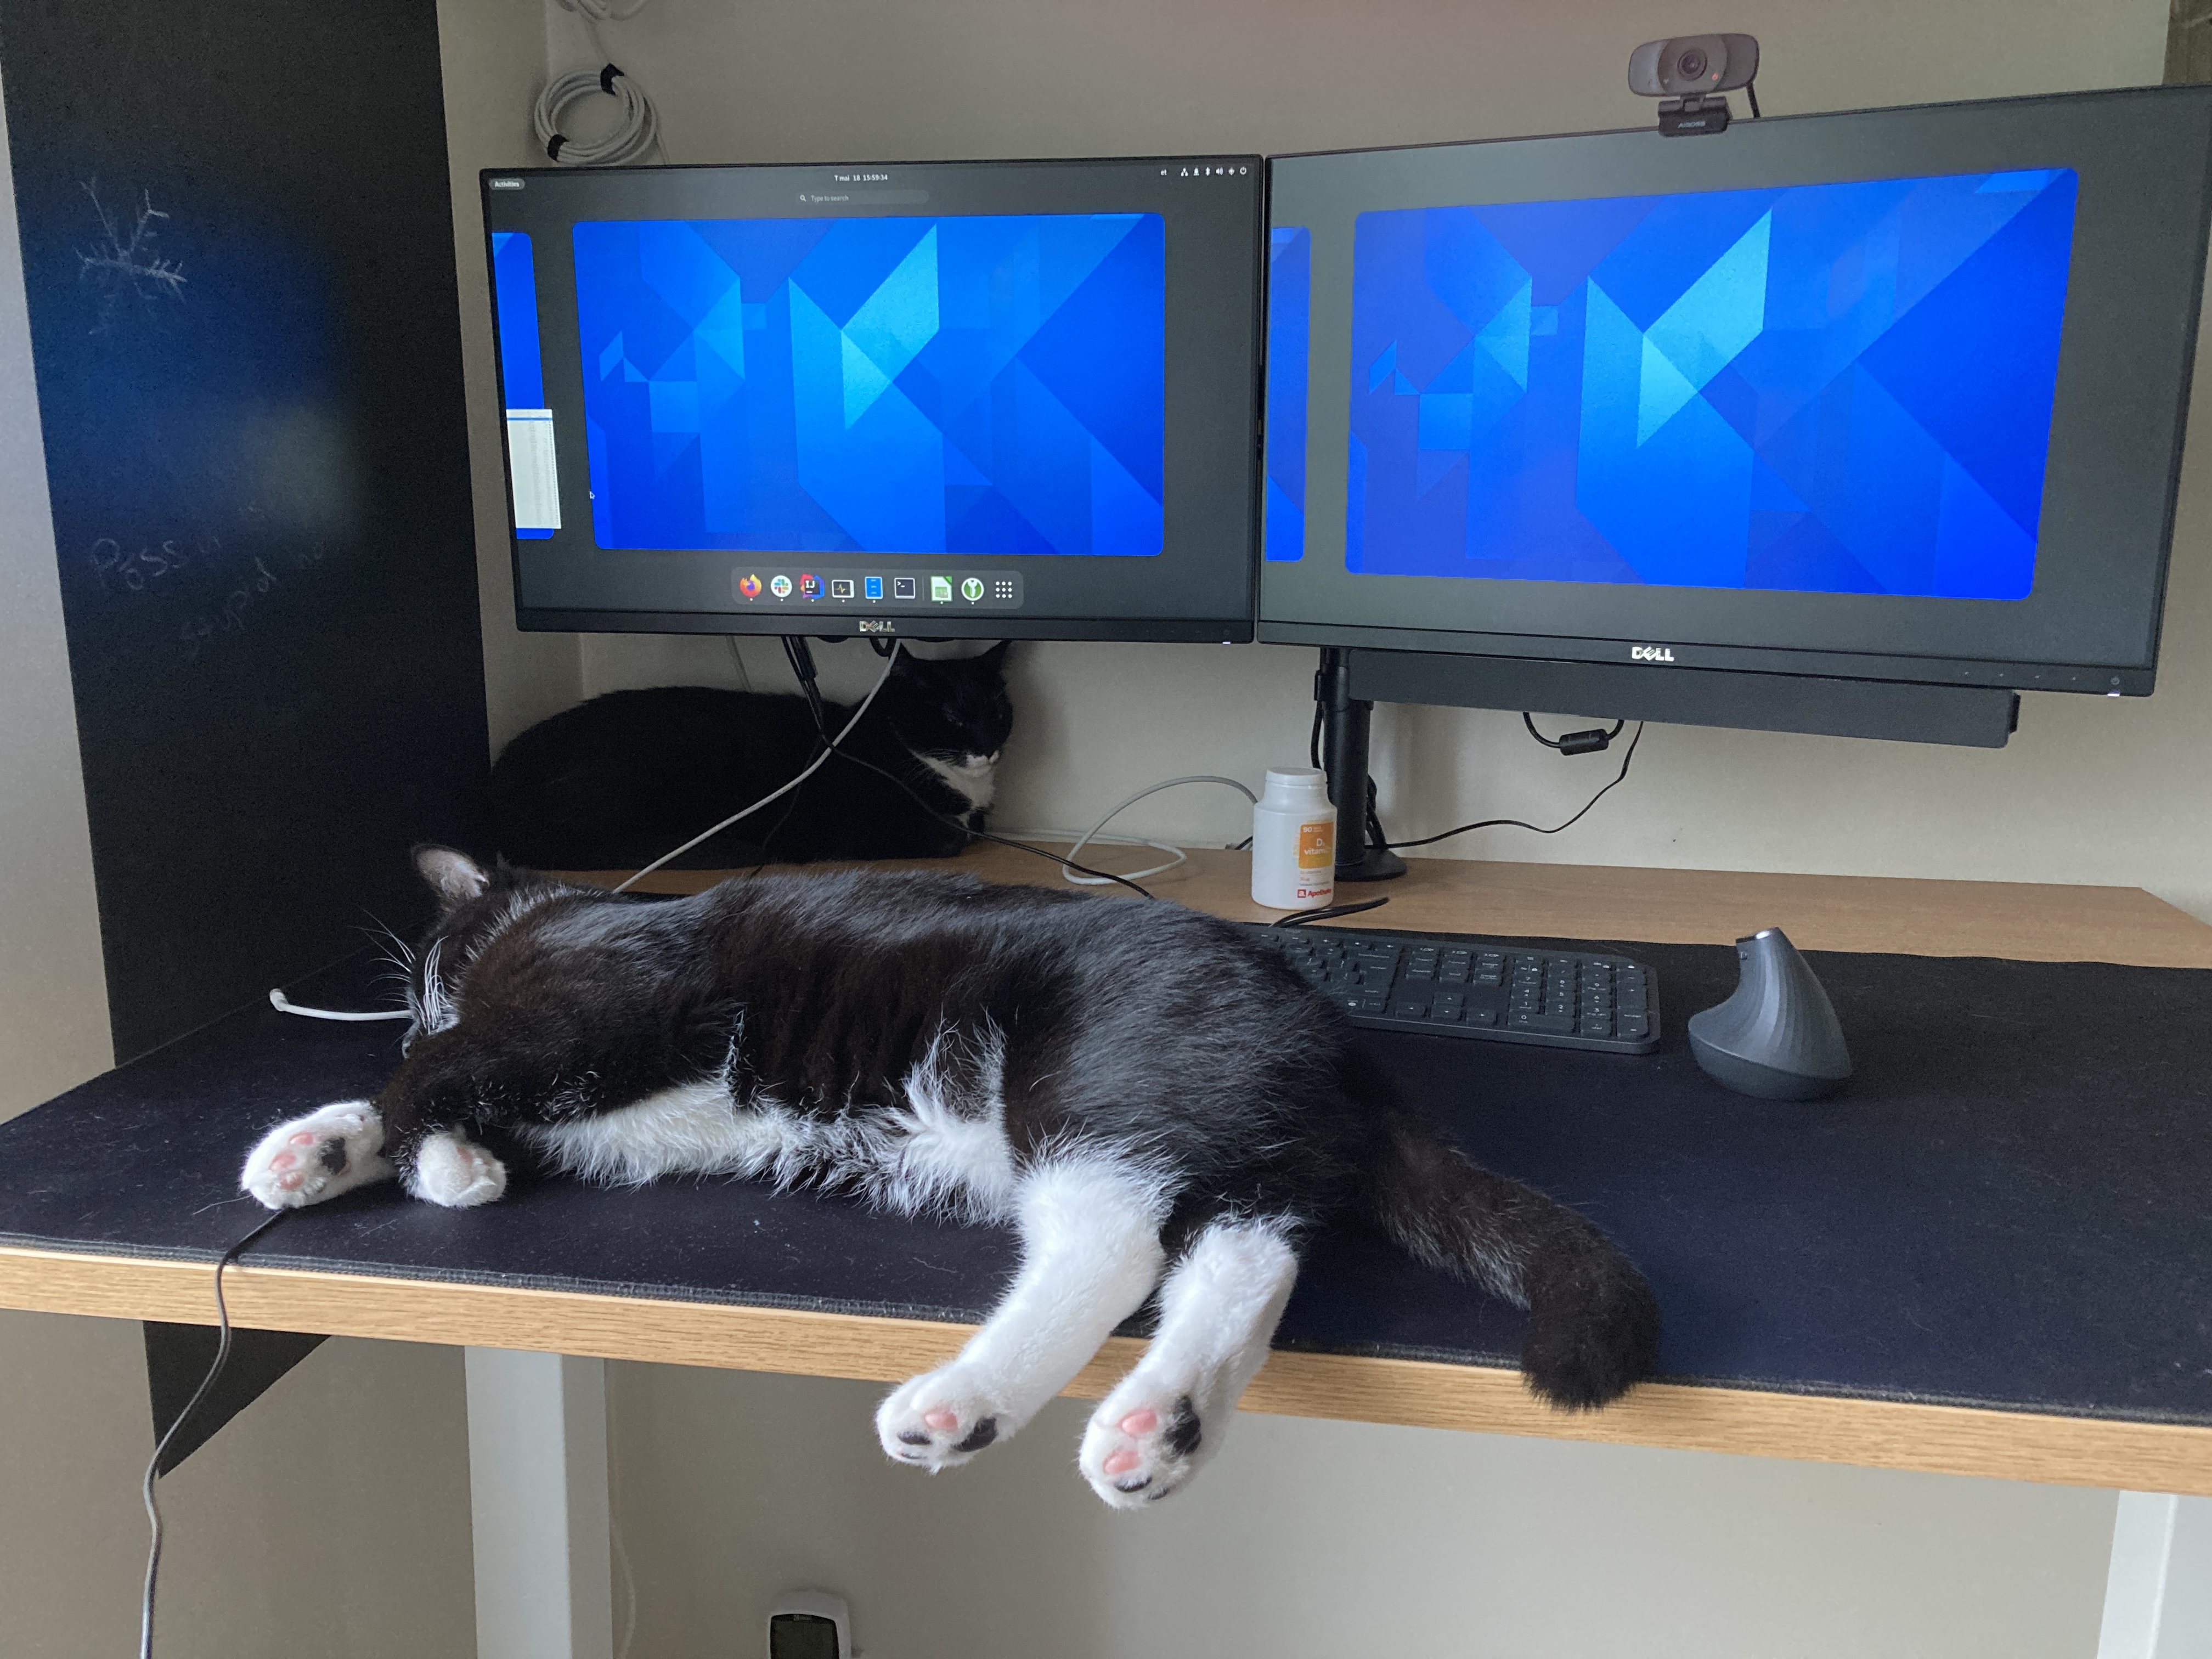
Well, at least that’s what’s on the table.
This machine is a true all-in-one: it hosts all my services in a VM while also acting as my main workstation.
Specs
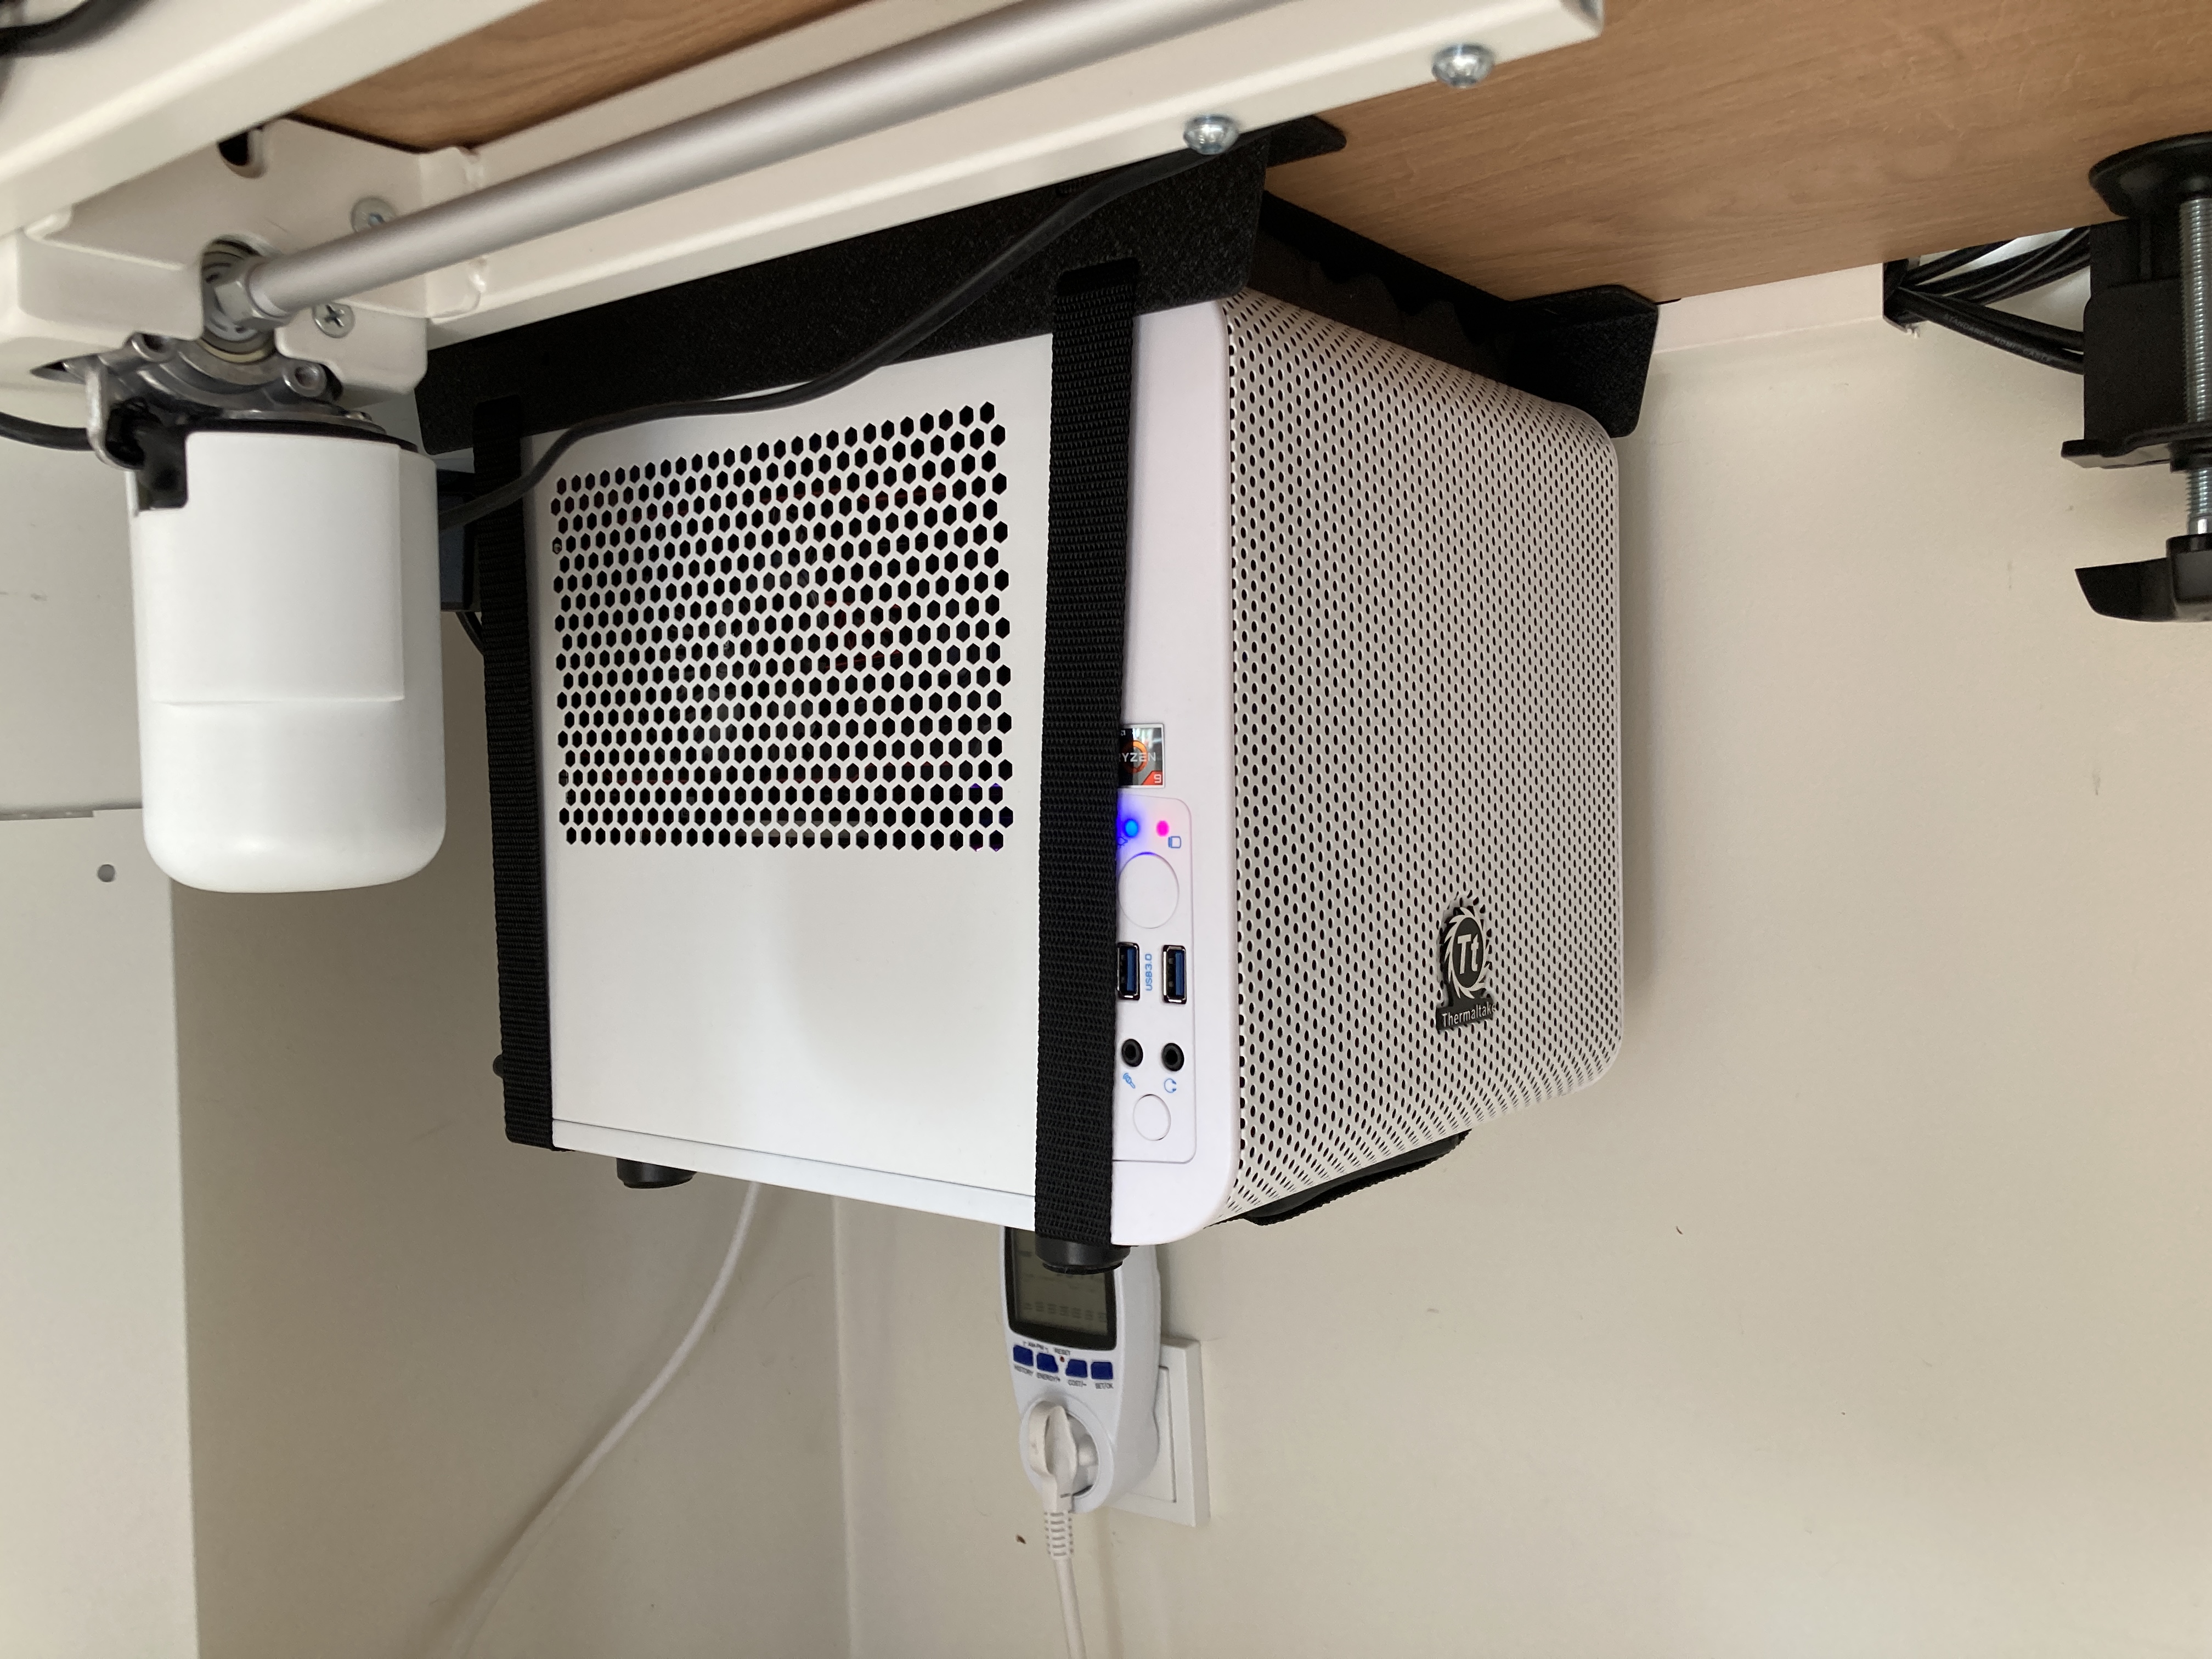
CPU: AMD Ryzen 9 3900X. 12 cores and 24 threads in a consumer platform is absolutely bonkers.
RAM: 32GB DDR4 @ 3200MHz
Motherboard: Gigabyte B450 I Aorus PRO WIFI. It’s OK, but oh man are the newer BIOS releases buggy. At least it gives 0 hoots about flashing an older BIOS version.
GPU: AMD RX 560. It gets the job done.
HDD: 2x 12TB WD white-label (WD120EDAZ) drives, shucked from WD My Book external drives.
SSD: 240GB Kingston A1000 NVMe for OS, 2x1TB Samsung 870 EVO SATA SSD for fast solid state storage
PSU: Seasonic Focus something-something. Doesn’t really matter, it’s reliable and has plenty of power.
Cooling: Noctua NH-D9L on the CPU, 200mm fan at the front and 2x80mm beQuiet fans at the back to keep the system cool.
Case: ThermalTake Core V1. Not the smallest case, but super simple to work in!
Why?
Before setting this up, I had three machines running:
- a laptop that was always on so that there won’t be any conflicts with Syncthing.
- a server with server workloads
- a desktop that I mainly used for work
At any point in time, I had at least two machines running and the desktop was fired up for a good part of the day due to work. Since trying to reduce my electricity usage was one of my goals with going low-power on my server, this sounded a bit wasteful. At this point I got the brilliant idea of trying to combine this into one machine that does it all, but before that, I had some concerns. The hardware was simple: just shuck the 12TB drives in there and get some big SSD-s and partition them, but the software part required some thinking and testing.
The software
To keep the work to a minimum, I found that the easiest way to move my setup was to just put the existing server installation into a VM. I’ve had plenty of experience with VM-s so this was not a difficult task, just install libvirt and all the dependencies will be settled automatically.
The problem is the networking. If I want the VM to show up as a separate machine on the network, I need to add a virtual
network interface as a macvtap device, which means that the desktop and the VM can both connect to the internet and to
other devices on the local network, but the desktop cannot reach the VM directly. There are other solutions, such as the
default NAT-based solution, but with that, forwarding ports is quite tricky to someone not familiar with networking.
To overcome this limitation, I came up with a pretty simple solution: add another network interface to the VM! This
time, the interface was set up as the NAT-based solution. To make this work, I had to make sure that the Debian 10
install was configured to use that interface as well, which meant a little copy-pasting in /etc/network/interfaces. To
make the host connect to this machine using the hostname, I also added an entry to /etc/hosts on the host machine to
route all requests to the hostname via this second virtual network interface.
With this, the main obstacle was resolved and the host machine had no issues connecting to the VM.
The storage
Since this machine was also used as a workstation, I had to be a bit clever with my storage setup. The bulk storage in the form of two 12TB hard drives was 100% managed by the VM.
The 1TB SSD-s were partitioned as such:
- 2x 500GB partitions for my workstation running in BTRFS mirror, since I don’t trust ZFS updates on Fedora.
- 2x 250GB partitions for fast SSD-based ZFS mirror in the VM
- 2x 250GB free space for overprovisioning.
In the event that something does go wrong, it should not have too much of a negative impact either on the host or the VM. If the drive quality does become a concern, there is always the option to upgrade to PRO series drives that should have a much better endurance rating.
Pros and cons
With that, the setup was up and running. The VM initially had assigned 6 CPU cores and 8GB of RAM, but lately I’ve decided to assign 12 cores and 16GB of RAM to make the most out of the available resources.
So, how well does it work?
Quite well, in fact. There were some hiccups, though:
- the latest BIOS update for the motherboard was very buggy, which resulted in the ability to permanently get rid of boot devices in the boot device selection menu and the annoying issue of getting stuck in POST when rebooting the machine
- the VM would sometimes have issues with networking, which I attempted to fix by treating the NIC-s within the VM as non-hotpluggable devices. This seems to have done the trick, as I have not had any issues since.
With this setup, there are some tradeoffs that you should be aware of.
Pros:
- Everything runs in one machine with reasonable power usage : ~70 W when idle and monitors off, ~120 W with monitors on and a light workload
- Optimal utilization of resources. Instead of having to upgrade my workstation or server separately, I can just share the resources and modify limits any time I want. Should I upgrade to 64GB of RAM in the future, I can make some more available on the server by changing only one configuration parameter in the VM. The same goes for storage. If I were to upgrade to something bigger and faster, then it will benefit both the workstation and the server workloads.
- Easier troubleshooting. In case things go wrong with the server, I don’t need to grab an external monitor and hook it up to the server, the console is accessible via virt-manager on the host.
Cons:
- All eggs in one basket. If your host OS breaks something, then this will affect your server workloads as well.
- Noise. While not so bad with noise-cancelling headphones, it can still be annoying when you have hard drives running at your desk.
- Your server workload is dependent on your host OS booting up first, which will require manual input from you if your host installation is encrypted.
Conclusion
This setup worked out better than I expected, with no further issues occurring over a couple of weeks. The availability issues during restarts are not a concern for me, as this is a hobby to me, and the flexibility and ridiculous amounts of power this setup has outweighs all the cons.
Let’s see how long this setup lasts.
2021-06-28 update
It still works like a charm!
Subscribe to new posts via the RSS feed.
Not sure what RSS is, or how to get started? Check this guide!
You can reach me via e-mail or LinkedIn.
If you liked this post, consider sharing it!