Turning leftover PC parts into a decent gaming PC
Introduction
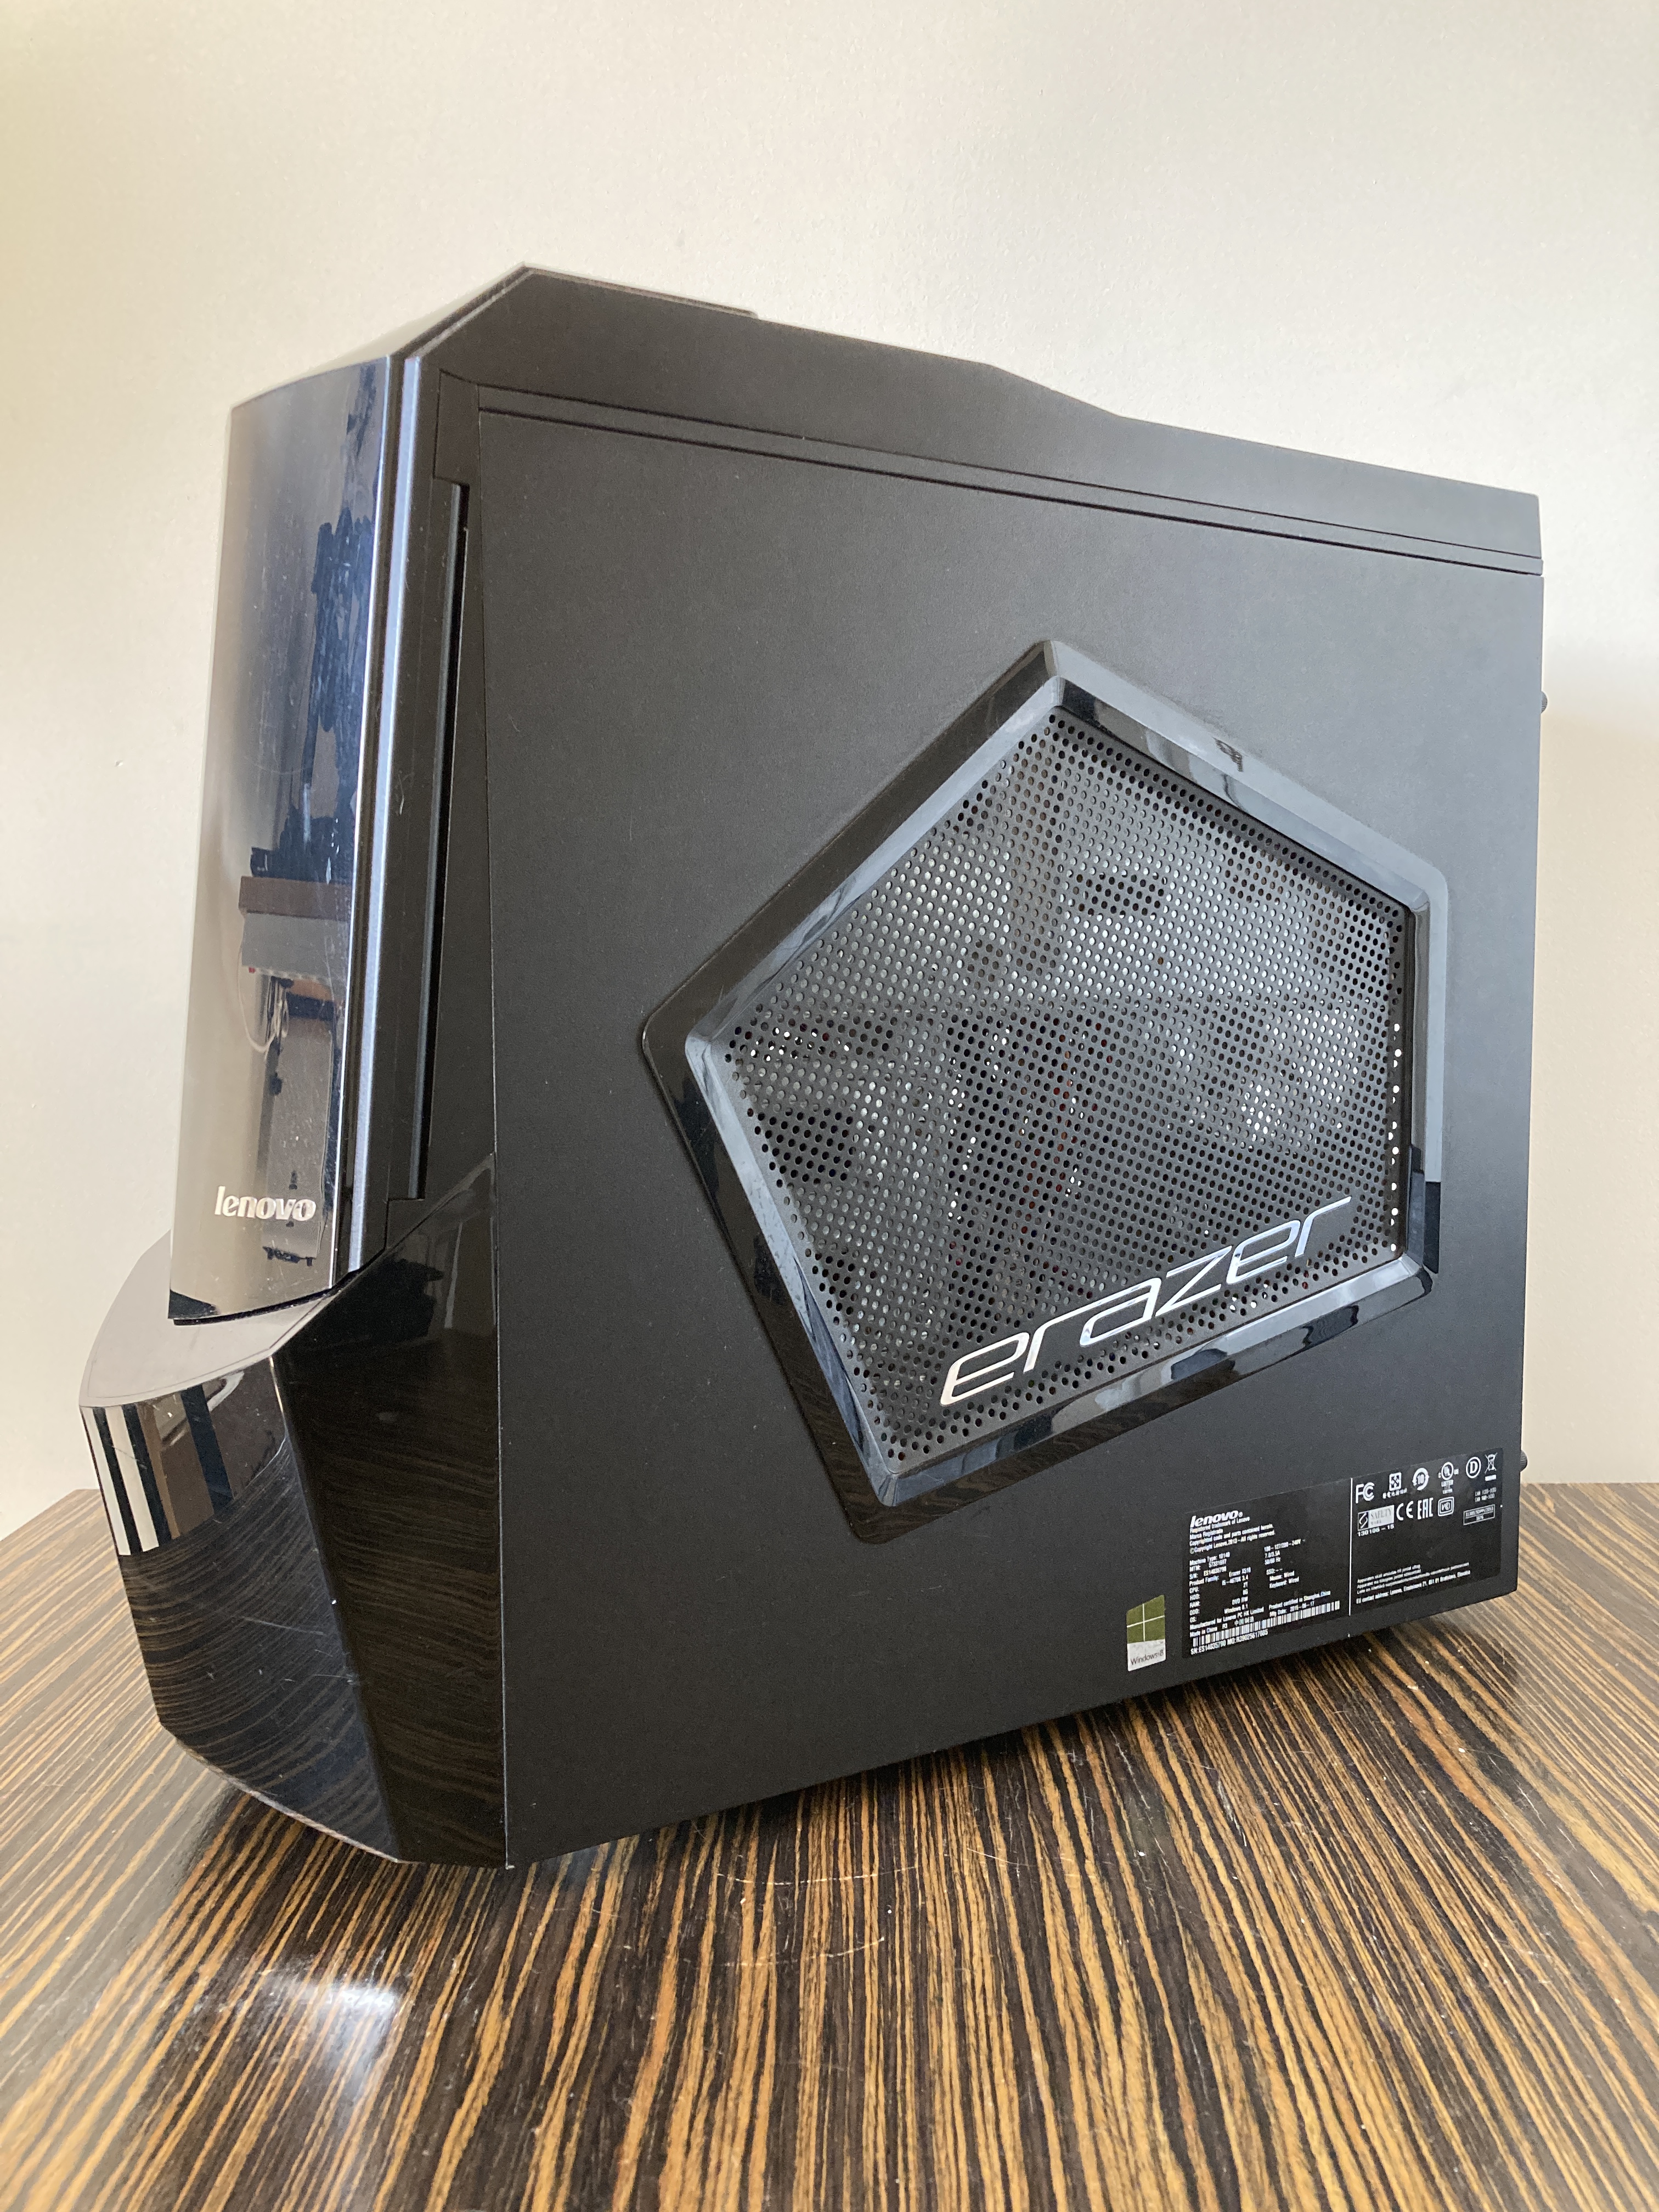
About a year ago, I bought an used PC based off of a Lenovo Erazer X510. It had a dual-core Intel Pentium G3220 CPU, 4GB of DDR3 RAM, a crappy Codegen 400W power supply and a 60GB SSD. I added an Nvidia GTX 1050 and just like that, a budget gaming PC was born. My brother ended up using it, and it was good for games that didn’t require a powerful CPU.
A year later, the dual core CPU was really showing its age. It could not even run GTA V, and the 4GB of RAM did not help the situation either. After checking the used PC parts market, I had essentially two choices:
- get a quad core CPU (Haswell Intel i5) and upgrade the memory to 8GB
- get a cheap PC and move over some parts, such as the GPU, SSD etc.
Performing the upgrade
I happened to find a PC that cost less than the CPU + RAM upgrade would have cost for the original setup. However, that PC was a complete horror show, and I only discovered that once I brought it home. Here’s a short list of things wrong with the PC:
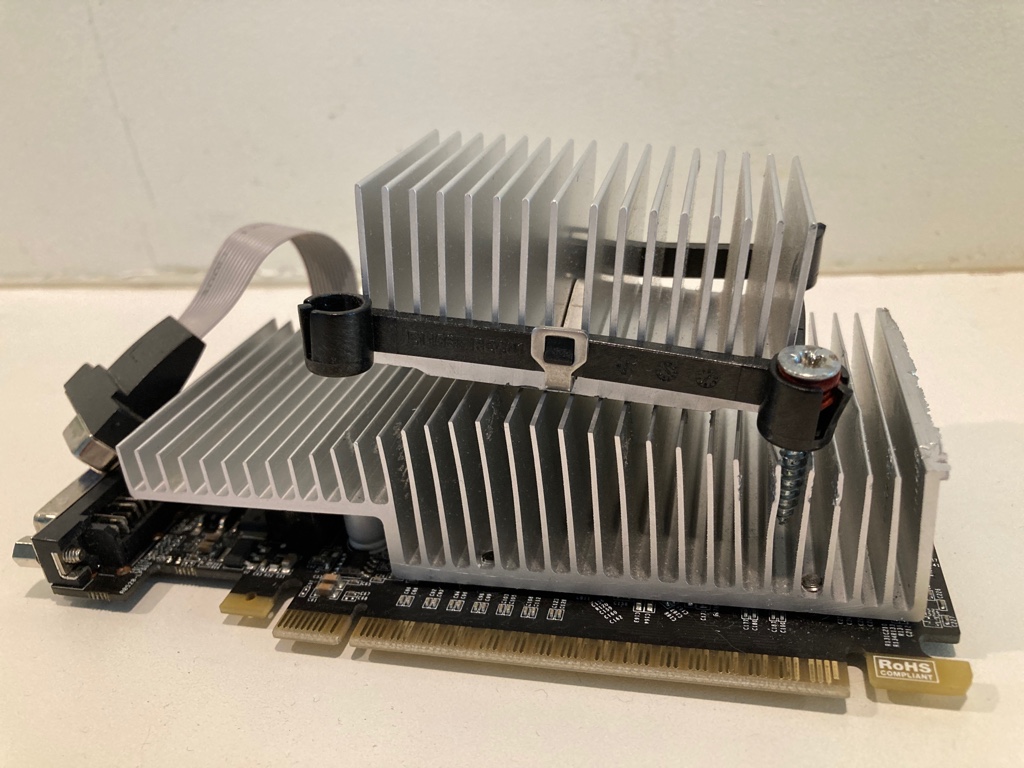
- The Nvidia GT 210 that was inside it was missing the L-bracket, and the heatsink had been cut, and another smaller heatsink was brutally screwed on top of the existing one. That’s definitely how cooling works, right?
- The Windows 10 installation that it came with was probably a pirated Russian version of it. I couldn’t confirm it because the installation bluescreened on the first boot and everything was in Russian.
- It had some random stickers on it, which was fine, but it took some force and alcohol to get it off properly.
- One of the memory sticks inside it threw a lot of errors in memtest. Might explain that BSOD I got.
- The HDD was barely held in place with a wood screw. Yes, a wood screw.
- One of the PC fans was not connected. The end of the connector was just cut off and the exposed cables were wrapped over another power cable. I don’t know how that could have ever worked.

It goes to show that you really need to do your homework when buying a suspiciously cheap PC. In my case it was fine as I was going to replace a lot of the parts anyway and it ended up being a good gaming PC, capable of running GTA V and streaming CSGO on Twitch. A less experienced buyer would have been absolutely screwed though.
After moving the good parts over, I was left with a weak but functional PC. I didn’t really have a good use for it so I considered selling it. But then I thought about it and decided to try to build a good gaming PC out of it, since I didn’t have a competent machine at the time and I needed something to drive a big TV.
The plan
The case and the PSU this setup came with were not that great. I’d hate it if I built a good PC and the shoddy PSU fried it.
After some careful consideration, I decided to get the following:
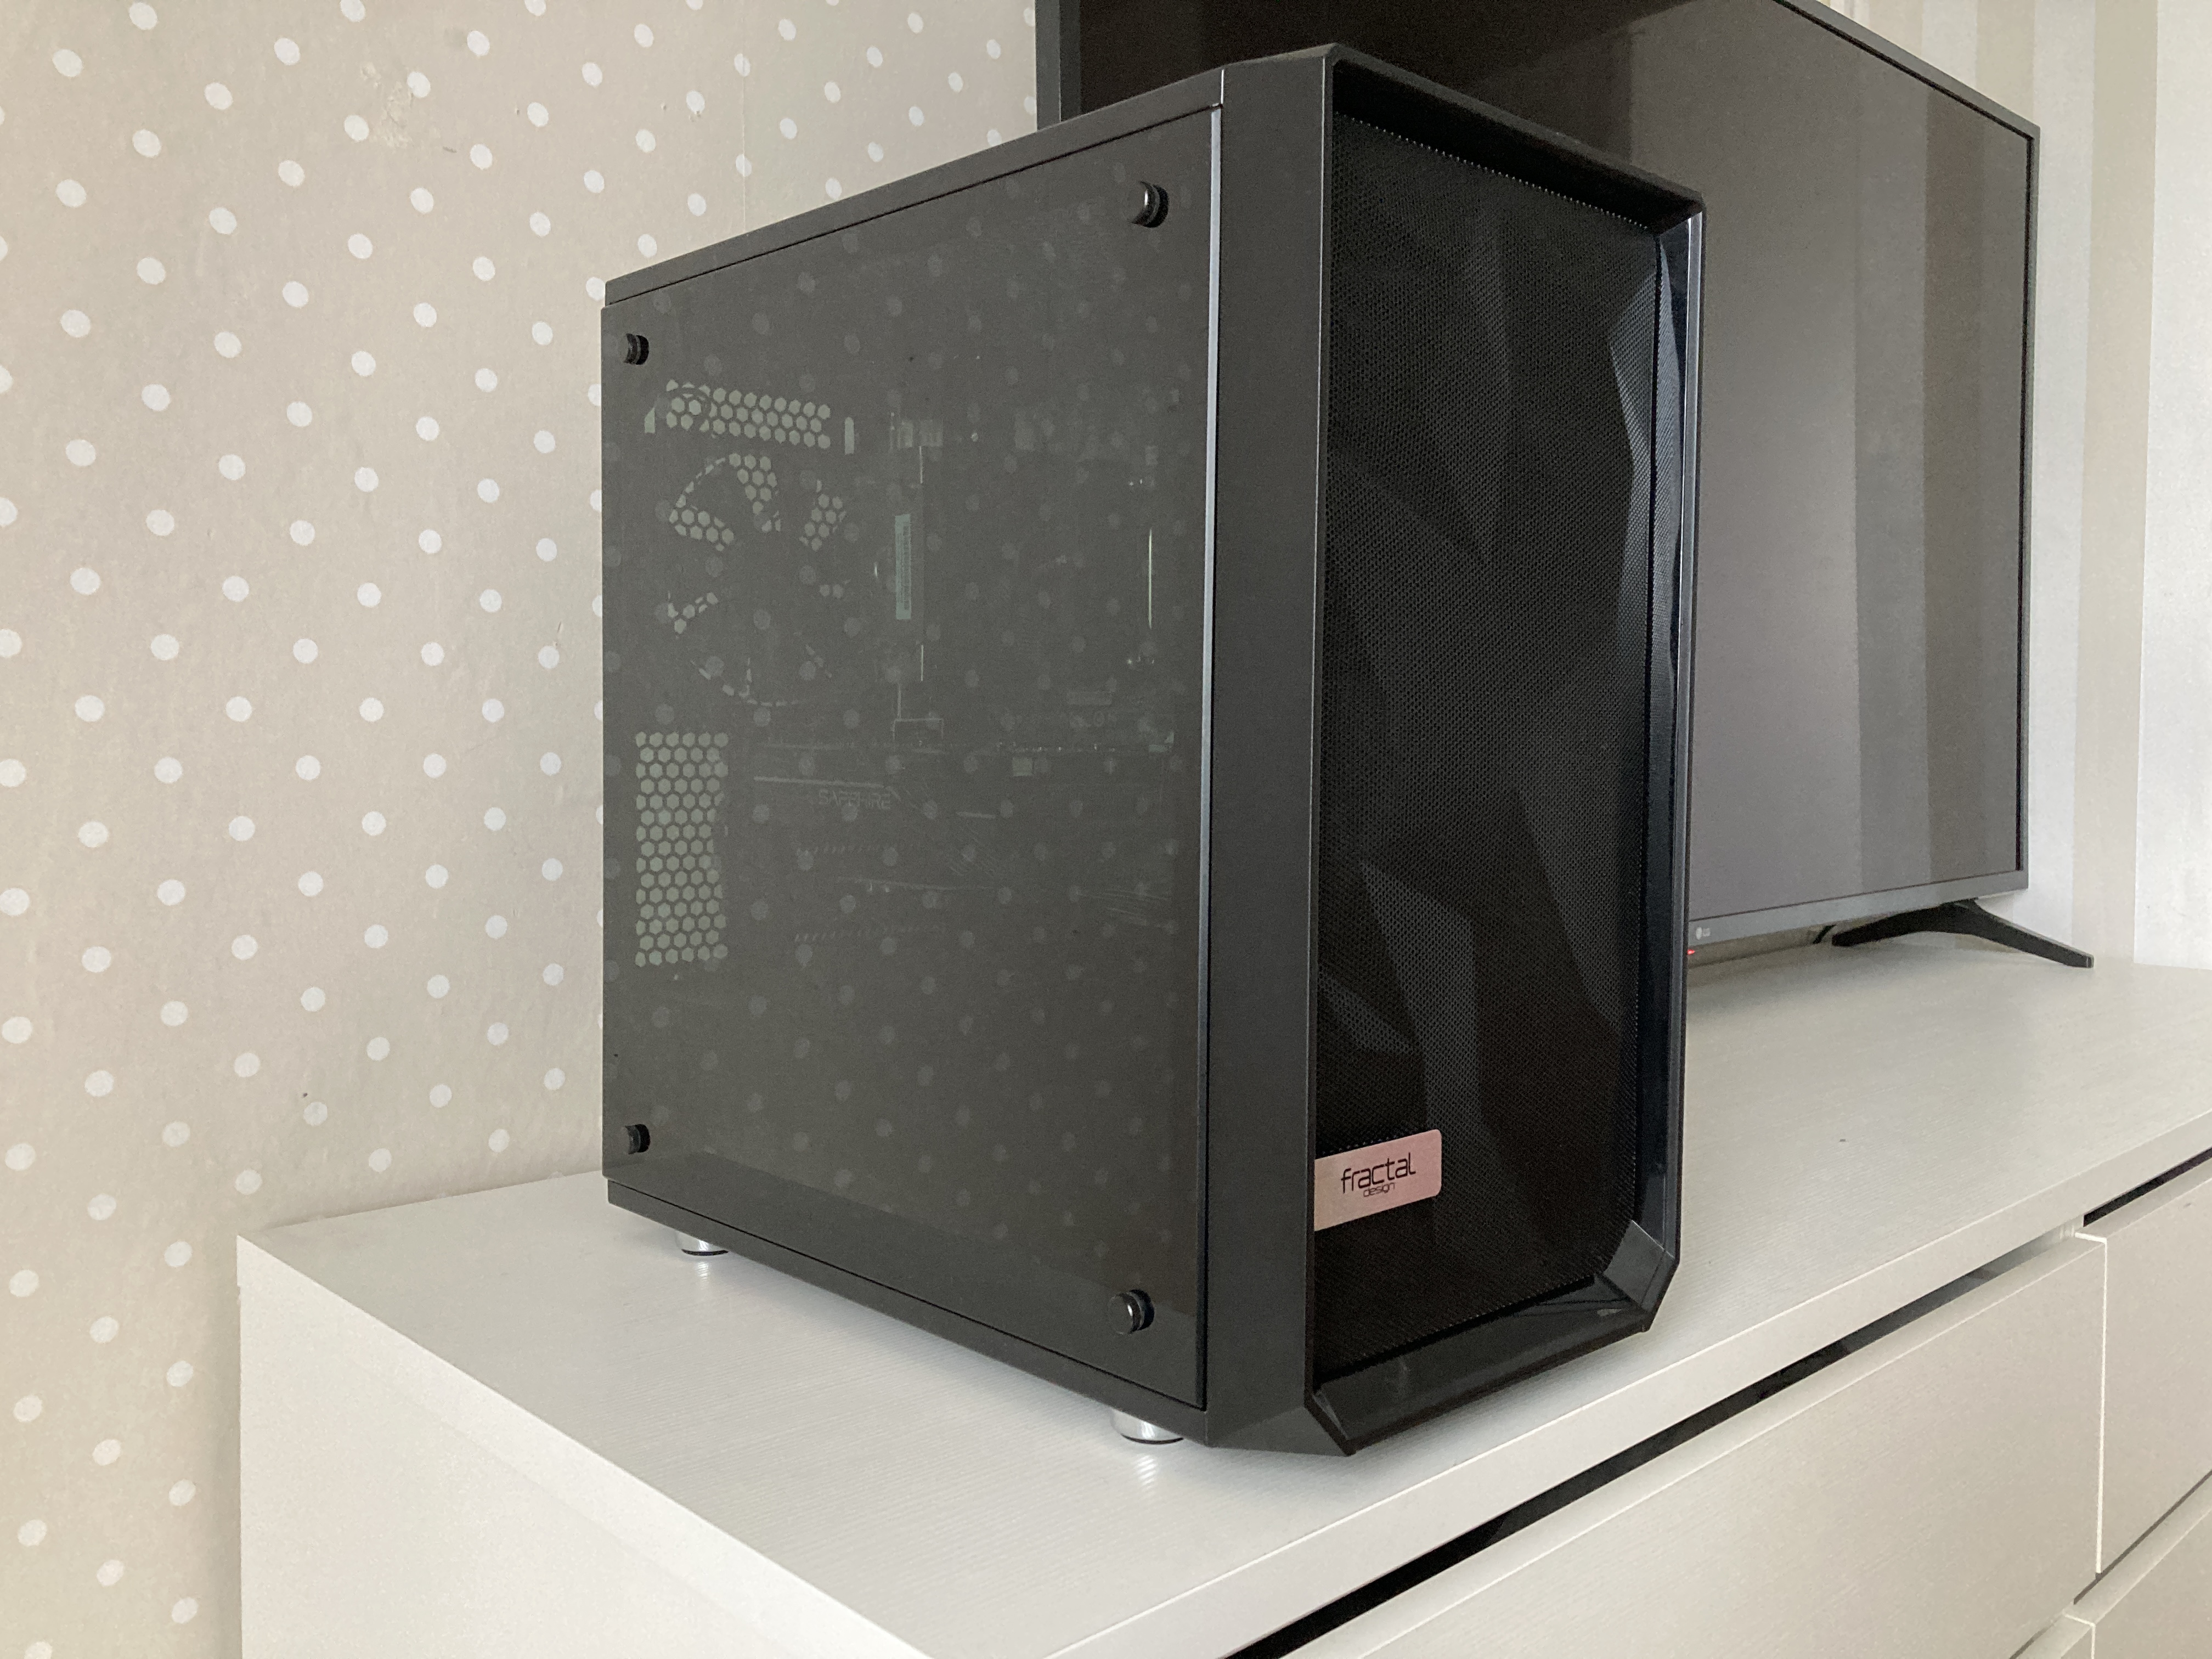
- Case: Fractal Design Meshify Mini C with dark tempered glass. I would have preferred a plain version of this case, but the tempered glass doesn’t look half bad either, just can’t drop that panel. Oh, and it looks good as well.
- PSU: Seasonic Core 500W 80+ Gold. They make good stuff.
- Storage: 2x 1TB Crucial BX500 SSD. Have to keep the games somewhere and an SSD-based RAID0 setup made the most sense to me.
The core of the system would be the motherboard, CPU and 8GB of RAM that I pieced together from leftover sticks. All I needed to do now was to simply upgrade the CPU and get myself a GPU, right?
CPU upgrade
The Lenovo Sharkbay platform supports Haswell CPU-s, which includes Intel Core 4000 series CPU-s. I checked used CPU listings and opted for an Intel i5 4460. 4 cores, 4 threads at a reasonable clock speed, that should play all the games I have with reasonable performance.
The CPU arrived, and with it came trouble. Because I started following the hardware world in more detail in 2016, I was not aware of one crucial detail: Haswell vs Haswell Refresh. Turns out that the CPU I bought was part of the Haswell Refresh series, meaning that you either needed a motherboard that supported this CPU, or a motherboard that offered a BIOS update which adds support for the upgraded CPU-s. This motherboard from the Lenovo prebuilt PC turned out to be neither of them. The fans spun up and kept spinning at max speed, but the PC did not POST.
Frustrated and disappointed, I decided to double down. I got myself another used CPU and was luckily able to sell the existing CPU for the same price I got it for. This time, the CPU was the Intel i5 4440, same specs, but a year older and a small drop in clock speeds. Plug it in, and it works like a charm.
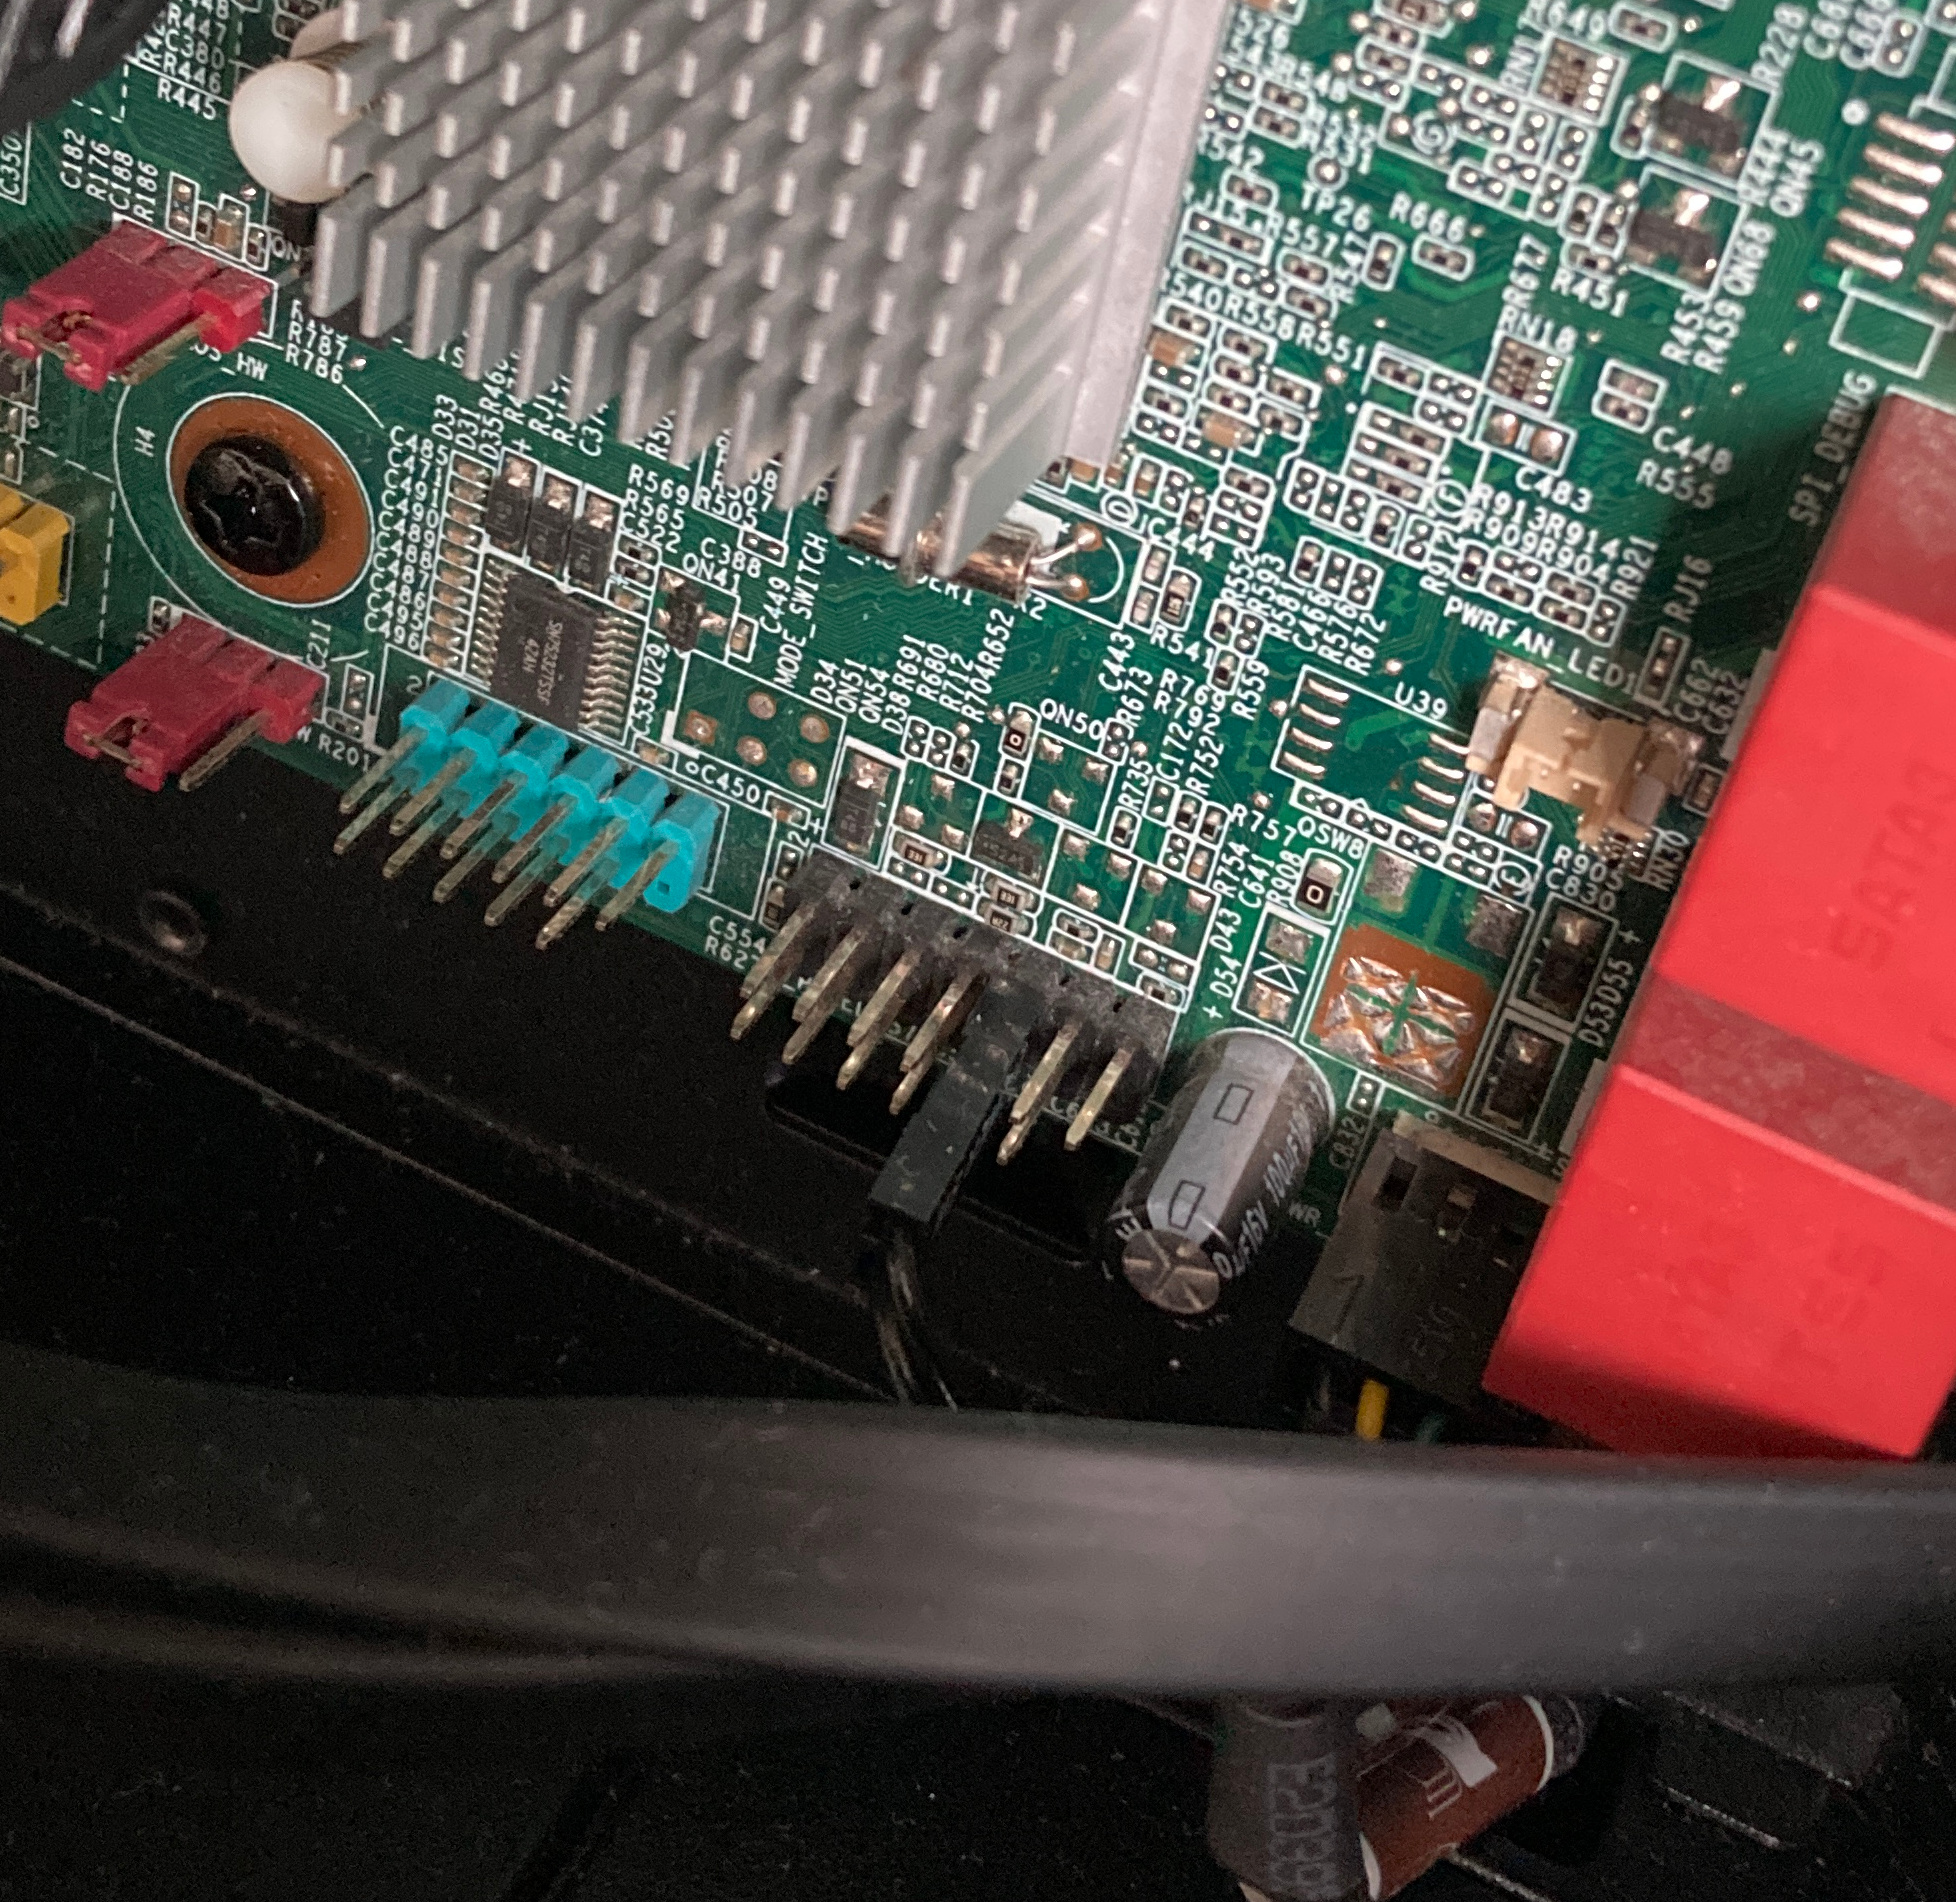
Proprietary connections
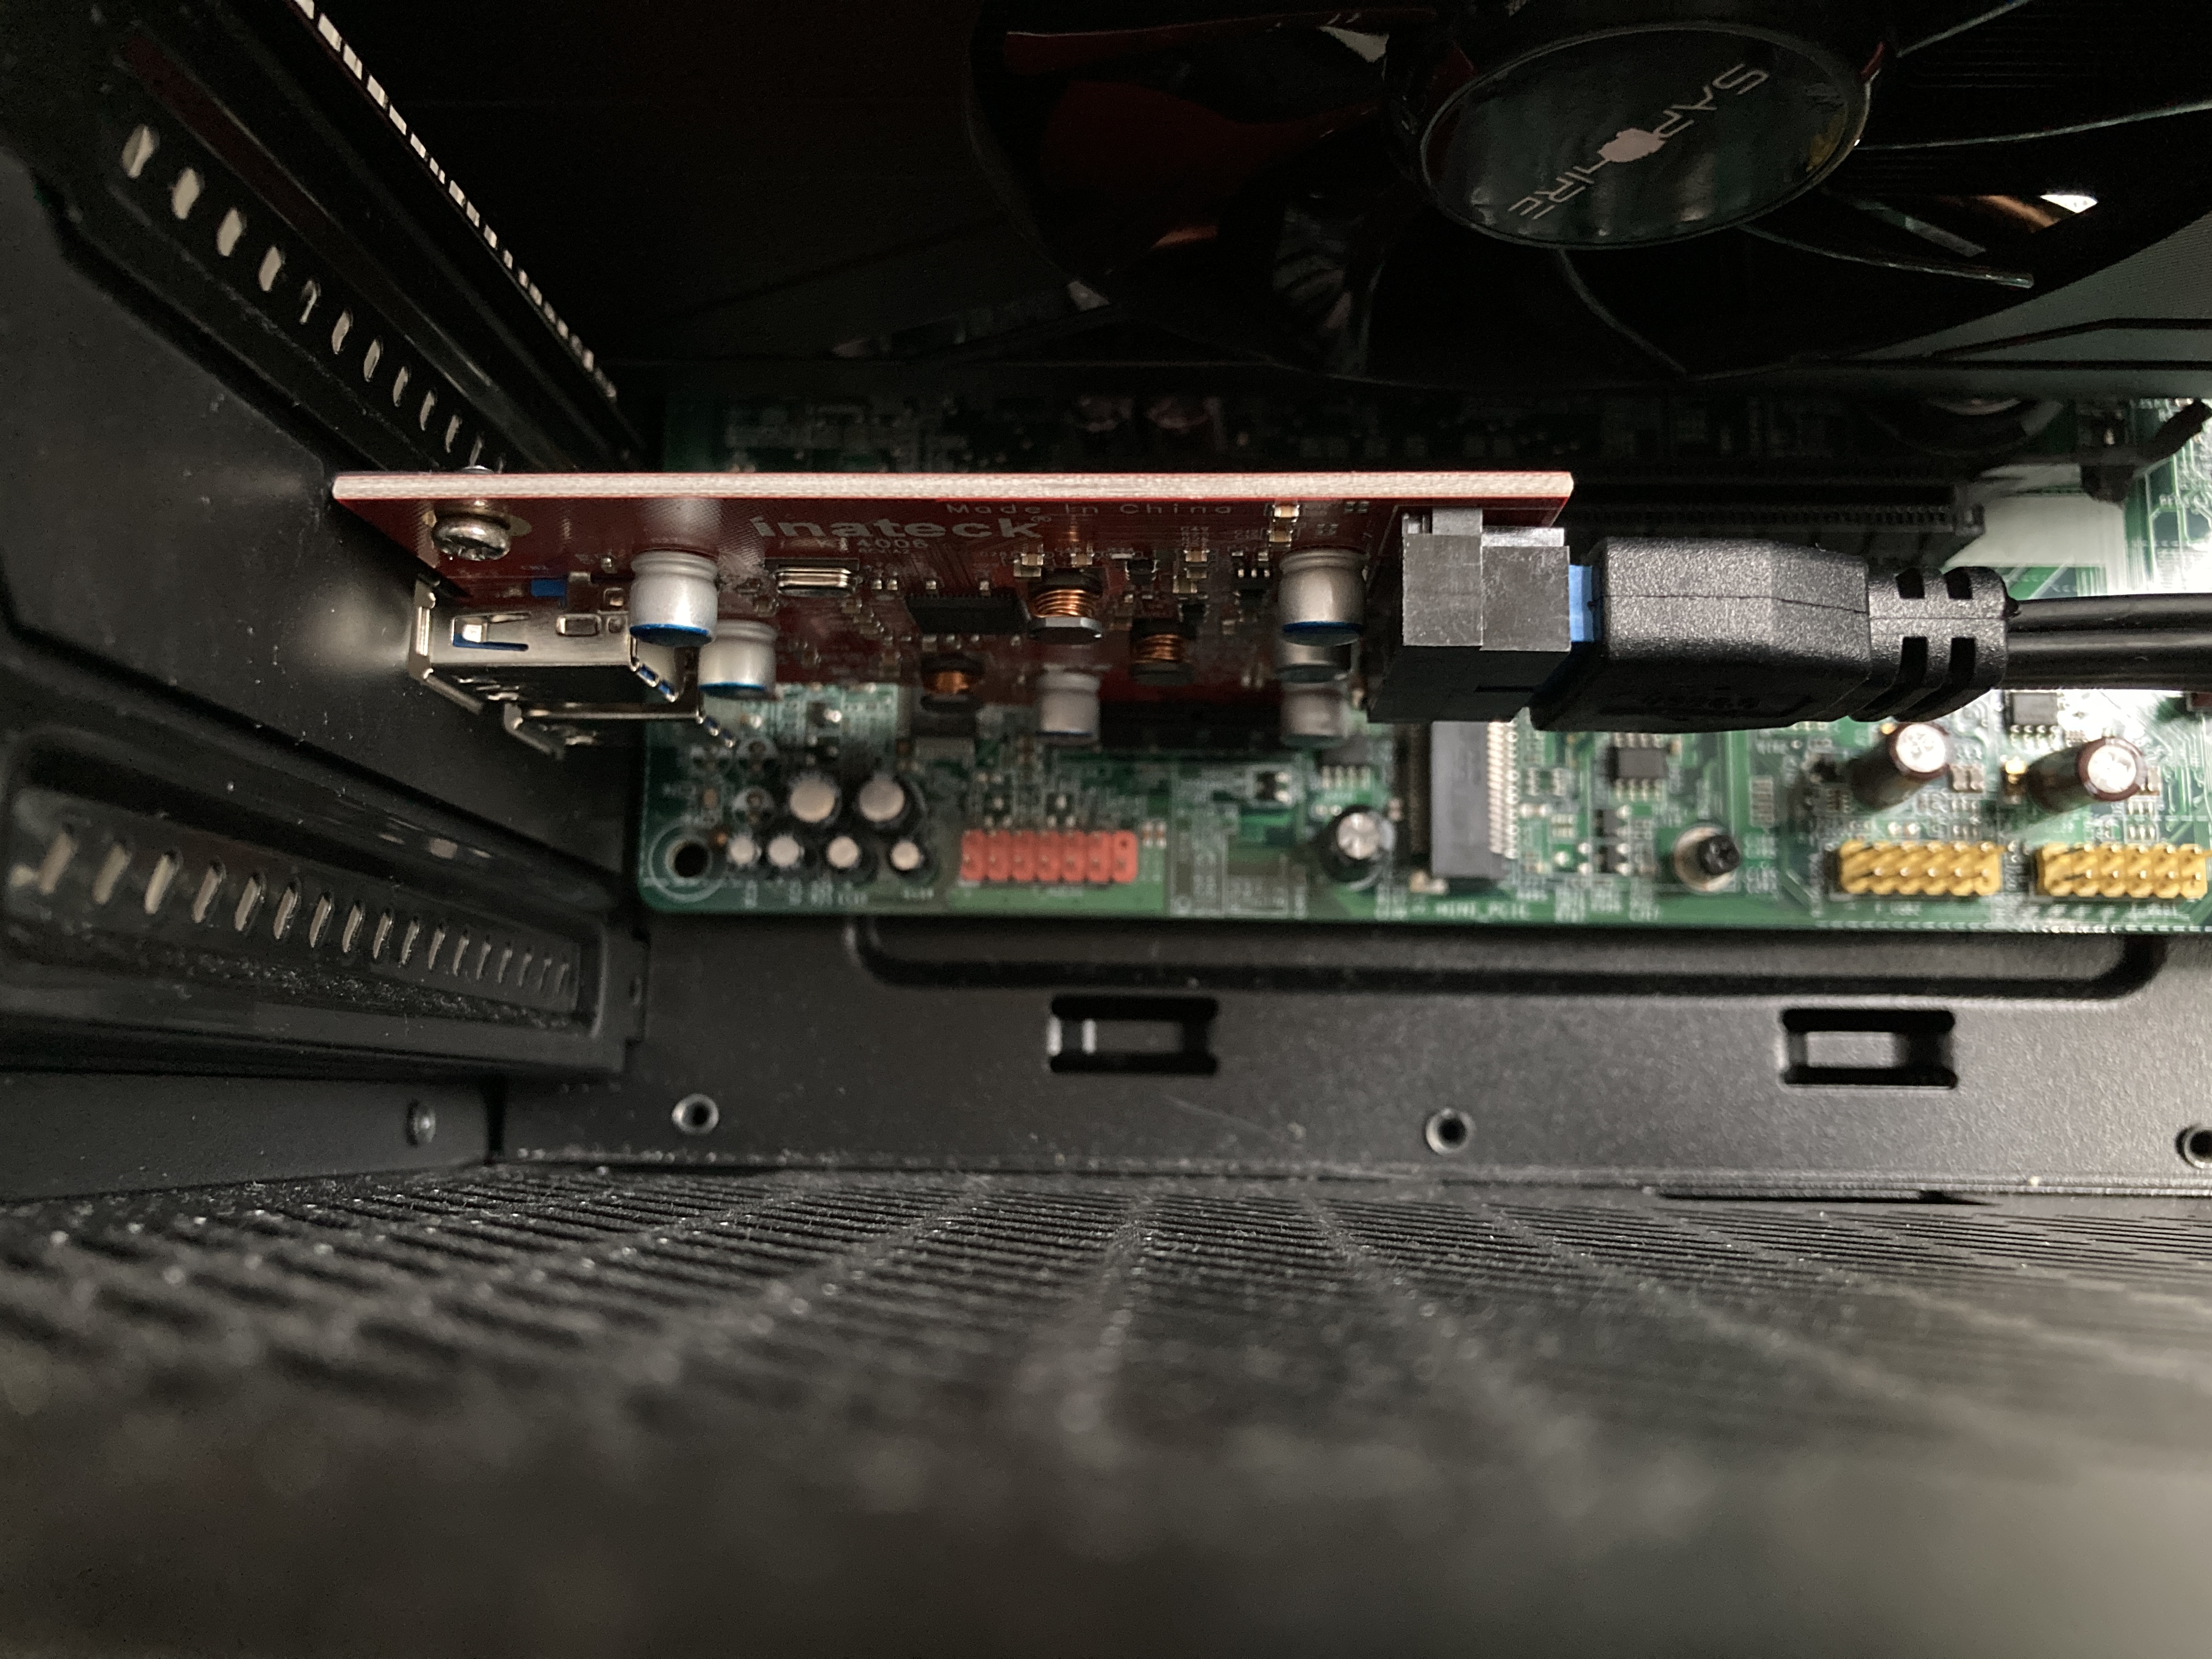
Once the new parts arrived, I started building. I knew that the Lenovo machine had some non-standard front panel connectors that would not work well with more standard cases. I got myself a PCIe USB 3.0 internal header adaptor to enable the front USB ports and left the audio ports disconnected since I had no need for them.
Finding out which pins are for the power button was also a relatively simple process. I grabbed my flathead screwdriver and tried shorting pairs of pins in the front panel connector area. Once I found the one that turned the machine on, I connected the PC power button connector there. I didn’t care for the other connectors, so I left those disconnected as well.
Adding the GPU
To make this machine into a proper gaming PC, I needed a GPU. At first, I used an AMD RX 560 that I had, but since I borrowed it from my main PC and the Nvidia GT 710 was a horrible GPU for even the most basic tasks, I had to put that one back into the workstation.
The GPU market of mid-2021 is not that great. Any decent GPU from the last 5 years is completely overpriced, and even cards like AMD RX 480 - a 5 year old card at this point - sell for the original price from 2016. Somehow I managed to stumble upon an AMD RX 570 4GB model with a somewhat acceptable price, so I pulled the trigger on that one. That card is powerful enough to keep me busy until the prices for newer GPU-s become reasonable on the used market.
I plug the GPU in, and the TV displays nothing but a black screen. Tried the Nvidia GT 710 and the integrated graphics, all good. Tried the RX 570 as a secondary GPU, and the PC gets past the POST screen. Odd.
After some searching and digging, I saw some forum posts detailing how the CSM (compatibility support module) setting on the motherboard could fix the issue. I went into the BIOS while running off of integrated graphics, enabled CSM, plugged the RX 570 in, booted, and it actually worked now!
What I discovered after using the GPU for a while was that it got quite loud under load, even though the GPU itself wasn’t that dusty. While cleaning it, I noticed that the thermal paste seems to have never been changed, and it showed: the thermal paste was rock solid. I had to take a plastic prying tool to get rid of the thermal paste without breaking the GPU. A repaste and a reassembly later, the GPU was whisper-quiet even under a full FurMark test.
Cooling
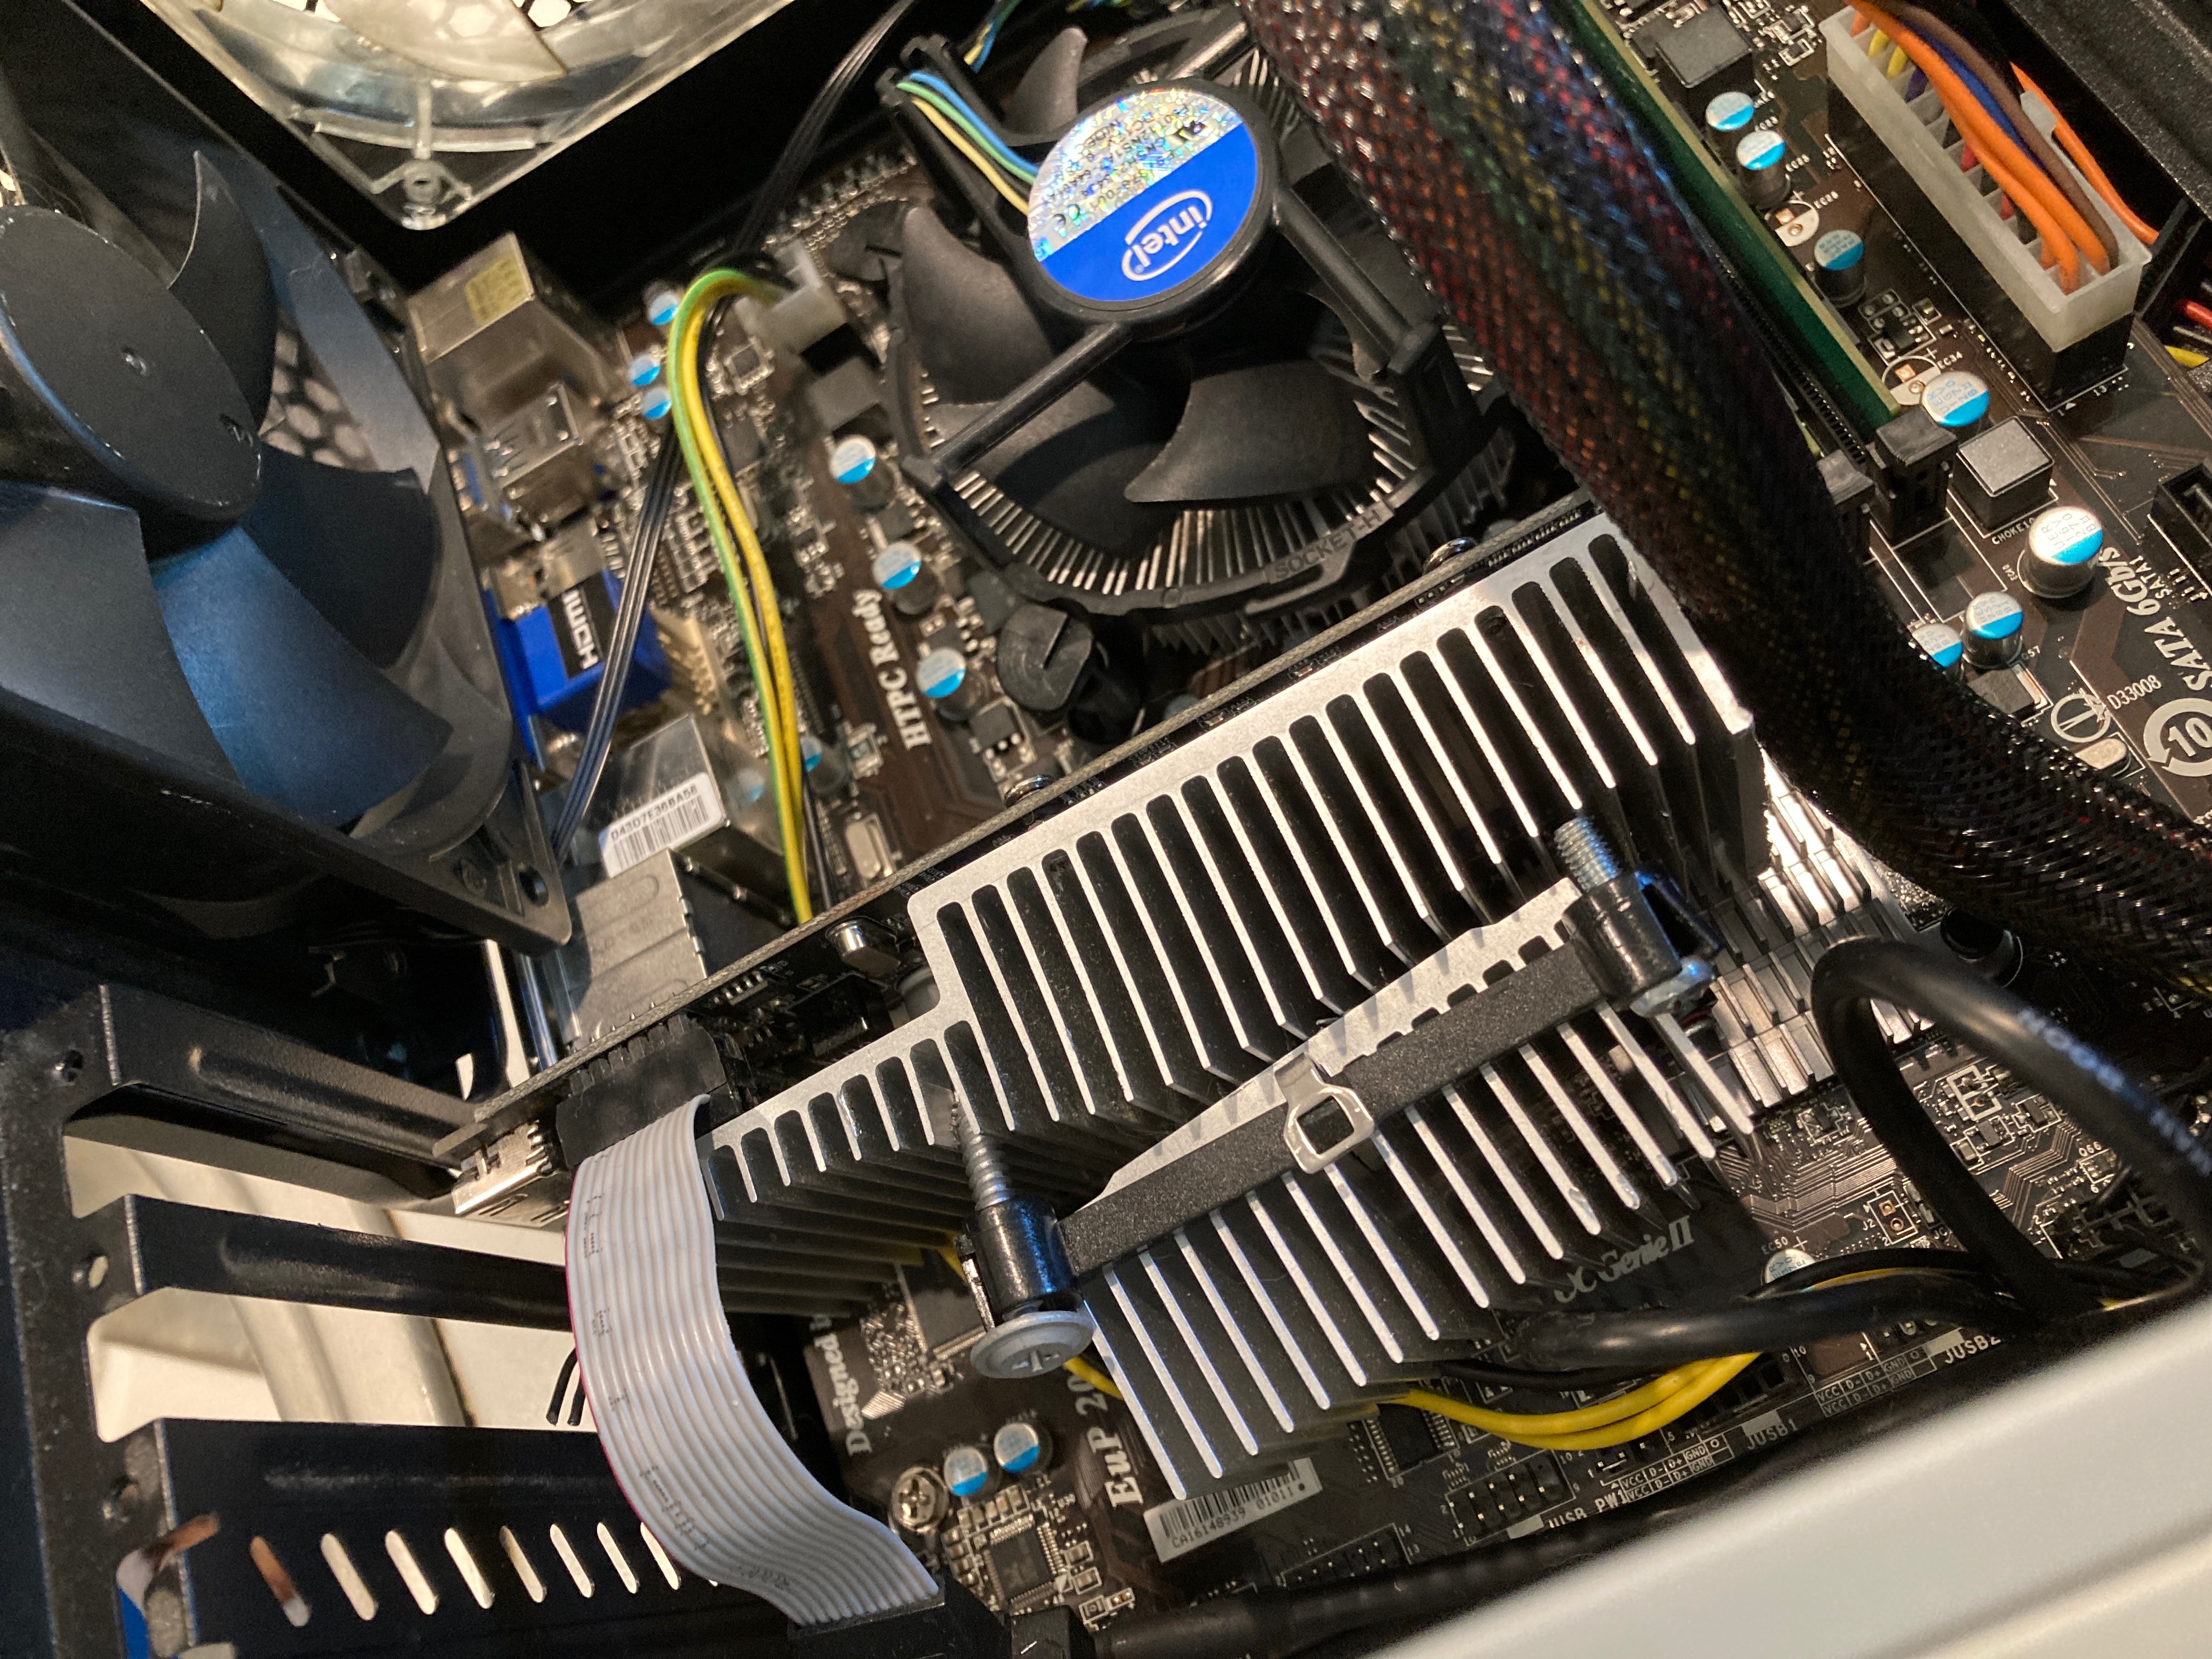
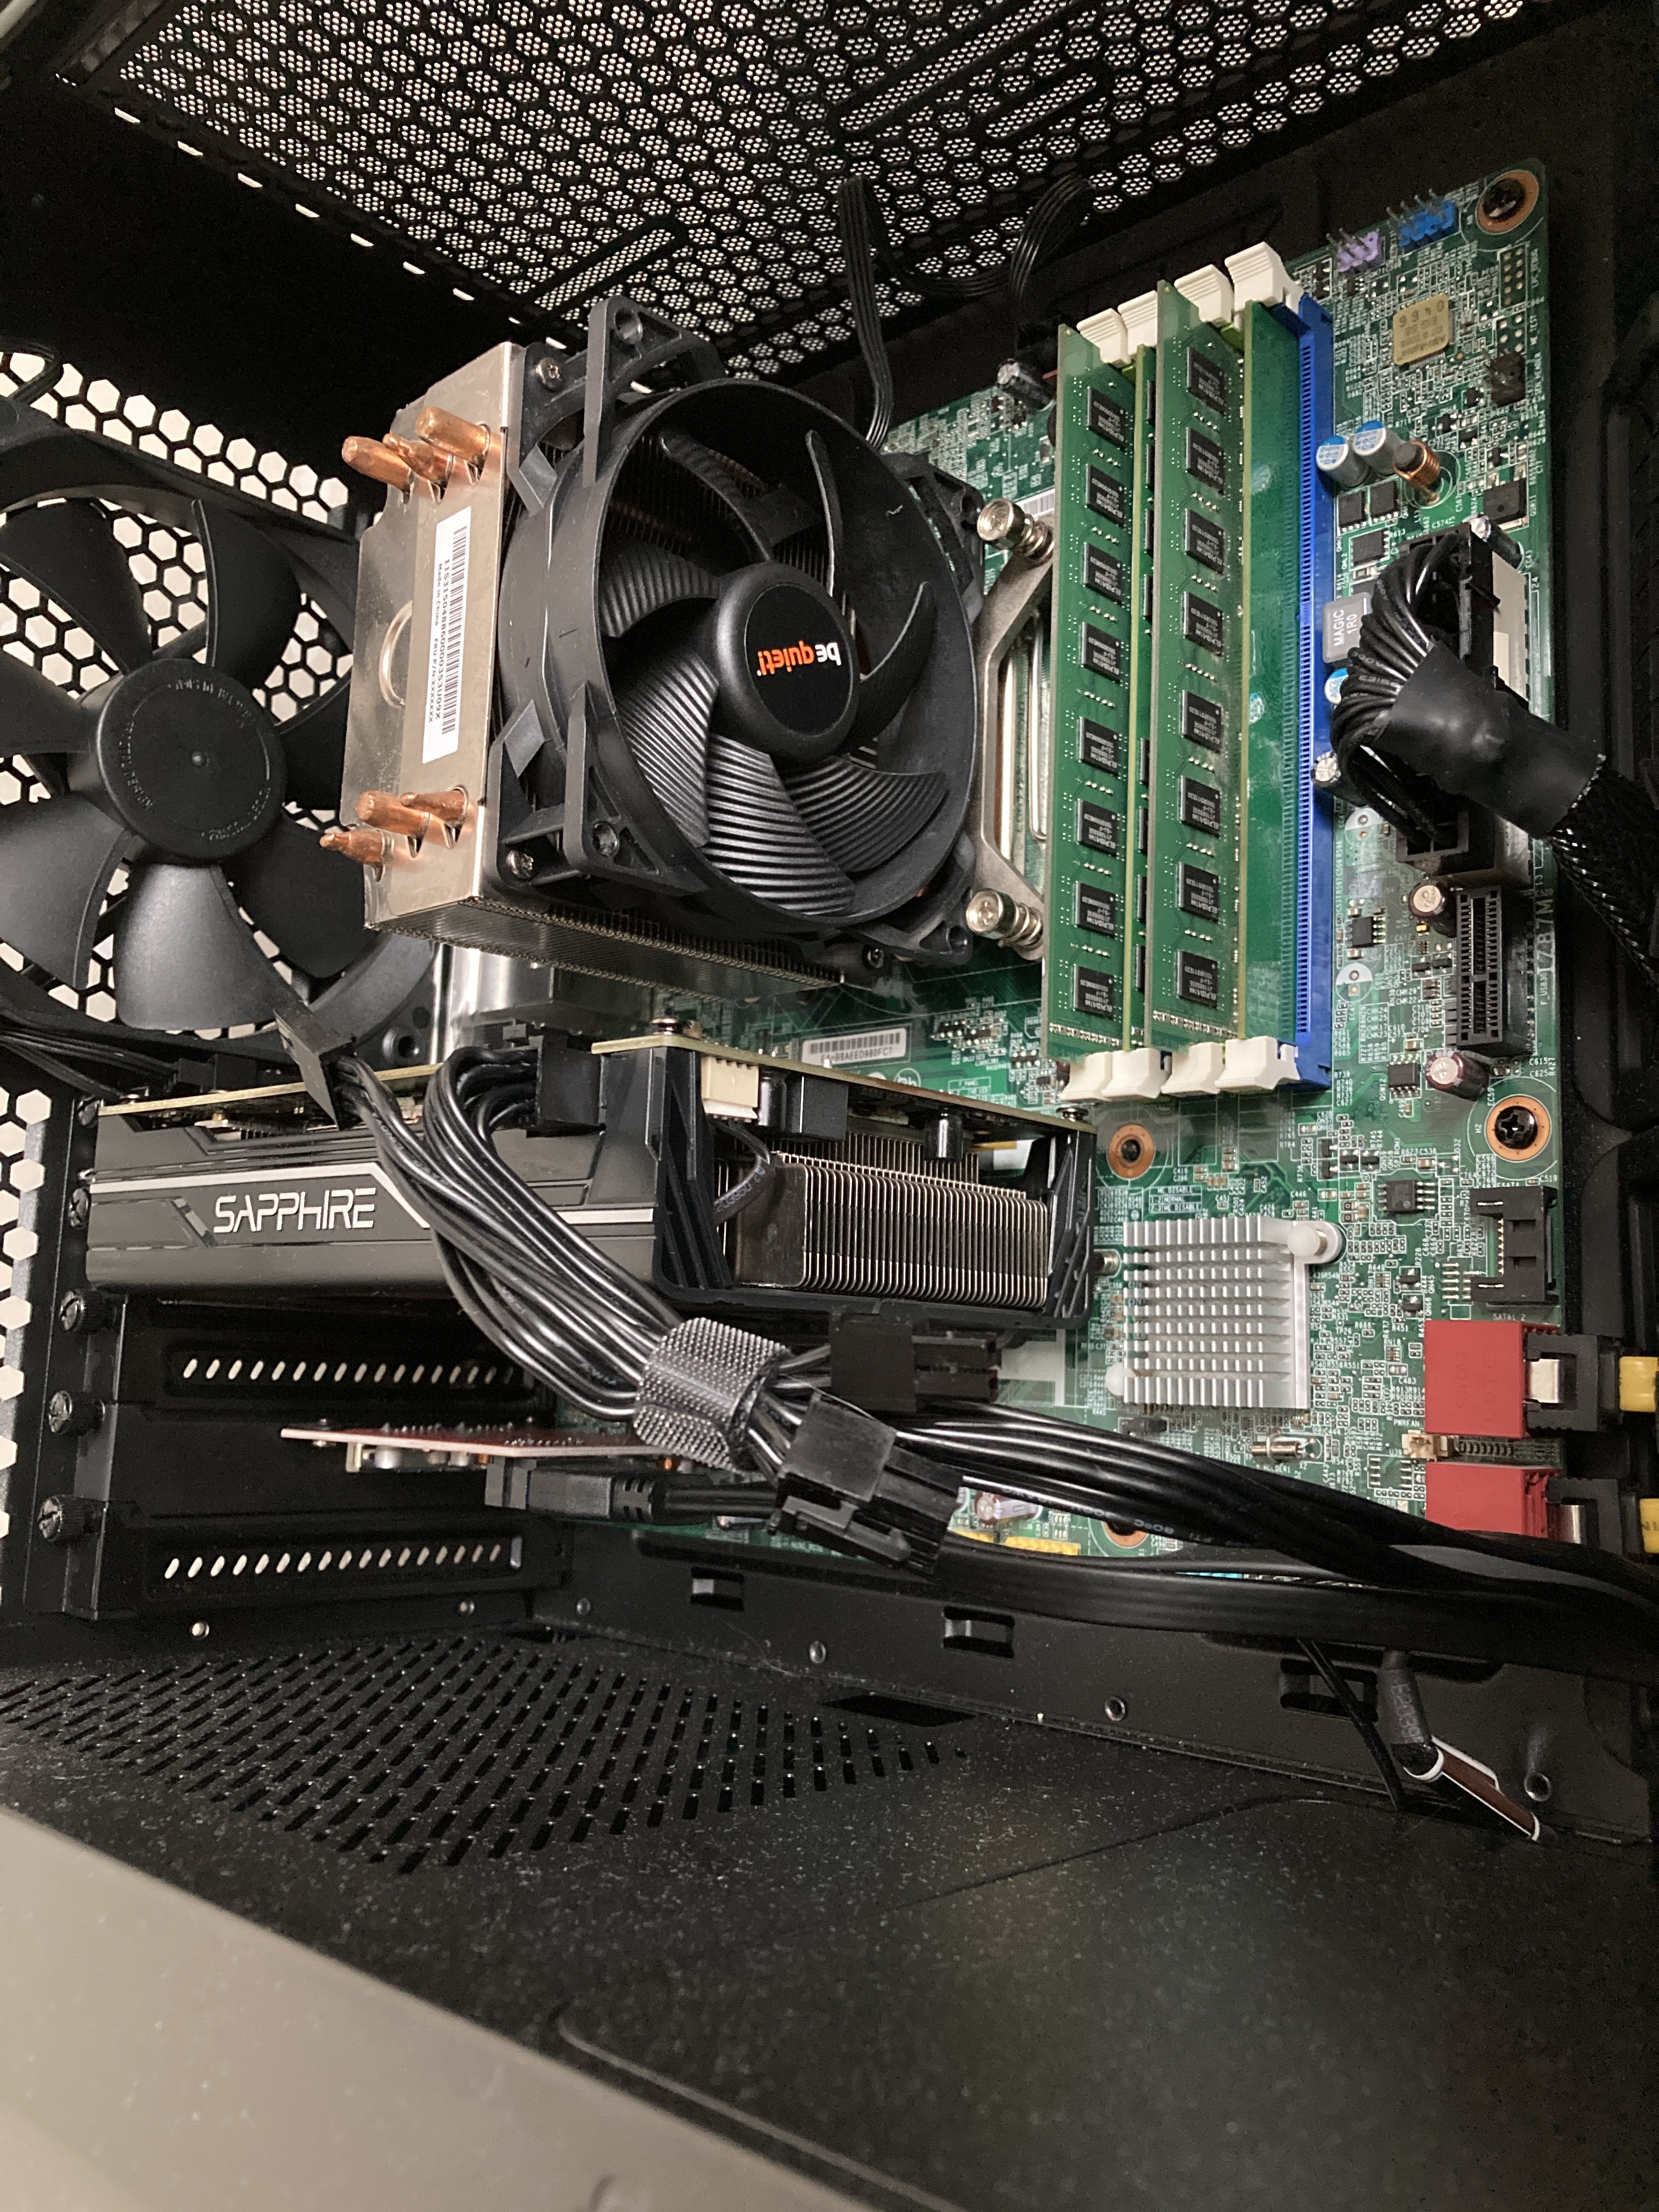
The Lenovo prebuilt game with a surprisingly adequate CPU cooler. However, the fan was not having a good time and made more noise than I’d like. I decided to splurge a bit and got for a beQuiet Pure Rock Slim 2 as I had a good experience running that cooler on a PC I built years earlier.
When installing it, I noticed one critical flaw: the CPU cooler mounting holes were non-standard. They were simply too big. If I had the patience, I could have probably added some washers or other available solutions to fix it. Anyway, I ended up just replacing the fan on the original cooler with the one from the beQuiet cooler. I could probably use the CPU cooler in another project, so no big loss there.
I also noticed that the stock fan curve (or lack of it) means that the case fans run pretty loud by default. To fix this, I used Noctua low noise adapters that I happened to have from previous projects. It did fix the issue, but I still wish that I had more granular control over the fan speeds.
How well does it work?
This PC has mainly two uses: watching media and playing games. To keep it short: yes, it works well for these use cases. I value smooth performance more than a crystal clear image, which results in me running all of my games under 1080p and medium-high settings.
I don’t consider this particular setup to be in any way practical. The cost of all the parts is actually quite big once you add it all up. The setup does do everything that I need it for and that’s what makes it worth it for me. As an additional bonus, I also get the satisfaction of prolonging the life of the used parts (CPU, RAM, motherboard).
I’ll try to see how long I can keep using this setup. In case the CPU and/or RAM become the limiting factors, I’ll just replace that part of the system with something reasonable and carry the rest of the system over.
Gallery
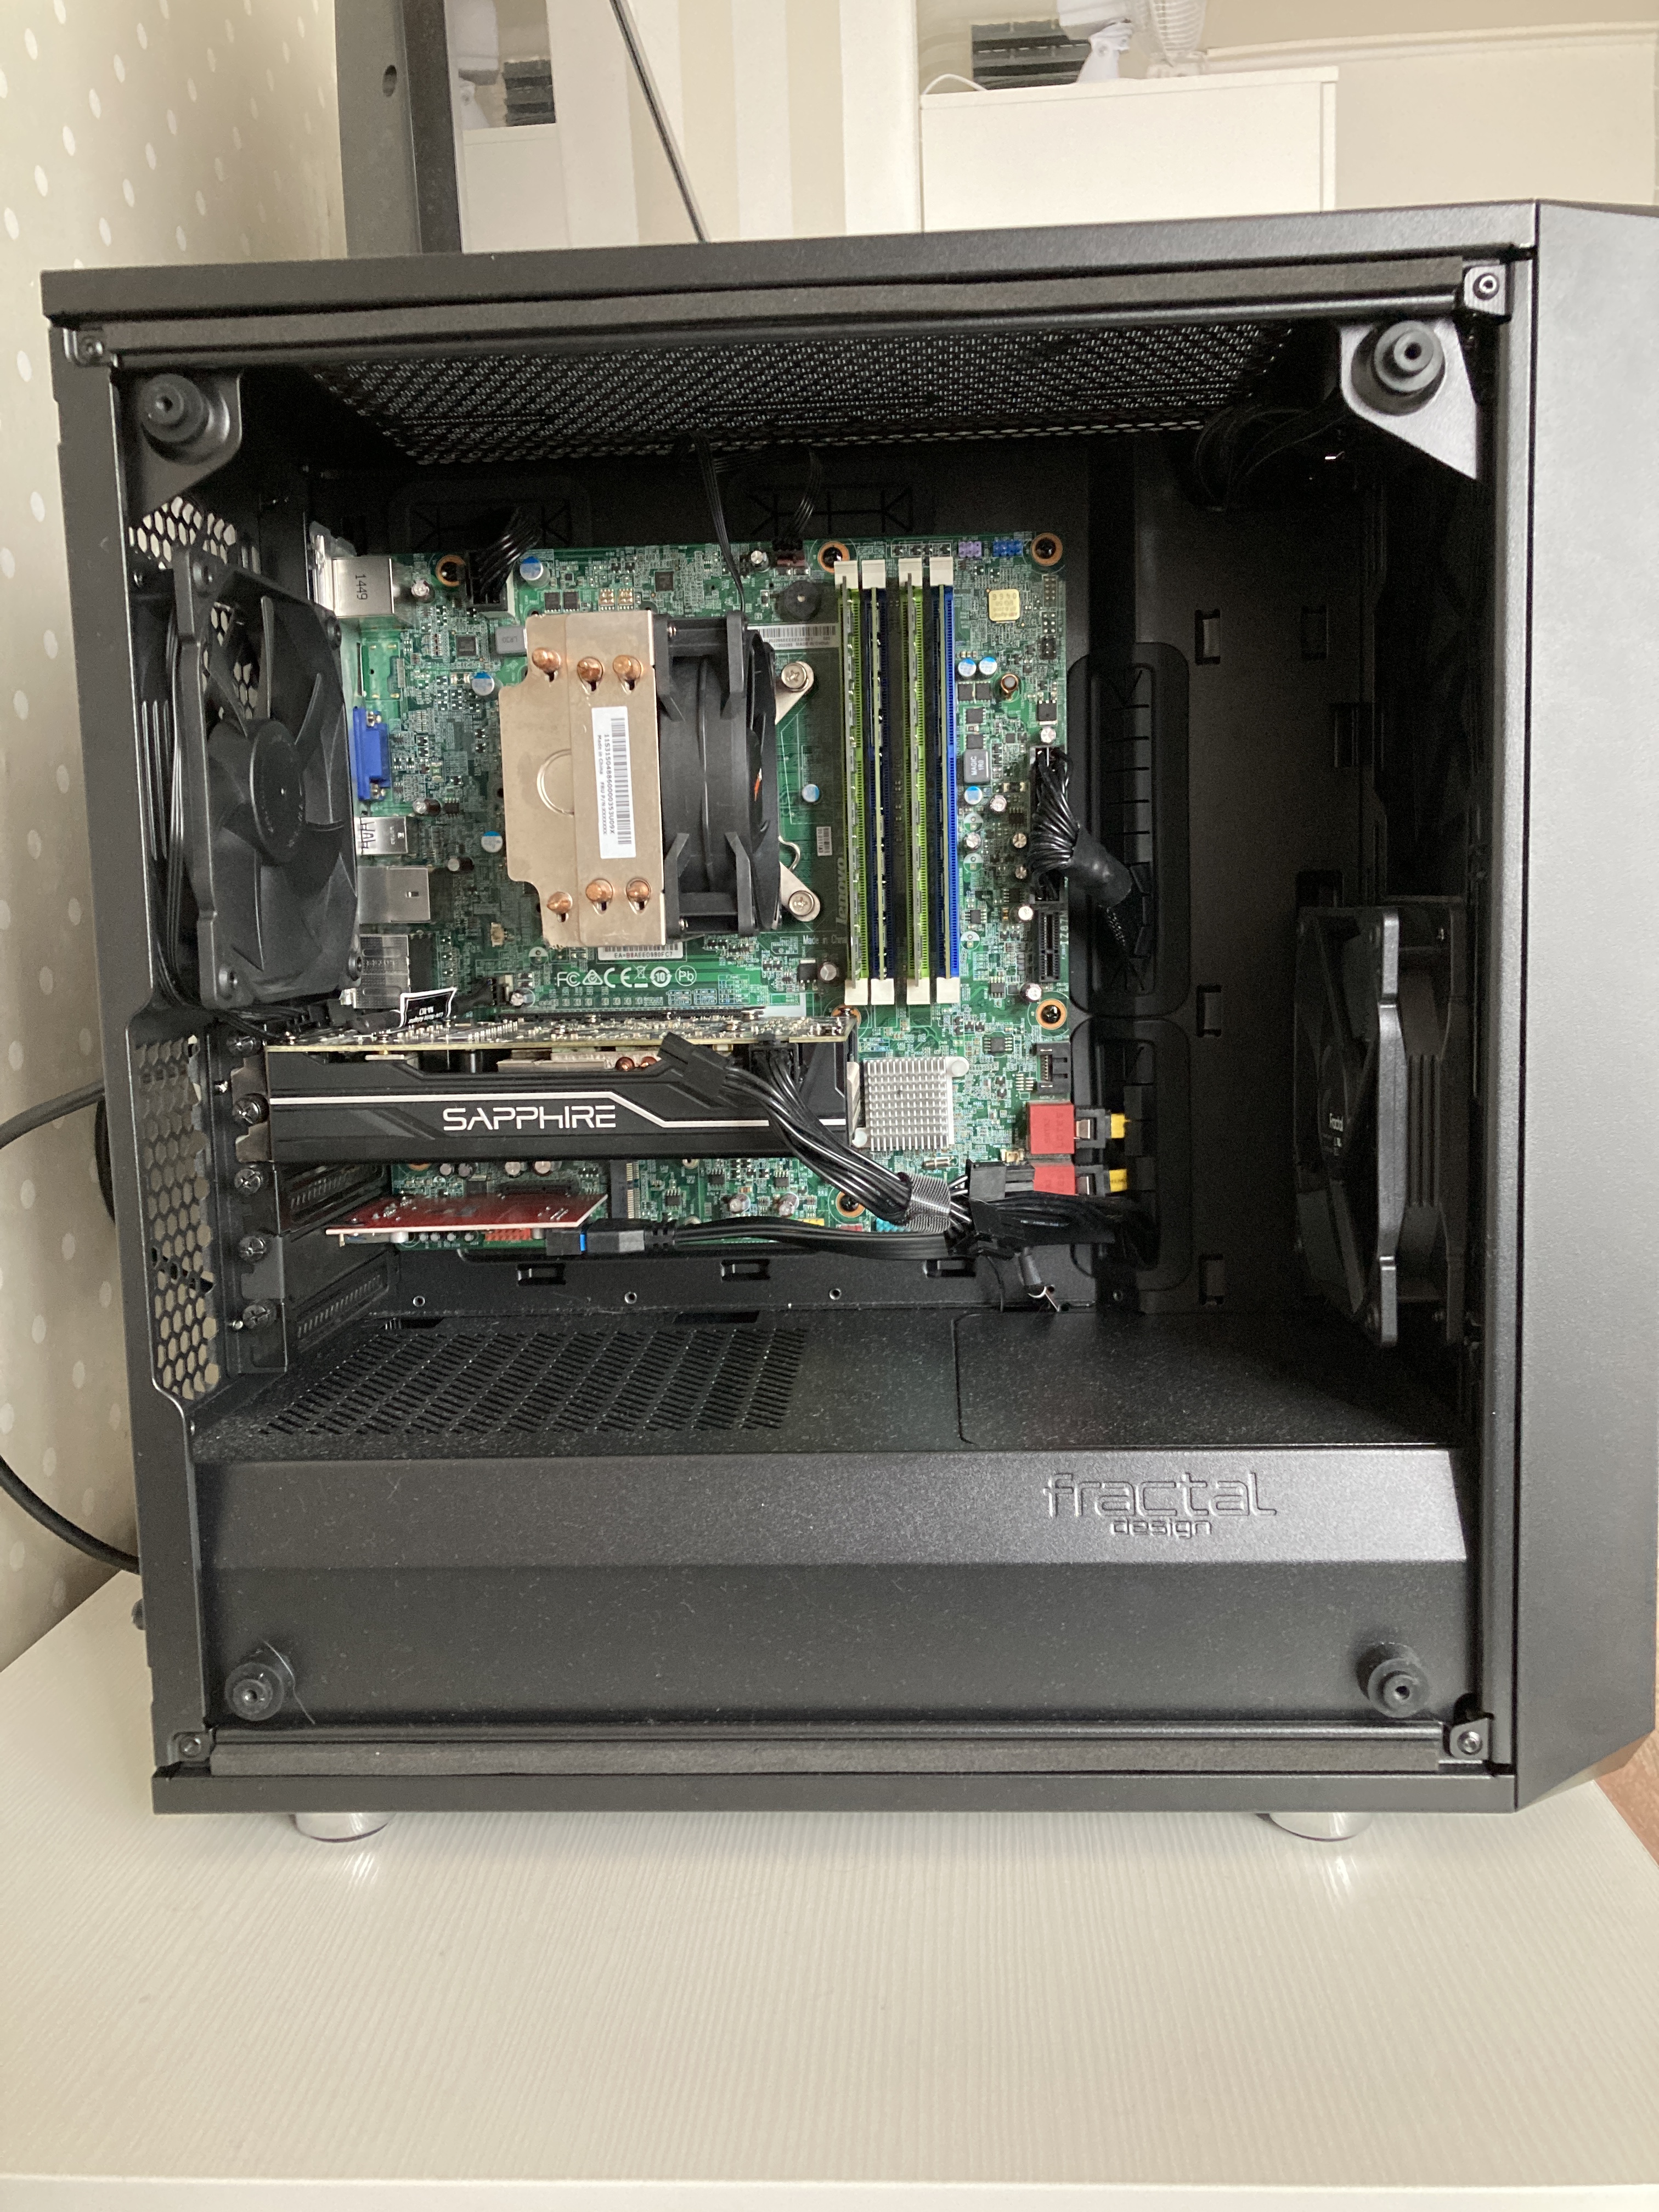
Here’s what the setup looks like.
Subscribe to new posts via the RSS feed.
Not sure what RSS is, or how to get started? Check this guide!
You can reach me via e-mail or LinkedIn.
If you liked this post, consider sharing it!