Steam local network game transfers are a game-changer
Steam recently launched a new feature: local network game transfers.
The idea is simple: if you have a game downloaded on another PC and you’re both on the same local network, then Steam can download game data from that PC, avoiding the need to download the game over public internet. Using this method you can reduce your internet usage and enjoy faster download times.
I think this feature is absolutely brilliant. There are many homes out there, even in developed countries, where the internet connection sucks. The speed might be capped at something very slow, such as 10 Mbit/s down, or you might have a bandwidth cap in place. Perhaps you have multiple gaming PC-s and you want to avoid downloading 100+ gigabytes worth of files over the internet to avoid hitting your bandwidth cap. In those situations being able to download your games to a PC that has a bunch of storage in it makes a lot of sense.
This isn’t the only way to achieve the same goal as projects like LanCache exist. However, with Steam the setup is so simple that anyone who knows how to install Steam could achieve a similar result. The only caveat is that you’re limited to games installed through Steam, LanCache supports many other services.
Here are some ideas on how you can set up your own Steam cache.
Using an old laptop
If you have an older laptop around and it has a gigabit Ethernet connection, then that can be a good candidate for setting up a Steam cache.
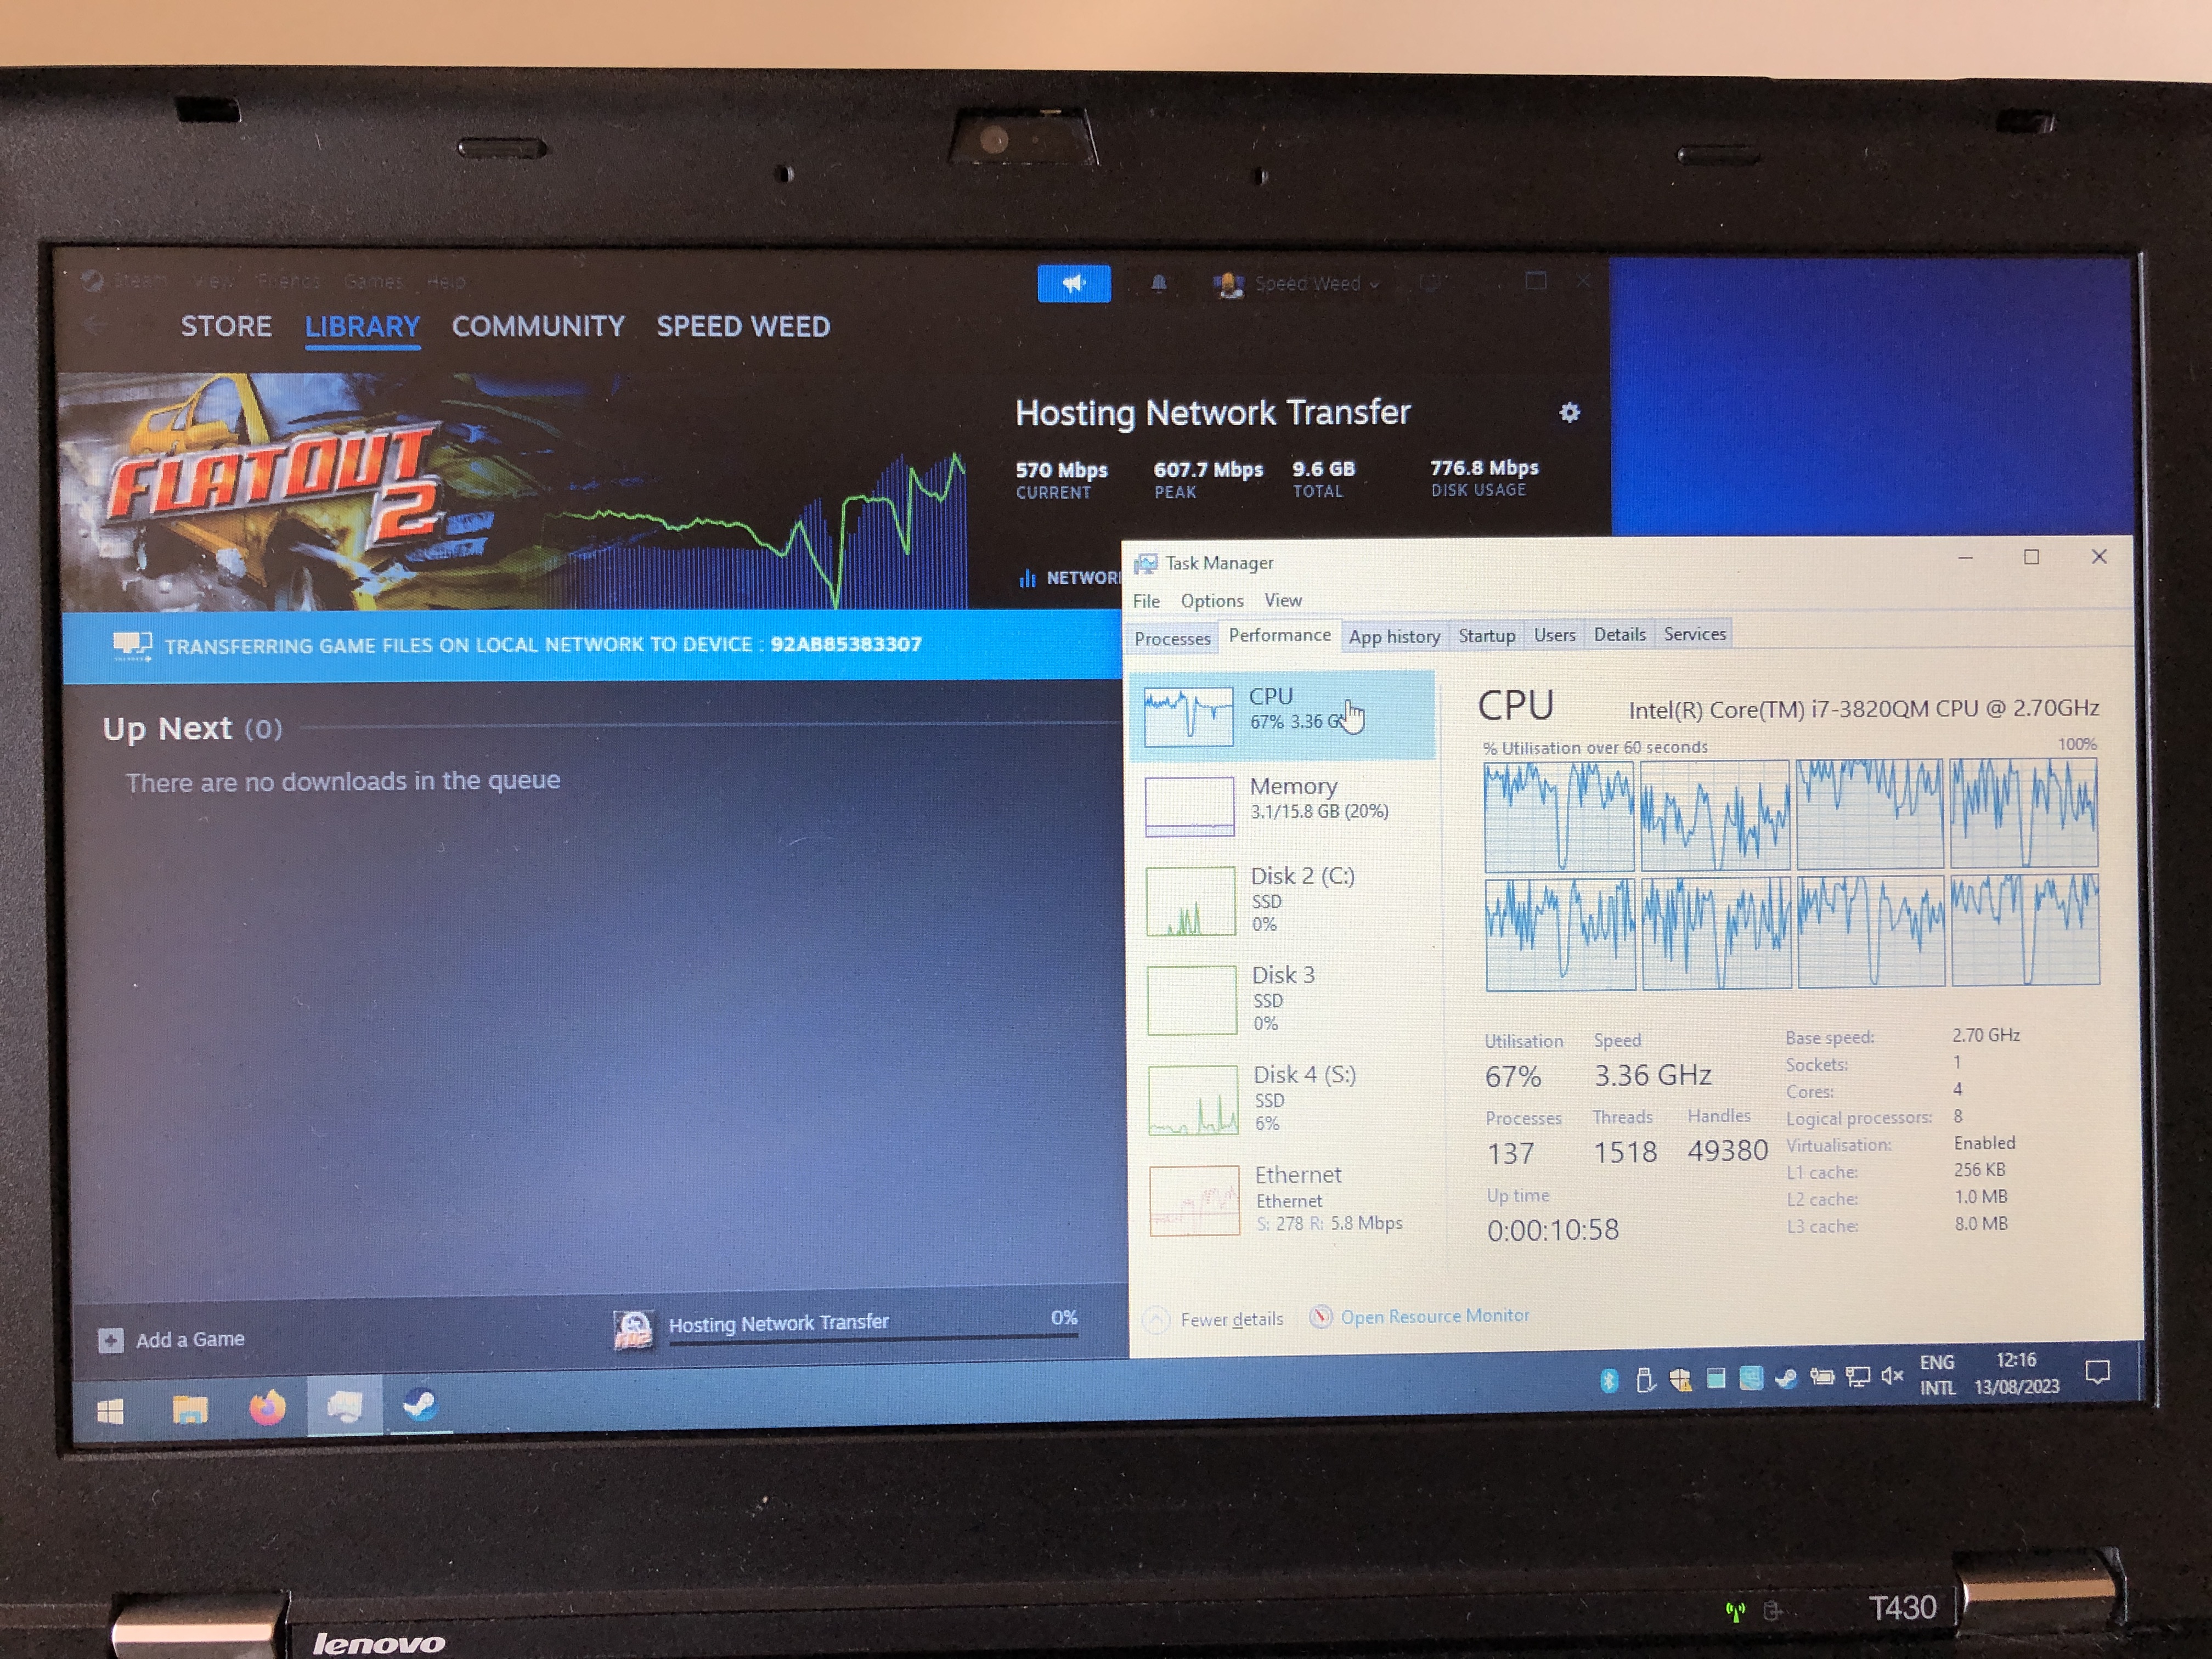
The hardware I picked for this test is a ThinkPad T430. It has a 4 core CPU in it, 16 GB of RAM and plenty of ways to attach storage to it. With storage I tried two approaches: using an older 1TB 2.5" SATA HDD, and using two Samsung 870 EVO 1TB SATA SSD-s in RAID0.

The hard drive based solution isn’t something I recommend, unless you plan on running two or more in a RAID-like setup. The Steam cache use case seems to have hit the limits of the hard drive and that limited the transfer speeds significantly.
The SSD-based setup was great! You might want to run something other than a RAID0 setup if you want to avoid a drive failure taking your whole Steam library with you, I ran with this setup mainly to see where the limits are. The Steam library is also something you can easily redownload, should things go really wrong.
One benefit of setting up an older laptop as a Steam cache is that you can take it with you to a place that has great internet connectivity, download your games there and bring it back home with you. That’s exactly what I did when performing testing, I went to my local hackerspace, started the downloads, and came back half a day later to find that over a terabyte worth of games had been downloaded. Doing the same on a slower home network would have taken days. I guess the idea of IP over avian carriers, or over humans, isn’t dead yet.
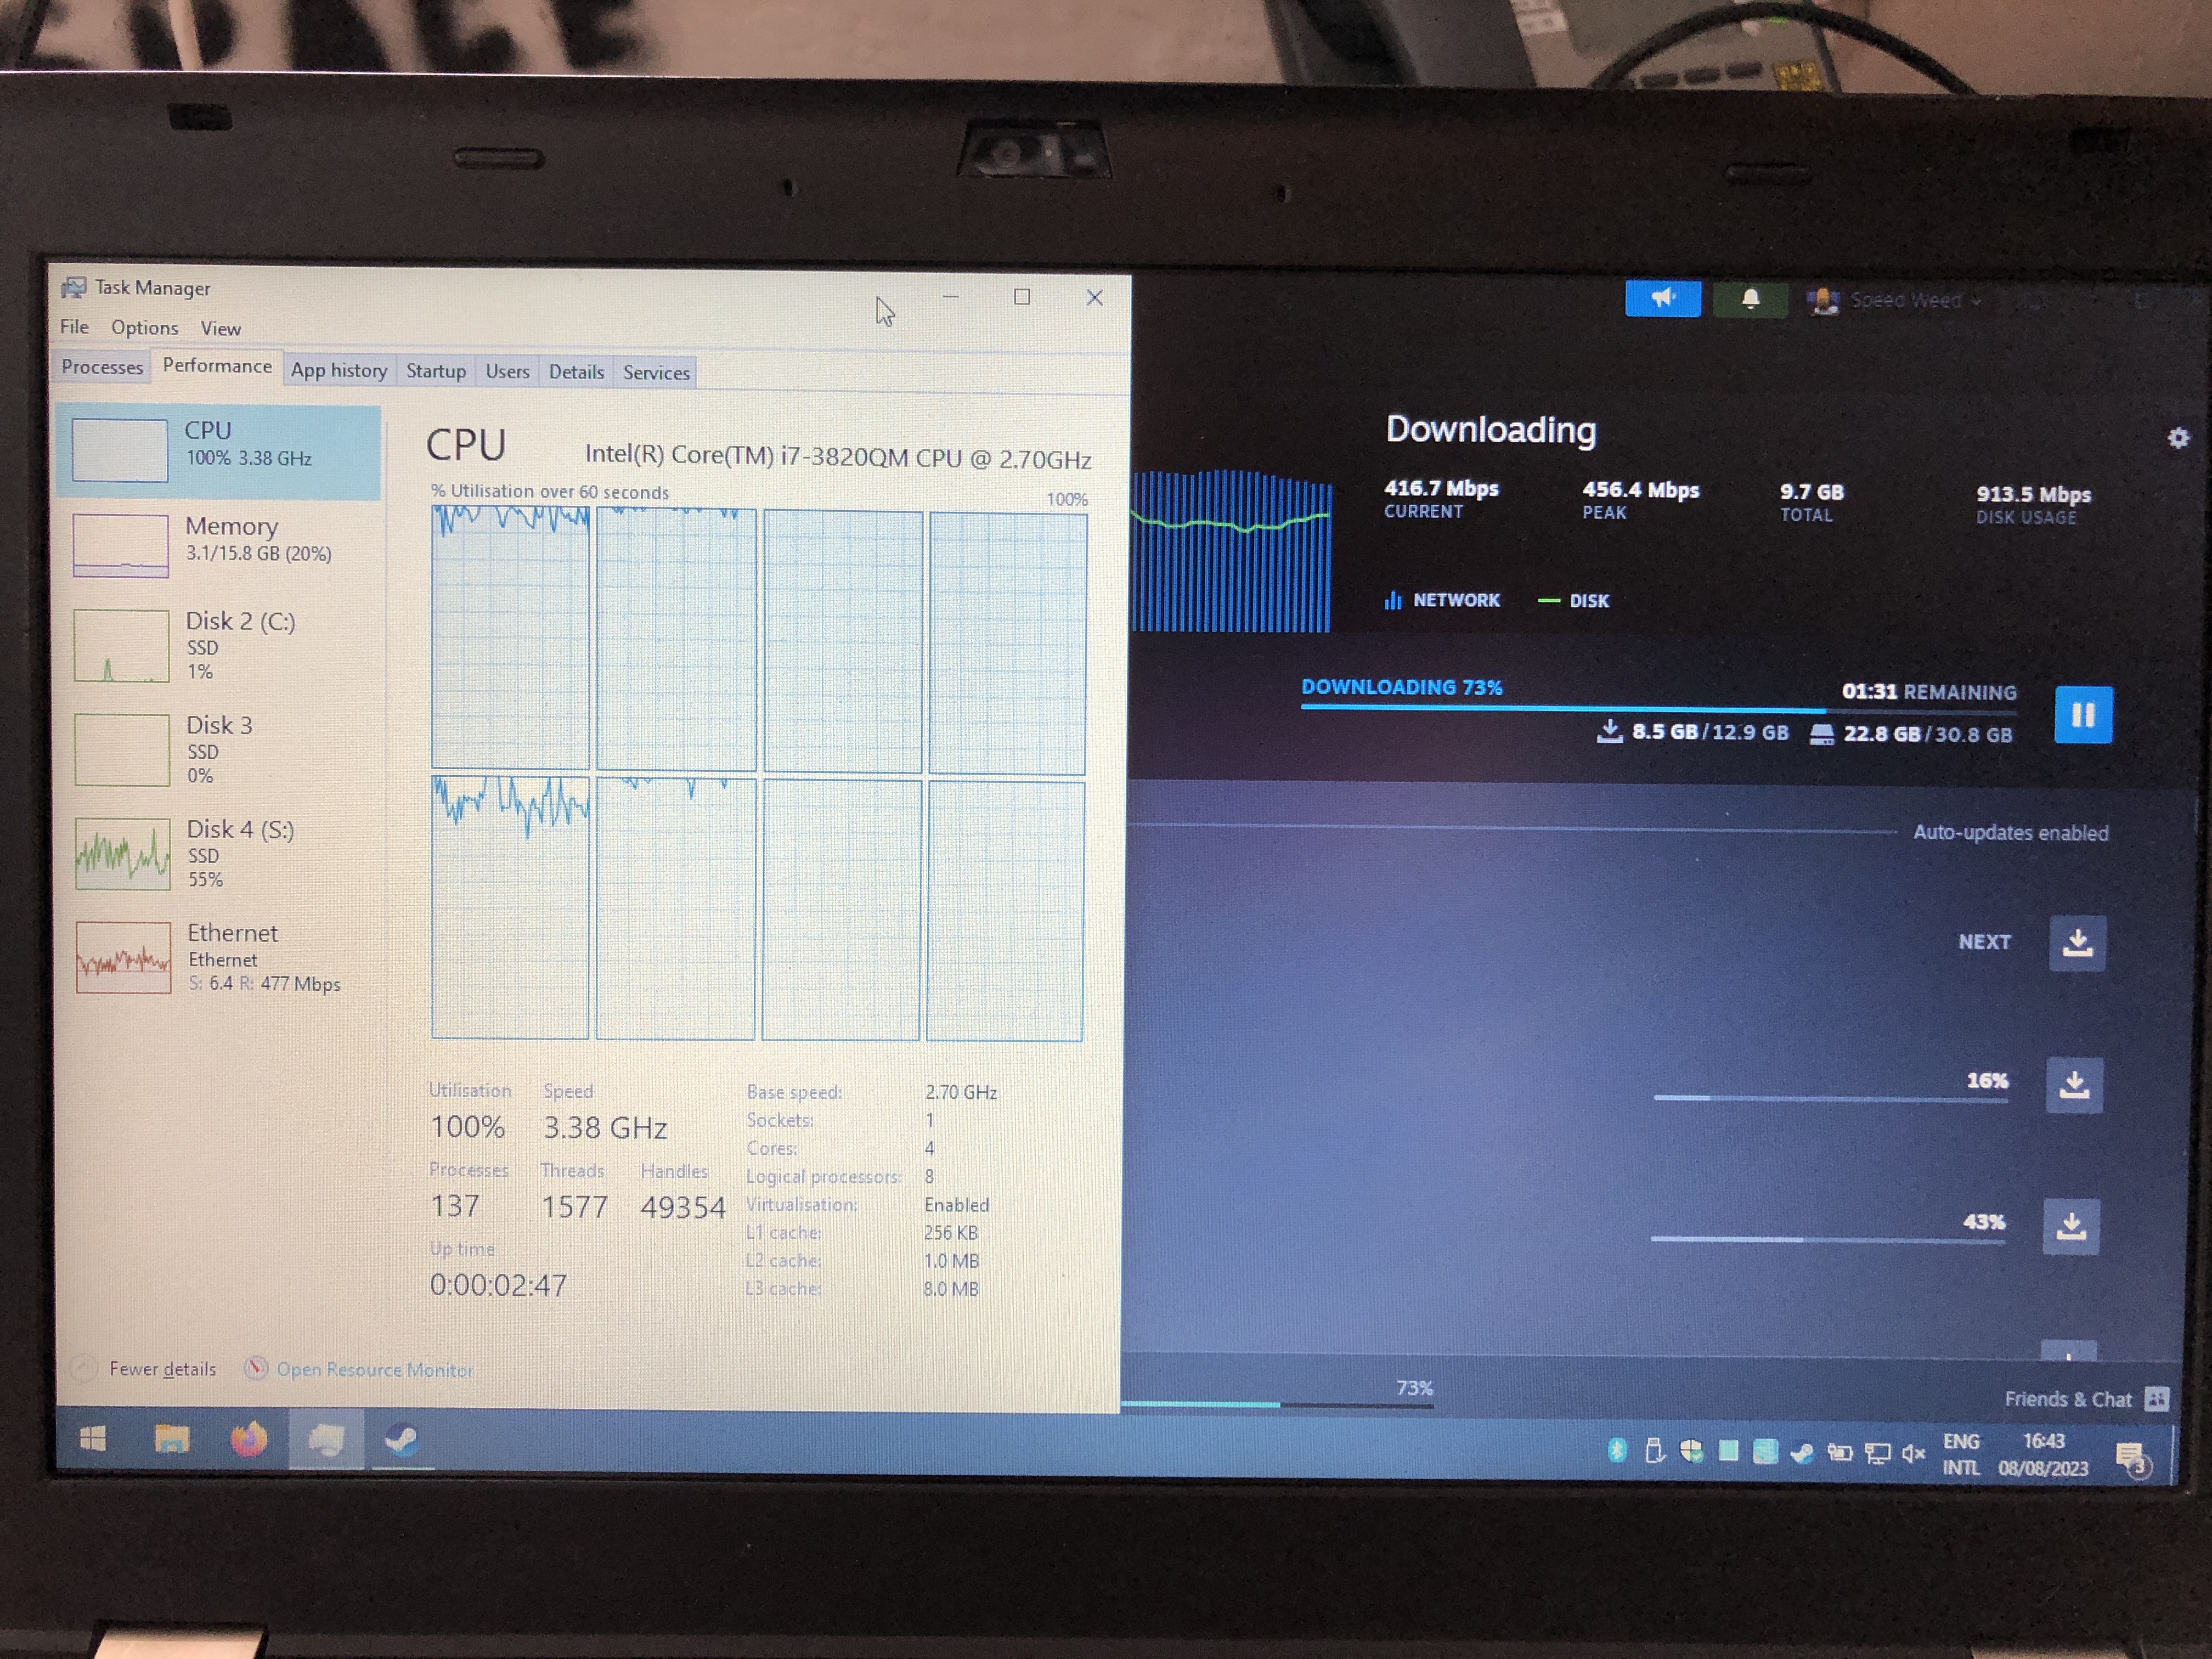
When downloading the games, I noticed that Steam was hitting the CPU hard. Even on a decent 4-core Intel i7-3820QM the CPU was often running at 100%. This meant that download speeds were usually around 500-700 Mbit/s, which is still good, but nowhere near saturating the gigabit link that the laptop had.
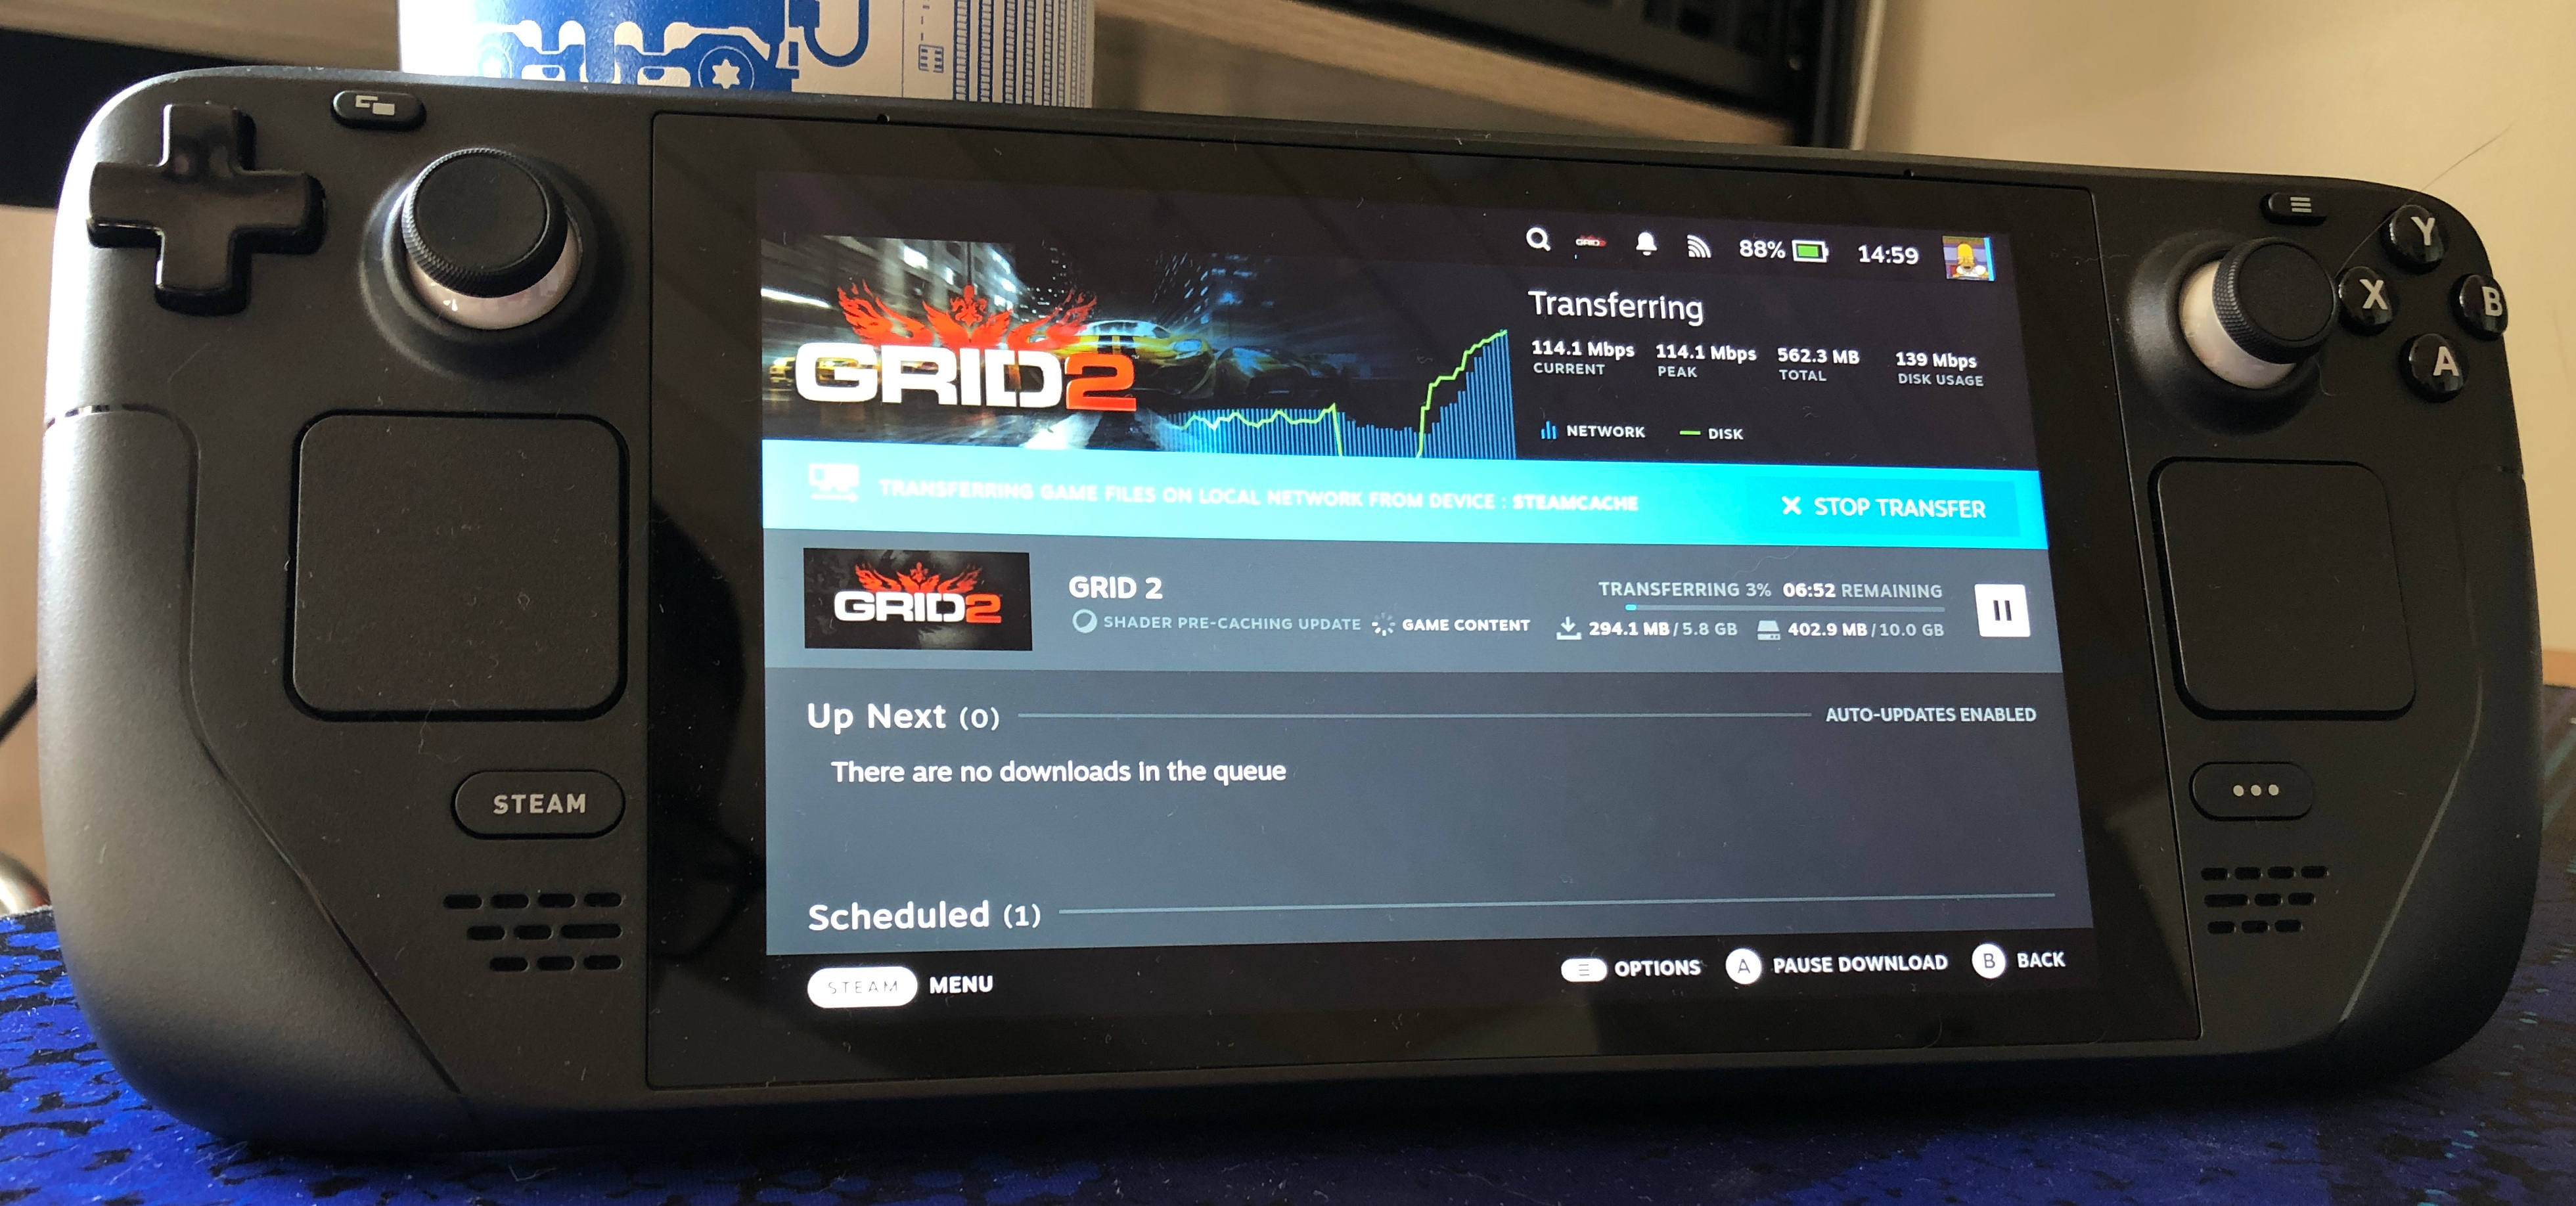
Now that I had all the games downloaded, it was time to test the performance. The maximum transfer speeds were around 400-500 Mbit/s over my local network. I used my Steam Deck over an USB-C dock to start the downloads and picked the internal NVMe SSD as the download target to avoid any storage speed bottlenecks. I would have liked to see speeds close to 1 Gbit/s, but these speeds are still a massive improvement if your network speeds are something like 50 Mbit/s down, that’s a 10x improvement!
If you’re worried about the fact that Windows 10 is going to lose support in October 2025 and your Steam cache PC is not supported by Windows 11, then don’t worry, you can do the same thing over Linux.
Using a virtual machine
If you already have a NAS or a home server running, then you can create a new VM, add a bunch of storage to it, setup the OS and Steam and you’re good to go!
I did most of the testing on a Windows 10 VM and a 1TB HDD attached over USB 3.0. I setup the VM using a bog-standard
QEMU/KVM setup and set everything up through virt-manager in Linux. The only noteworthy part is that I set up the
network interface as a macvtap device, resulting in the VM showing up on my local home network as if it was a separate
PC. That step was taken to avoid any issues with the Steam instances on different PC-s not being able to transfer data
directly between each other.
My server runs on the ASRock Deskmini X300. It has plenty of CPU performance, but during testing I ran into performance issues with the hard drive again. When I added SSD-based storage to the VM, I found that the performance was great and quite similar to what I saw on the laptop.
The downside with the Windows 10 VM setup was the CPU usage. While the VM was idling, my server saw a noticeable increase in idle CPU usage, utilizing about 10-20% of my CPU at all times. During transfers the VM was using most of my CPU cores.
I did testing on a Linux VM to see if those are more efficient compared to a Windows 10 VM. The answer is obviously “yes”, but there is one issue: I could not get Steam to work. At the time of testing, Steam had recently released a bigger visual overhaul and I suspect that it might have something to do with those issues. The VM has no GPU acceleration and opening Steam would result in “Loading user data” popup showing up, but nothing else happening. I tried Ubuntu Desktop 22.04, Fedora Linux 38, and even Flatpak installations of Steam. All of them ran into the same exact issue. There are probably ways to set Steam to not require GPU acceleration without opening its settings view graphically, but I did not bother with that.
If you like to think in virtual machines, then this is a good option. However, it’s not something I stuck with due to the inefficient resource usage that a Windows 10 VM exhibited.
Using containers
This is the solution that I am currently running.
I recently found the LinuxServer.io webtop Docker images. These containers allow you to run various Linux desktop environments and distros on the same machine. You can connect to them using the integrated KasmVNC solution over a browser. You can even use your GPU on the container host machine to improve the video rendering performance in the container!
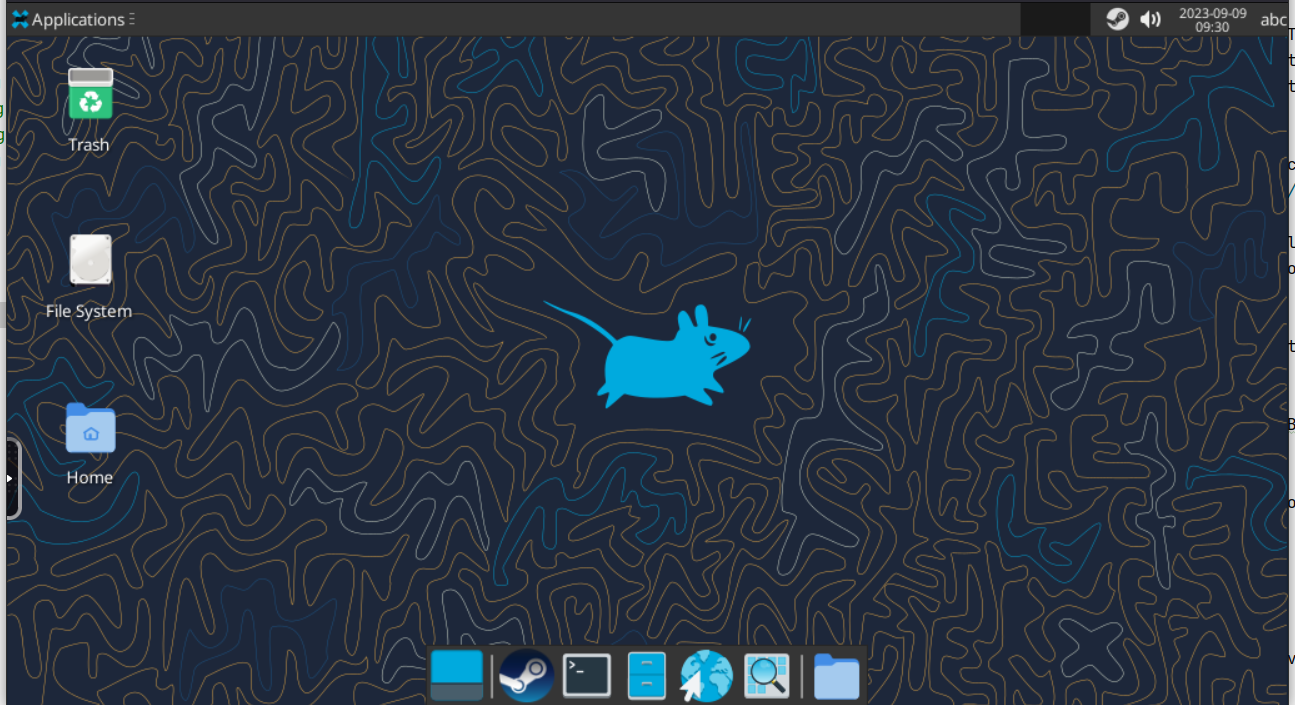
I picked the fedora-xfce option because Fedora is great, and the XFCE desktop environment is not that resource
intensive. I also utilized the linuxserver.io package install mod
to install Steam on container startup. For networking, I created a separate Docker network using the macvlan driver to
achieve something similar to the VM setup, resulting in the container showing up as a separate machine on the local
network. Inside the container I set up Steam to start on startup using standard GUI tools that XFCE provides for this
purpose.
I really like this setup. I can easily point the Steam downloads to a larger storage pool and make use of all the CPU power that Steam needs to perform the transfers.
During testing the limitation seems to have been my Steam Deck. I could still not saturate the 1 Gbit/s link.
The KasmVNC solution is quite nice and performant. The fact that I could use it in the browser makes it very convenient to use as well.
The CPU usage during idle is very small, except for when you accidentally leave the Steam window open with animated content being displayed. During file transfers the CPU gets a beating, but it’s nothing the AMD Ryzen 7 5700G can’t handle.
For storage I eventually ended up using a 1TB Lexar NVMe SSD. That’s not enough to download all the games I have in my Steam library, but at least I can download those games that take 20+GB of space and not have to worry about downloading those over a slower internet connection.
I have not ended up using this setup too much yet, but I imagine that with games growing in size this is going to become much more relevant for my Steam Deck. And if I were to move to the countryside where the only internet connection available is a mobile 4G connection capped at 10 Mbit/s down, then this setup would be fantastic to have.
Tech tips
If you intend to run a similar setup, I recommend enabling “Scheduled updates” to run during the night. I set mine up to auto-update games between 00:00 and 06:00, which is where I’m likely going to sleep and not notice that game downloads are taking place. Steam is notorious for hogging all of the bandwidth on the network and this nifty feature helps avoid disturbing other users on the network.
If you’re performing the initial mass download of your games but would like for it to take place during scheduled times, start downloading all of the games and then restart your machine. When Steam starts up again, you’ll notice that all your games are queued up nicely to download during your scheduled updates time slot.
Caveats
This setup is not ideal and the Steam support page highlights it well. For example, this setup does not work in fully offline situations as internet connectivity is required for the initial setup of the local network game transfer. I recommend giving that page a read to understand the requirements and technical specifics of this setup.
Subscribe to new posts via the RSS feed.
Not sure what RSS is, or how to get started? Check this guide!
You can reach me via e-mail or LinkedIn.
If you liked this post, consider sharing it!