Zimaboard: the closest thing to my dream home server setup
I stumbled upon this Hardware Haven video about the Zimaboard recently.
I liked it a lot.
I finally bought one.
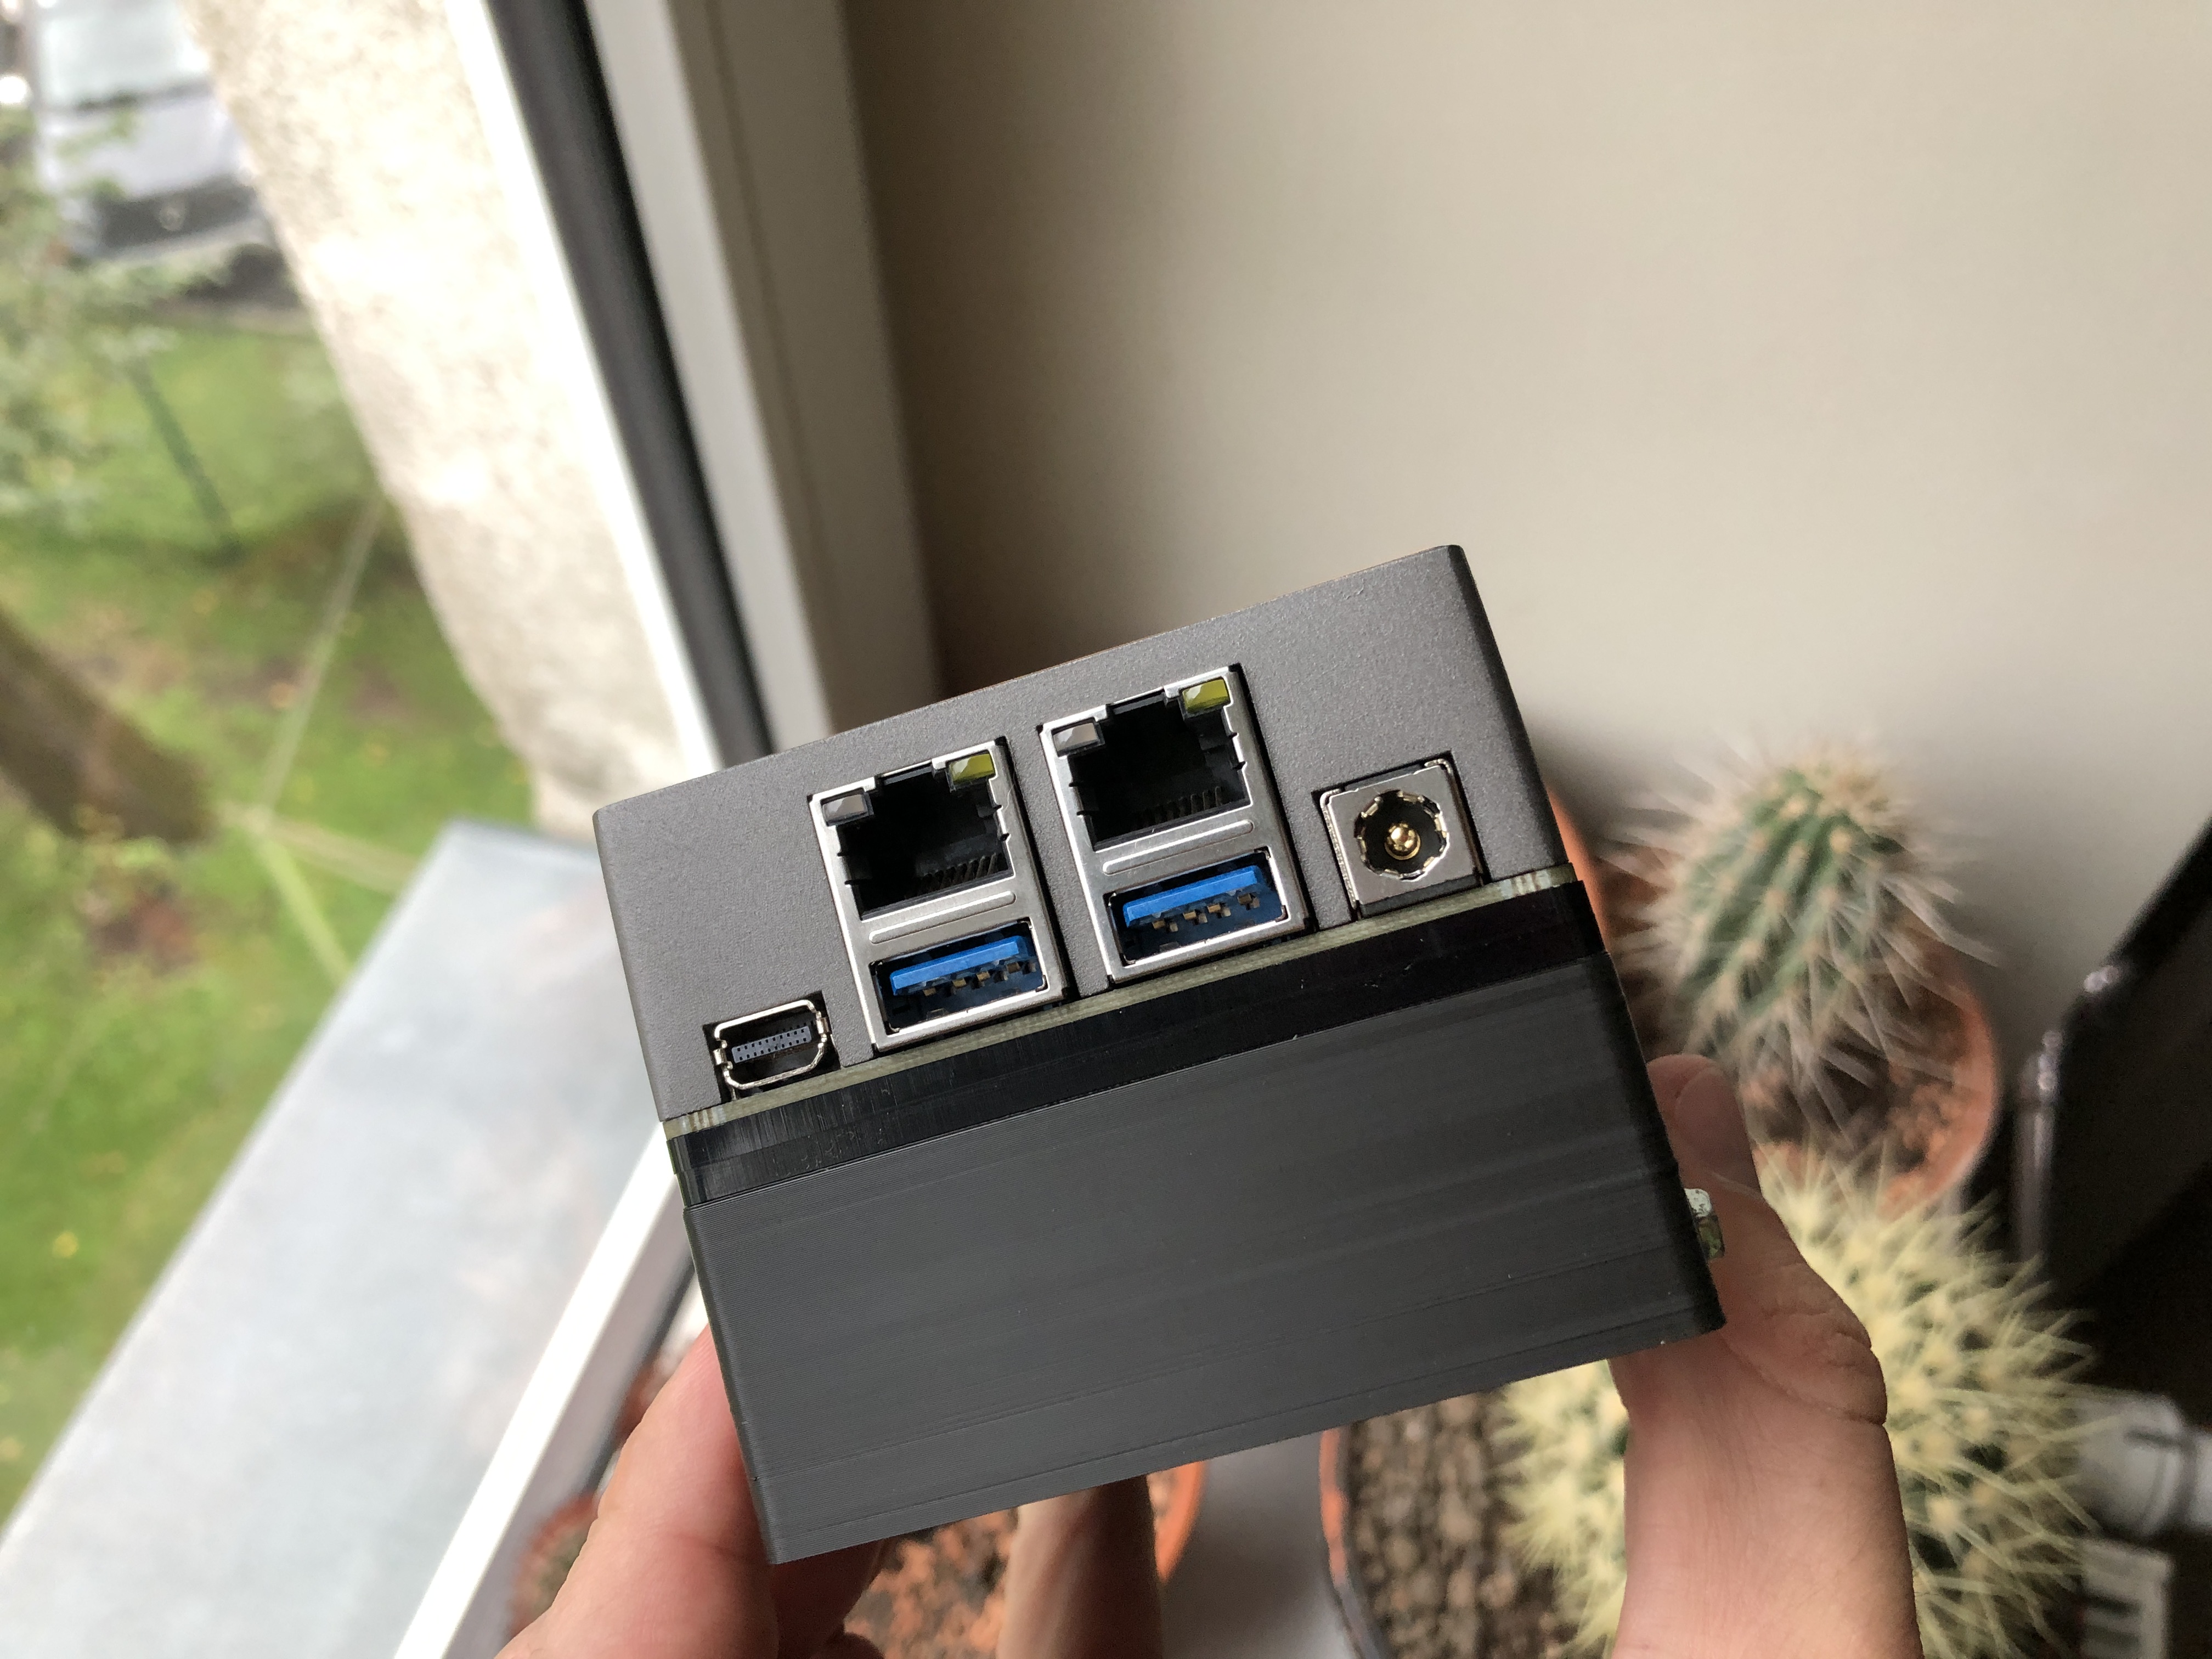
In short, Zimaboard is a small single-board computer that is relatively affordable and comes with an interesting selection of ports, which includes an exposed PCI Express port.
Before we get down to the build, here’s a list of aspects that I want to see in my dream home server:
- low power usage (2-15W typical power usage)
- 8GB of RAM or better
- enough performance to run my workloads, most of which are containerized
- 2x SATA or NVMe SSD slots, plus option for a third drive for the OS
- passively cooled and completely silent
- compact size
- gigabit Ethernet or better
You might be thinking, “Wait, that’s your dream setup? No clusters of machines, Threadrippers, 10 Gigabit networking, crazy number of disks?”. Well, yes. After years of trying all sorts of setups and learning about my home server usage patterns, this is the set of requirements that finds a balance between performance, efficiency and silence.
Basics
I recommend checking the product page to see the exact specifications. The configuration I bought was the 832 model: 8GB of RAM, 32GB of eMMC storage and a quad-core Intel Celeron N3450 CPU. It’s not the most powerful setup or even a recent one with the CPU being from 2016, but it’s just powerful enough to fit my needs.
This variant of the board costs 200 USD, but other configurations cost much less than that, I just needed the extra memory to be on the safe side. If you don’t care about the noise and size aspect of home servers, then you can get a better deal on the used market (see the TinyMiniMicro project for inspiration), but as you know by this point, I care about those aspects a lot.
The package
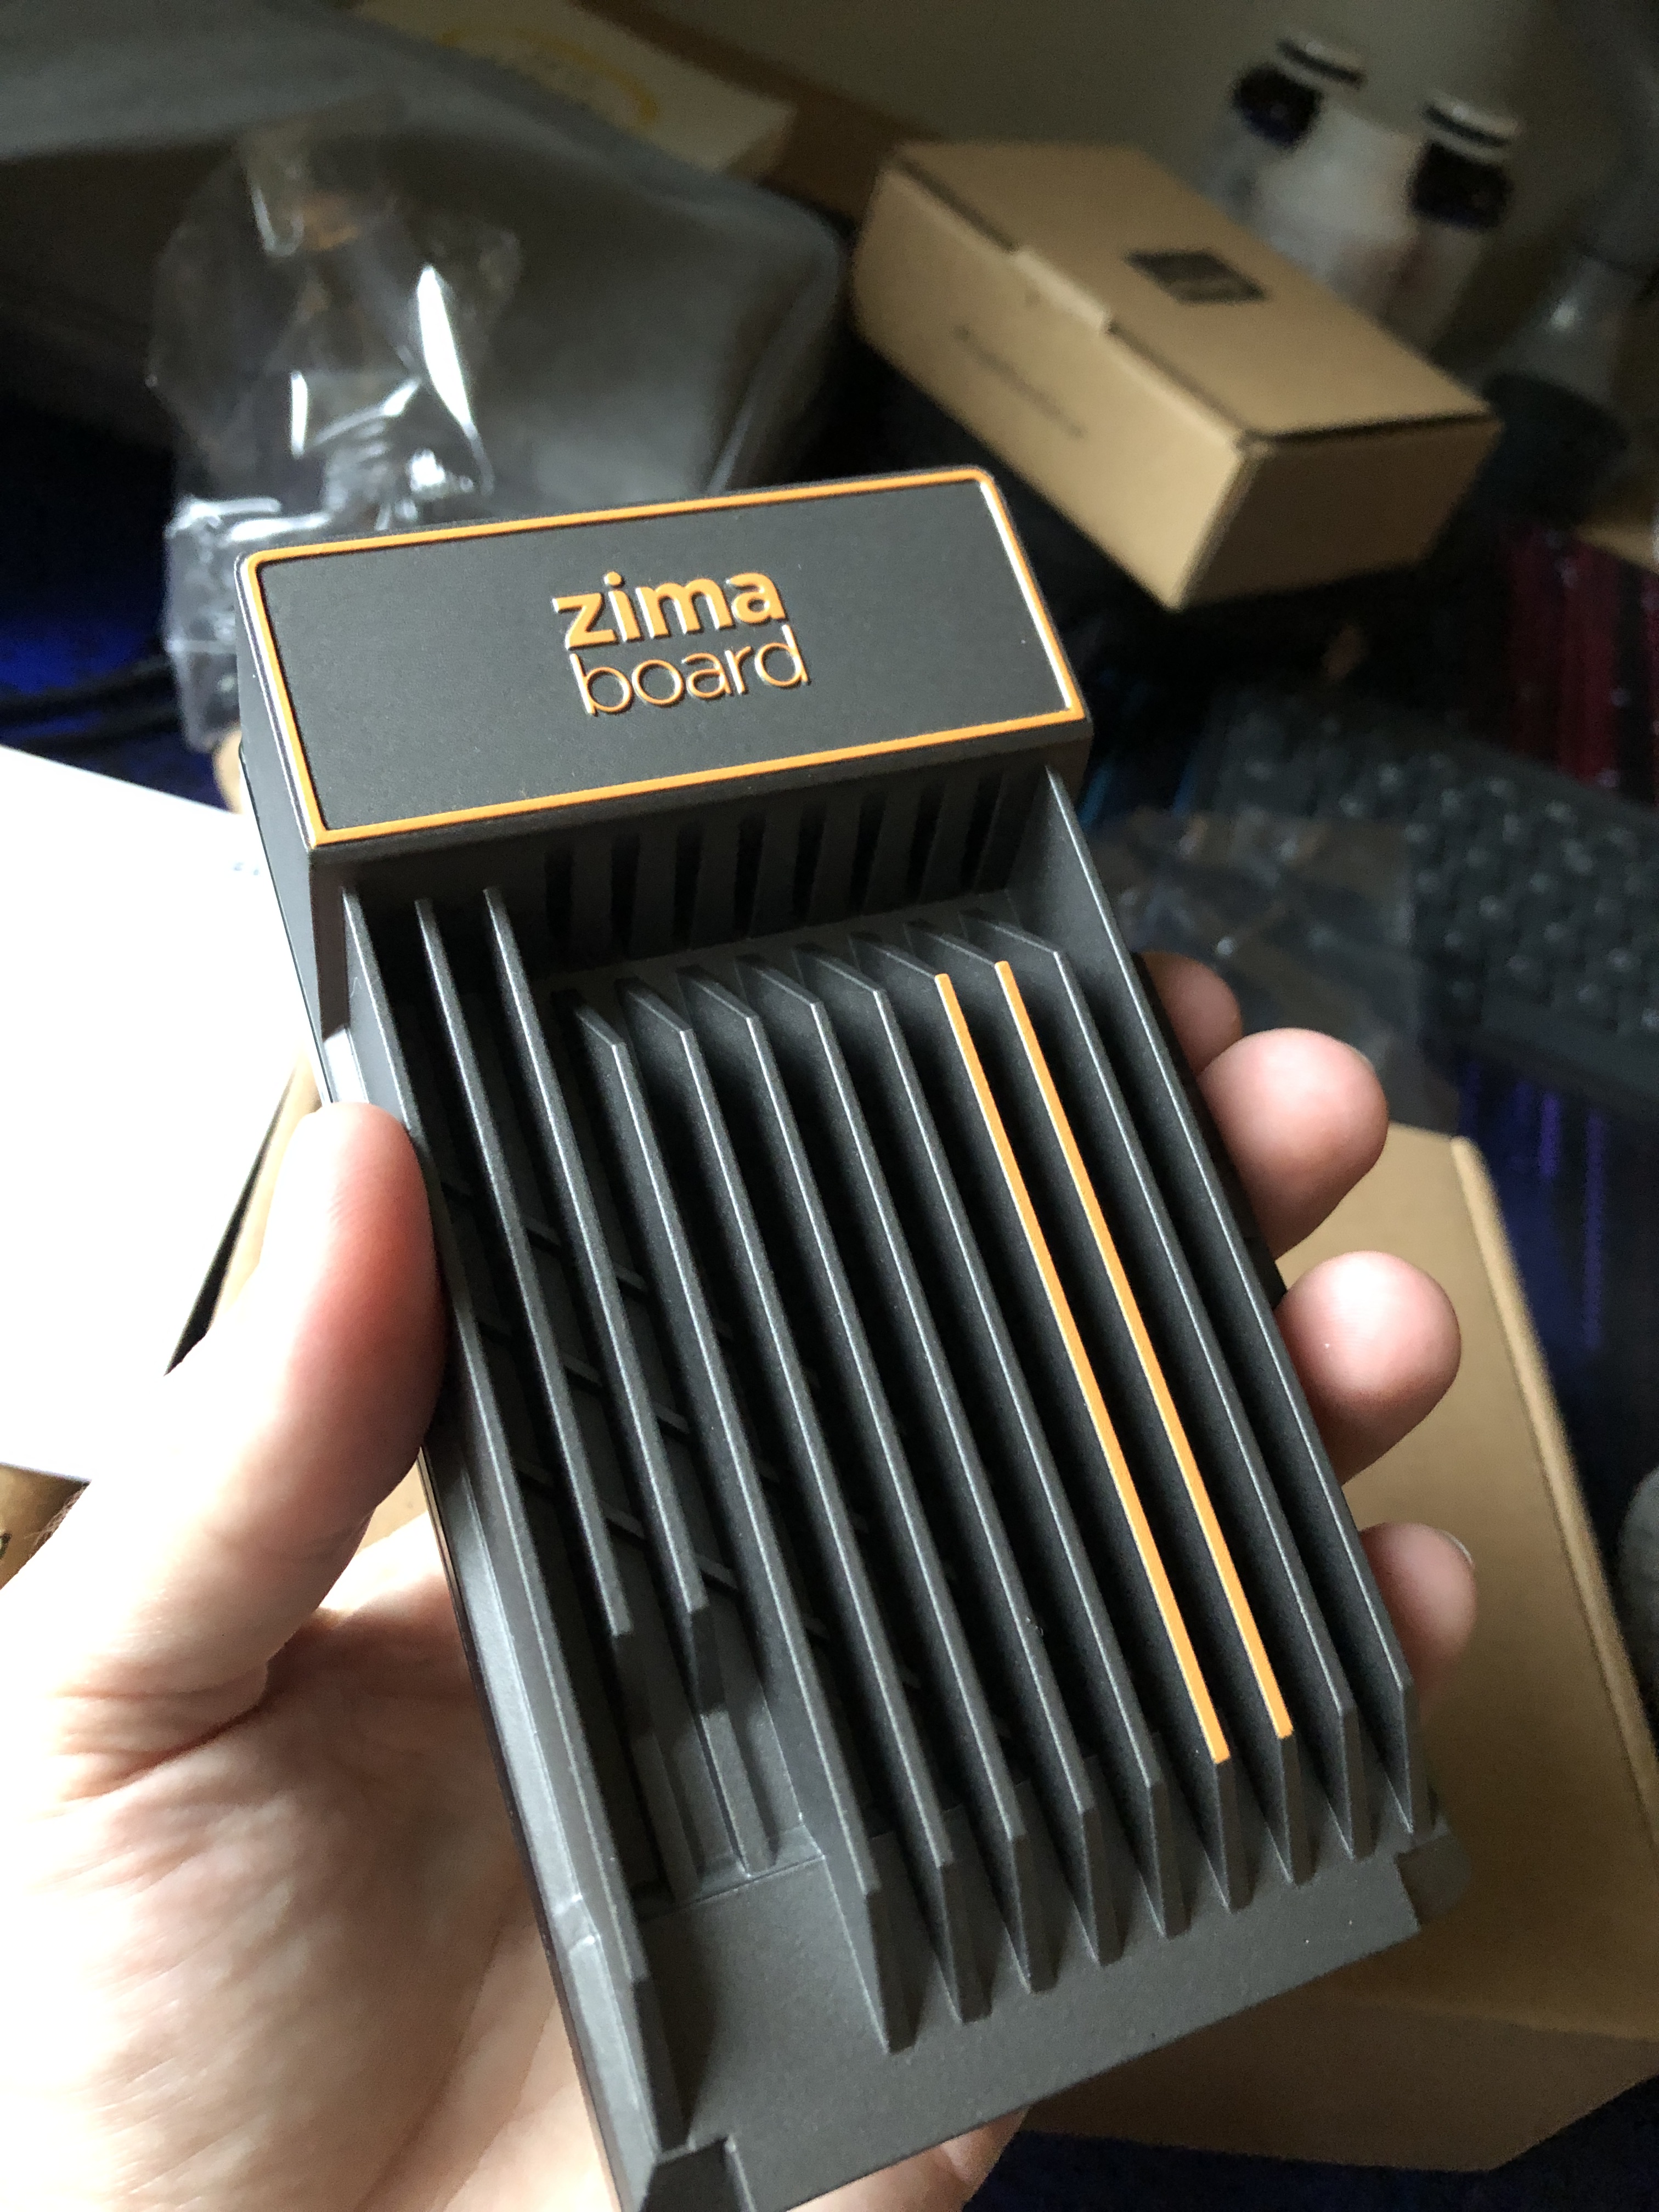
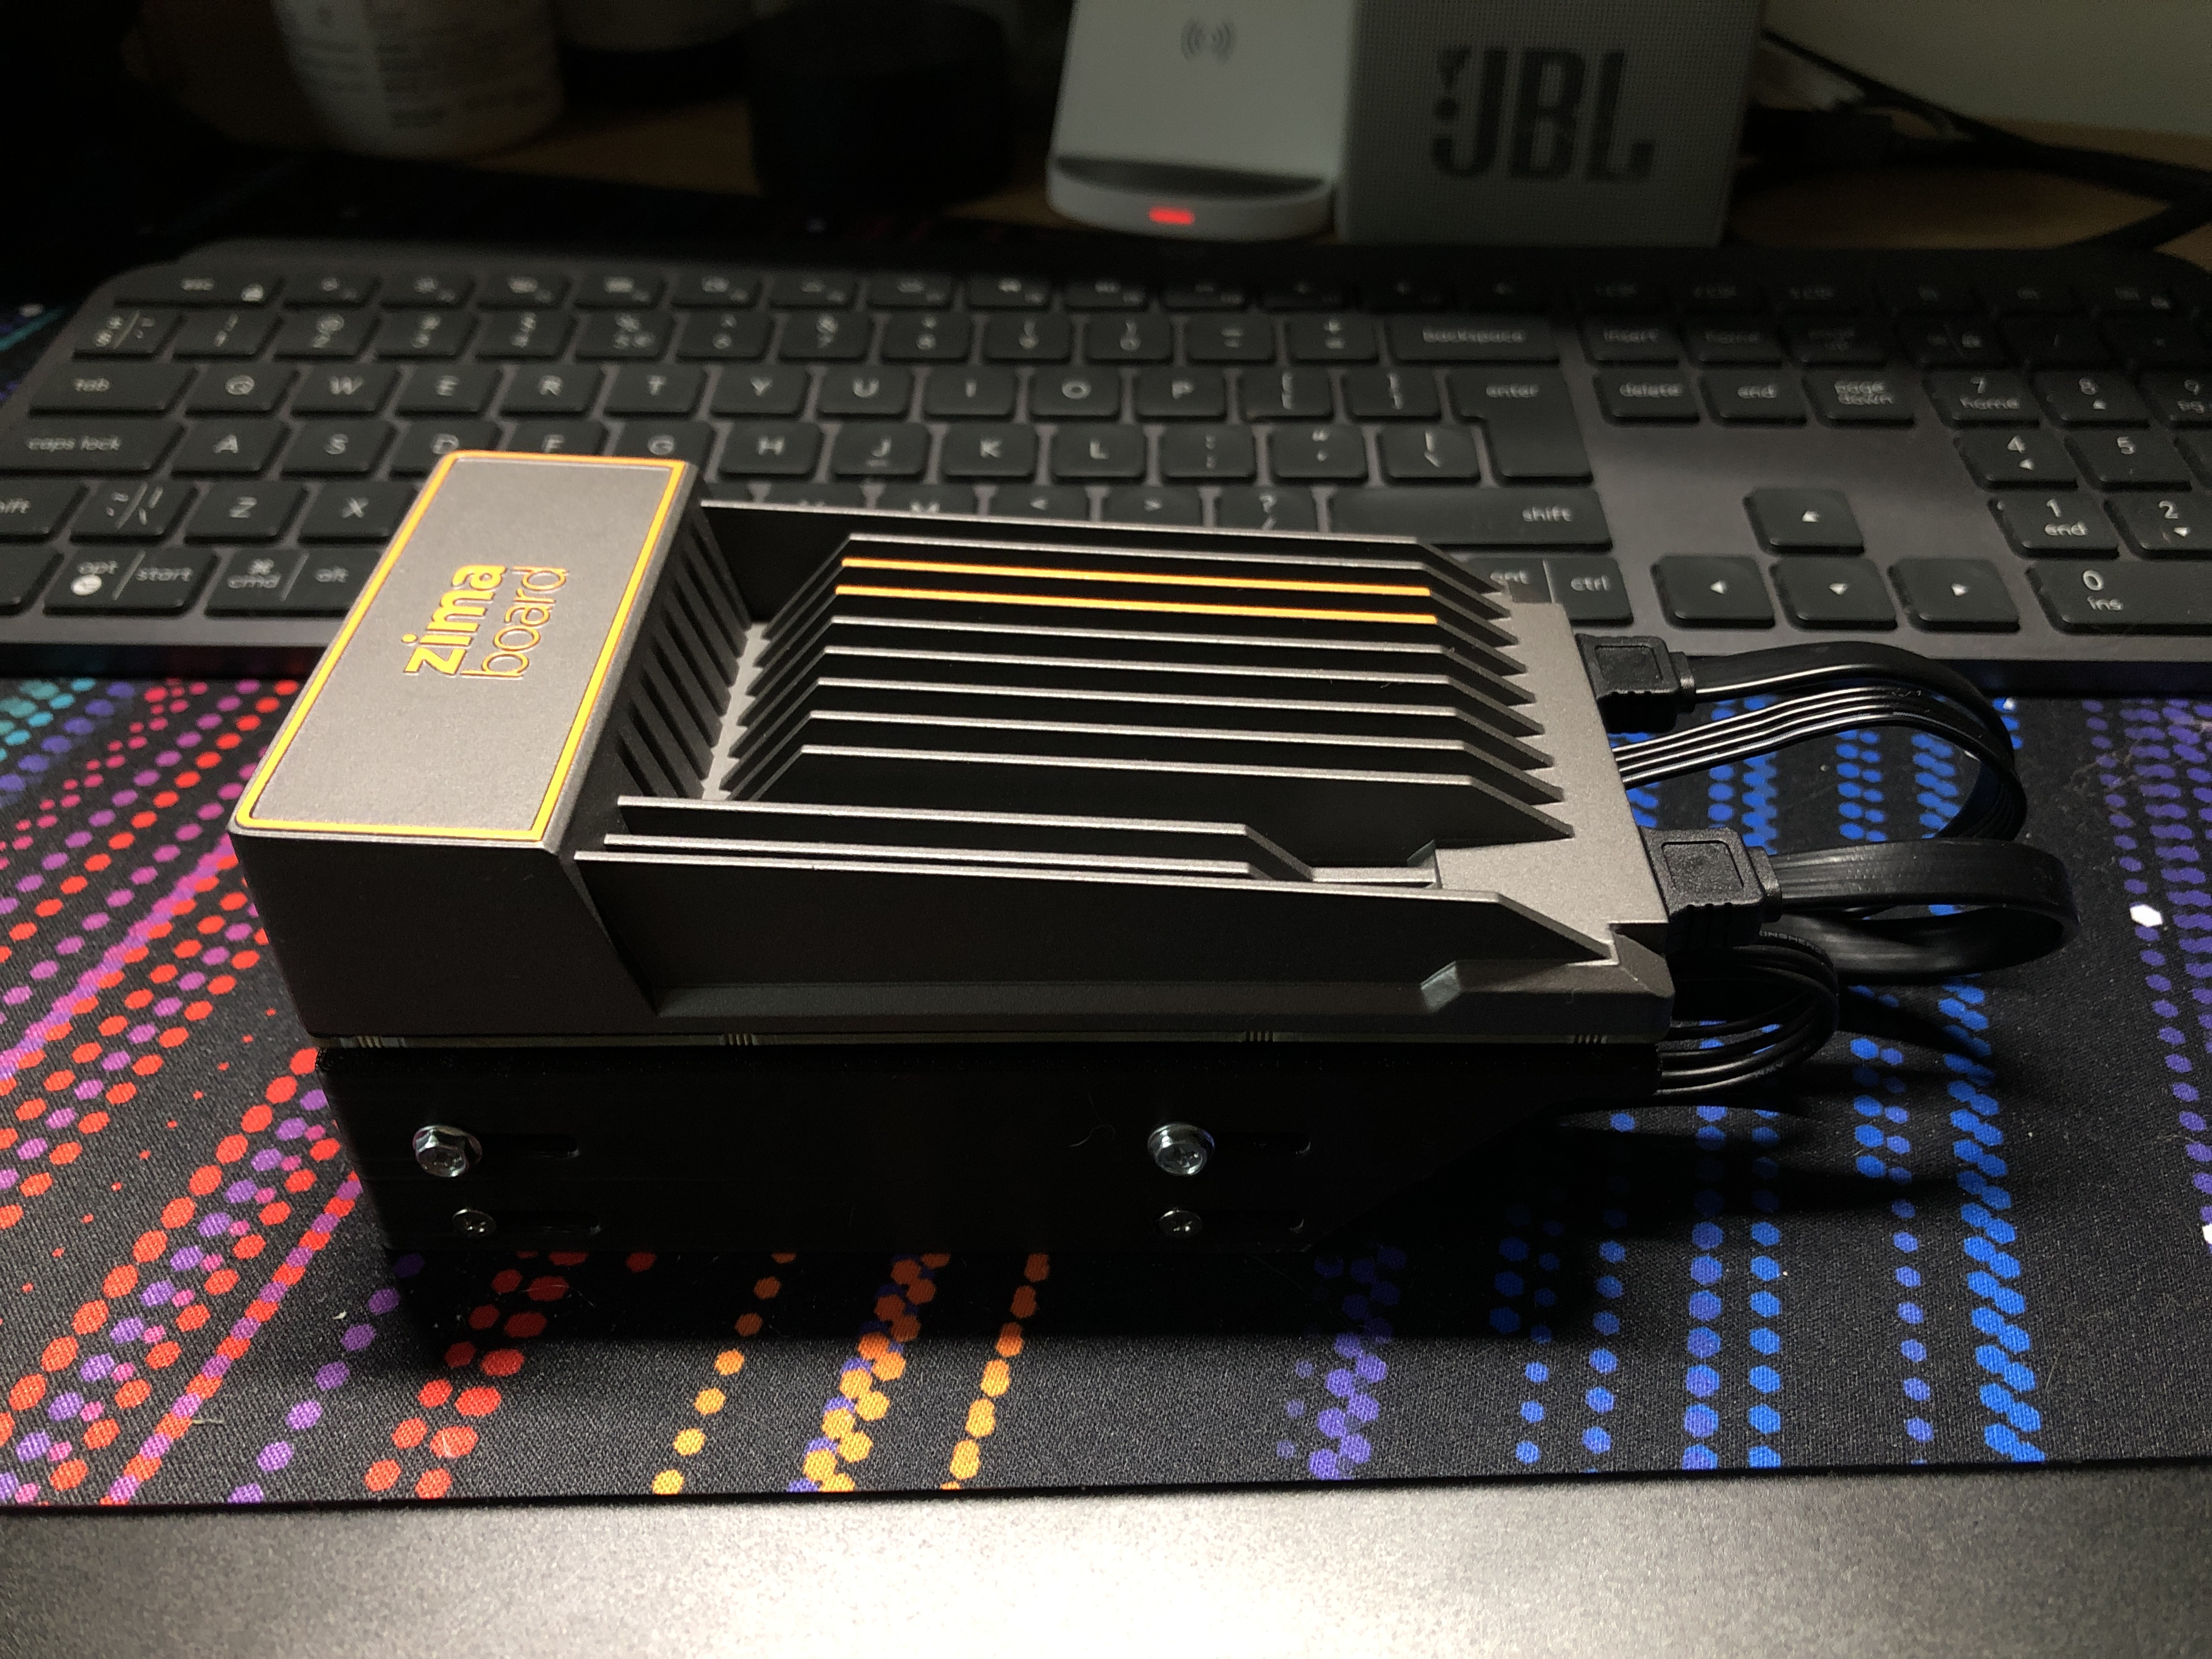
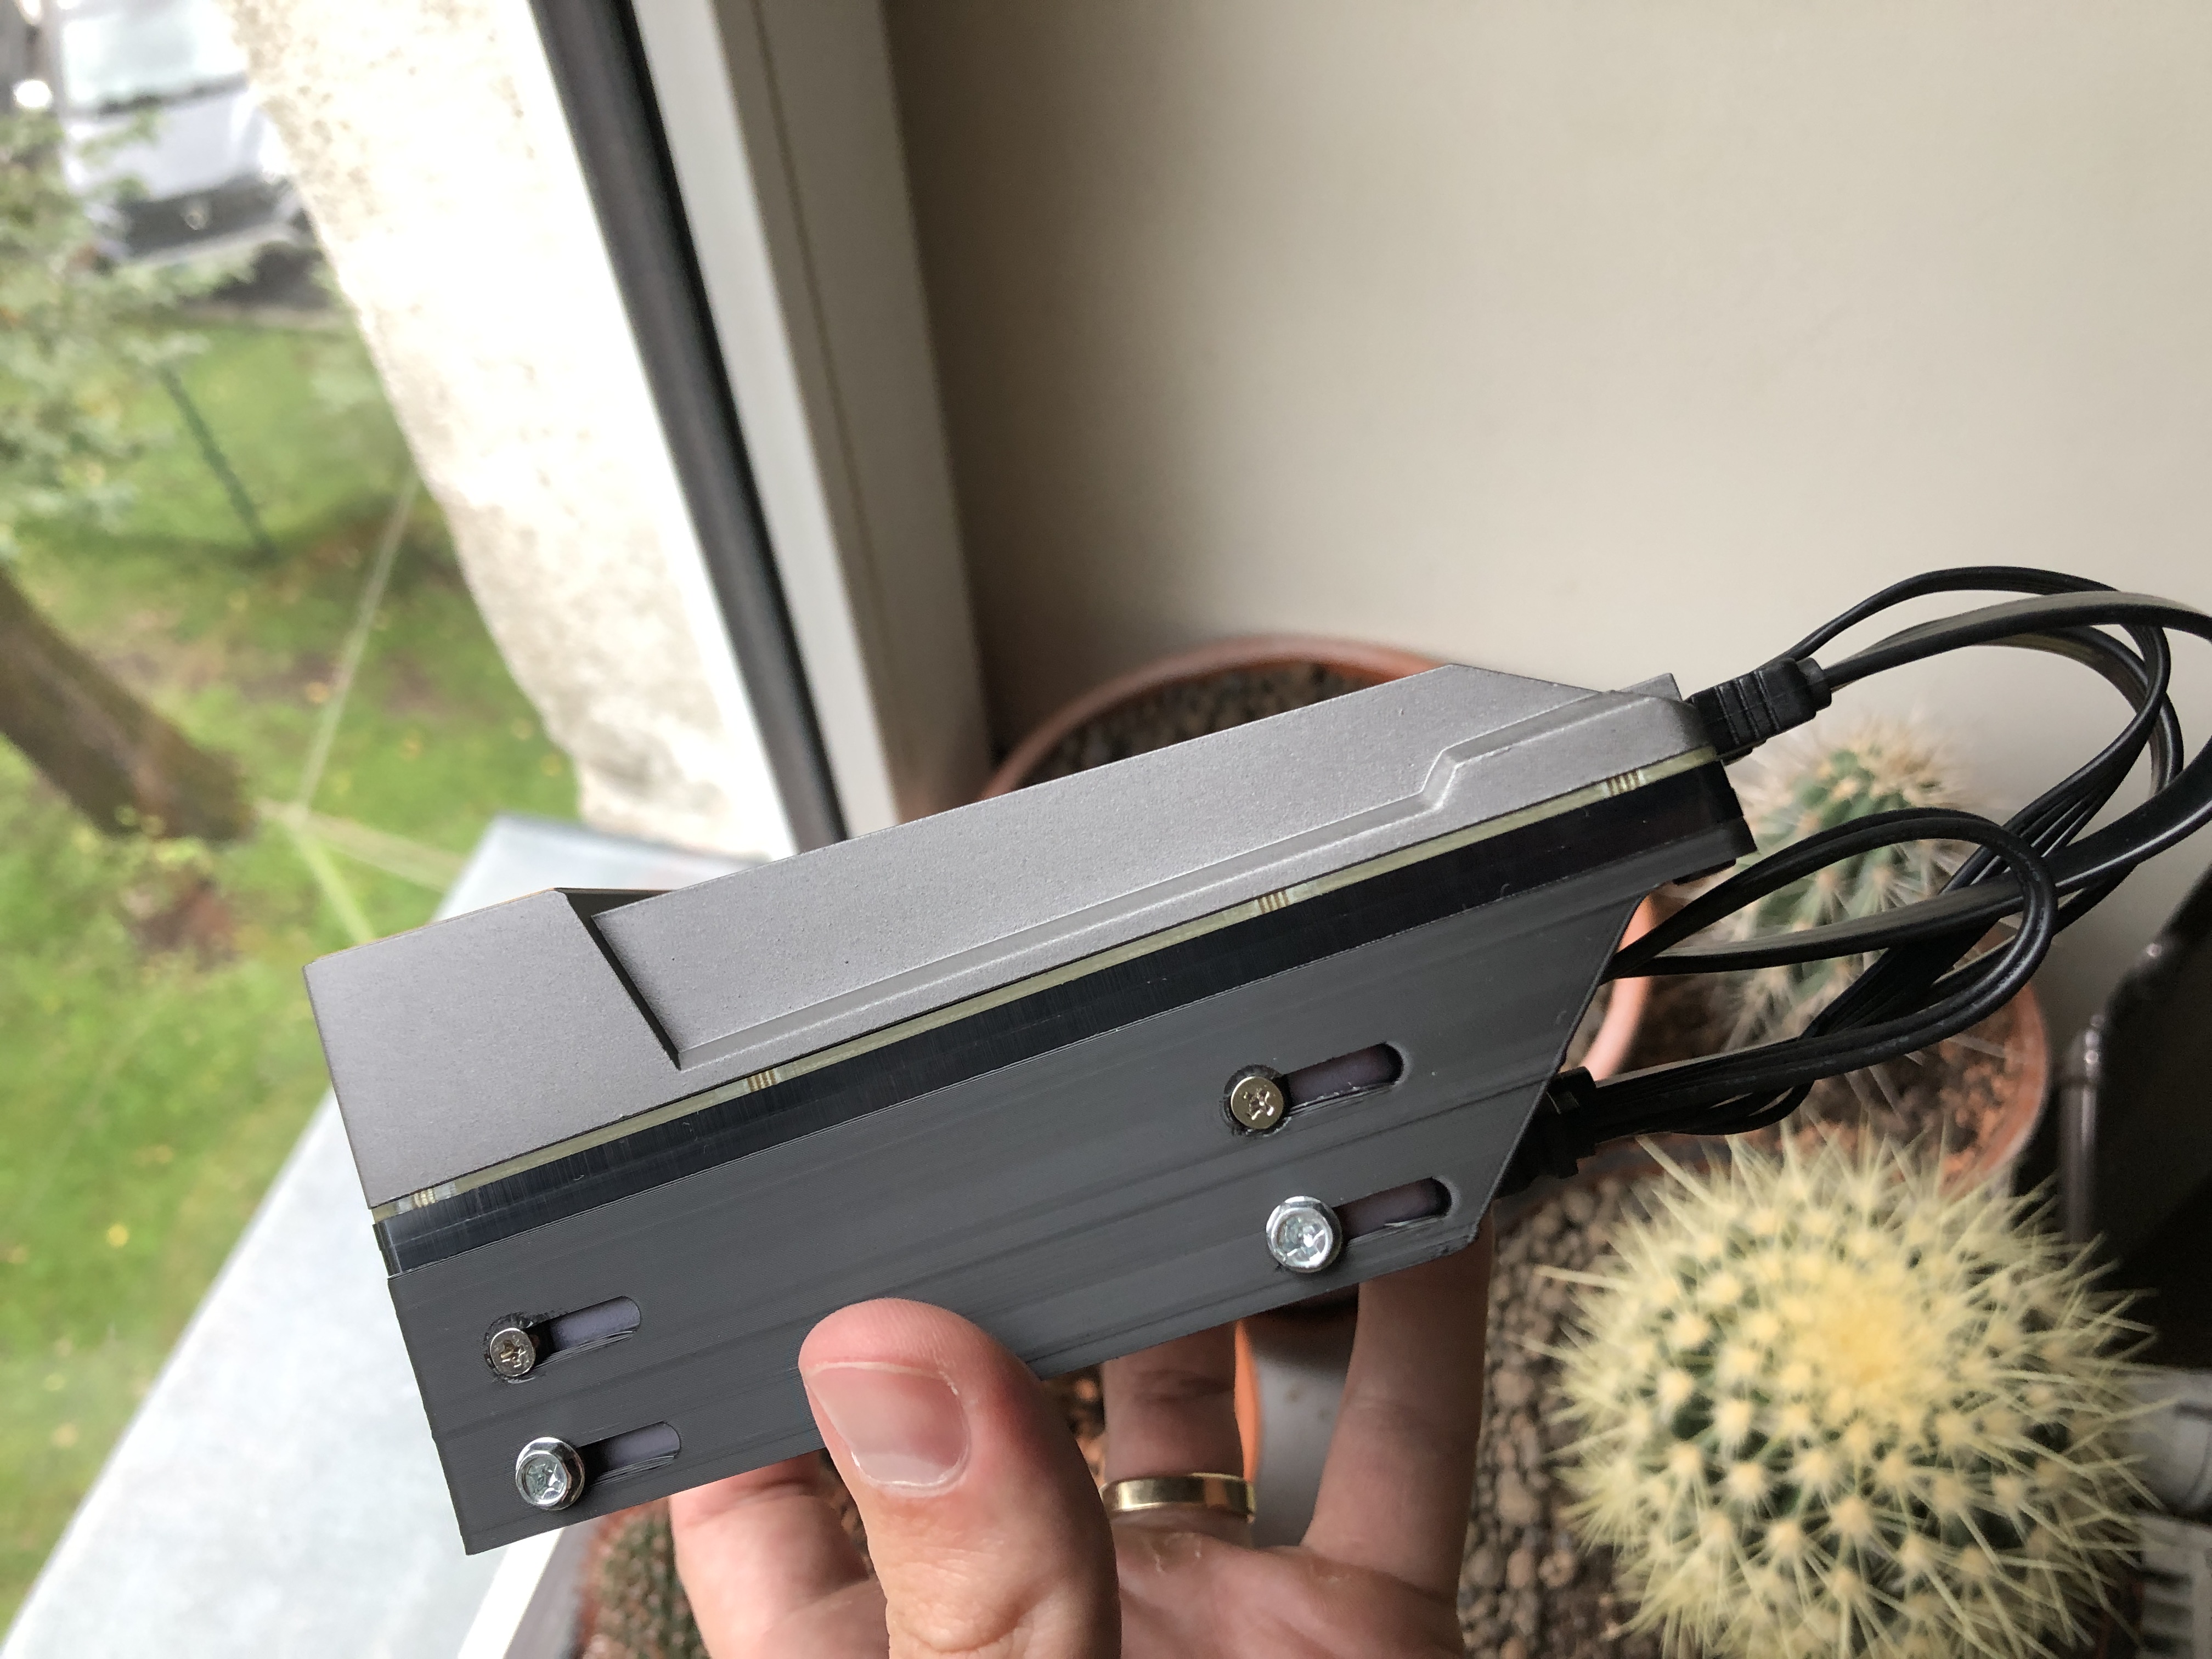
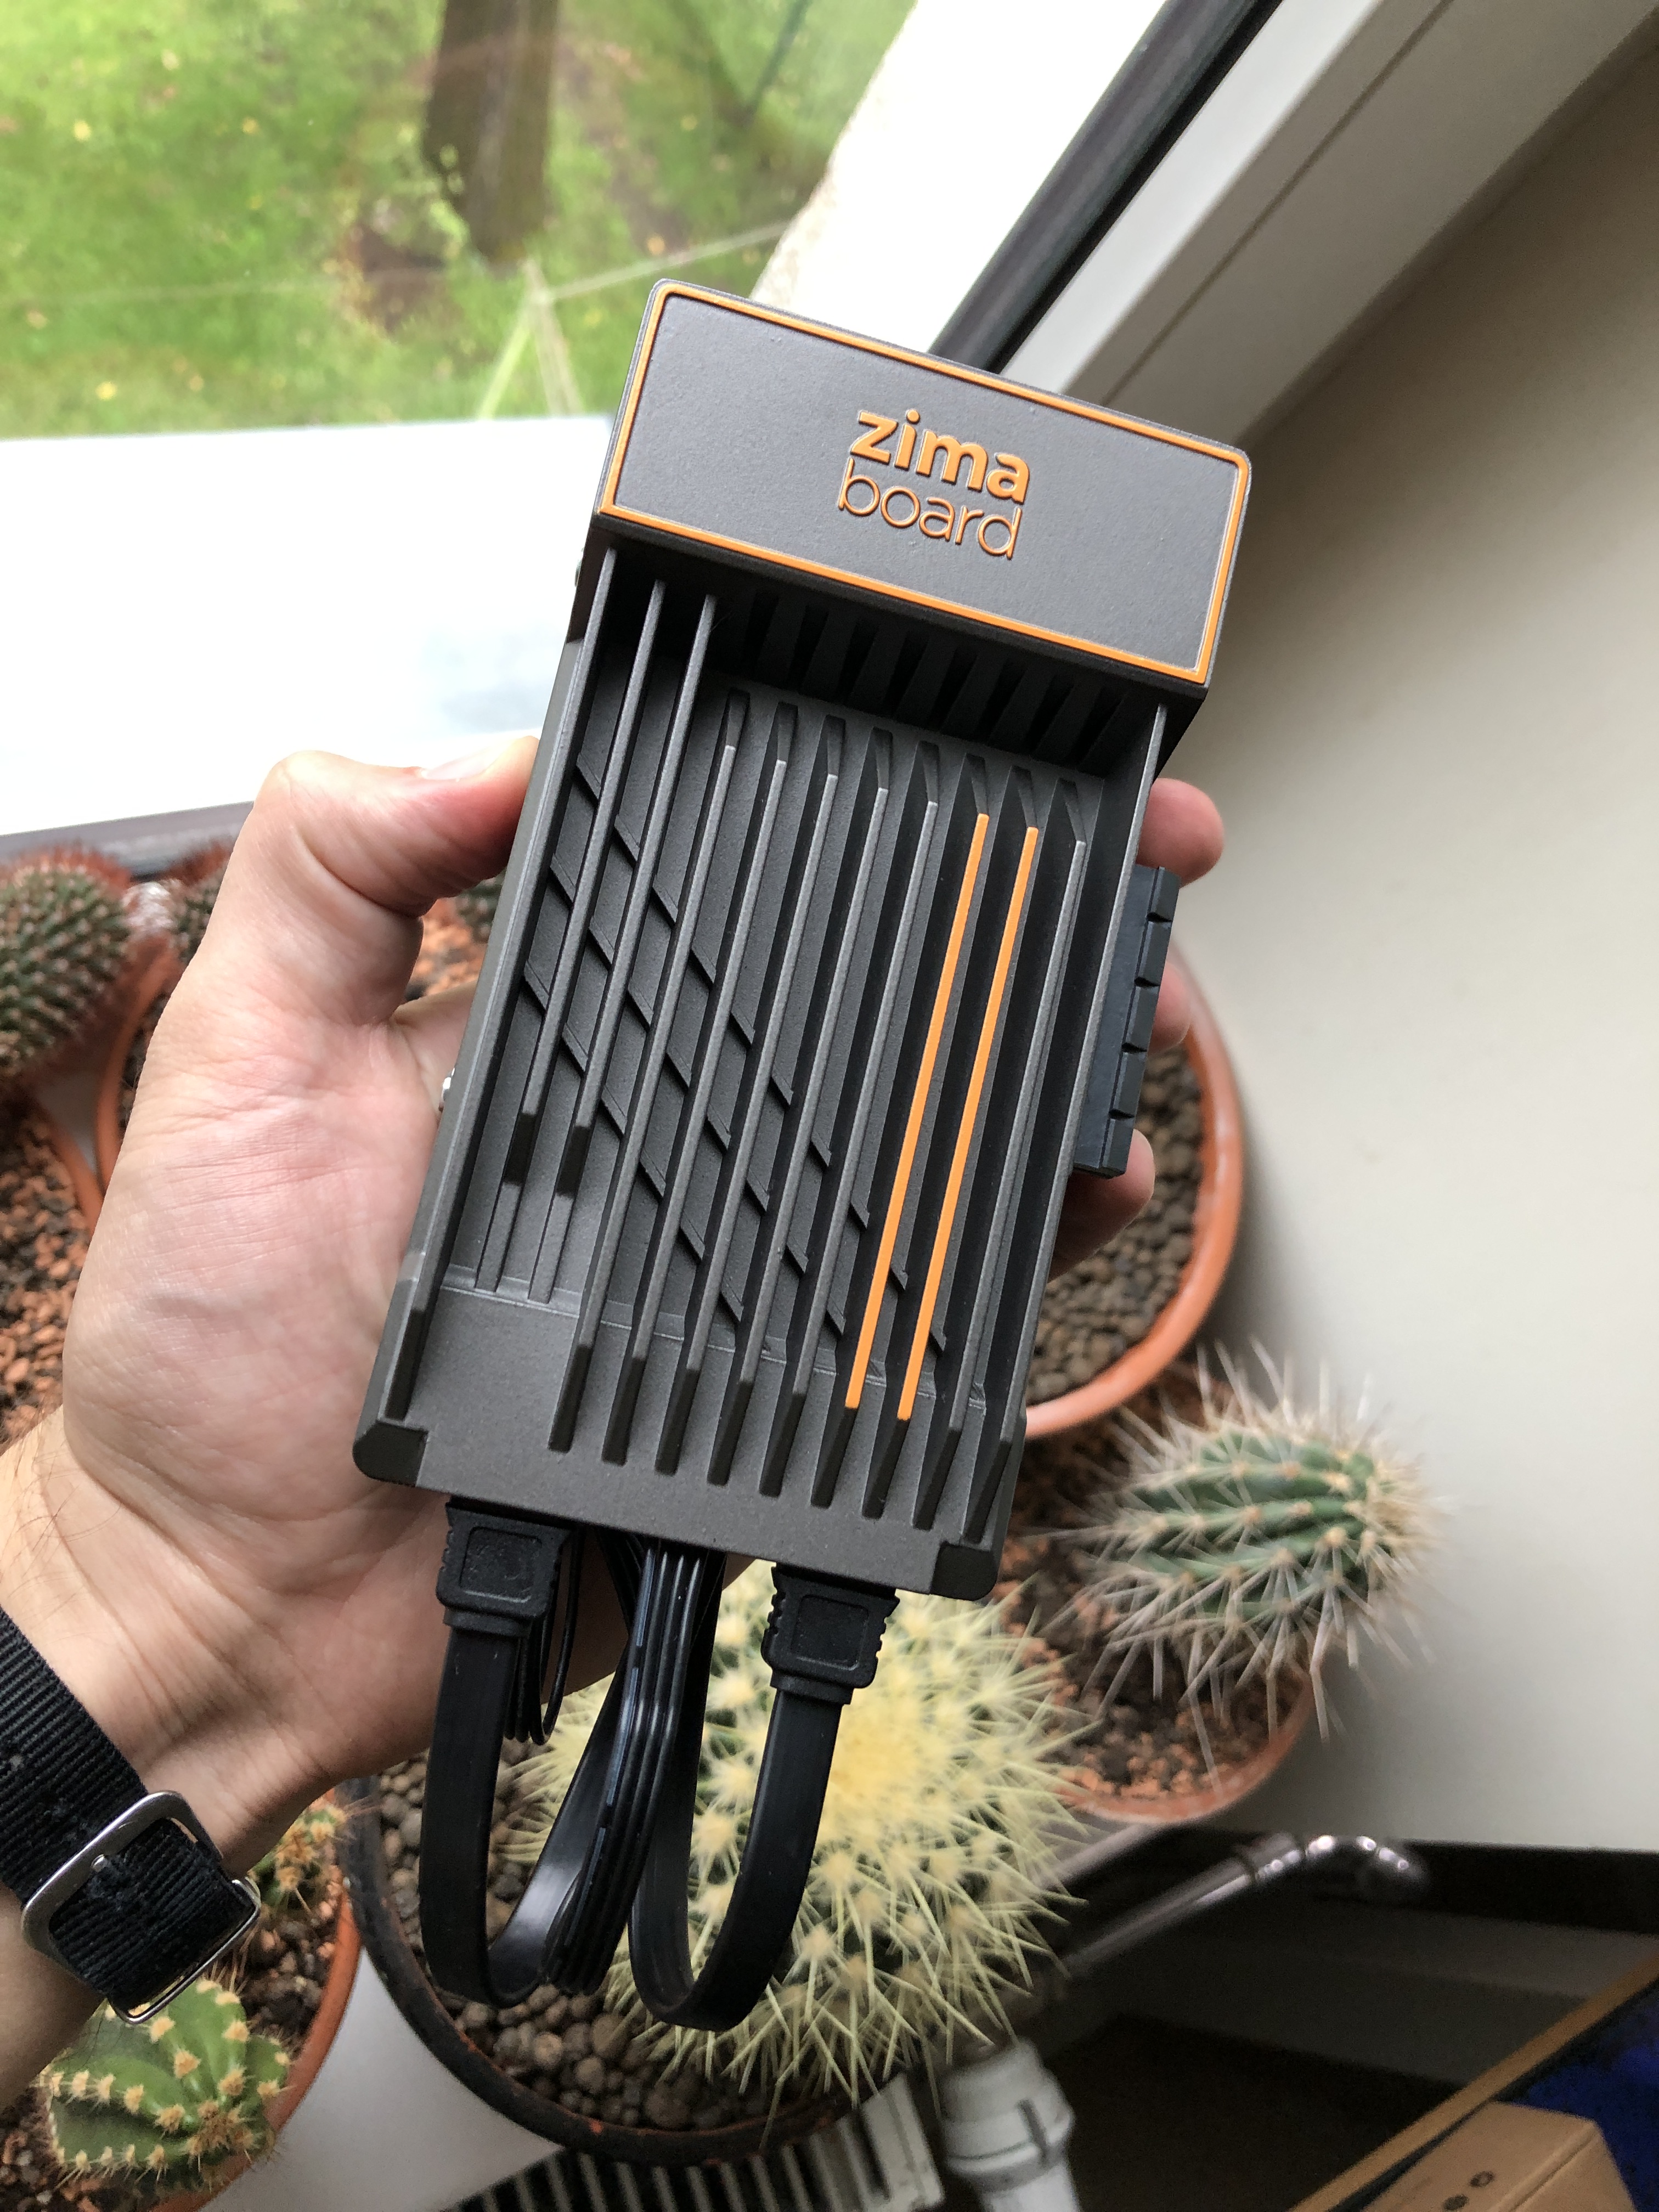
What sets the Zimaboard apart from other single board computers is how polished the product feels. Unlike a board like the Raspberry Pi, this one comes with a case and a cooling setup already attached to it. I suspect that a similarily configured Raspberry Pi 4/5 with all the accessories added on top would result in a price that’s quite similar to the cost of a top-of-the-line Zimaboard.
The heatsink looks great and is practical at the same time. Under the most torturous loads I could only see the CPU being around 72°C and due to it being passively cooled it made absolutely no noise. With the case being present, I do not have to worry about placing the board on my desk and scratching the table or shorting something out.
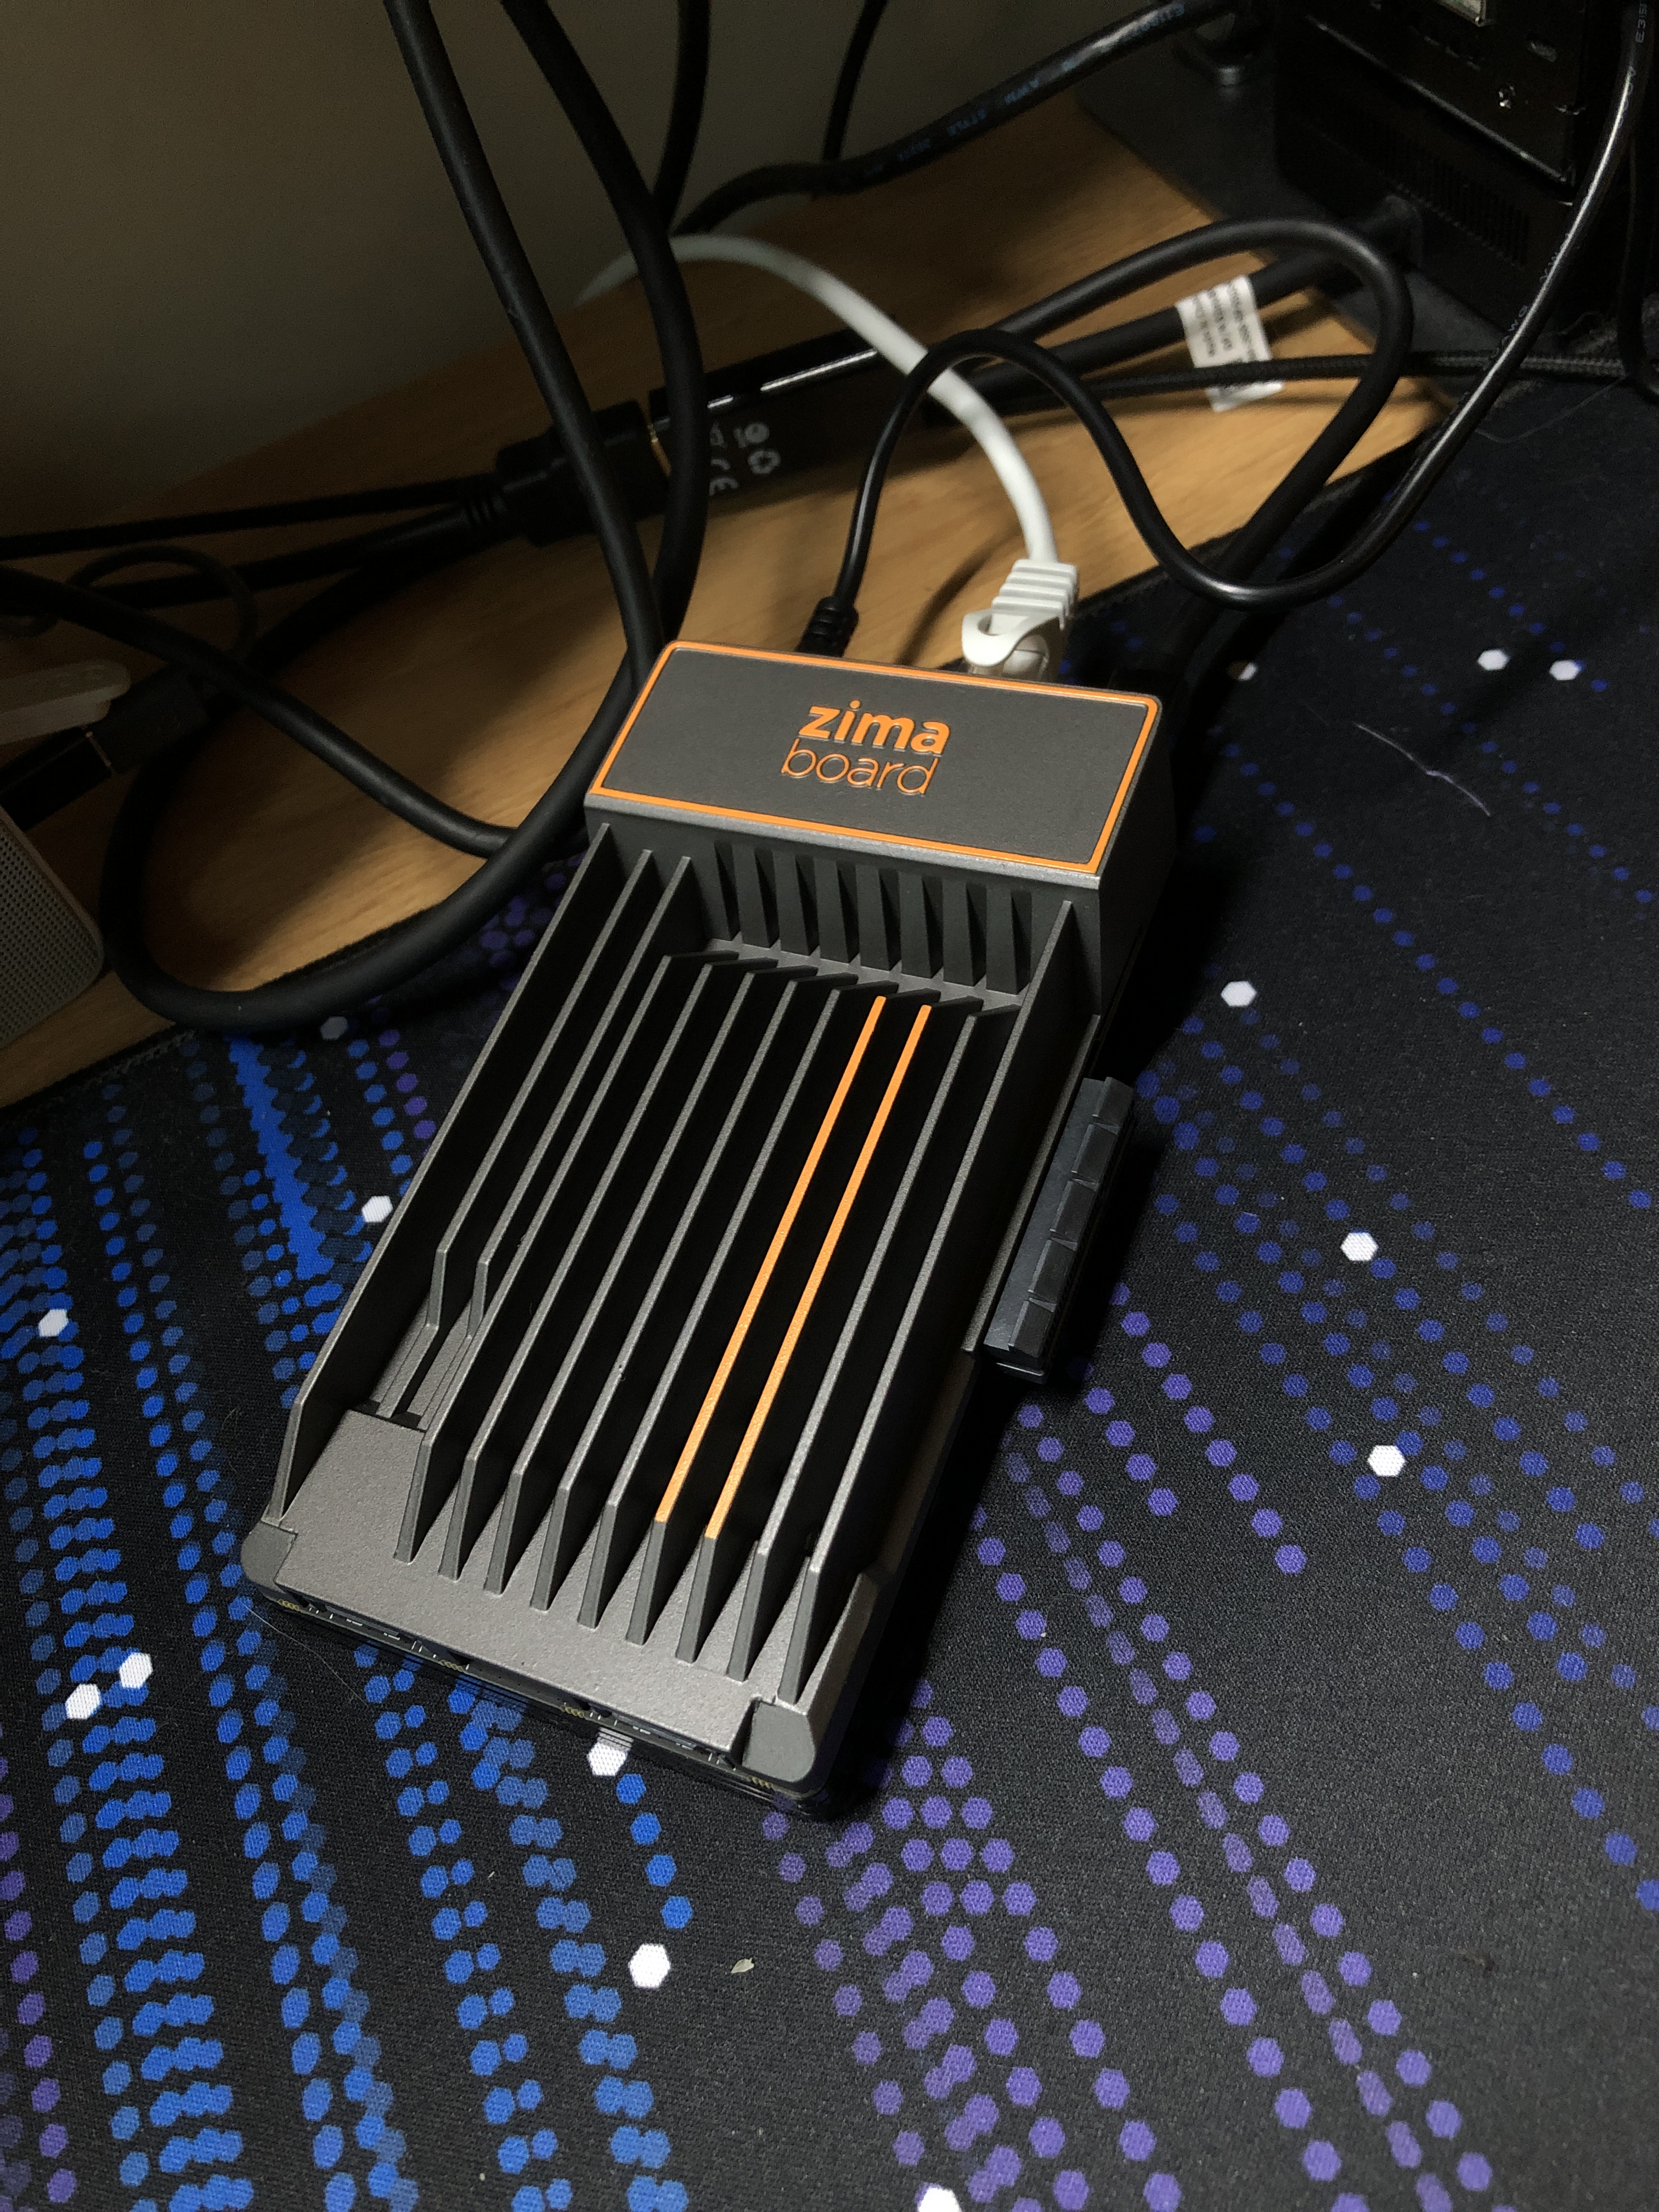
The board does not seem to have a power button, but by default it’s configured to power on as soon as you connect the power supply, which is great if you’re going to use this as a home server.
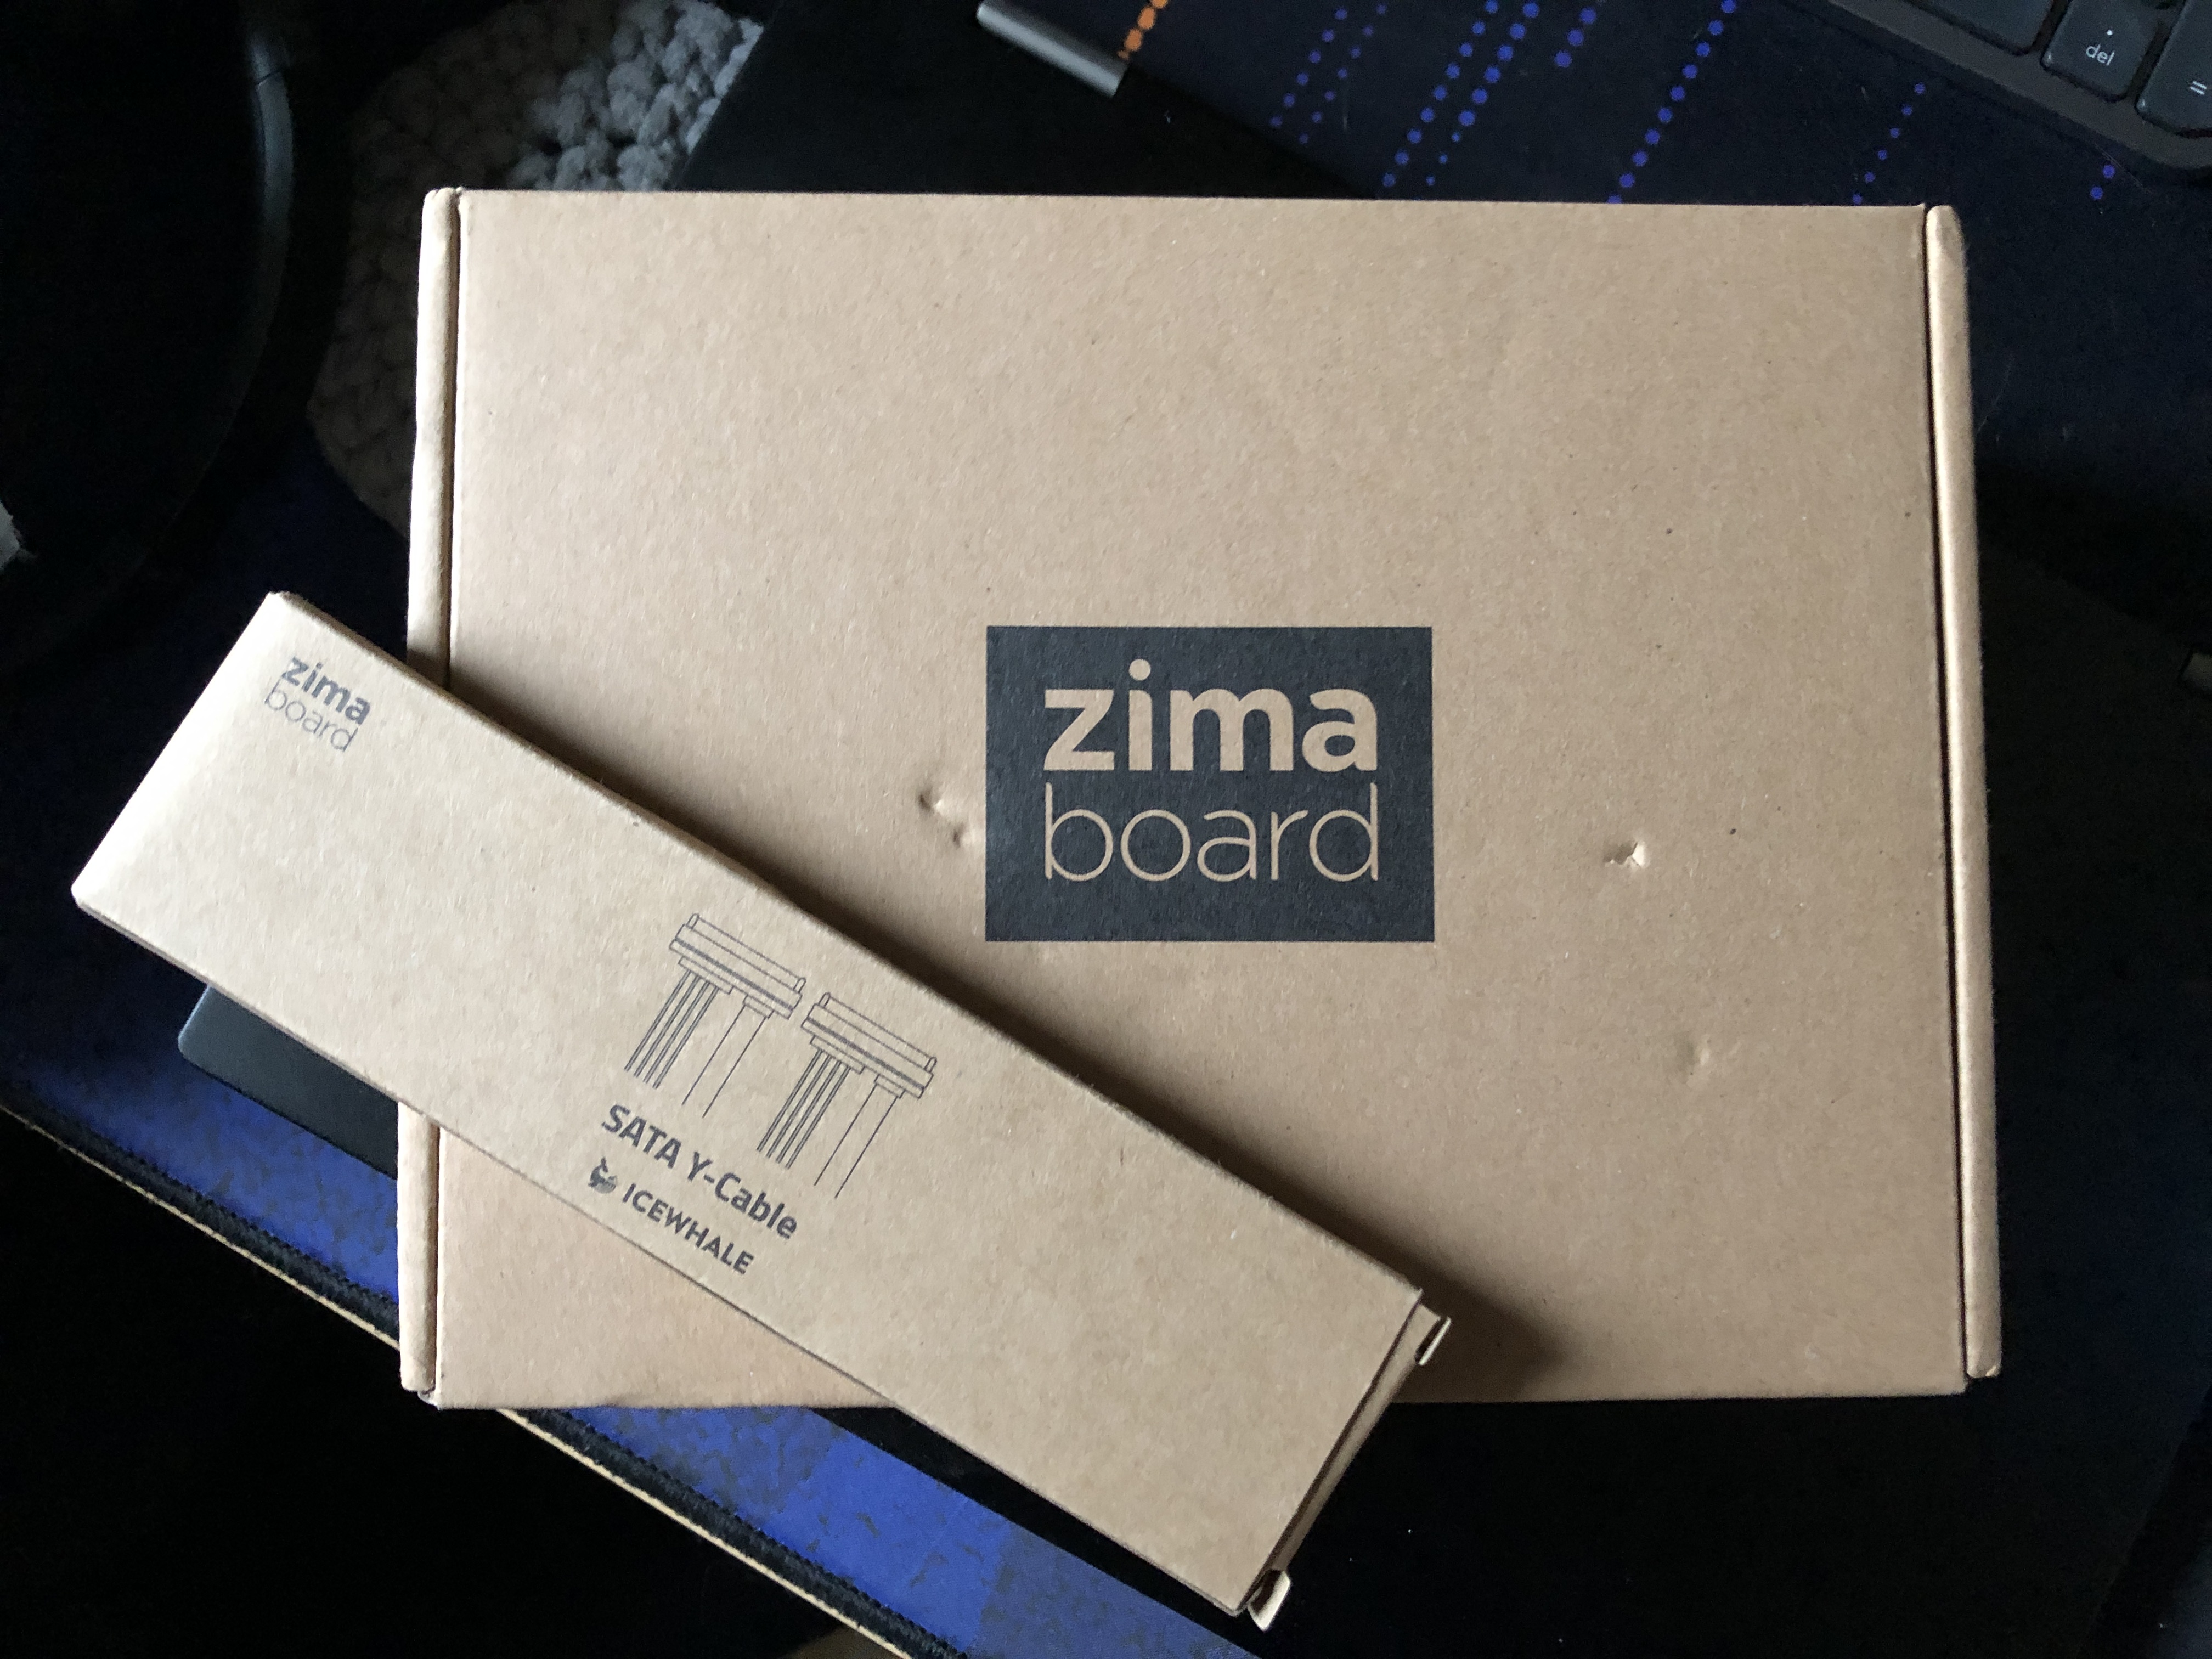
The box that the board was shipped survived and overall I’d say that the packaging is good. The board comes with some stickers and a single SATA data+power cable. The included power adapter comes with EU, US and UK plugs all included.
Shipping to Estonia was quite fast, taking just 10 days. The shipping costs were 18 USD.
Storage
The included 32GB eMMC storage is fine for hosting your operating system. The
read speeds cap out at around 175 MB/s and the typical write speeds I observed
were around 50-100 MB/s. The storage is identified as mmc-BJTD4R_0xc7d04e40 under
/dev/disk/by-id/, and searching online suggests that it’s a Samsung chip.
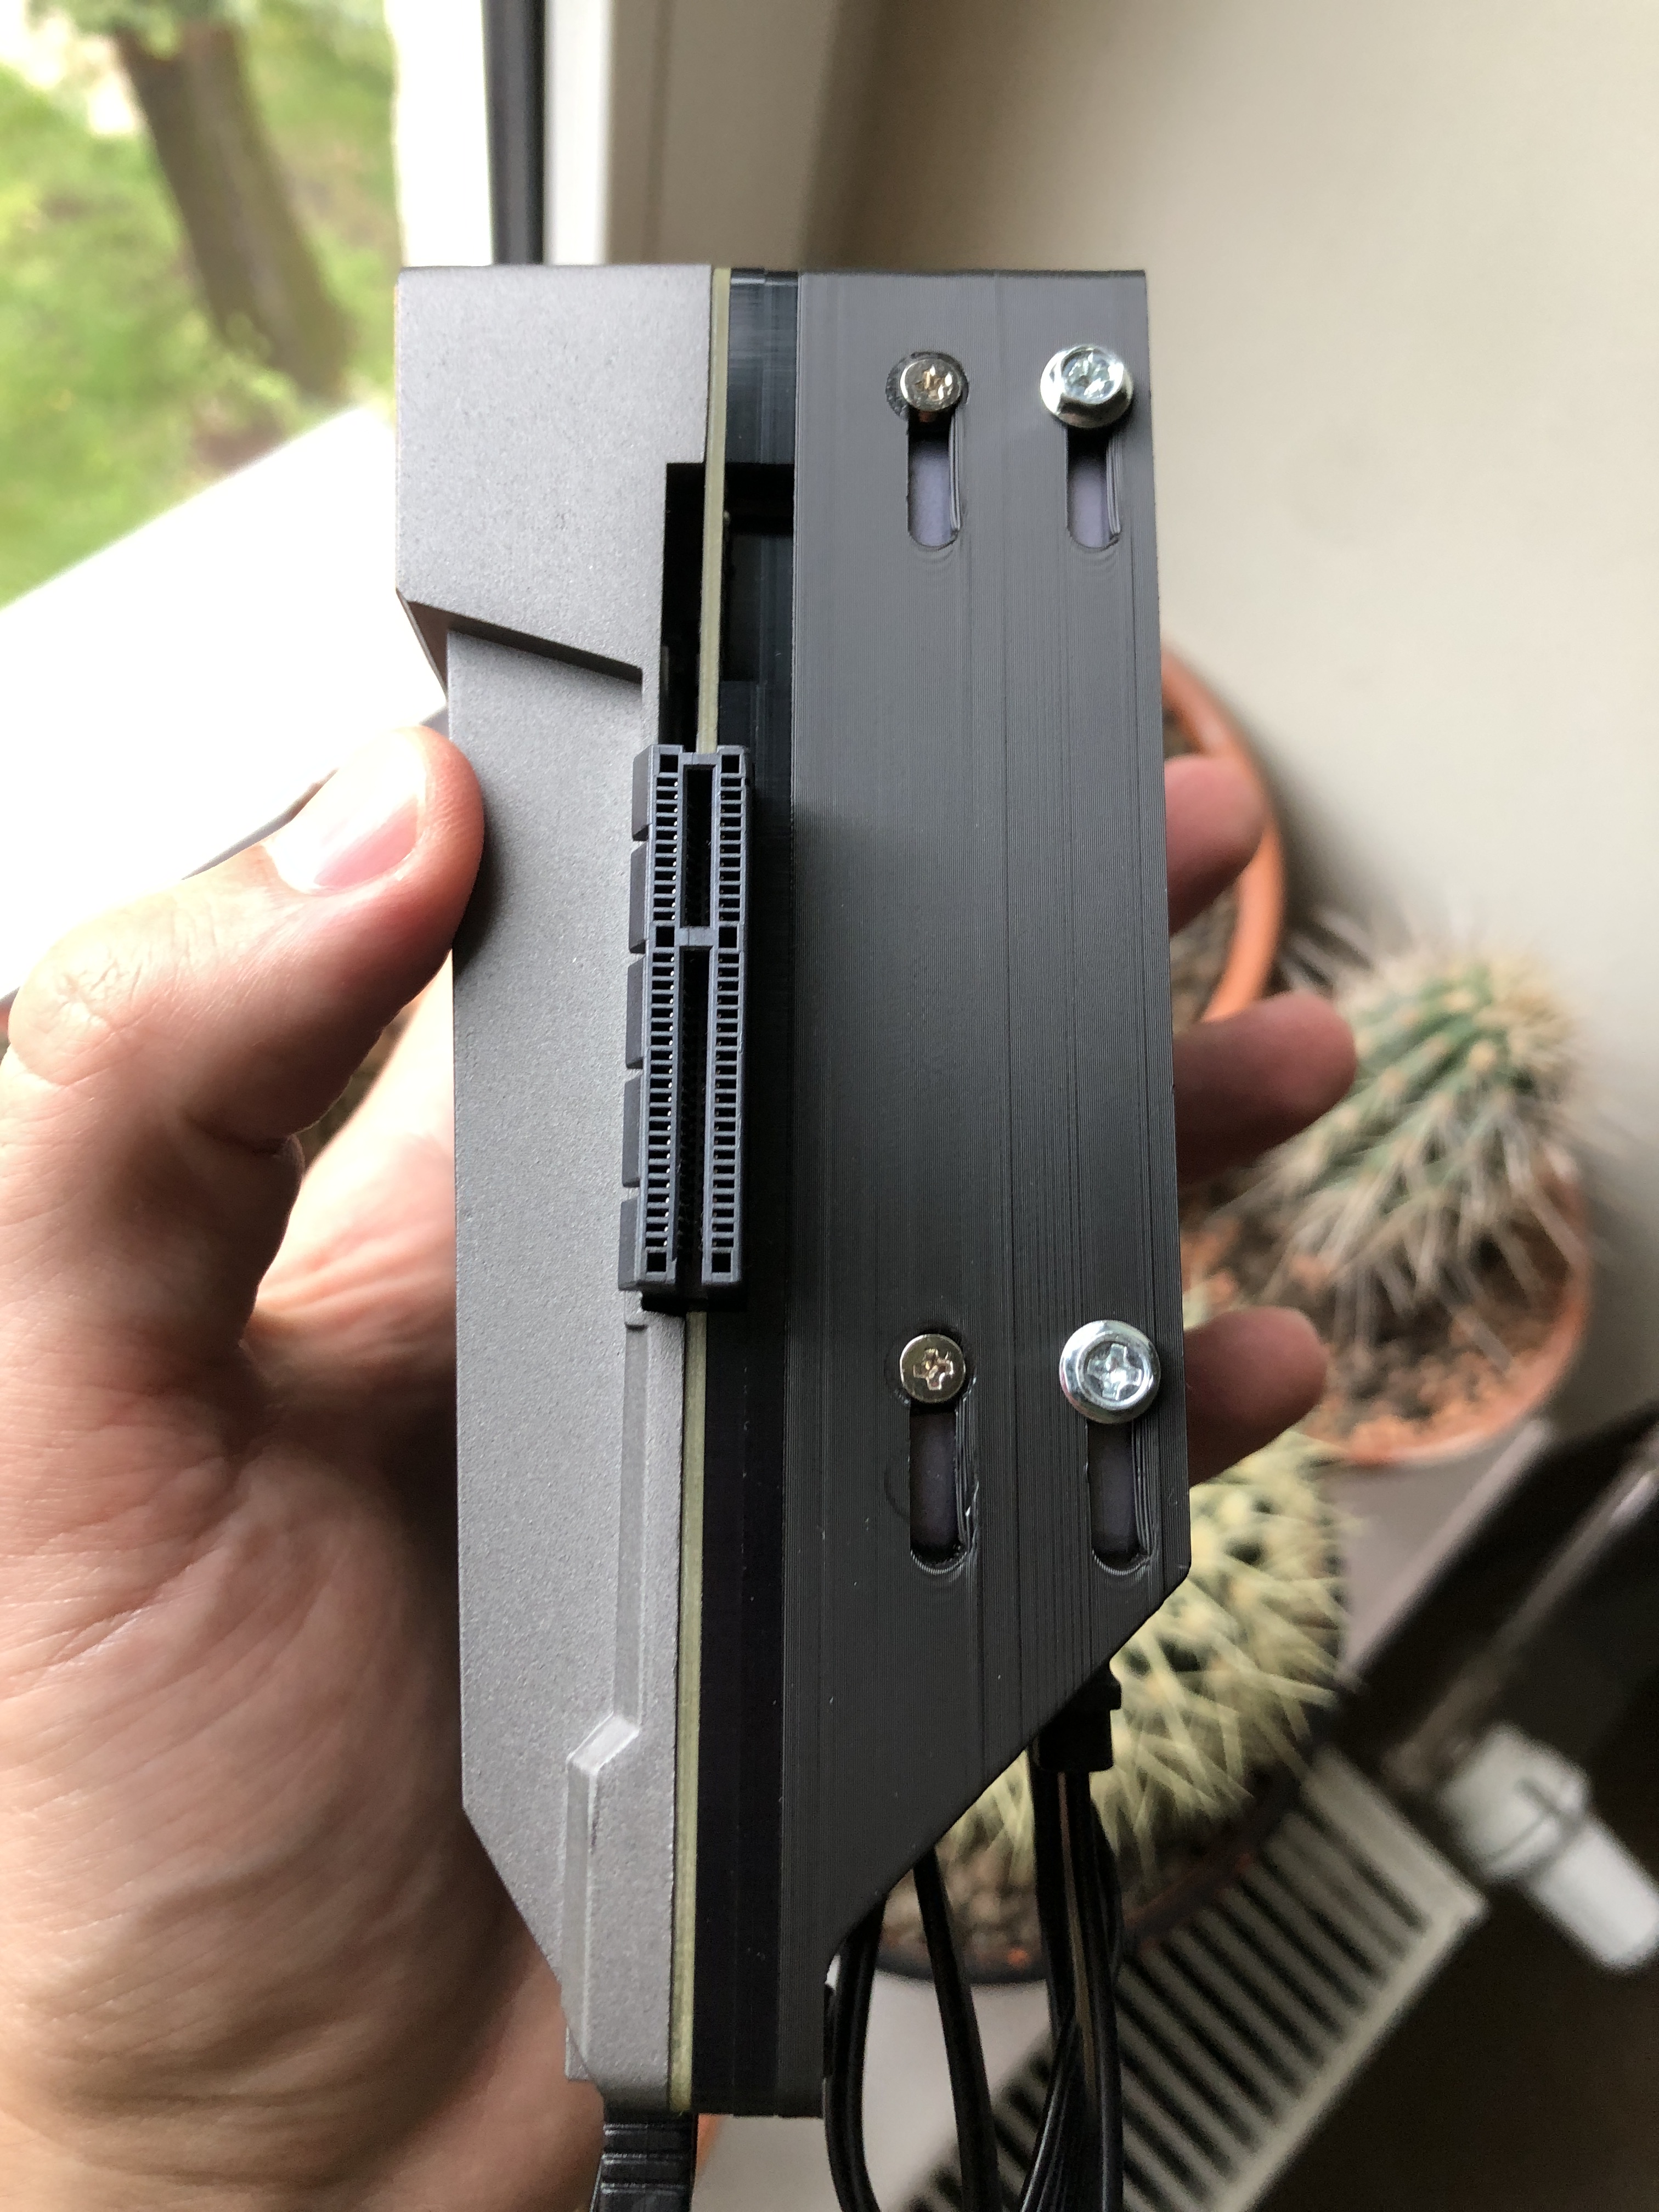
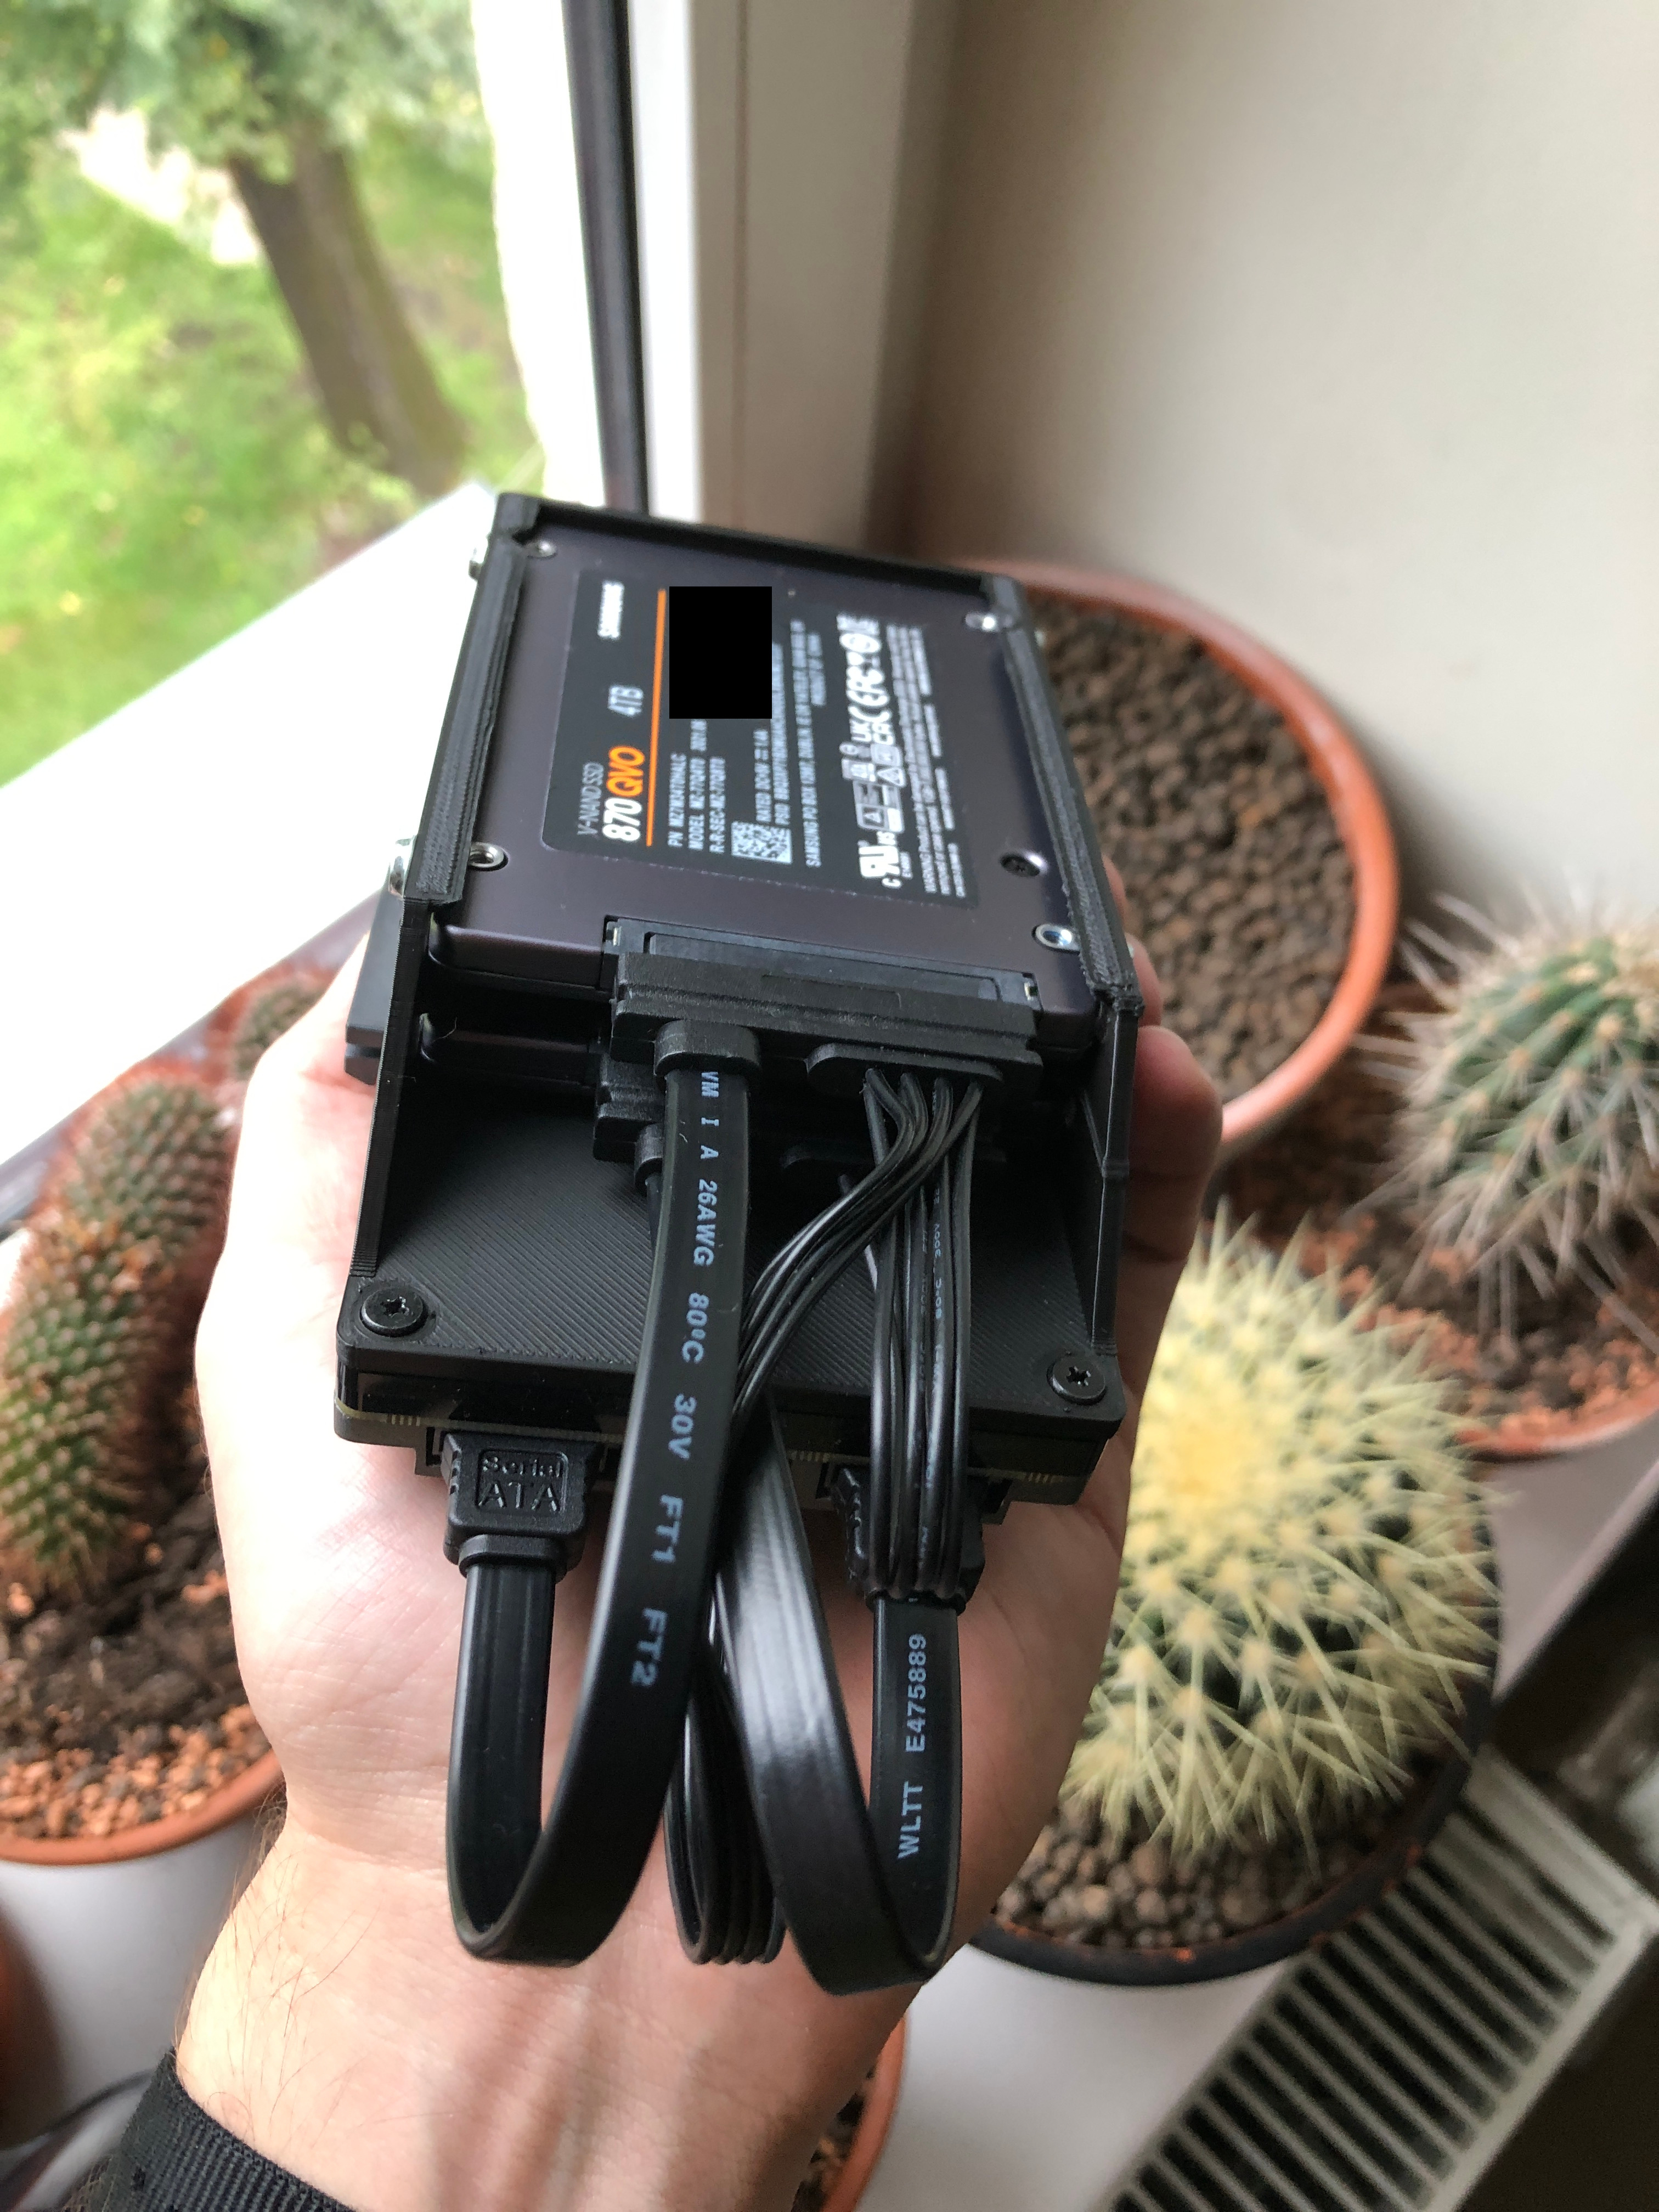
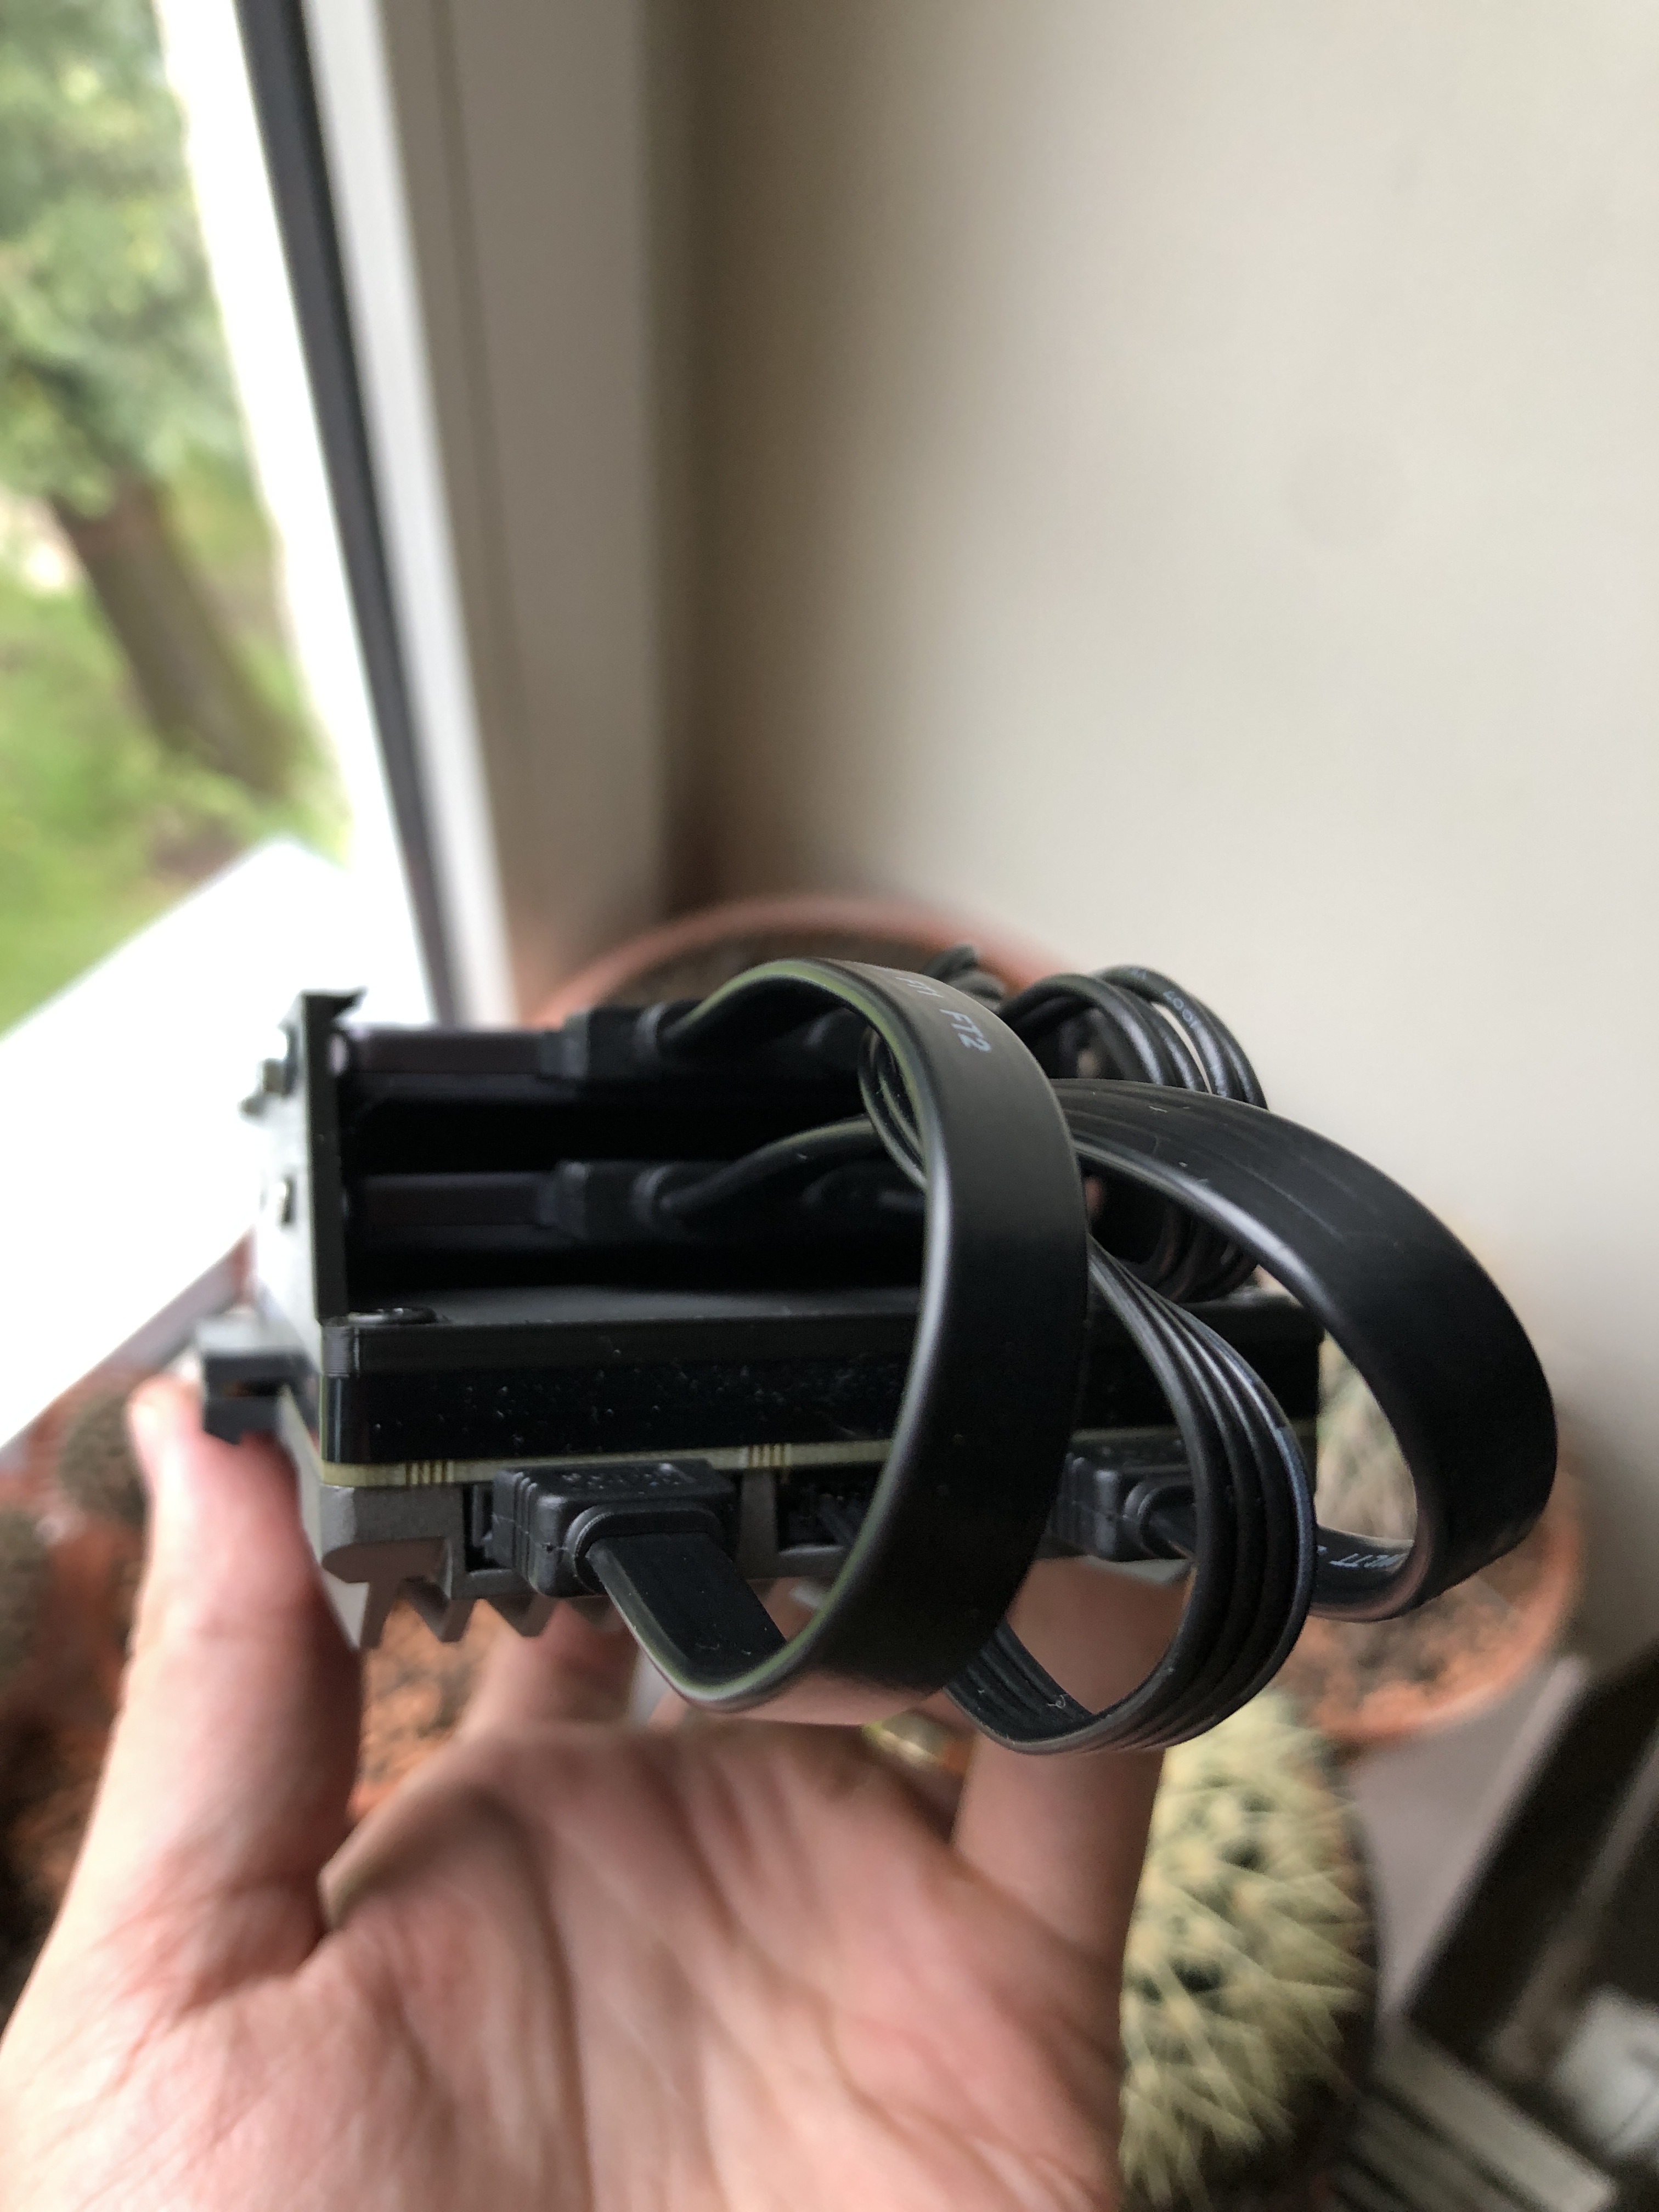
Because this board offers two SATA ports, I also added a SATA Y-cable to my order (4 USD) so that I can take my existing Samsung 870 QVO 4TB SATA drives and move my home server setup to this board.
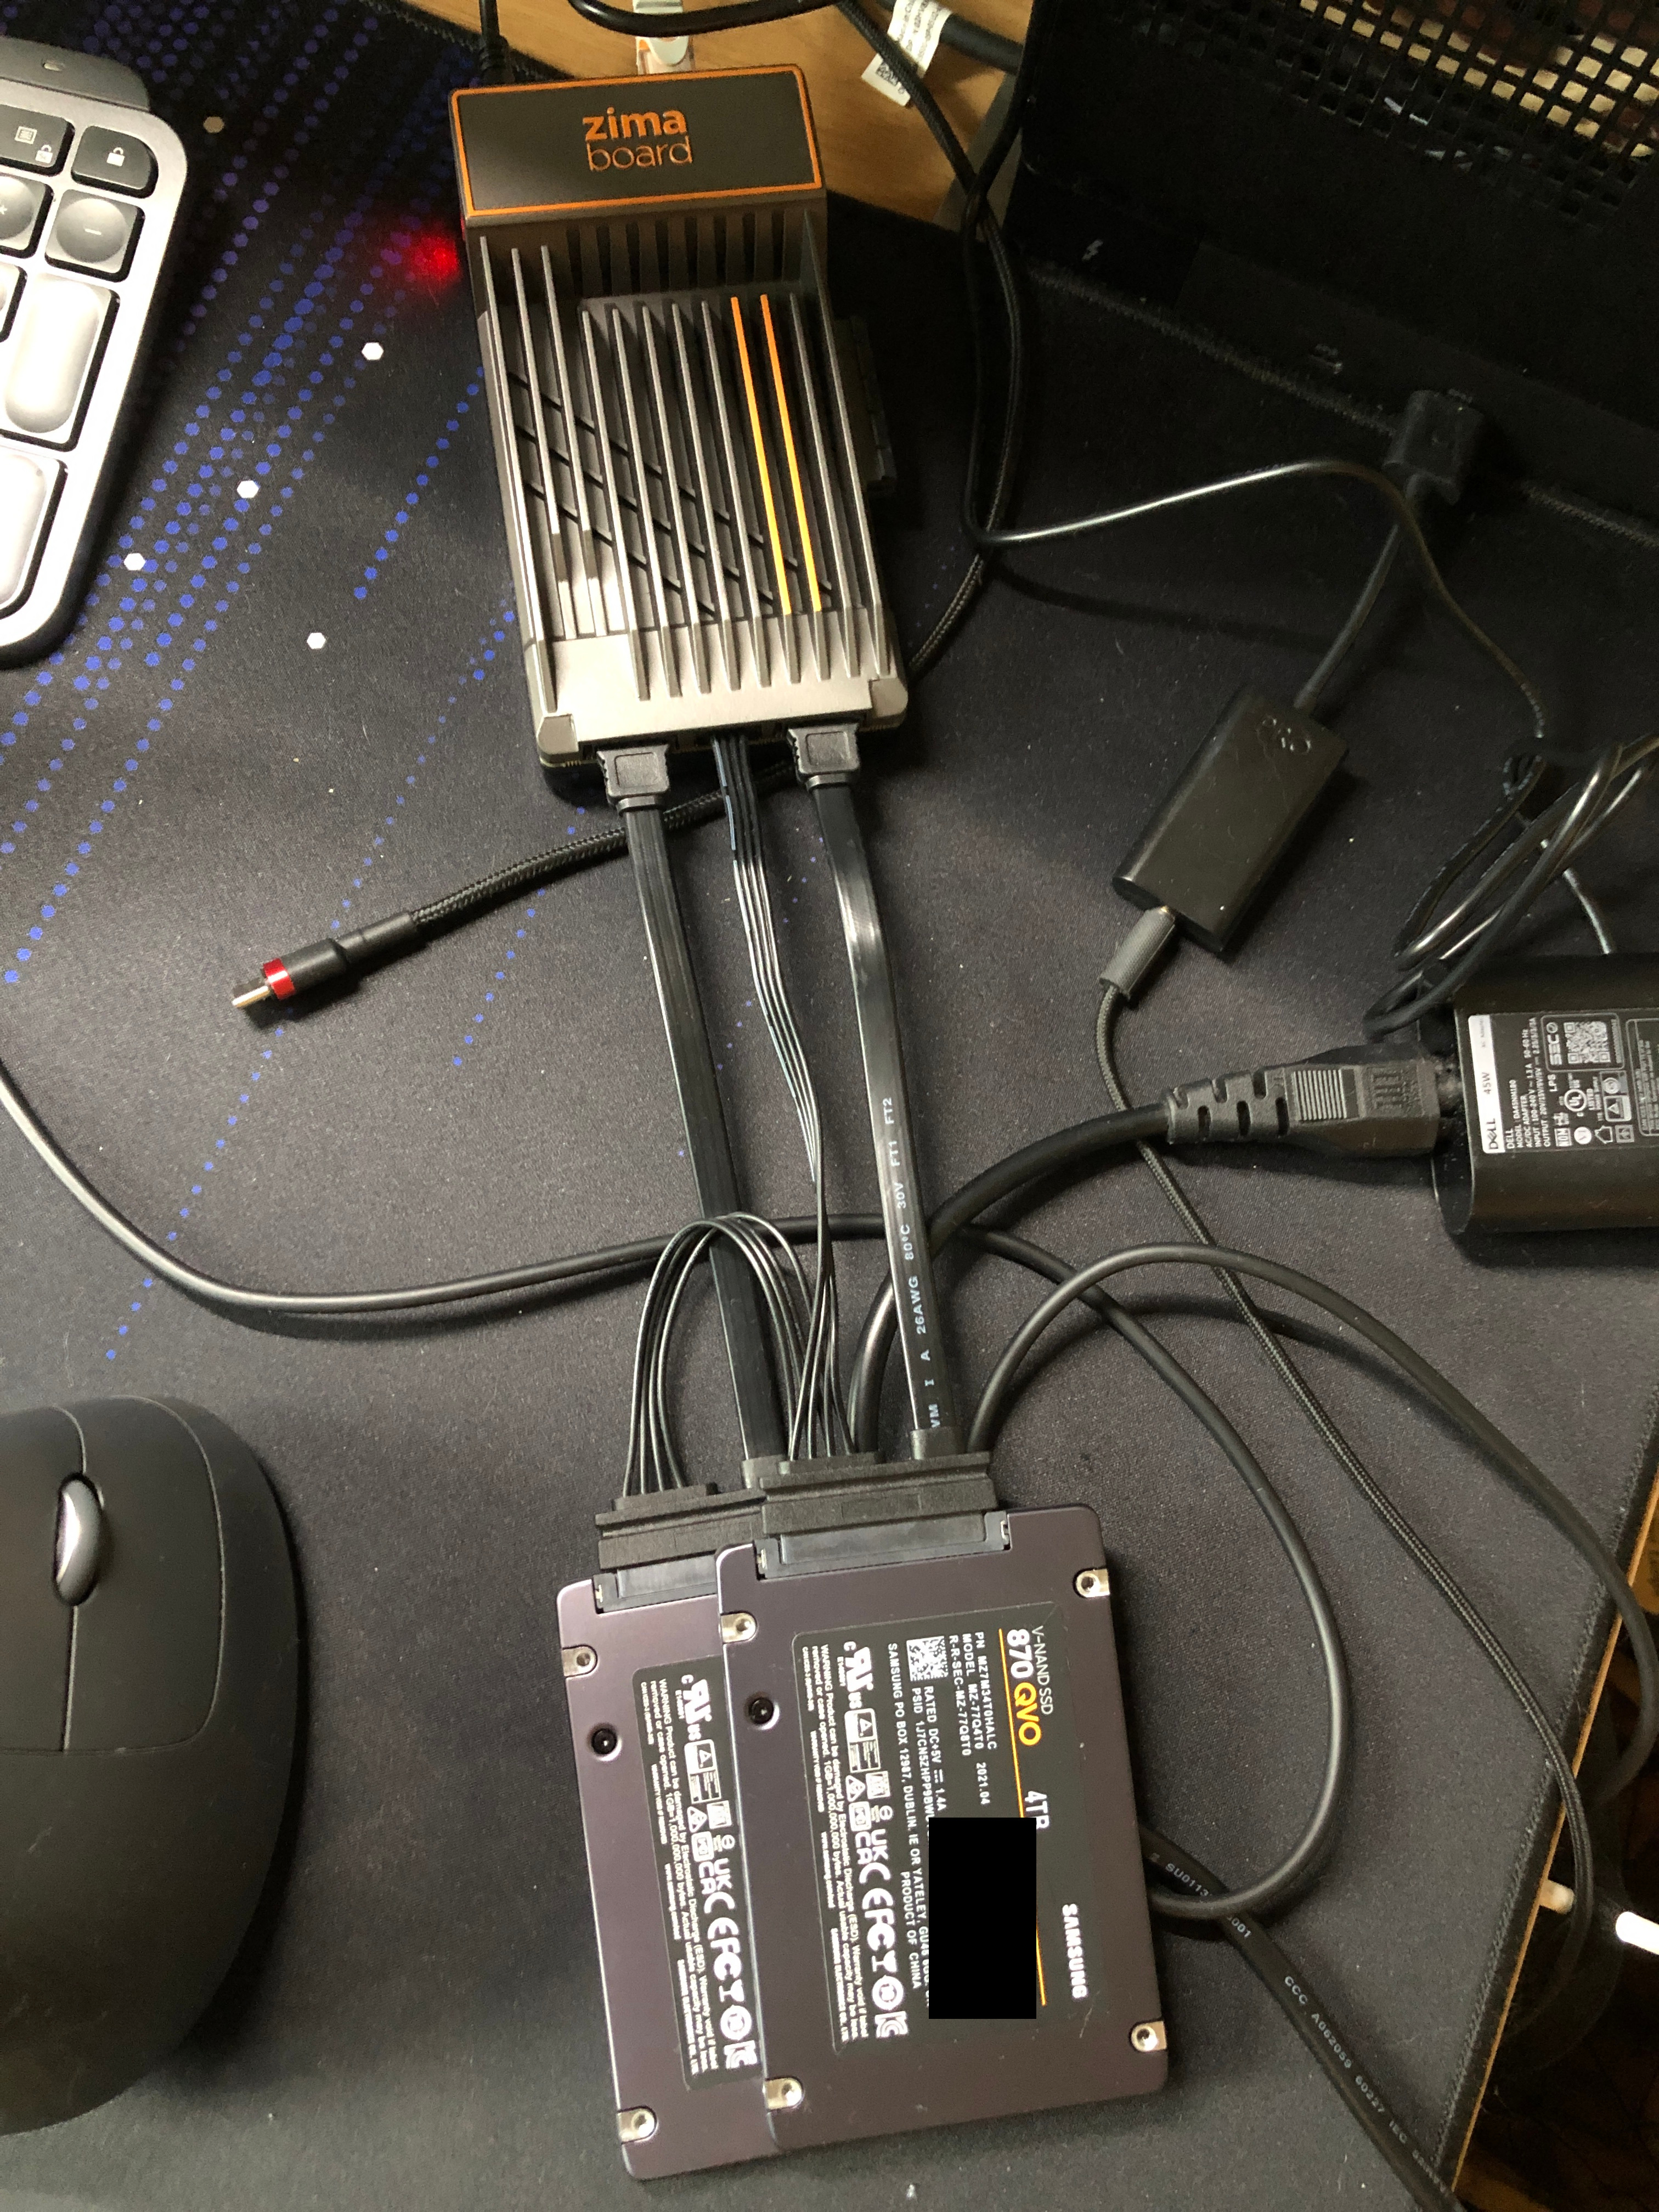
Allegedly this cable can also be used to drive two 3.5" hard drives powered by the board itself according to the shop page for the Y-cable, but I suspect that at that point you’ll be pushing the limits of the 12V/3A power adapter.
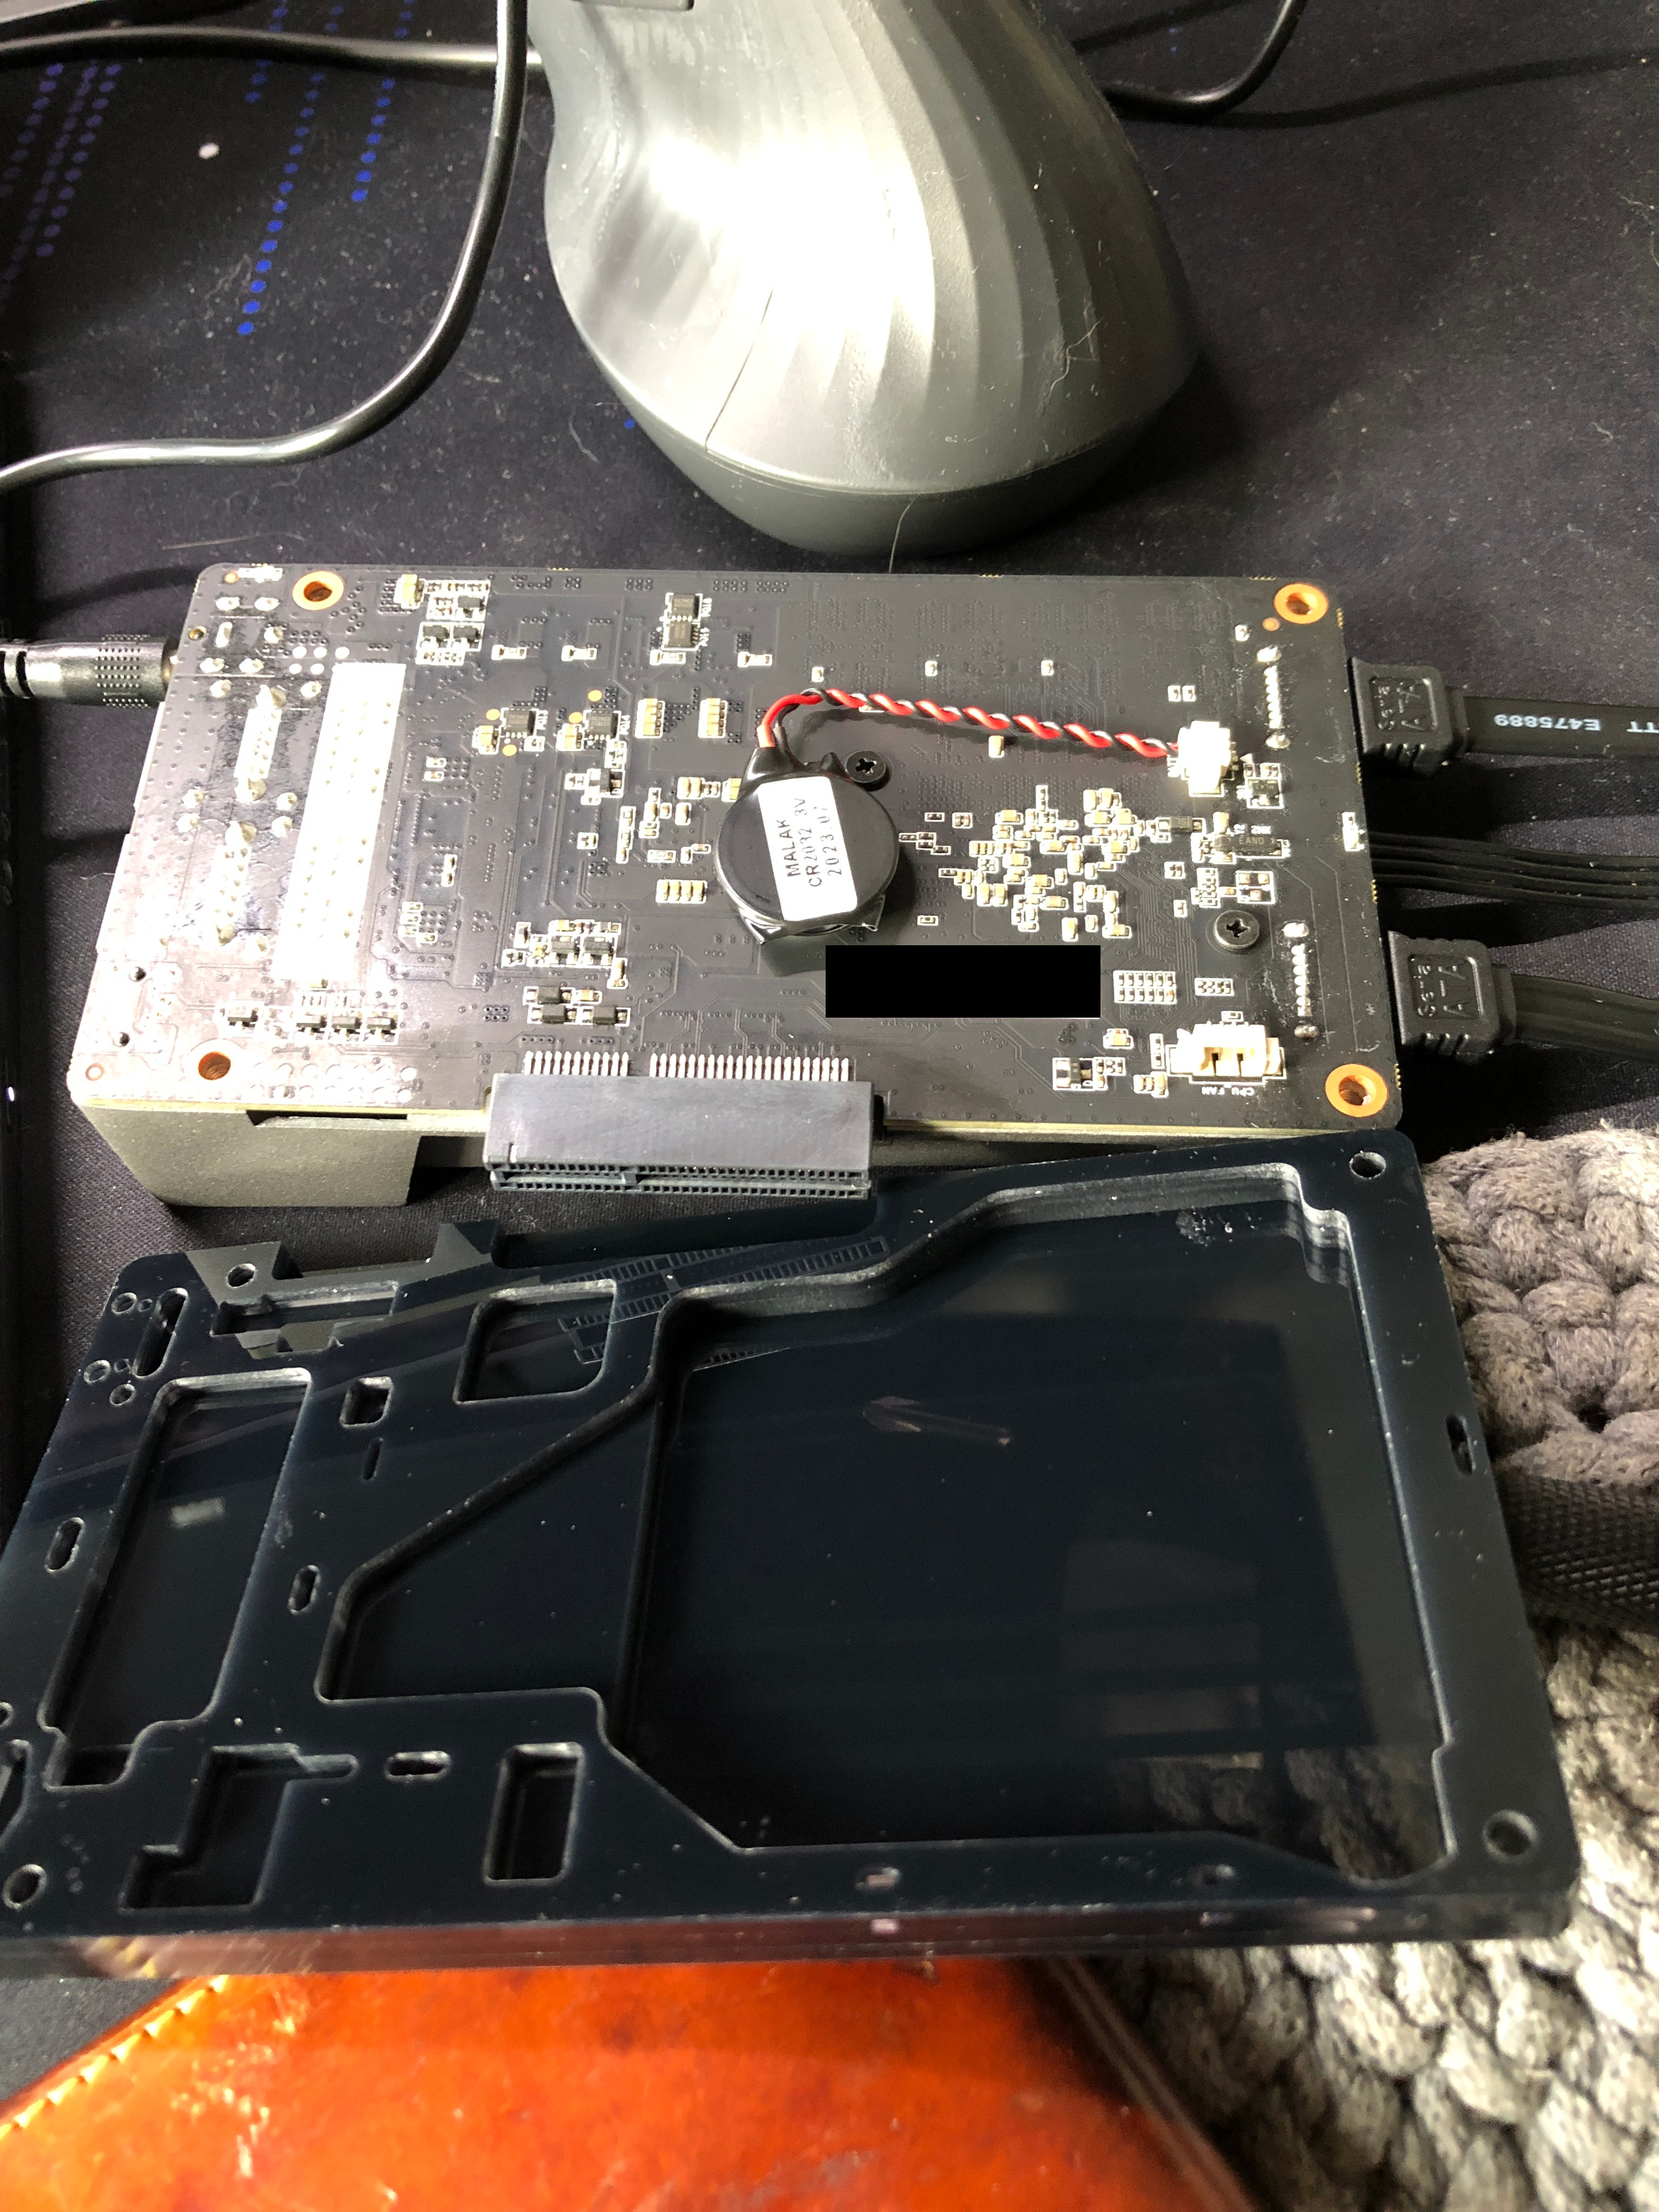
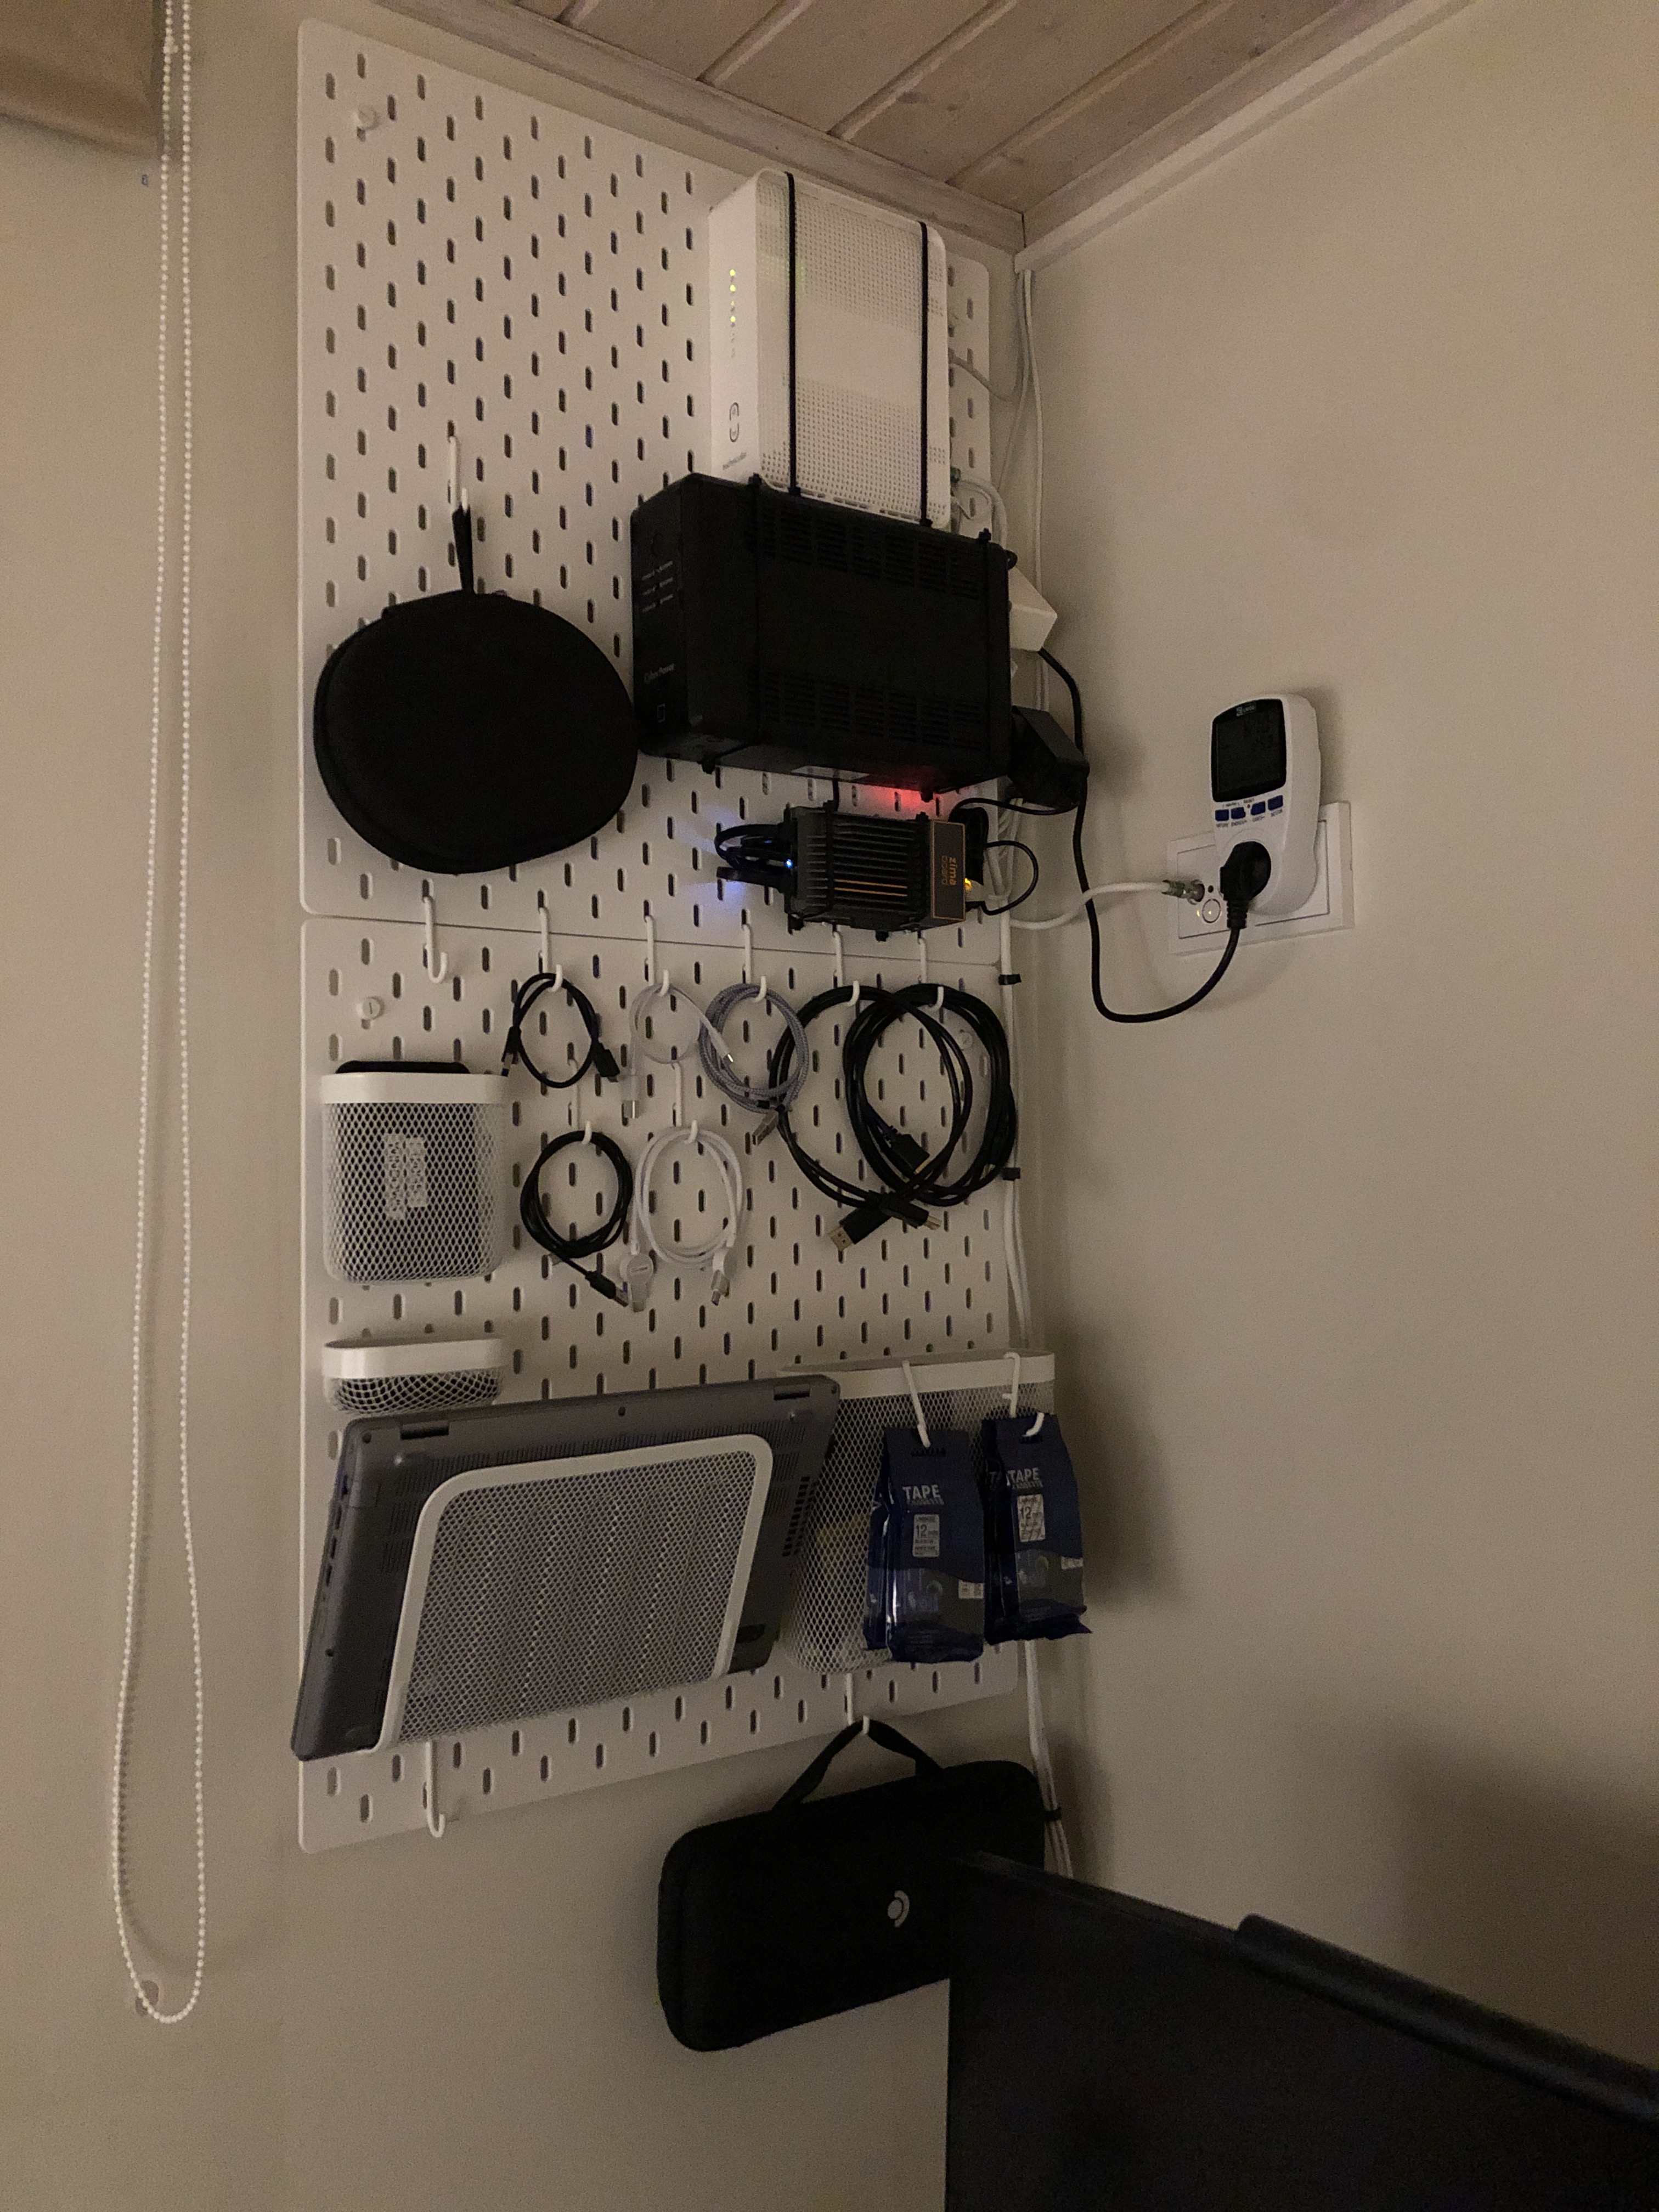
There is also a white drive activity LED placed near the SATA power connector on the board. Perhaps not for everyone, but I like the aesthetic and the sight of the server doing server things.
The performance of the SATA ports is what you would expect. When performing read operations on both SSD-s I saw the maximum total transfer rates hover around 900-950MB/s, which is pretty close to the SATA III transfer speed limit.
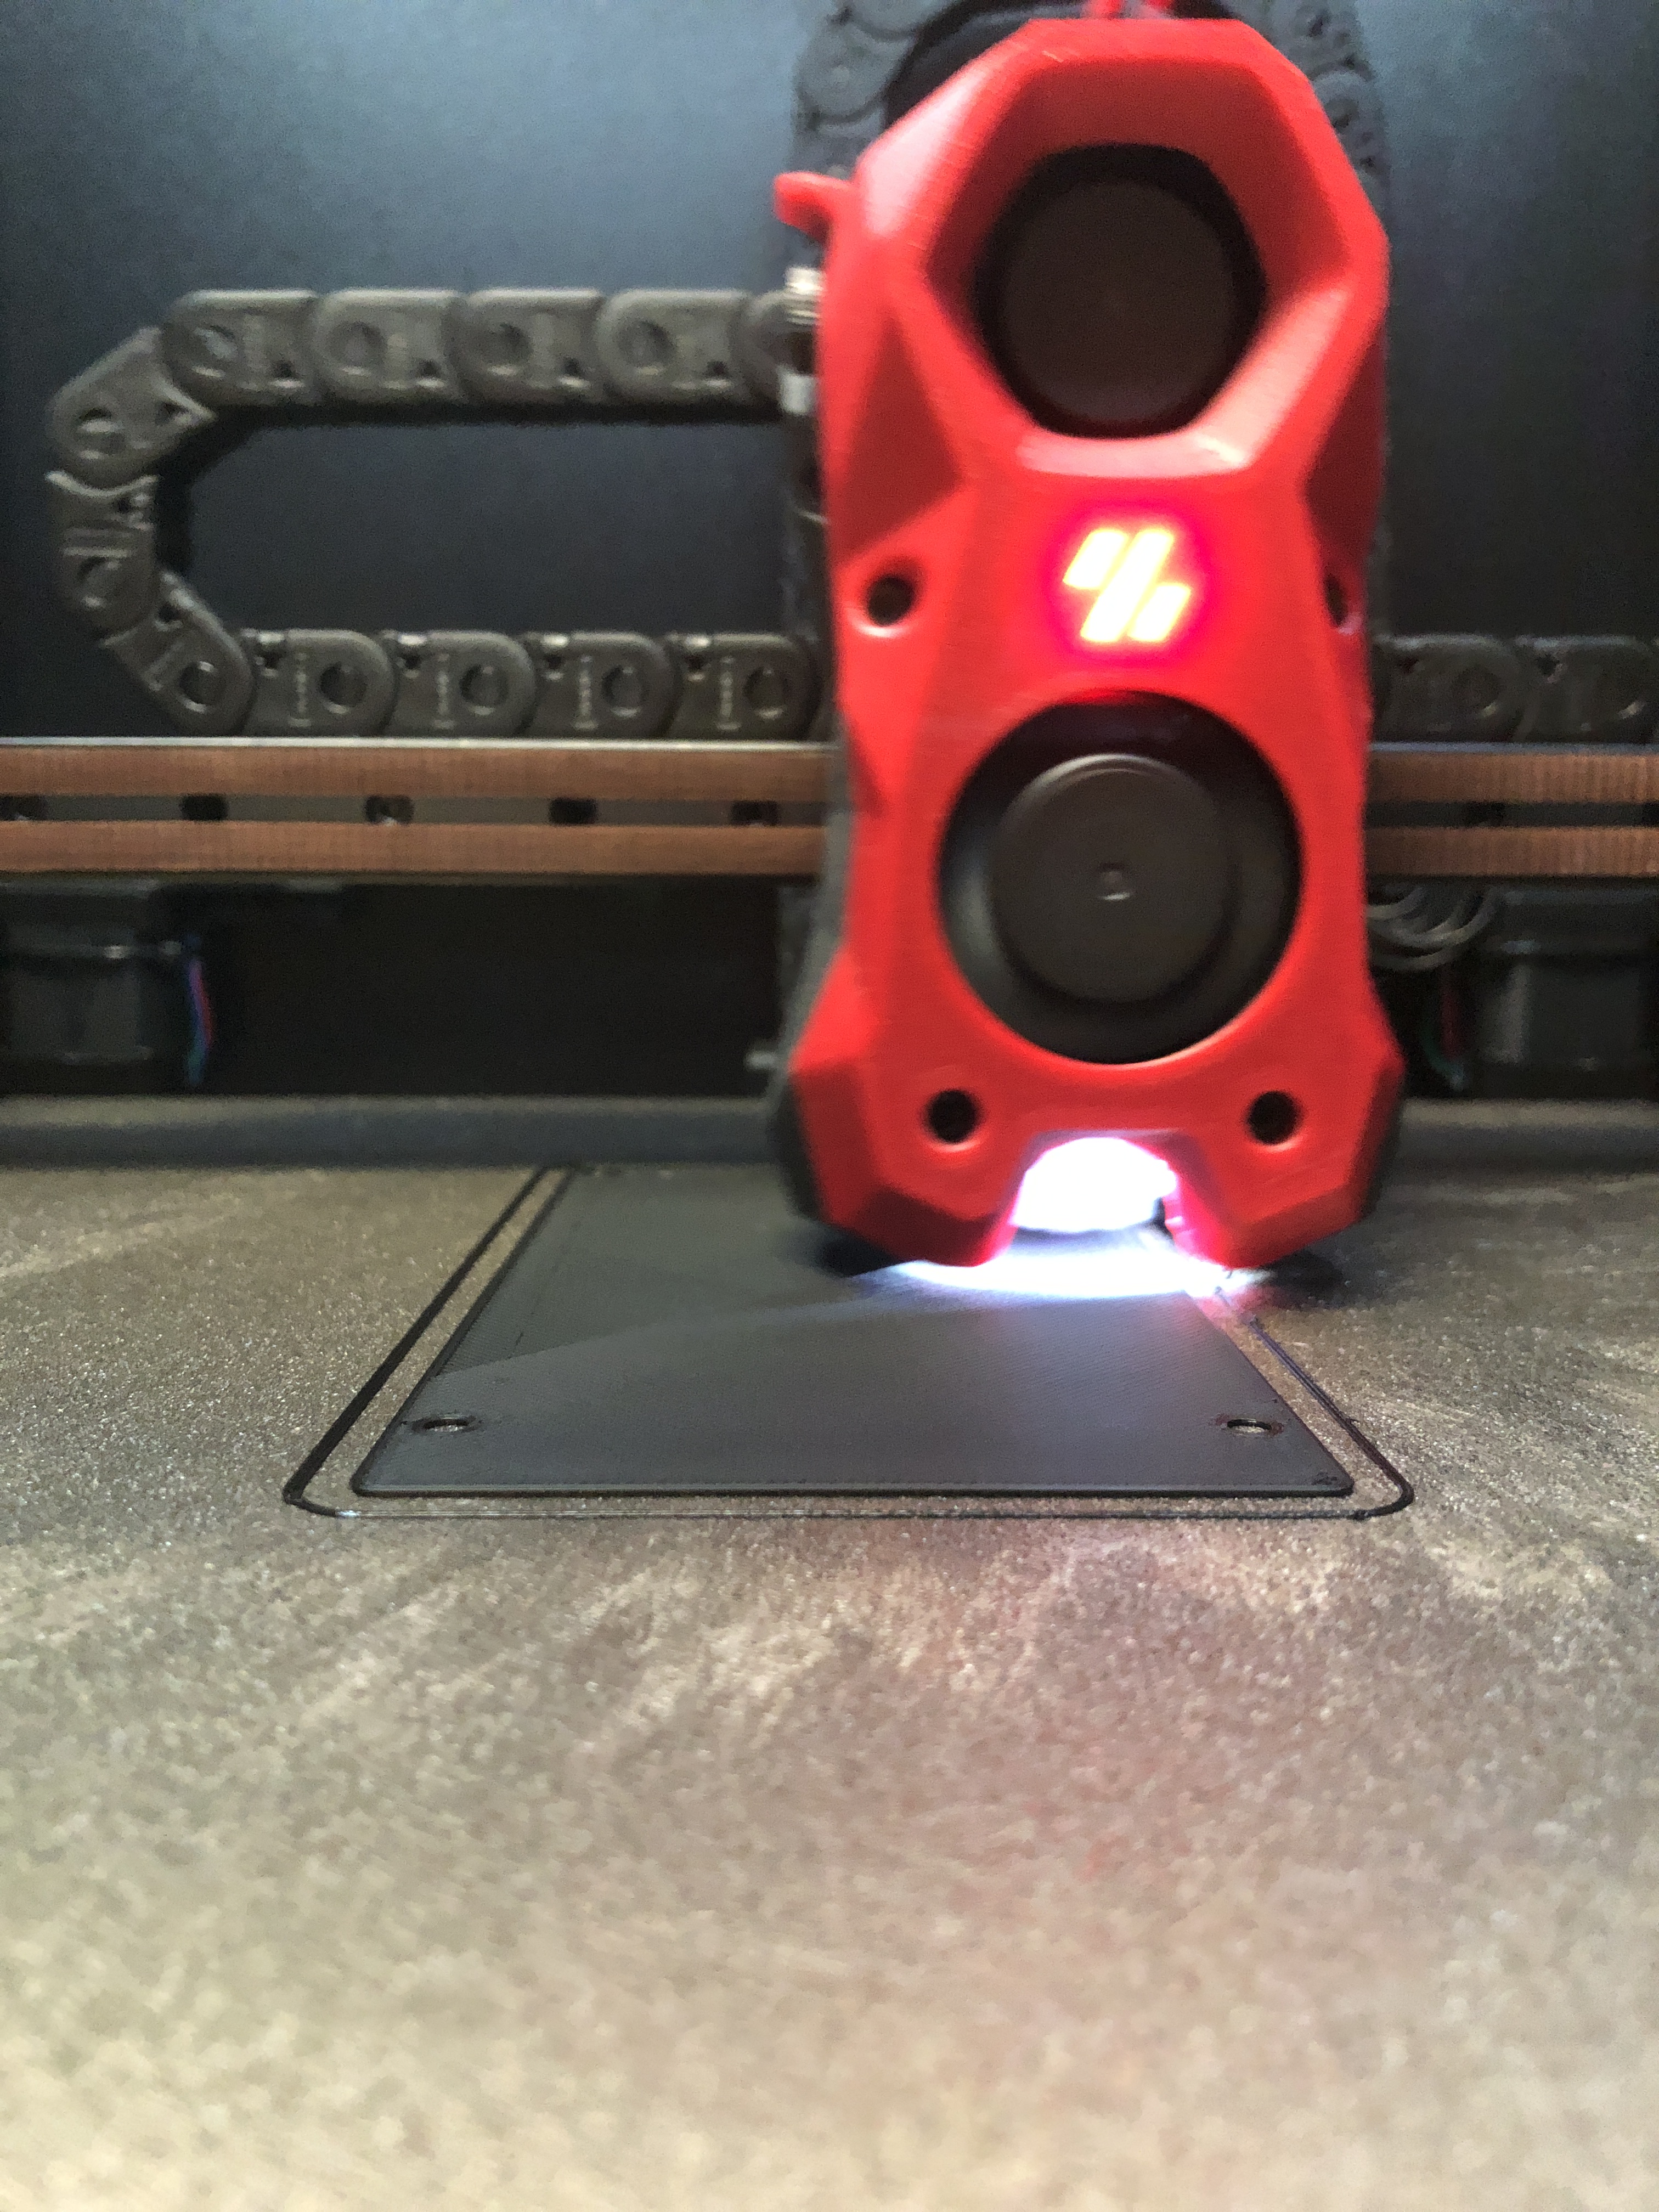
There is no native way to mount the two SATA drives to the Zimaboard. The creators of the board do sell a metal bracket, but it doesn’t seem to integrate that well to the board. However, there exists a 3D printable design that houses two 2.5" drives, even 15mm ones, and that’s how I ended up using a 3D printer for the first time in my life. The print was done using a Voron v2 Afterburner printer hosted at k-space and it came out pretty well.
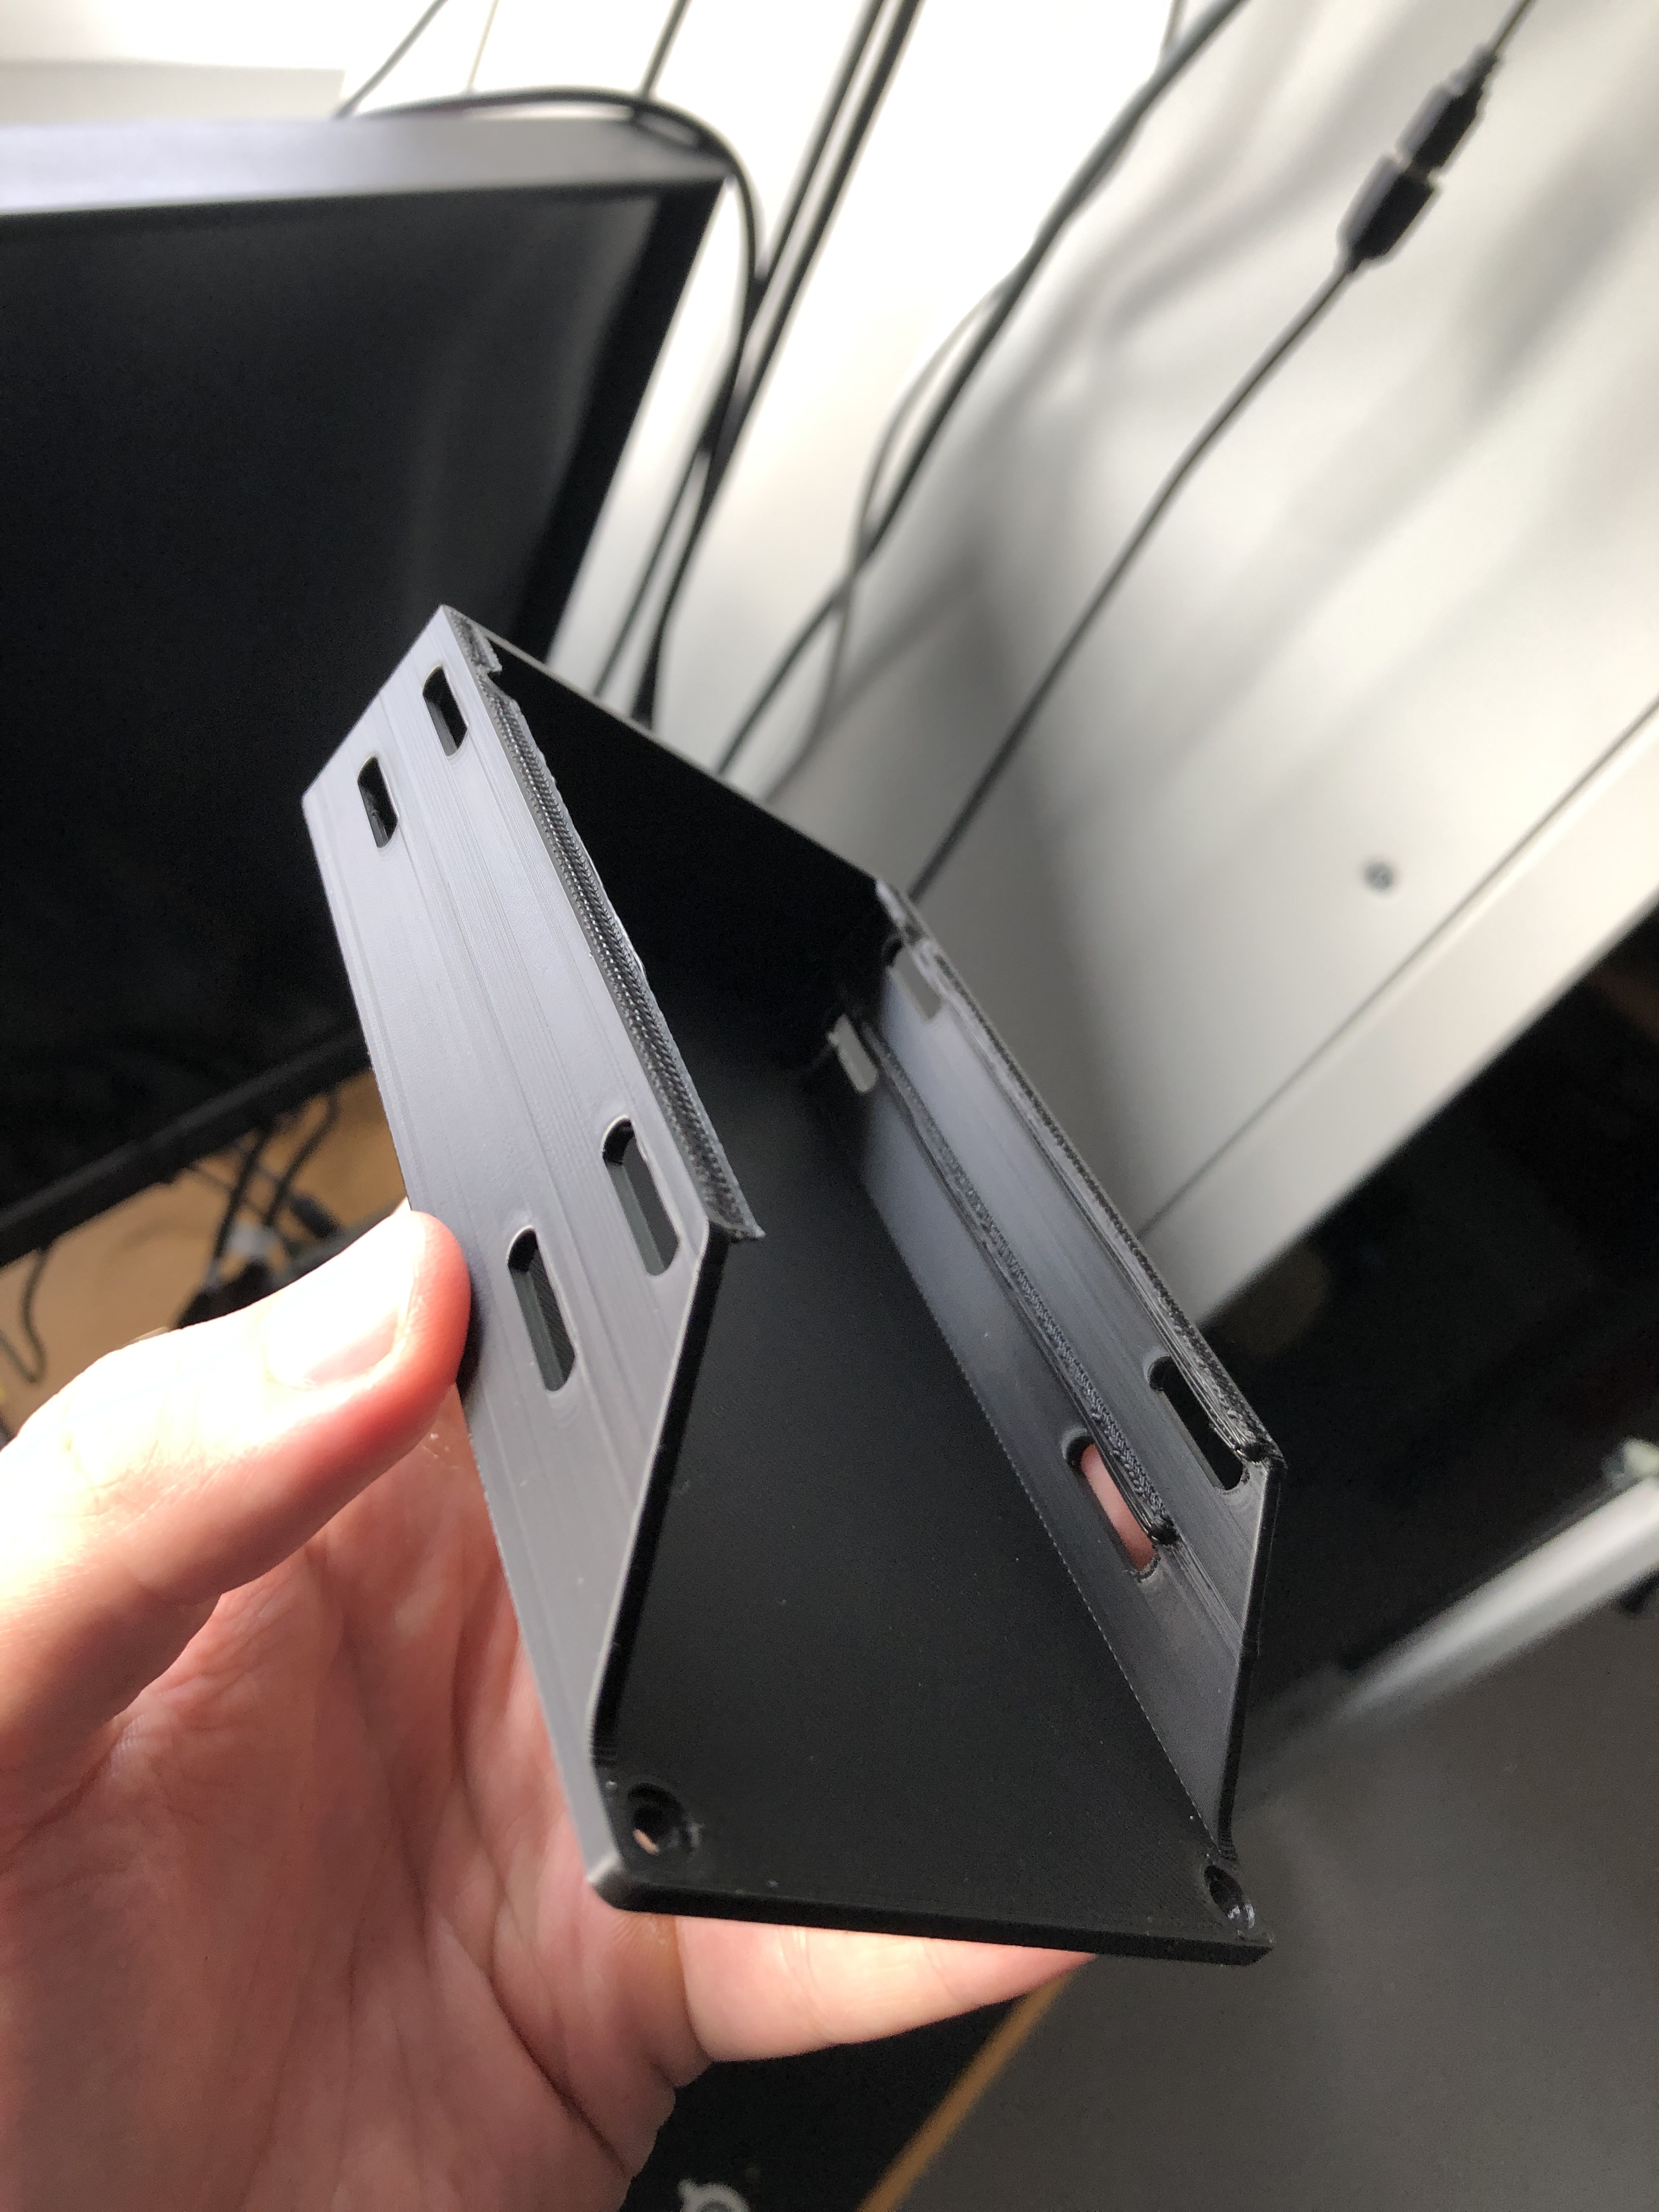
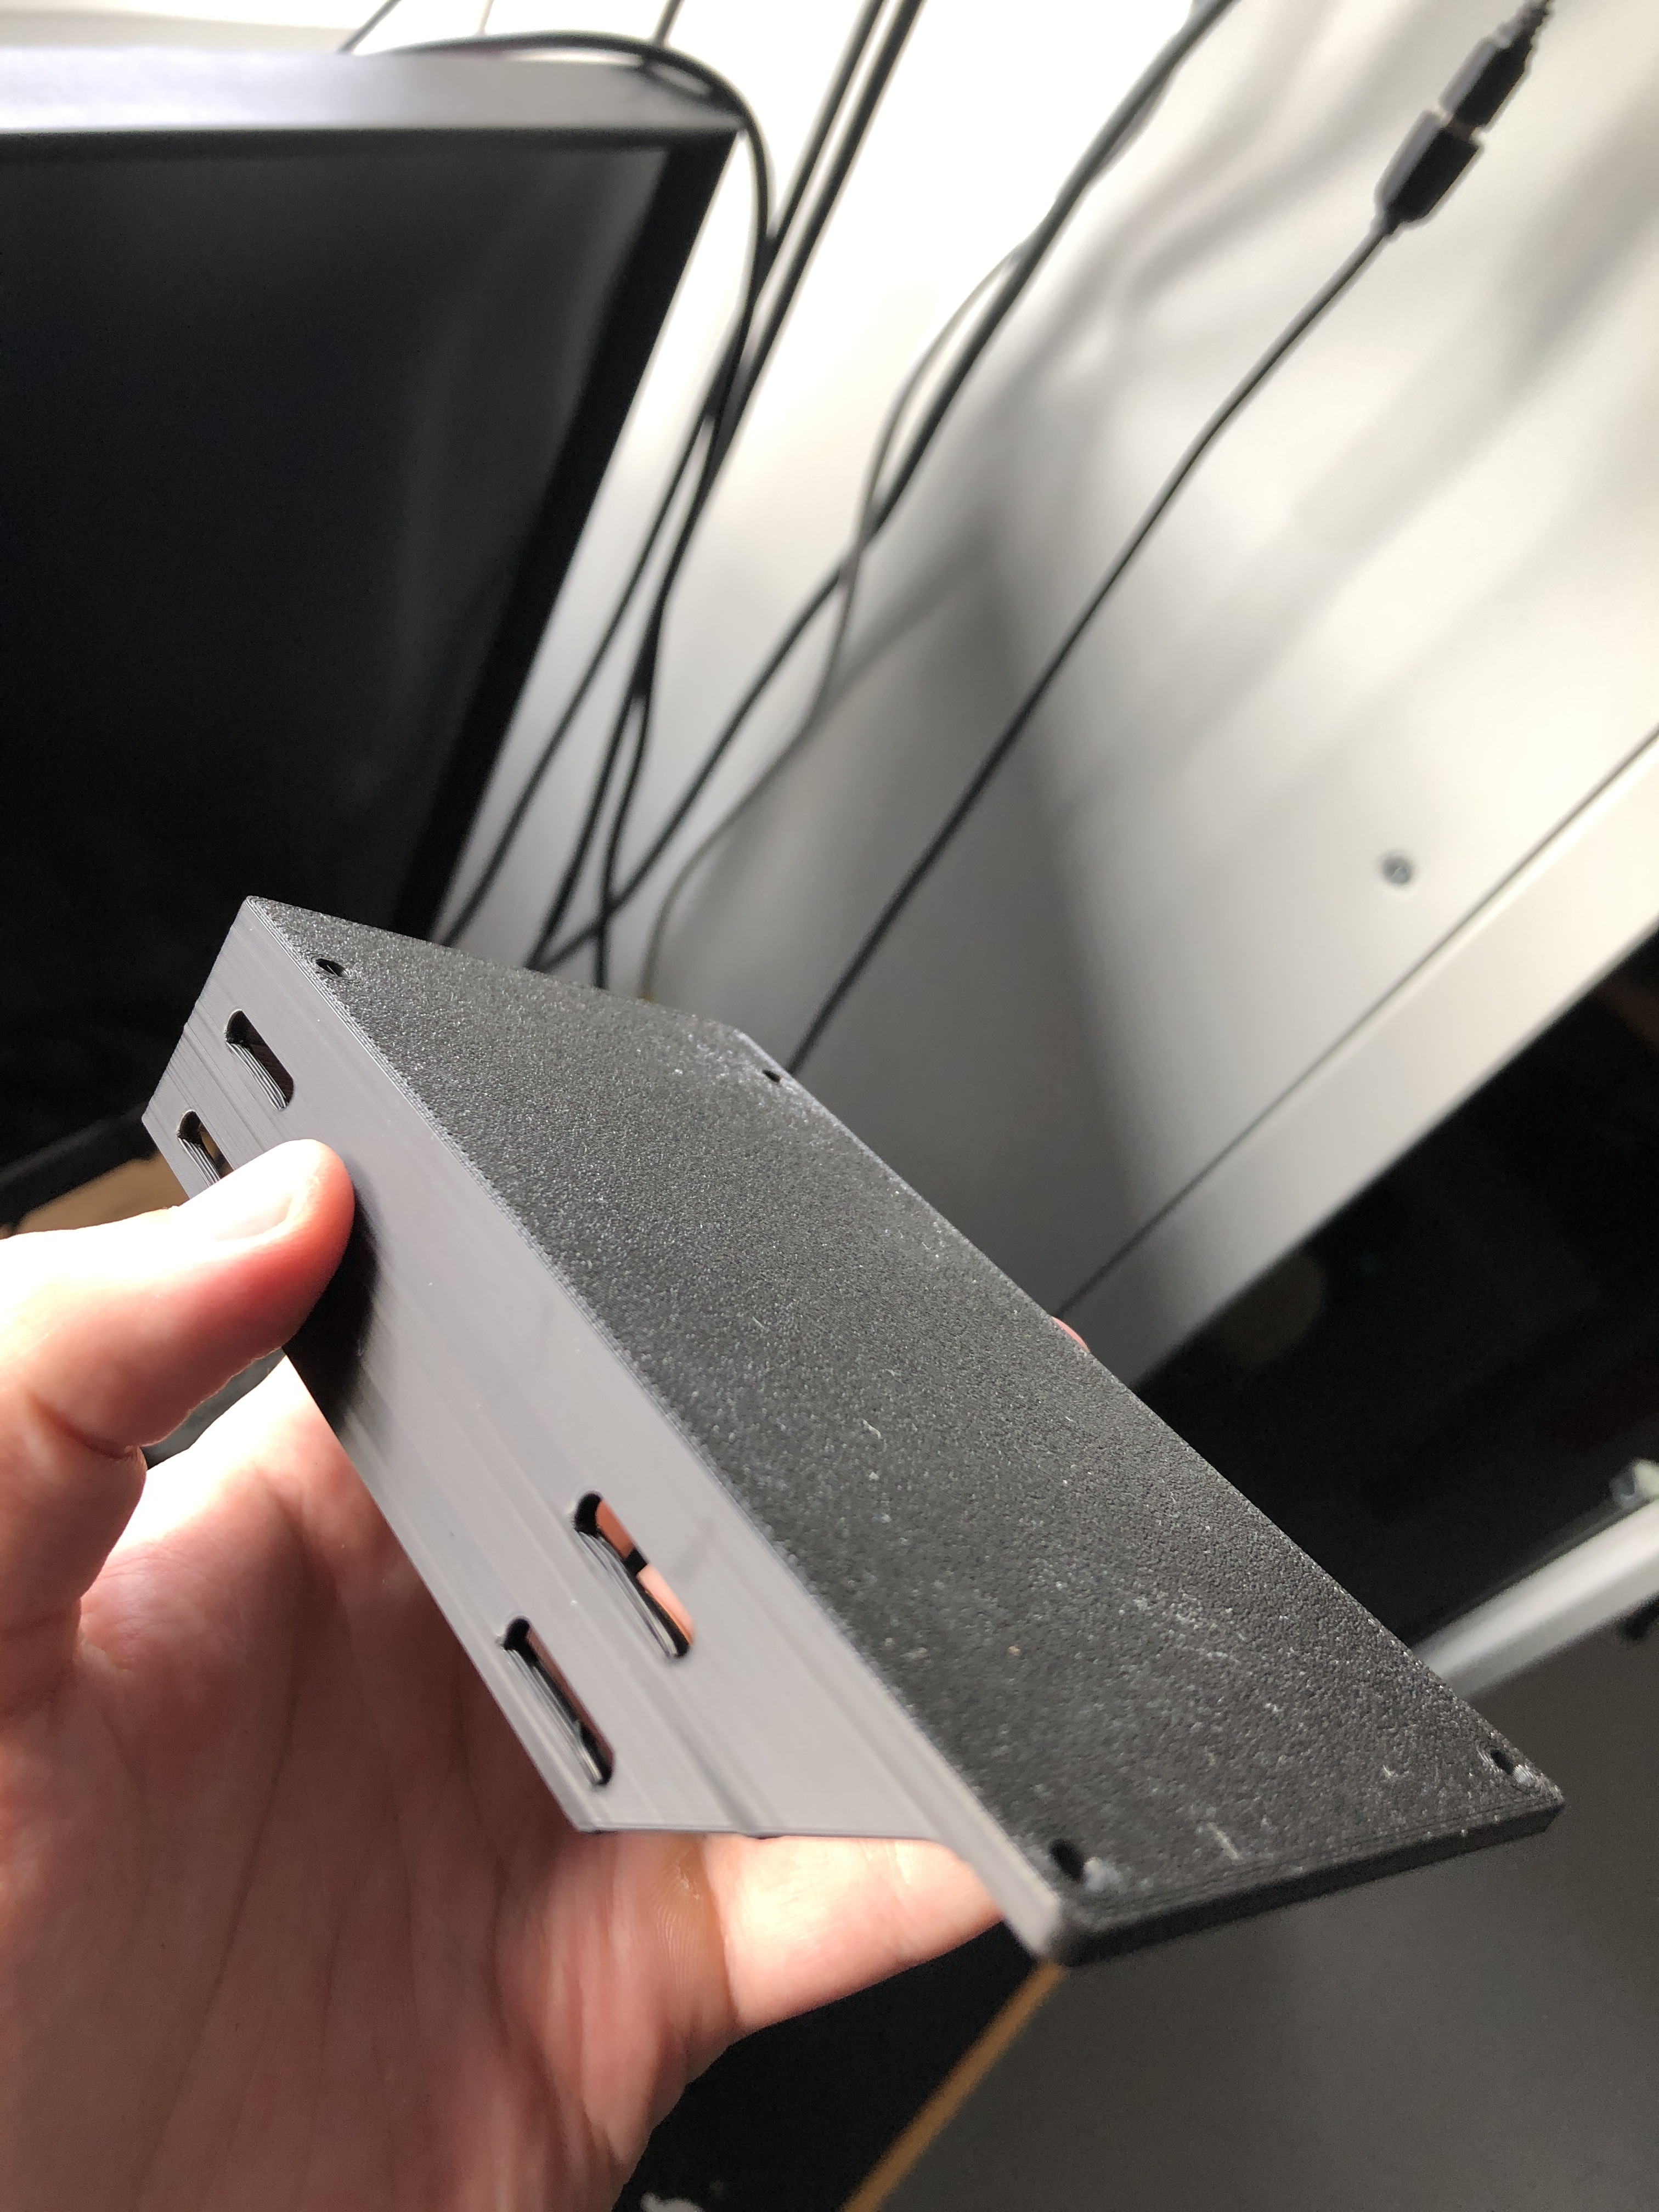
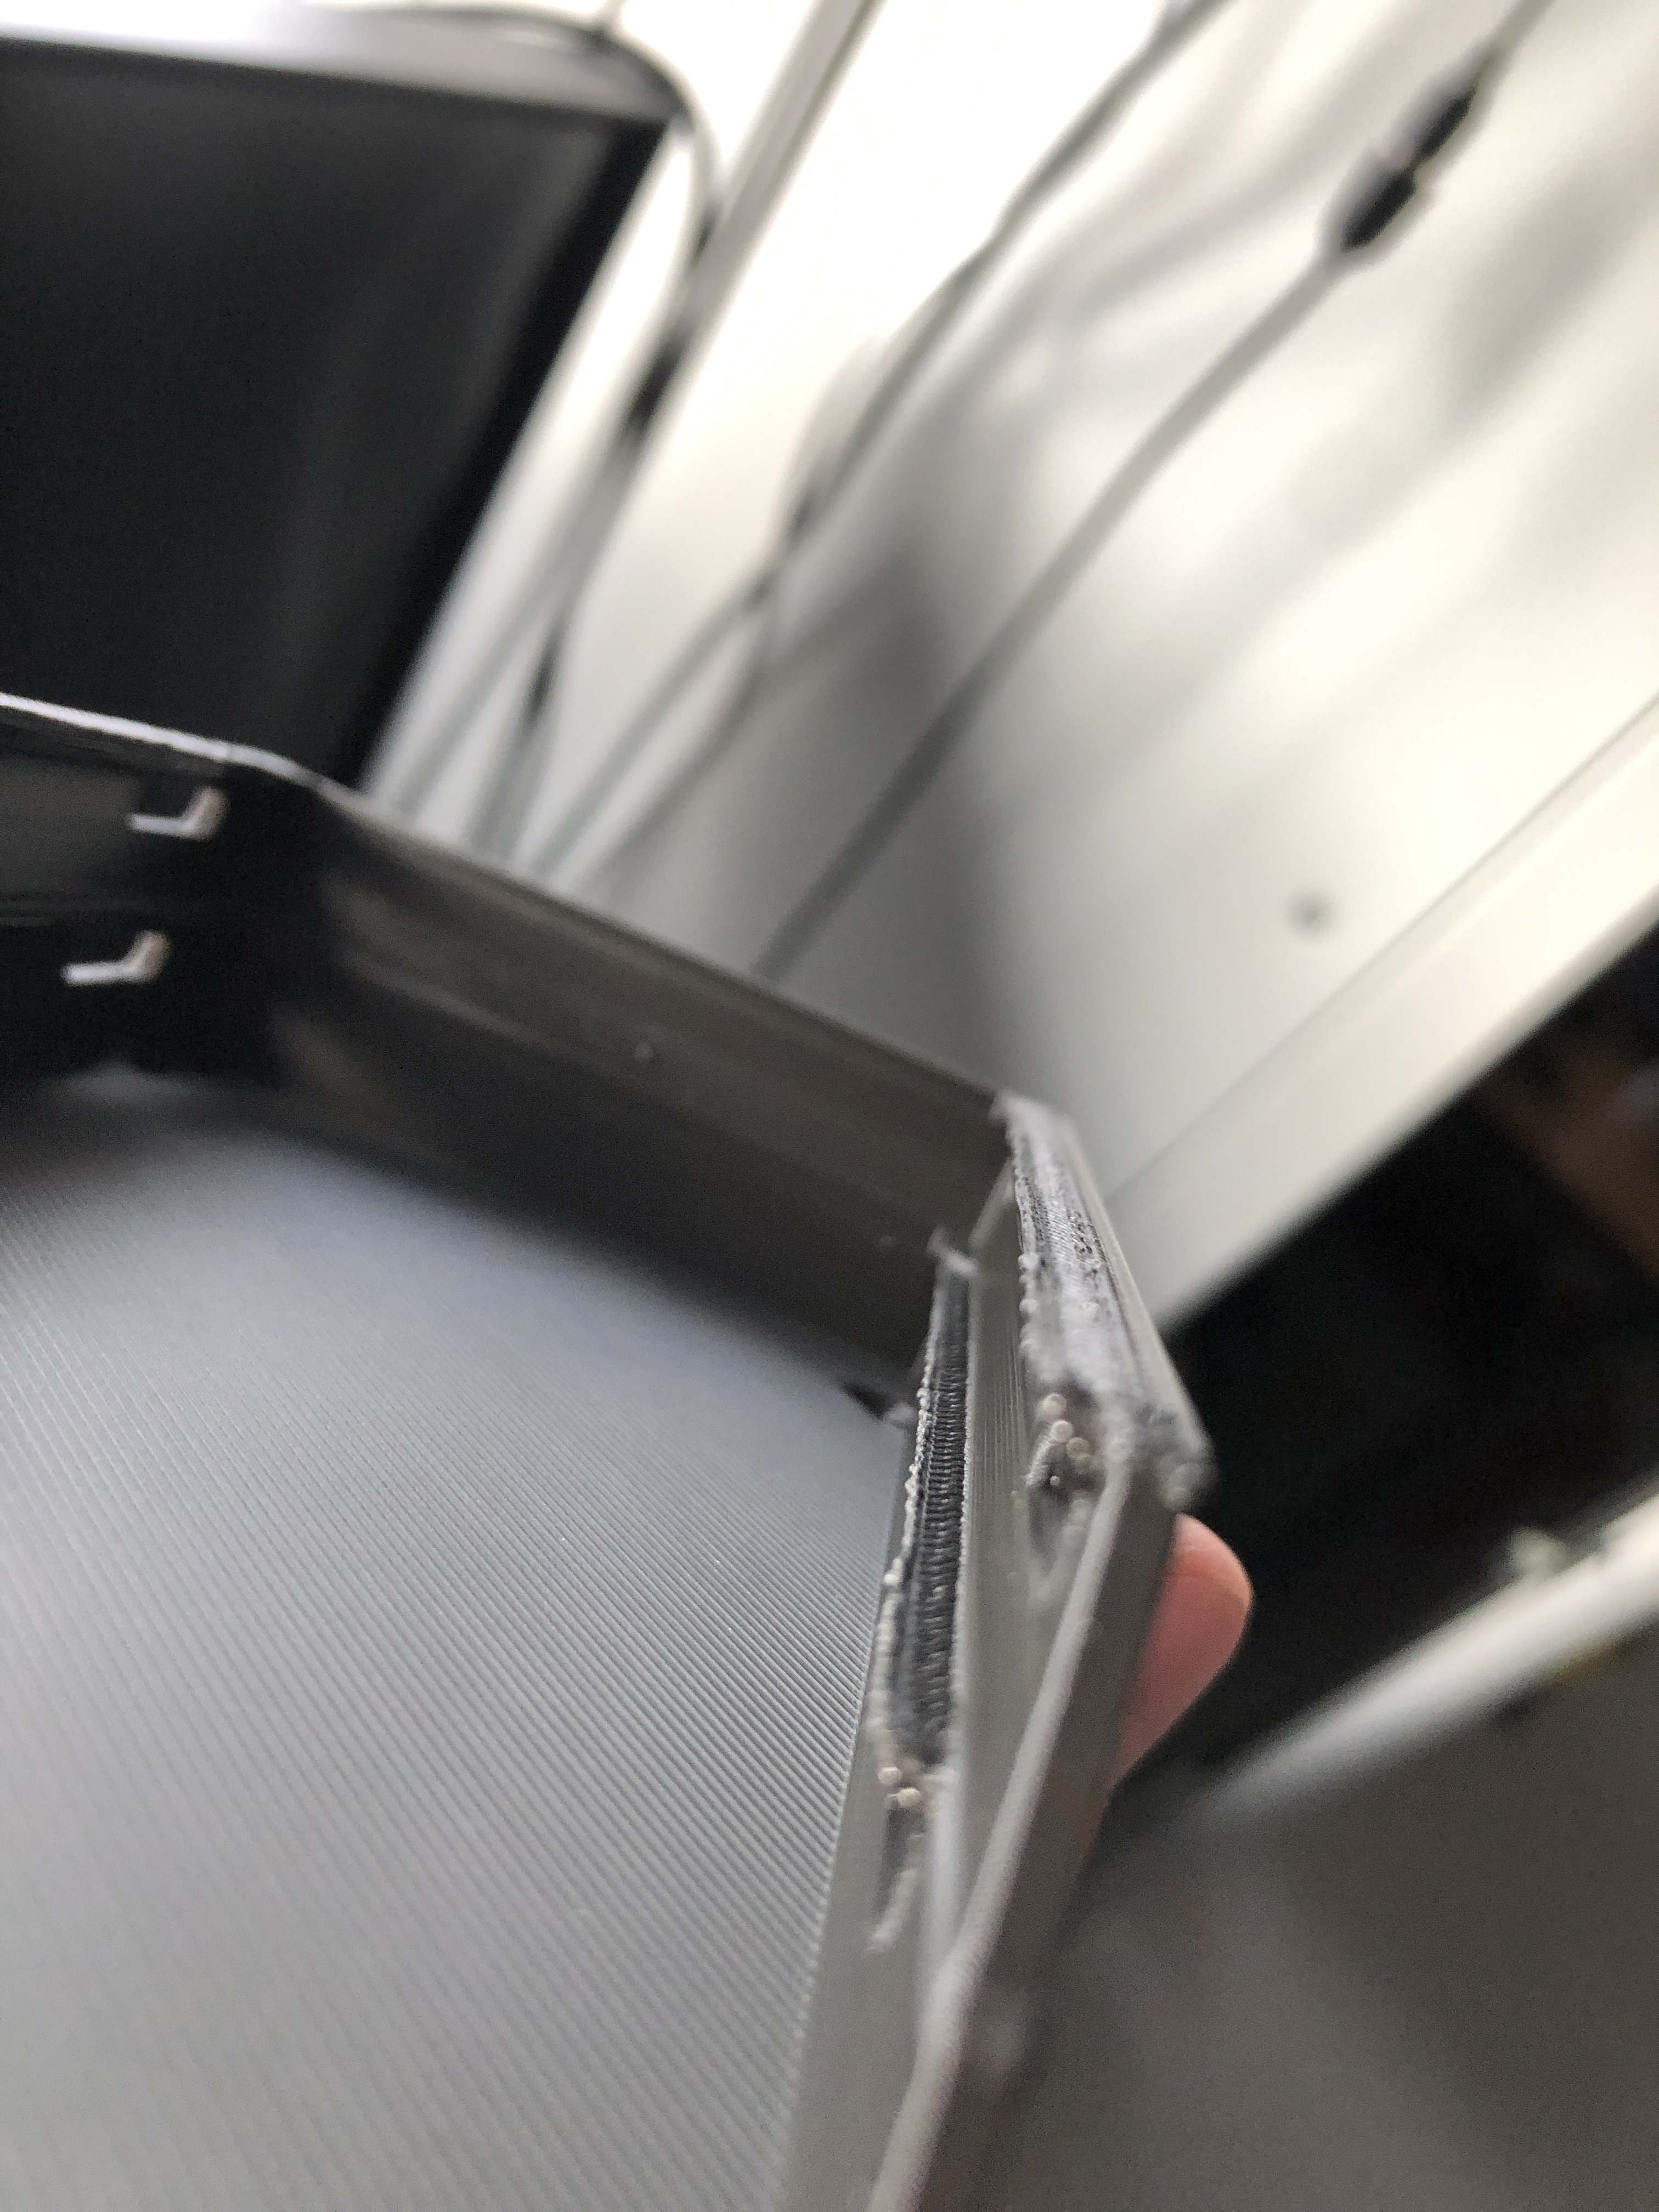
The SSD mounting holes were a bit finicky due to slight printing errors, and during my first installation attempt I forgot to put in the plastic middle layer of the case that’s between the PCB and the stock bottom cover, but other than that the installation was a breeze.
The drives never hit above 64°C, which is absolutely okay for these SSD-s. I’m not sure how actual spinning hard drives might fare in this environment, but I don’t think that it’s going to be that serious because 2.5" hard drives should not generate as much heat in the first place.
Power consumption
What I love about this board is the power usage. At this point my home server is not even the most power hungry component of my setup, that honor now goes to the ISP-provided router/modem combo box that always draws at least 12W, even when it’s in bridge mode.
Here are my power usage measurements (measured with a simple power meter):
- idle: 2.5W
- no drives attached, CPU stress test (
stress -c 4): 9.0W - one Samsung 870 QVO 4TB SSD attached, CPU stress test: 13.2W
- 2 SSD-s attached, typical power draw in my setup (~10-40% CPU usage): ~8-9W
- 2 SSD-s attached, max load on SSD-s and CPU: ~14W
The Zimaboard, ISP modem/router box, my TP-Link router/Wi-Fi AP and my CyberPower UPS all together use at most around 34W, all combined. That’s even less than what my Dell monitor uses at reasonably low brightness levels!
These tests are not scientifically accurate, but they should give you an idea on what power consumption numbers to expect when running this setup.
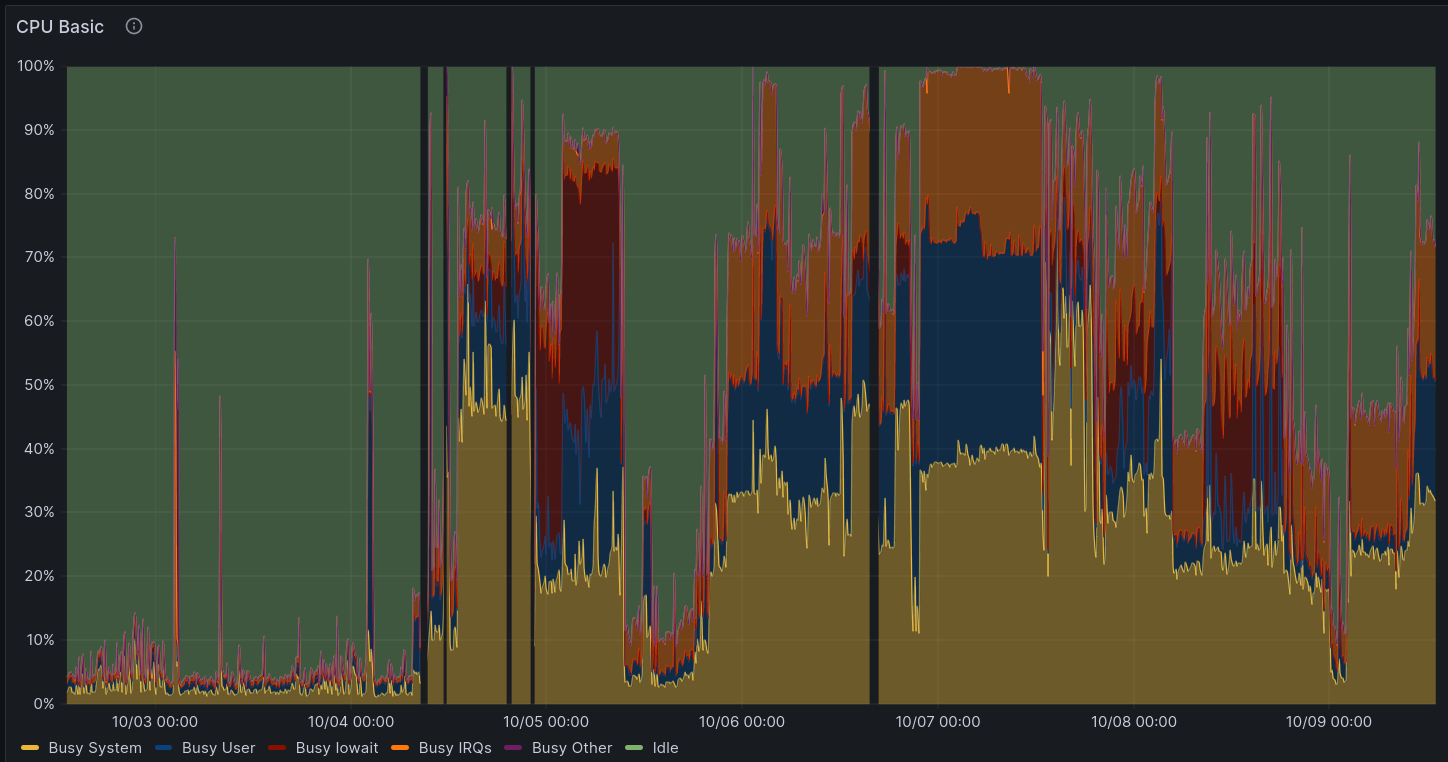
Performance
I use a simple Prometheus Node Exporter + Grafana setup to view how much resources my various servers use. My home server has lately either been an ASRock Deskmini X300 based setup or an old ThinkPad T430, and something that both had in common was that the CPU usage was generally very low, mostly at or below the 10% mark. There would be bursty loads from time to time and backup processes running that bump that up, but not significantly.
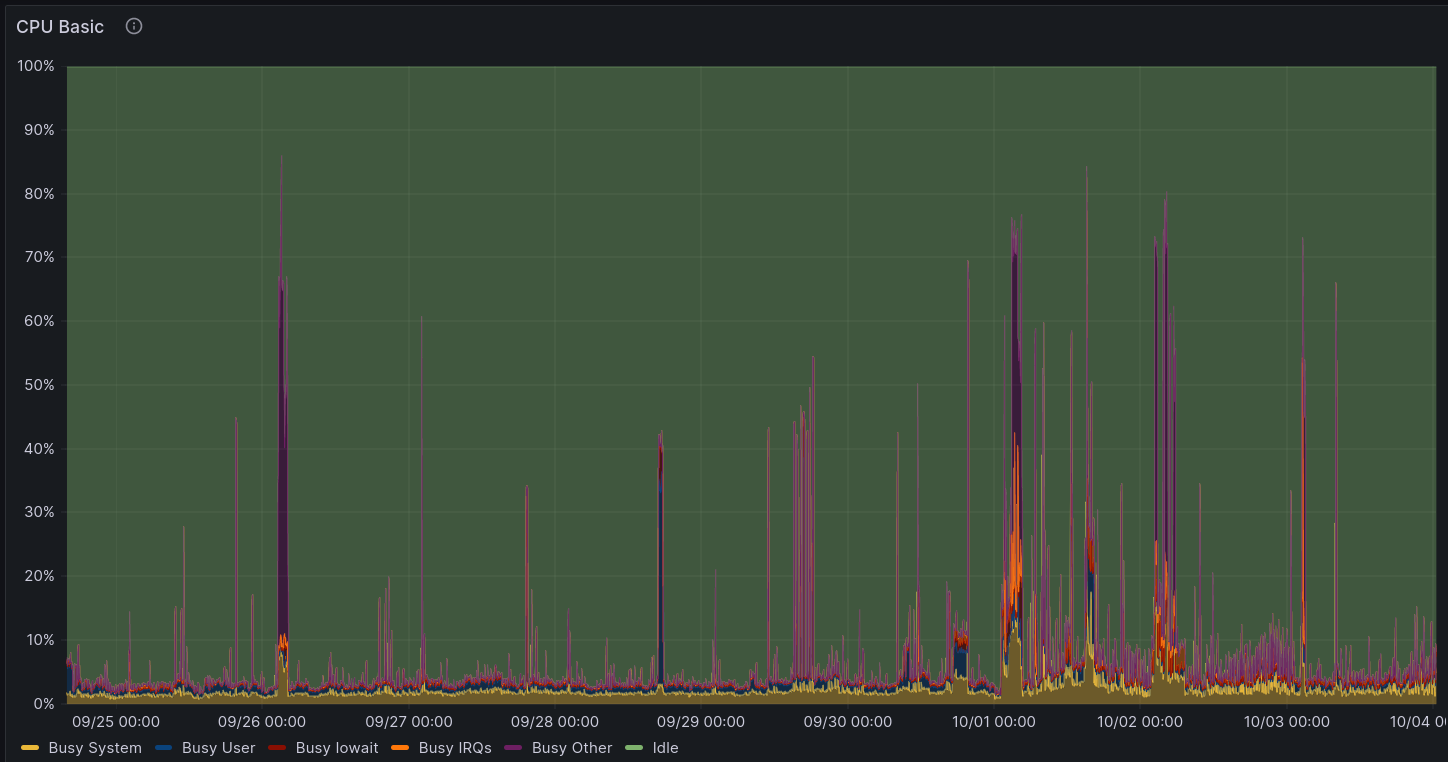
Memory usage of my setup was also quite low, with all my services and containers fitting into 2GB during typical usage. With this information and some CPU performance comparisons done, I knew that the Zimaboard will likely be able to handle my home server tasks.
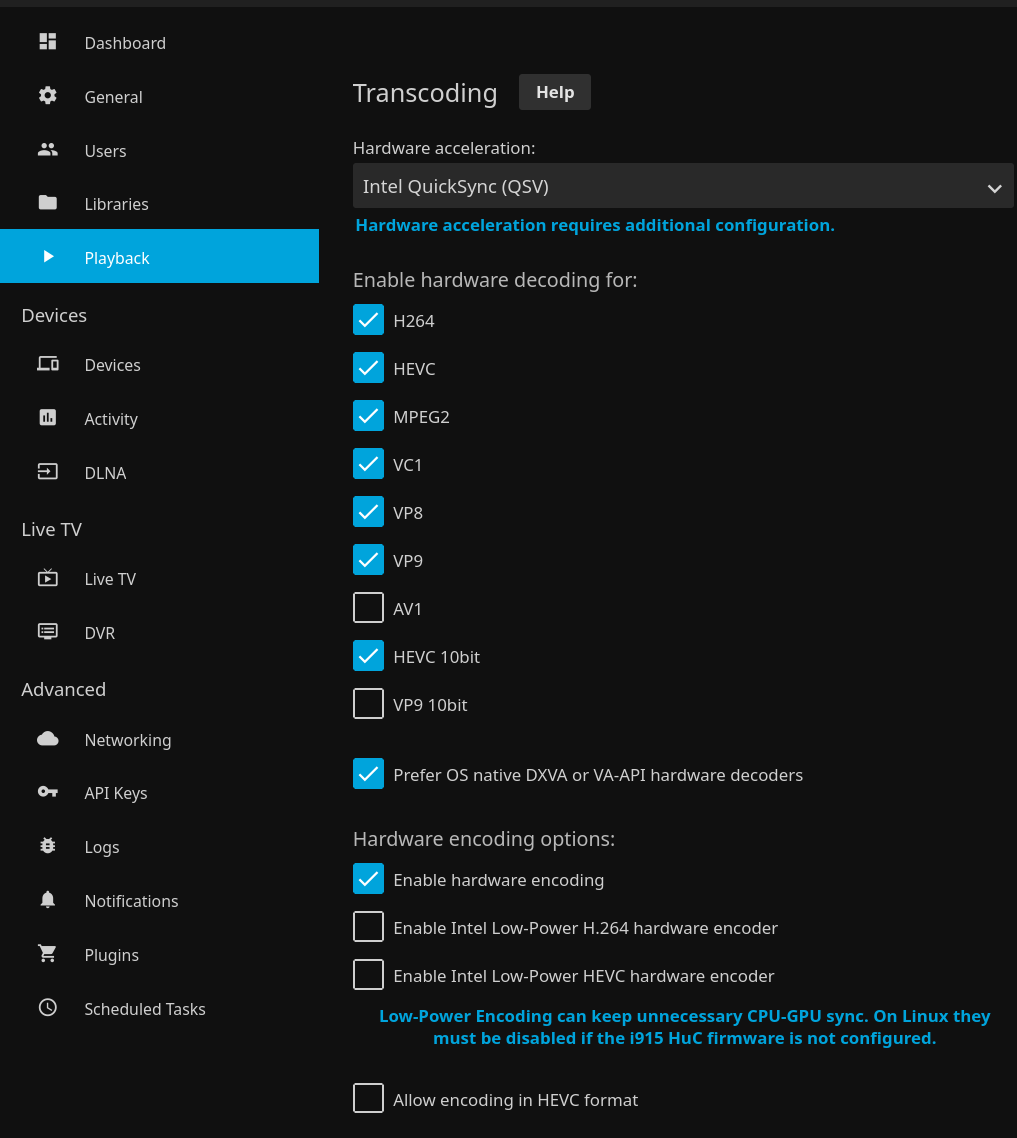
This board is not very powerful, but if you mainly rely on containerized workloads and can rely on Intel QuickSync to accelerate media transcodes, then you’ll be just fine.
I was actually impressed with how well the GPU-accelerated transcode
worked on this machine once you set everything up properly.
If you’re running Linux and Jellyfin,
run vainfo to get a list of supported codecs and make sure that you have hardware
decoding selected for those in Jellyfin settings. Also enable hardware encoding.
I checked with intel_gpu_top to see if work was offloaded to the GPU and saw
activity there, which means that hardware acceleration for Jellyfin worked out great!
Check the Jellyfin hardware acceleration for more details on other requirements
that have to be met for all of this to work.

Caveats
The Zimaboard does ship with a Linux-based OS called CasaOS. However, I had no intention of using it as I know what my requirements are and my infrastructure is already decently documented and set up via Ansible, which is why I can’t say how good that experience is. I also did not test Windows 10 or 11.
During testing, I noticed that the USB 3 ports can act a bit weird. The Fedora Server USB stick would not boot properly if connected to one of the USB ports, and when doing other tests with external USB storage I noticed hiccups from time to time. Not sure what might be the cause, but I’m writing it down nevertheless. It’s not a dealbreaker for me luckily since I don’t rely much on the USB ports in typical use anyway.
I did not test the PCI Express port, simply because I don’t need it, yet. It’s a great addition, though, and opens up plenty of modding capabilities in the future.
Fedora Server and btrfs
The Zimaboard gave me an opportunity to start fresh with my home server.
I made a leap: I’ve ditched ZFS and am now running Fedora Server with my storage being on a btrfs RAID1 setup, snapshotted and backed up using btrbk. It was a bit tricky to migrate and set everything up regarding backups and snapshotting, but I got it working.
ZFS is great, but it has always felt like an unwanted guest in the Linux ecosystem.
The kernel developers don’t care much for maintaining compatibility with ZFS since
it’s not in the kernel due to licensing issues, and Ubuntu has been one of the few
distros that actually ships a kernel that includes ZFS built in. I didn’t want
to be tied to Ubuntu forever, especially because of how they try to make snap
a thing. ZFS DKMS builds are generally okay on distros like Debian, but on
others you might find yourself not being able to access your data after a reboot
because of a kernel update.
btrfs has had some issues in the past, especially with the RAID5/6 setup, but in my single and dual disk setups it has been solid for years, except for that one time around 2018-2019 when I ran btrfs RAID1 over USB storage. To be fair to btrfs, that was a pretty stupid setup.
Before committing to btrfs, I used two USB sticks to create a RAID1 setup and created real torture test scenarios. Tests looked something like this:
- write a file to the filesystem
- use
md5sumto calculate a hash of it for verification purposes - completely wipe one USB drive with
dd - run
md5sumto calculate the hash again (it matched every time) - run
btrfs scrubon the filesystem to fix all errors - rinse and repeat with variations to this setup
After doing all that, I was quite confident that this was going to work.
One thing to note with btrfs: if you’re running any type of multi-disk and
redundant setup like RAID1 or RAID10, then make sure to include the mount option
degraded in /etc/fstab so that you can still mount your filesystem if one or
more of your drives fail. If you lose too many drives then it’s still probably going to fail to boot.
Here’s my /etc/fstab setup to serve as an example:
LABEL=turbo /turbo btrfs subvol=turbo,compress-force=zstd:1,ssd,degraded,nofail 0 0
When doing the migration I kept all the paths the same, and each ZFS dataset
was recreated using btrfs subvolumes, which is why this filesystem is mounted on a top-level folder.
Alternatives
My notes for the next dream home server setup included a few candidates:
-
the Zimaboard
-
a TinyMiniMicro style machine with at least two NVMe SSD slots
The first two fall nicely into my requirements for the dream home server. I picked the Zimaboard mainly because it’s much cheaper and I was already running two SATA SSD-s for my home server storage, so migrating would be really easy and I would not have to buy any new drives.
If large capacity SATA SSD-s start becoming less common and NVMe SSD-s become even cheaper than they already are, then I’ll have to look into something like a Flashstor.
Conclusion
Overall, I’m very happy with this purchase. The performance is just enough for my services to work reasonably fast, the board uses very little power and it’s silent, and it looks good on my wall.

My setup is also quite flexible, so in case I need more resources, I can get more Zimaboards and make them serve different purposes. However, it’s more likely that I’m going to discover a new toy to experiment and play with by the time I run out of resources on this one.
2024-08-20 update
I ran the Zimaboard for over half a year, but decided to switch back to the ASRock Deskmini X300.
I still love the low power consumption and the expandability, but I ended up putting more load on the system than I initially anticipated CPU-wise (running over 20 different Docker containers, some heavy). Should’ve guessed that it would happen eventually.
If it came with an embedded AMD Ryzen APU, then that would probably change things up quite a bit.
Zimaboard: still the closest thing to my dream home server, but it’s that last little bit of performance being missing that gets me. If your needs are moderate or low, then it’s still a fantastic option, if the price is right.
My eyes are now on the Asustor Flashstor Gen 2 machines. Up to 12 NVMe SSD-s plus 4 cores of AMD Ryzen goodness sounds too good to be true. Let’s see what the reviews will say once it’s out.
Subscribe to new posts via the RSS feed.
Not sure what RSS is, or how to get started? Check this guide!
You can reach me via e-mail or LinkedIn.
If you liked this post, consider sharing it!