
How to save an old printer from the e-waste pile with a Raspberry Pi
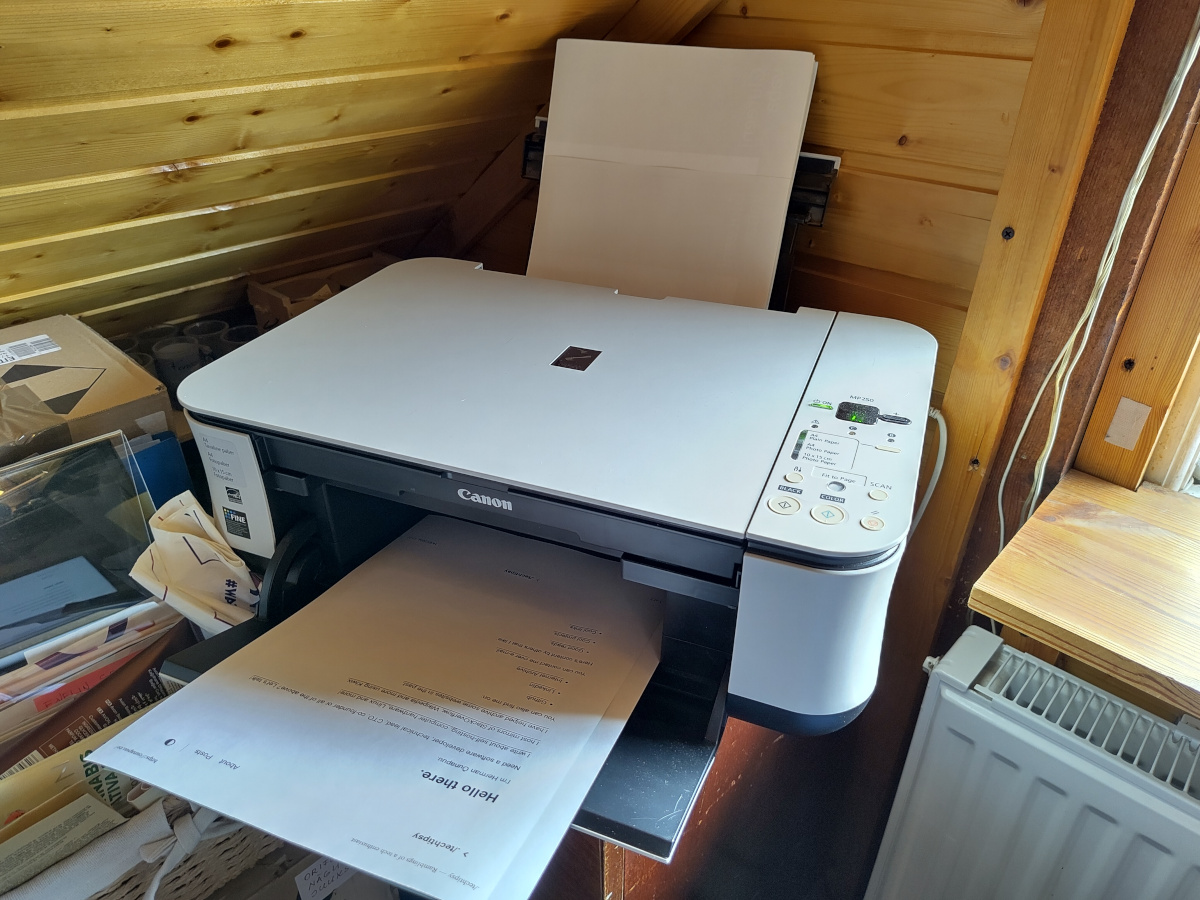
A family member has a Canon PIXMA MP250 printer, originally released in 2009. It has been a very reliable piece of hardware, especially for a printer.
Then came Windows 10. The printer would not work out of the box with it and the official drivers got stuck during installation. Fiddling with the printer in device manager, trying to install drivers via Windows Update and stars aligning got the printer to work again.
Then came Windows 11. Nothing I did could get it working now, and the printer is not even officially supported by Canon on this version of Windows.
This printer works out of the box on any mainstream Linux distribution, and the family member had been using the printer with Ubuntu for years, but a certain piece of important software in Estonia was not working properly a lot of the time, which triggered a switch to Windows.1
Quick searches online suggested that I could turn this printer into a network printer, as long as I had some patience and a spare computer.
The idea is simple: take a spare computer, hook it up to the printer, install CUPS on it, configure it and you’re good to go!
I initially tested this setup with a Zimaboard running Fedora Server, but the final solution used an old Raspberry Pi B+ running the latest version of Raspberry Pi OS.
How to set it up
The steps will be similar with other pieces of hardware and Linux distributions, you may just need to adjust a few commands and package names.
The steps are roughly based on these two guides:
- Setting up Network Printer with Raspberry Pi and CUPS
- Raspberry Pi Print Server: Setup a Network Printer
If you’re following along with a Raspberry Pi, set up your OS first. A minimal installation with no graphical interface will be just fine.
Next, install CUPS and optionally the right printer
drivers for your printer. The Canon PIXMA MP250 requires the
package printer-driver-gutenprint.
sudo apt install -y cups printer-driver-gutenprint
Make sure that CUPS is running.
sudo systemctl enable --now cups.service
Next, allow your user to manage printing. In this example, the username is pi.
sudo usermod -a -G lpadmin pi
Next, make sure that CUPS allows connections from other machines in your network, and then restart it.
sudo cupsctl --remote-any
sudo systemctl restart cups
Find out the IP address of the Pi and navigate to it in your browser.
It will look something like https://192.168.0.49:631. The browser will likely
warn you about a self-signed certificate. It’s safe to proceed.
If you haven’t already connected your printer to the Raspberry Pi via USB, then do so now.
Use the graphical interface to add a new printer under the Administration
section.
You’ll need to enter the username and password for your user here. It’s the same
user we used earlier, so in this example it’s pi.
If you can’t find your printer model listed in the Add printer view, then you
are probably missing the proper driver package, or your printer simply isn’t
supported.

After adding your printer, you can use the CUPS web interface to print a test page.
If that worked, then you should now be able to use any other device on the network to print!
On Linux and Windows, open the settings section that handles printing, and add a new printer. This networked printer should appear automagically, no additional configuration required.
I also did testing using a Fairphone 5 running Android 13, and an iPhone X running iOS 16. In both cases the printing just worked.


I’ve used the scanning functionality of this particular printer on Linux and it has worked, however I forgot to test this out using this setup. I’ll try to test that out once I get the chance to try the printer out again.
Hardware tech tips
I first ran this setup with a Zimaboard to test the idea out. It worked very well, but as a simple print server it is a bit overkill.
I then replaced it with a Raspberry Pi B+, and while the printing works, I discovered that a single ARM CPU core is apparently a limiting factor during printing. A simple test page print pegged the CPU at 100%, and that’s with the 700->1000 MHz overclock applied.

If you don’t mind a slower printing speed, then any Raspberry Pi will be absolutely OK. More performant versions of Raspberry Pi will likely fare even better.
If you already have a small home server running, then you may want to hook the printer up to that and set up the printer there. It’s already running 24/7, so it would be a perfect match.
One useful aspect of this setup is that you can queue up print jobs even when the printer itself is powered off. Once you turn it on, the print jobs will start, assuming that you have enough paper and ink.
Free open source software prolongs the useful life of hardware once again. See y’all in October 2025!
2024-06-15 update
This post got featured on:
And even the leader of OpenPrinting, Till Kamppeter, chimed in! They also held a talk about OpenPrinting at FOSDEM 2024.
Regarding scanning, seems like there’s a separate project for that called SANE - Scanner Access Now Easy.
Find out more about OpenPrinting here.
-
that might be about to change as there is an unofficial Flatpak version out there. ↩︎
Subscribe to new posts via the RSS feed.
Not sure what RSS is, or how to get started? Check this guide!
You can reach me via e-mail or LinkedIn.
If you liked this post, consider sharing it!