VR, VFIO and how latency ruined everything
I’ve been running my all-in-one PC for a while now. It was my desktop, my NAS and my gaming PC. However, during the next couple of months I kept hitting small bumps along the road. Most of these were quite straightforward to fix, but there is one that finally convinced me to go back to a simpler setup.
iSCSI
As mentioned in one of my previous posts, I had set up the storage on my gaming VM over iSCSI. If you don’t know what iSCSI is: think of it like a hard drive that you can hook up to your machine over the network. This setup had a couple of benefits: the amount allocated to the VM was flexible and I would always have a snapshot of my game data in case the Windows VM decided to nuke itself.
What I didn’t take into account was the configuration. tgt allows you to
define the IP address of the client machine, which can be seen as an additional
layer of security. My gaming VM has two virtual NIC-s, one pointing to the
actual physical network, and another one to a virtual one. This resulted in the
iSCSI connection being flaky on startup: the disk was not present in the VM on
first boot, but was there after a reboot.
This issue was gone once I removed this restriction from the iSCSI target configuration on the Linux VM. My best guess is that the iSCSI stack in Windows might have tried to initiate a connection over the wrong NIC, depending on whichever one was brought up first.
After “solving” this issue, it had been smooth sailing.
GPU audio issues
When the Windows VM had been on for a while, the HDMI audio output would start to glitch out after a while, with the audio sounding slow, robotic and garbled. After doing some research, I found some resources that mentioned enabling MSI interrupts in Windows. The guide for this can be found over at Guru3D forums.
After tweaking the Windows registry settings and reminding myself that I do have snapshots to fall back to in case I mess up, I got the issue fixed.
GPU driver issues
Whenever there’s a new big and popular game released, NVIDIA usually releases
an updated version of their GPU drivers. I try to keep my software up to date,
so I usually install these updates when they come out. Just one problem: when I
upgrade the GPU drivers in the VM, the screen will stay black. After some time
passes, I have to force a reboot using virt-manager.
I have not looked into this issue yet as it only happens during driver updates, but it’s definitely an annoying thing to have.
UEFI and CSM
UEFI updates have a bad habit of resetting all the custom settings that you have made, and at least with the motherboards I have used, the settings cannot be restored if the backed up settings are from an older UEFI version. This means that I have to navigate the UEFI quite often to configure all the settings that I need to have in place for VFIO to work.
There is one setting that I didn’t expect to cause that much trouble though: CSM support. CSM (compatibity support module) is generally enabled by default and allows you to boot off of legacy operating systems if needed. I don’t have that requirement, so I went ahead and set my boot options to boot in UEFI mode only.
Reboot, start up Fedora, and boom, anything VFIO related is spewing errors like crazy.
Turns out that enabling UEFI only mode in UEFI settings somehow grabs the GPU and causes problems when you try to then pass the GPU to a VM. While in this mode, I noticed that the GPU was also shown in a separate menu in UEFI settings. Enabling CSM support fixed this issue for me.
VR and USB issues
With the situation in the world being less than optimal, I decided to spice up my gaming setup with the addition of a HTC Vive Cosmos in case in-door activities become much more popular suddenly.
First issue: I can’t get the damn thing working. My gaming VM setup has the inateck KT4006 passed through so that I can plug peripherals to the PC and make them available to the gaming VM with ease. After plugging everything in according to instructions and turning the link box on, I’m met with a barrage of USB connected-disconnected sound effects. 6 or 7 cycles later the sound stops, and with that do the rest of my USB devices.
I took the USB 3.0 card and tried it in an older machine that doesn’t have a fancy VFIO setup on it. Same issue. However, when connected to an USB 2.0 port, the setup shows a warning in VIVE Console, but at least it works! Since my PC literally has no USB 2.0 ports, I had to get a bit creative and plug an USB 2.0 extension cable between the PC and the USB 3.0 cable coming from the link box.
With the help of my friend I got confirmation that the issue is indeed with my USB ports. I also ordered a different USB PCIe card from inateck, this time the inateck KTU3FR-4P. I made the assumption that since the VIVE support page also recommends an inateck card, then they must be fit for purpose.
Nope. The second card apparently has the same chipset and the same issue.
What did end up working was a random VIA USB 3.0 PCIe card, which shows up as
VIA Technologies, Inc. VL805/806 xHCI USB 3.0 Controller on my machine. Just
one issue: it has PCIe device reset issues. If I shut down the Windows VM and
start it up again, I would sometimes get a bunch of IO_PAGE_FAULT errors in
my kernel logs. No worries, guess I’ll just avoid rebooting a notoriously
reboot-happy OS.
Latency: the straw that broke the camel’s back
If there’s one thing you don’t want to see in a VR gaming setup, it’s latency.
I’ve covered the tweaks I’ve made to my setup in a previous post. Turns out that those might not be enough. The CPU isolation using systemd works well in general, but not with kernel threads.
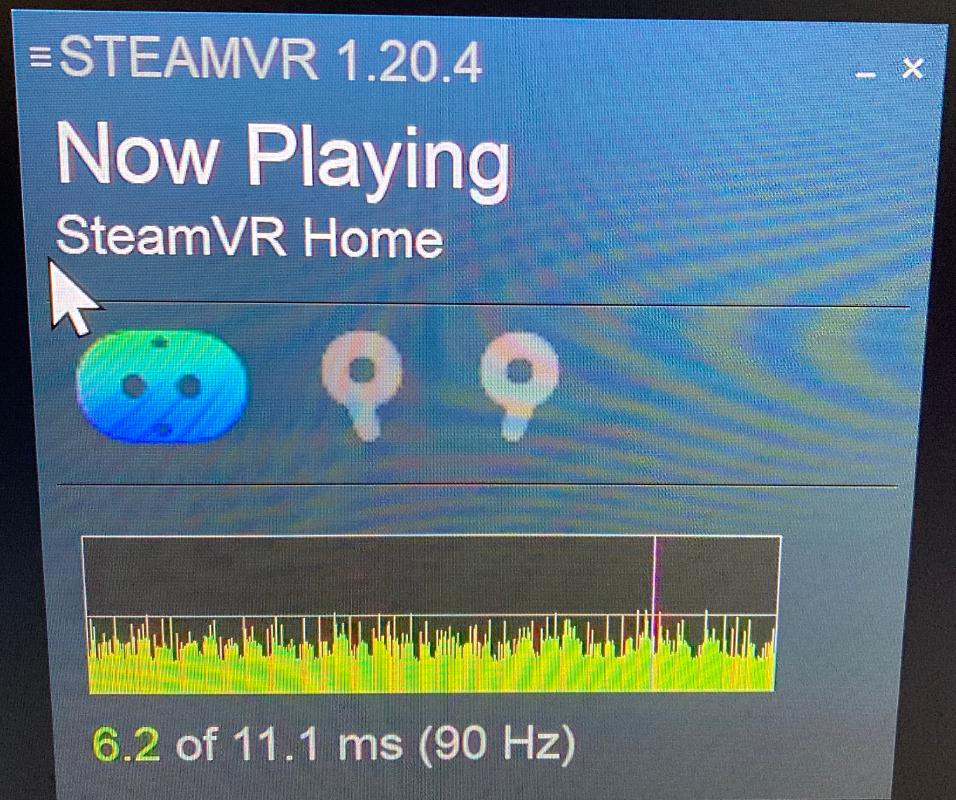
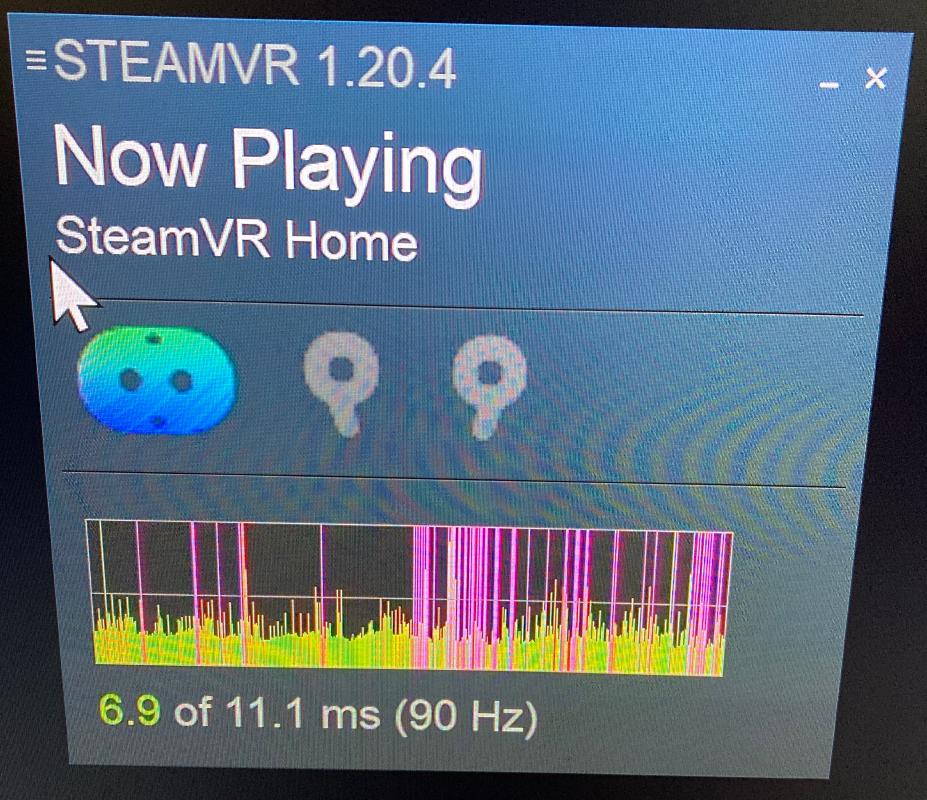
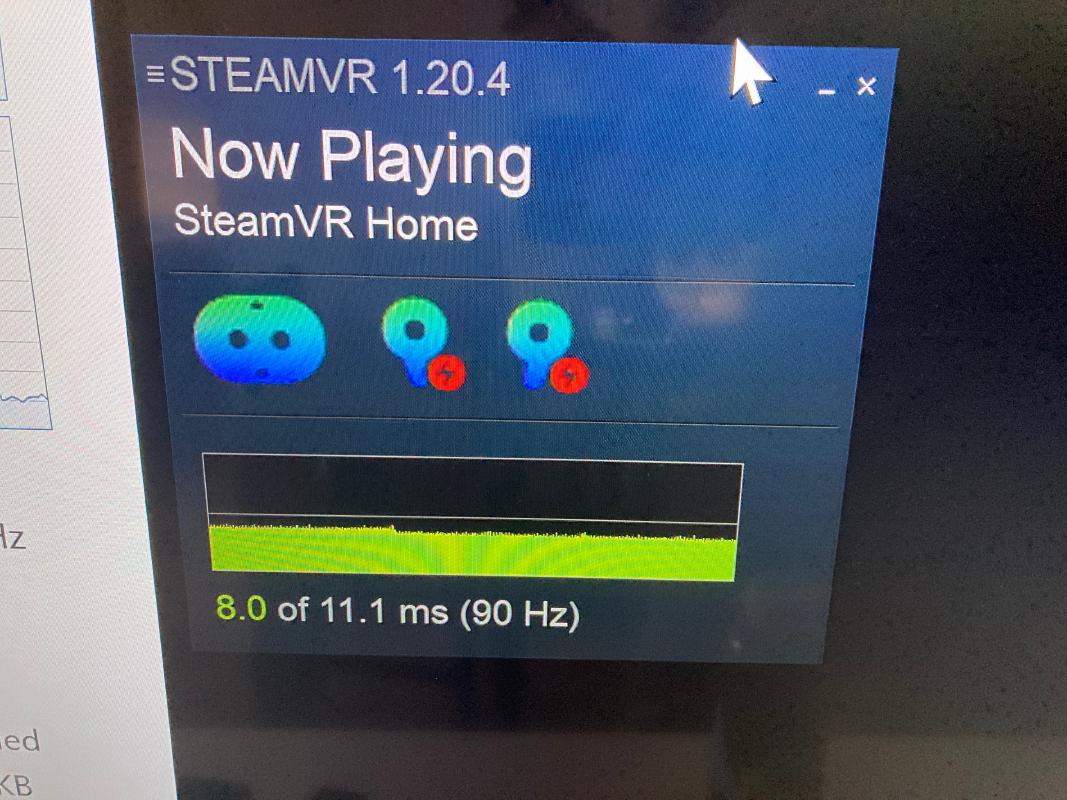
Whenever I did something IO heavy on an NVMe-based btrfs file system, it would introduce stutter to the gaming VM. Running a scrub operation on the filesystem was enough to put a huge load on the CPU, likely due to the raw speed that the NVMe SSD-s can provide. This results in the gaming VM experiencing stutter that ruins the whole experience.
Here’s an illustration.


Similar issues could be observed whenever I tried to run another VM that shares the same cores.
I looked into alternative solutions as well, and it does seem to be possible
to also isolate those CPU cores from the kernel. They will probably work to
some extent, but implementing them feels a bit hacky at the moment. I’m hoping
that in the future these kinds of tweaks will be exposed as a simple checkbox
in virt-manager itself.
At that point I had enough. If I’m not going to be able to use the machine for other purposes at the same time without experiencing all these issues and having to work around them, then I’ll just go back to a simpler setup. I’ll lose some of the benefits, but at least I don’t have to spend time debugging all these issues.
Conclusion
VFIO and virtualization are still interesting topics to learn about and try out, but for my use case they are just too limiting. I’d imagine that an use case that didn’t have such strict latency requirements would still be able to run just fine, unfortunately gaming just isn’t one of them.
This experience has been quite fun in general, but I’m calling quits, at least for now. The one machine that does it all turned out to be a jack of all trades, master of none.
Subscribe to new posts via the RSS feed.
Not sure what RSS is, or how to get started? Check this guide!
You can reach me via e-mail or LinkedIn.
If you liked this post, consider sharing it!