Testing GPU passthrough on AMD Ryzen 7 5700G APU
Introduction
Before we jump into all the nitty-gritty details, I’d like to go over what we are dealing with here since these topics may be unfamiliar to you. VFIO is quite a niche topic and not everyone knows about it.
GPU passthrough: the process of allowing a VM (virtual machine) to use a dedicated GPU. This allows you to run GPU-heavy workloads inside the VM, such as gaming or anything that benefits from GPU compute power.
VFIO: the framework that allows us to perform this operation.
IOMMU: hardware feature that supports all of this.
virt-manager: GUI application that I use to manage VM-s.
Reasons why you may want to go through all the hassle and use this approach:
- you’re on Linux but want to play games occasionally without rebooting into Windows
- you want to do all your work, gaming and server workloads on one machine
- you simply don’t want to build a dedicated PC for playing games and would like to utilize the existing resources on your main machine
- you want more control over the Windows installation because you simply don’t trust Microsoft
- you want to have more control over the Windows installation and the ability to revert the installation to an earlier point in time using a filesystem that supports snapshots (BTRFS, ZFS)
- you have multiple separate VM-s for different purposes, but you would like to use one single GPU for all of them
One thing to keep in mind is that the hardware you use matters a lot here as that provides the foundation for getting this solution working. Here are some of the requirements you should know about:
- The GPU you want to pass through has to support UEFI. GPU-s from the past 5 years should be good on that, but if you have a really old GPU that you want to use for testing, then that might not work out that well.
- You need to have a good-enough CPU and plenty of RAM. After all, you’re essentially running a full PC within another PC.
- Your motherboard has to support IOMMU and have IOMMU groups that allow you to isolate the GPU and only pass the GPU to the VM. Level1Techs does quite a few motherboard reviews and Wendell goes over the IOMMU groups and suitability for VFIO in them. It also helps if you look around the internet for enthusiasts that have already bought the same motherboard, they may have posted information about the groups. Here’s a handy script that allows you to check your IOMMU groups.
- Some games may ban you if they detect that you are running the game inside a VM. It’s great that they’re trying to do something against cheaters, but unfortunately VFIO users get unfairly treated here. Please do some research beforehand if you play competitive multiplayer games a lot!
I hope that this introduction helped you understand the basics. Now, let’s just jump right into it.
Setup
We’re going to test this setup on hardware that I have covered previously. What makes this setup a bit special is that we’re using an AMD Ryzen 7 5700G APU on an mITX motherboard and a single dedicated GPU, allowing us to do big things in a small package. Yes, there are setups where you can do VFIO with a single GPU and pass it between the host OS and the VM, but that setup might be a bit tricky to use.
The OS is Fedora 34. To get this working, I’ve used various resources:
- beginners guide on Level1Techs forums
- Fedora-specific guide by Wendell from Level1Techs
- this brilliant Arch Wiki guide that covers most of what you need to know about setting this up. It’s not only useful for Arch, a lot of what is written here applies for any distro.
Testing
I decided to do the initial testing with the Nvidia GT 710. It’s slow, buggy on Linux on Nouveau open source drivers, and I had it available. I also recently heard that Nvidia stopped being hostile towards their customers in one aspect by allowing GeForce GPU-s to be used in a Windows 10 VM without having to resort to workarounds.
The testing itself was relatively straightforward. The only issues I had were PEBCAK issues, possibly related to me performing this testing after work. The main issues I ran were either small typos in dracut configuration or the wrong device ID-s being added to kernel boot parameters. Once I discovered and fixed those, it was all smooth sailing.
I’m not going to rewrite a full guide here, please refer to the previously linked resources if you need more details than that. Those resources are also much more likely to receive updates about new finds and features.
The steps I took were roughly these:
- Make sure that IOMMU was enabled in UEFI settings. It’s probably set to
autoby default, make sure to set it toenabled. - Install the GPU that I want to pass through and connect it to a monitor.
- Install virtualization packages on Fedora:
sudo dnf install @virtualization - Enable IOMMU and preload the VFIO kernel module by adding
amd_iommu=on rd.driver.pre=vfio-pcito Linux kernel parameters.- I use GRUB2, these parameters live in
/etc/sysconfig/grub. - To apply these changes, you have to regenerate the GRUB configuration. Under Fedora, this is done
using
grub2-mkconfig -o /etc/grub2-efi.cfg
- I use GRUB2, these parameters live in
- Get the device ID-s for the GPU and the related audio device that you’re planning on passing through
- To see the devices and ID-s, run
lspci -nnk. The ID-s look something like1002:aaf0.
- To see the devices and ID-s, run
- Bind the GPU to
vfio-pcito avoid the GPU driver from taking control of the GPU, otherwise you cannot pass it to the VM.- I opted to go for the simple approach and added the device ID-s to kernel
parameters:
vfio-pci.ids=1002:67df,1002:aaf0 - Since I went with this approach, then I have to regenerate GRUB configuration again.
- I opted to go for the simple approach and added the device ID-s to kernel
parameters:
- Make sure that the initramfs loads the necessary vfio drivers early in the boot.
- With Fedora 34, this means creating a file
/etc/dracut.conf.d/10-vfio.confwith contentsadd_drivers+=" vfio_pci vfio vfio_iommu_type1 vfio_virqfd ". - Make sure that you don’t have any typos in that.
- Regenerate the initramfs:
dracut -f
- With Fedora 34, this means creating a file
- Reboot!
- Using
virt-manager, select the VM you want to pass the GPU through and add two PCIe devices: the GPU and its associated audio device.- If you don’t have the VM set up yet, then proceed with the normal installation without the GPU passed through yet.
Make sure to create an UEFI VM, otherwise you might run into issues. This can be configured in
virt-manager_ Overview_ section by selecting the Q35 chipset and setting the firmware toOVMF_CODE.df. - If you have passed through the GPU, then make sure to remove the
Display Spicedevice from the VM. - If you want to also control the VM, you need to also pass through your USB devices, such as a Logitech wireless receiver.
- If you don’t have the VM set up yet, then proceed with the normal installation without the GPU passed through yet.
Make sure to create an UEFI VM, otherwise you might run into issues. This can be configured in
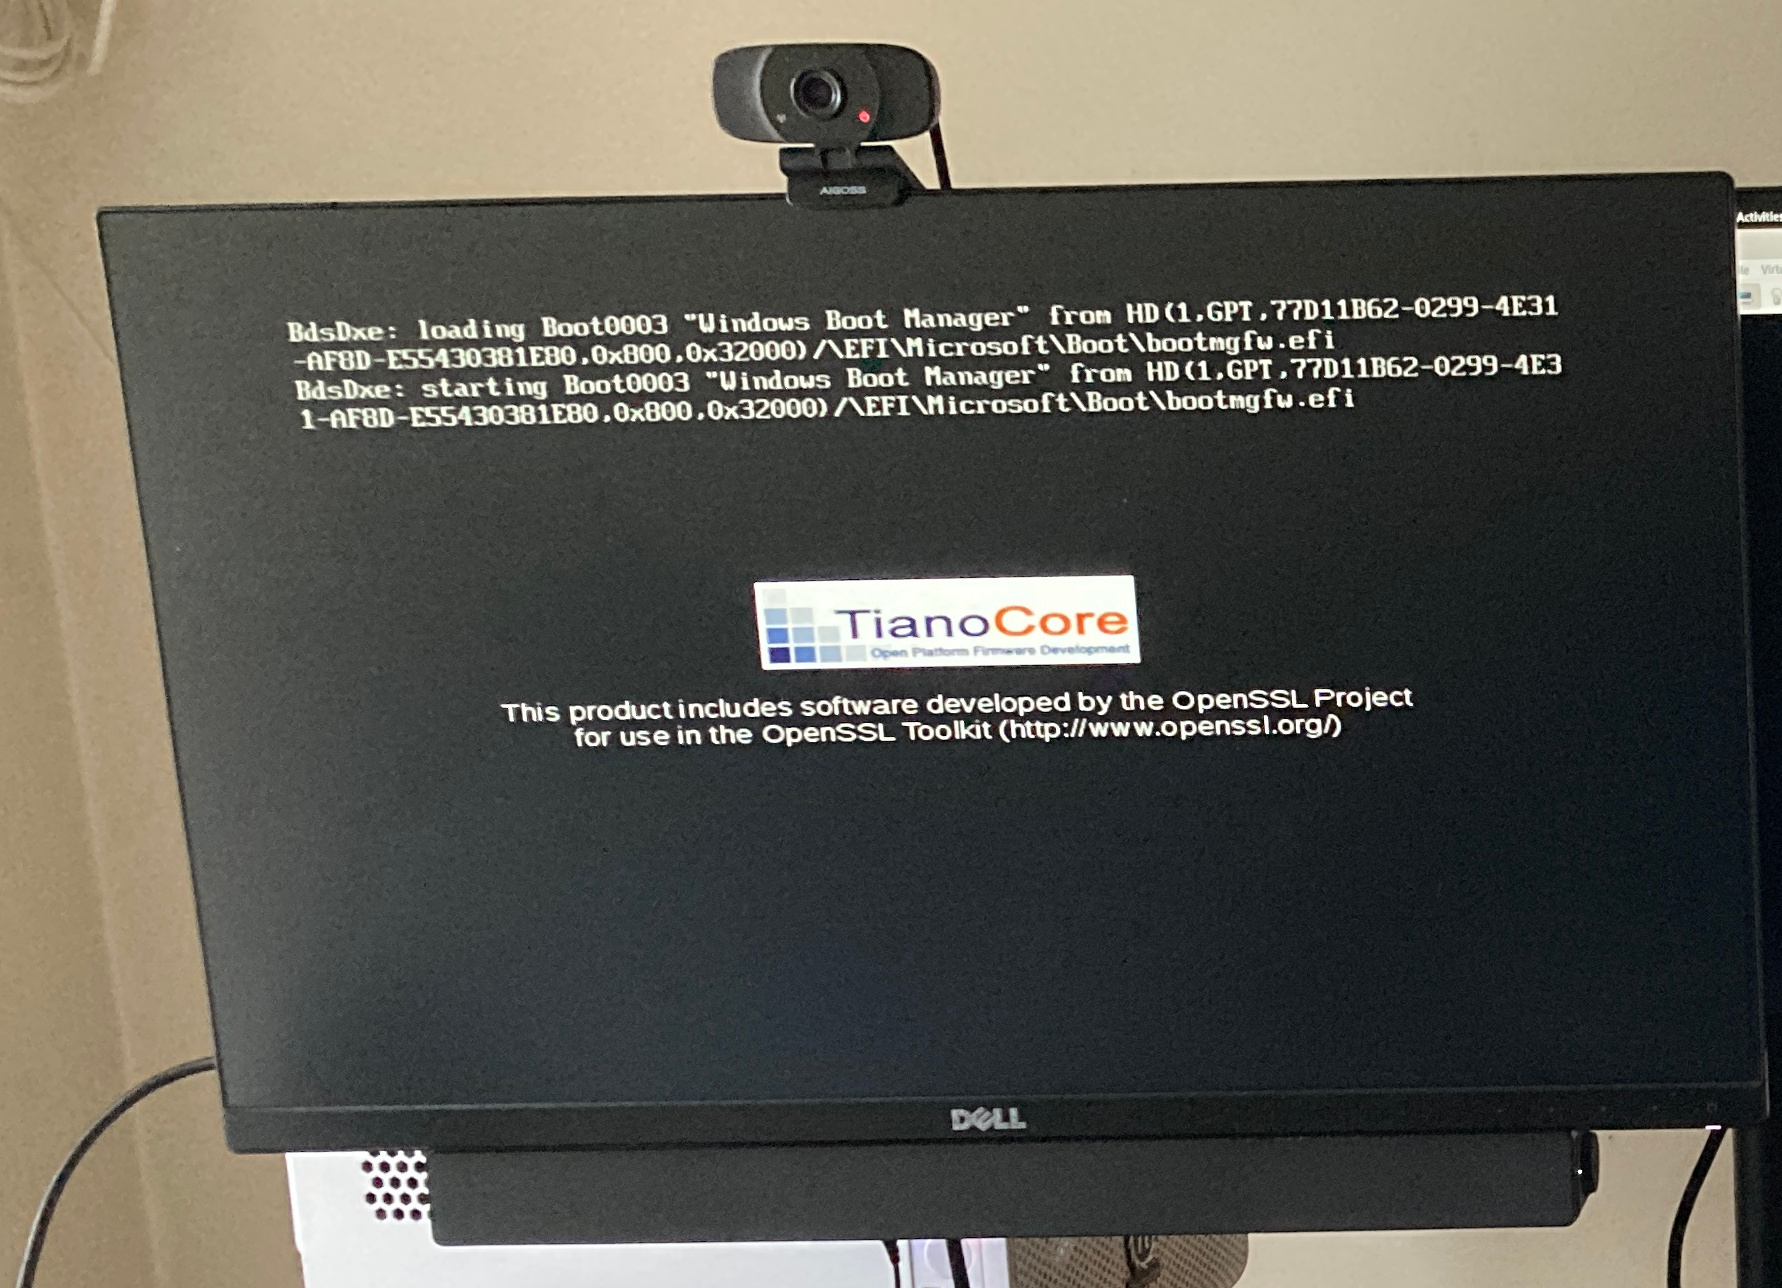
- Start the VM and cheer once you notice TianoCore appearing on the monitor that’s connected to the passed through GPU!
Results: Nvidia GT 710
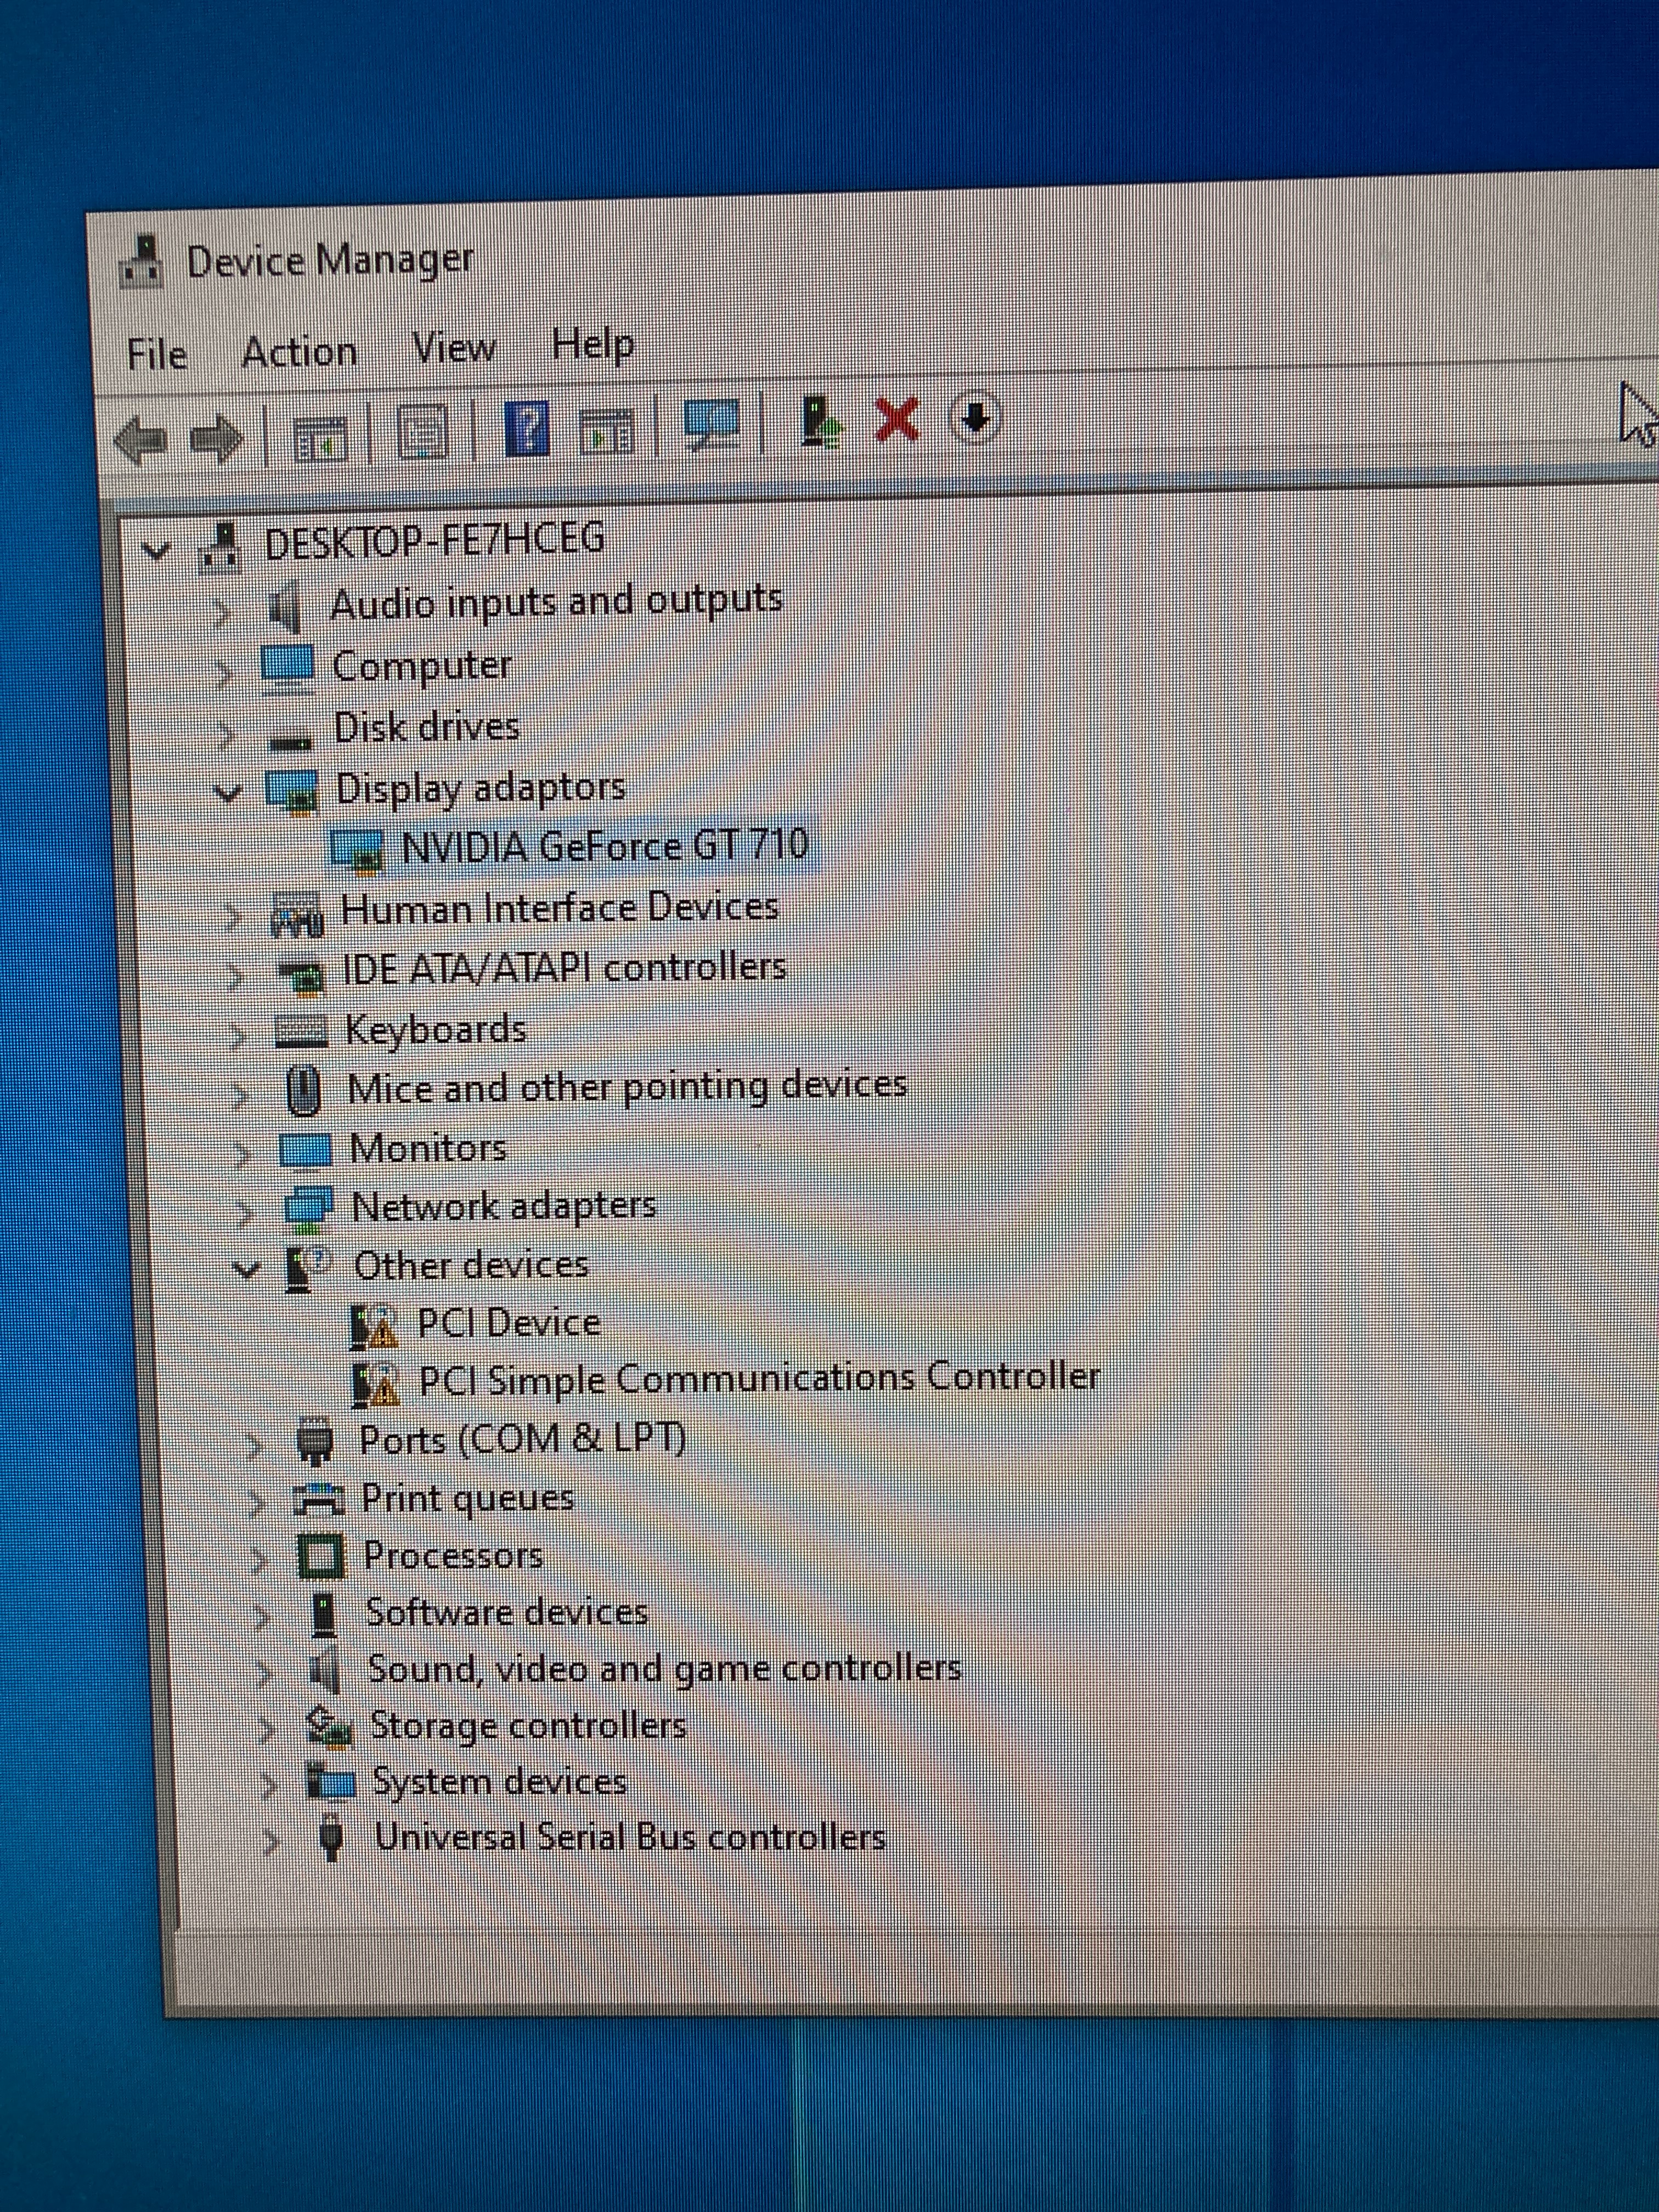
Initial testing with Nvidia GT 710 was successful. By successful, I mean that the GPU displayed an image and did not install GPU drivers automatically.
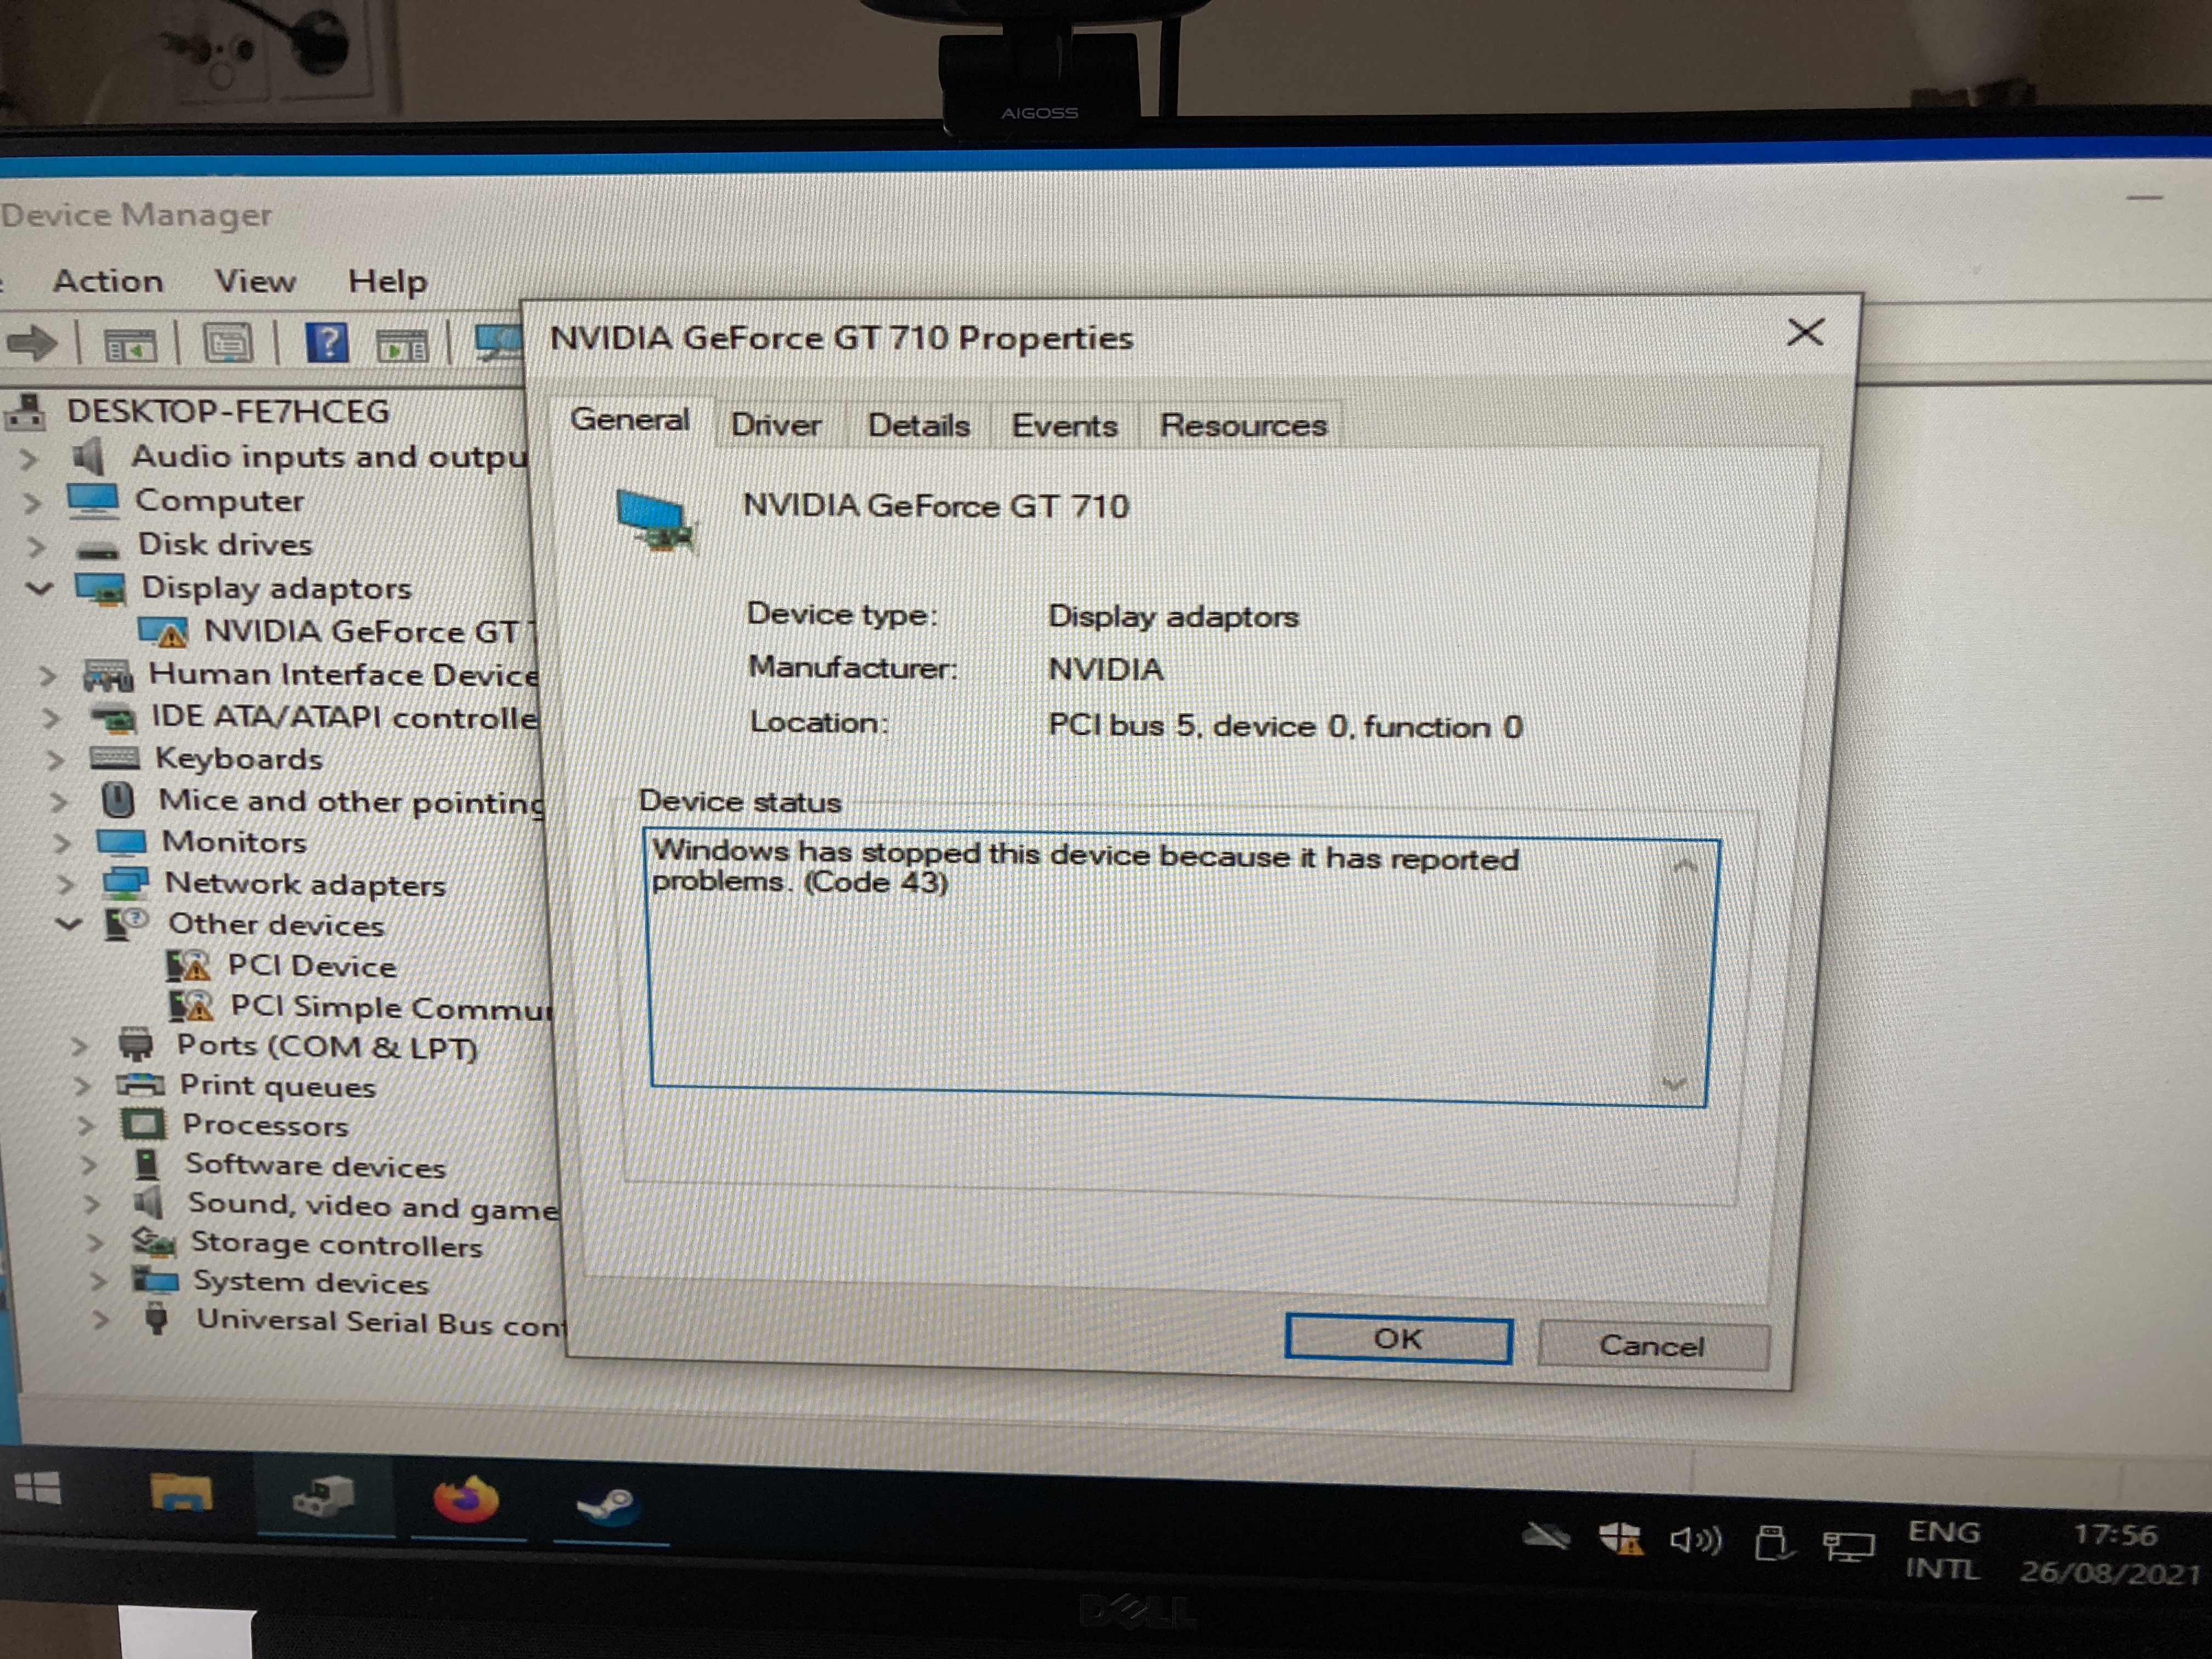
To overcome that last issue, I downloaded the latest official Nvidia GPU drivers and was good to go. The news were true, error code 43 was no longer an issue!
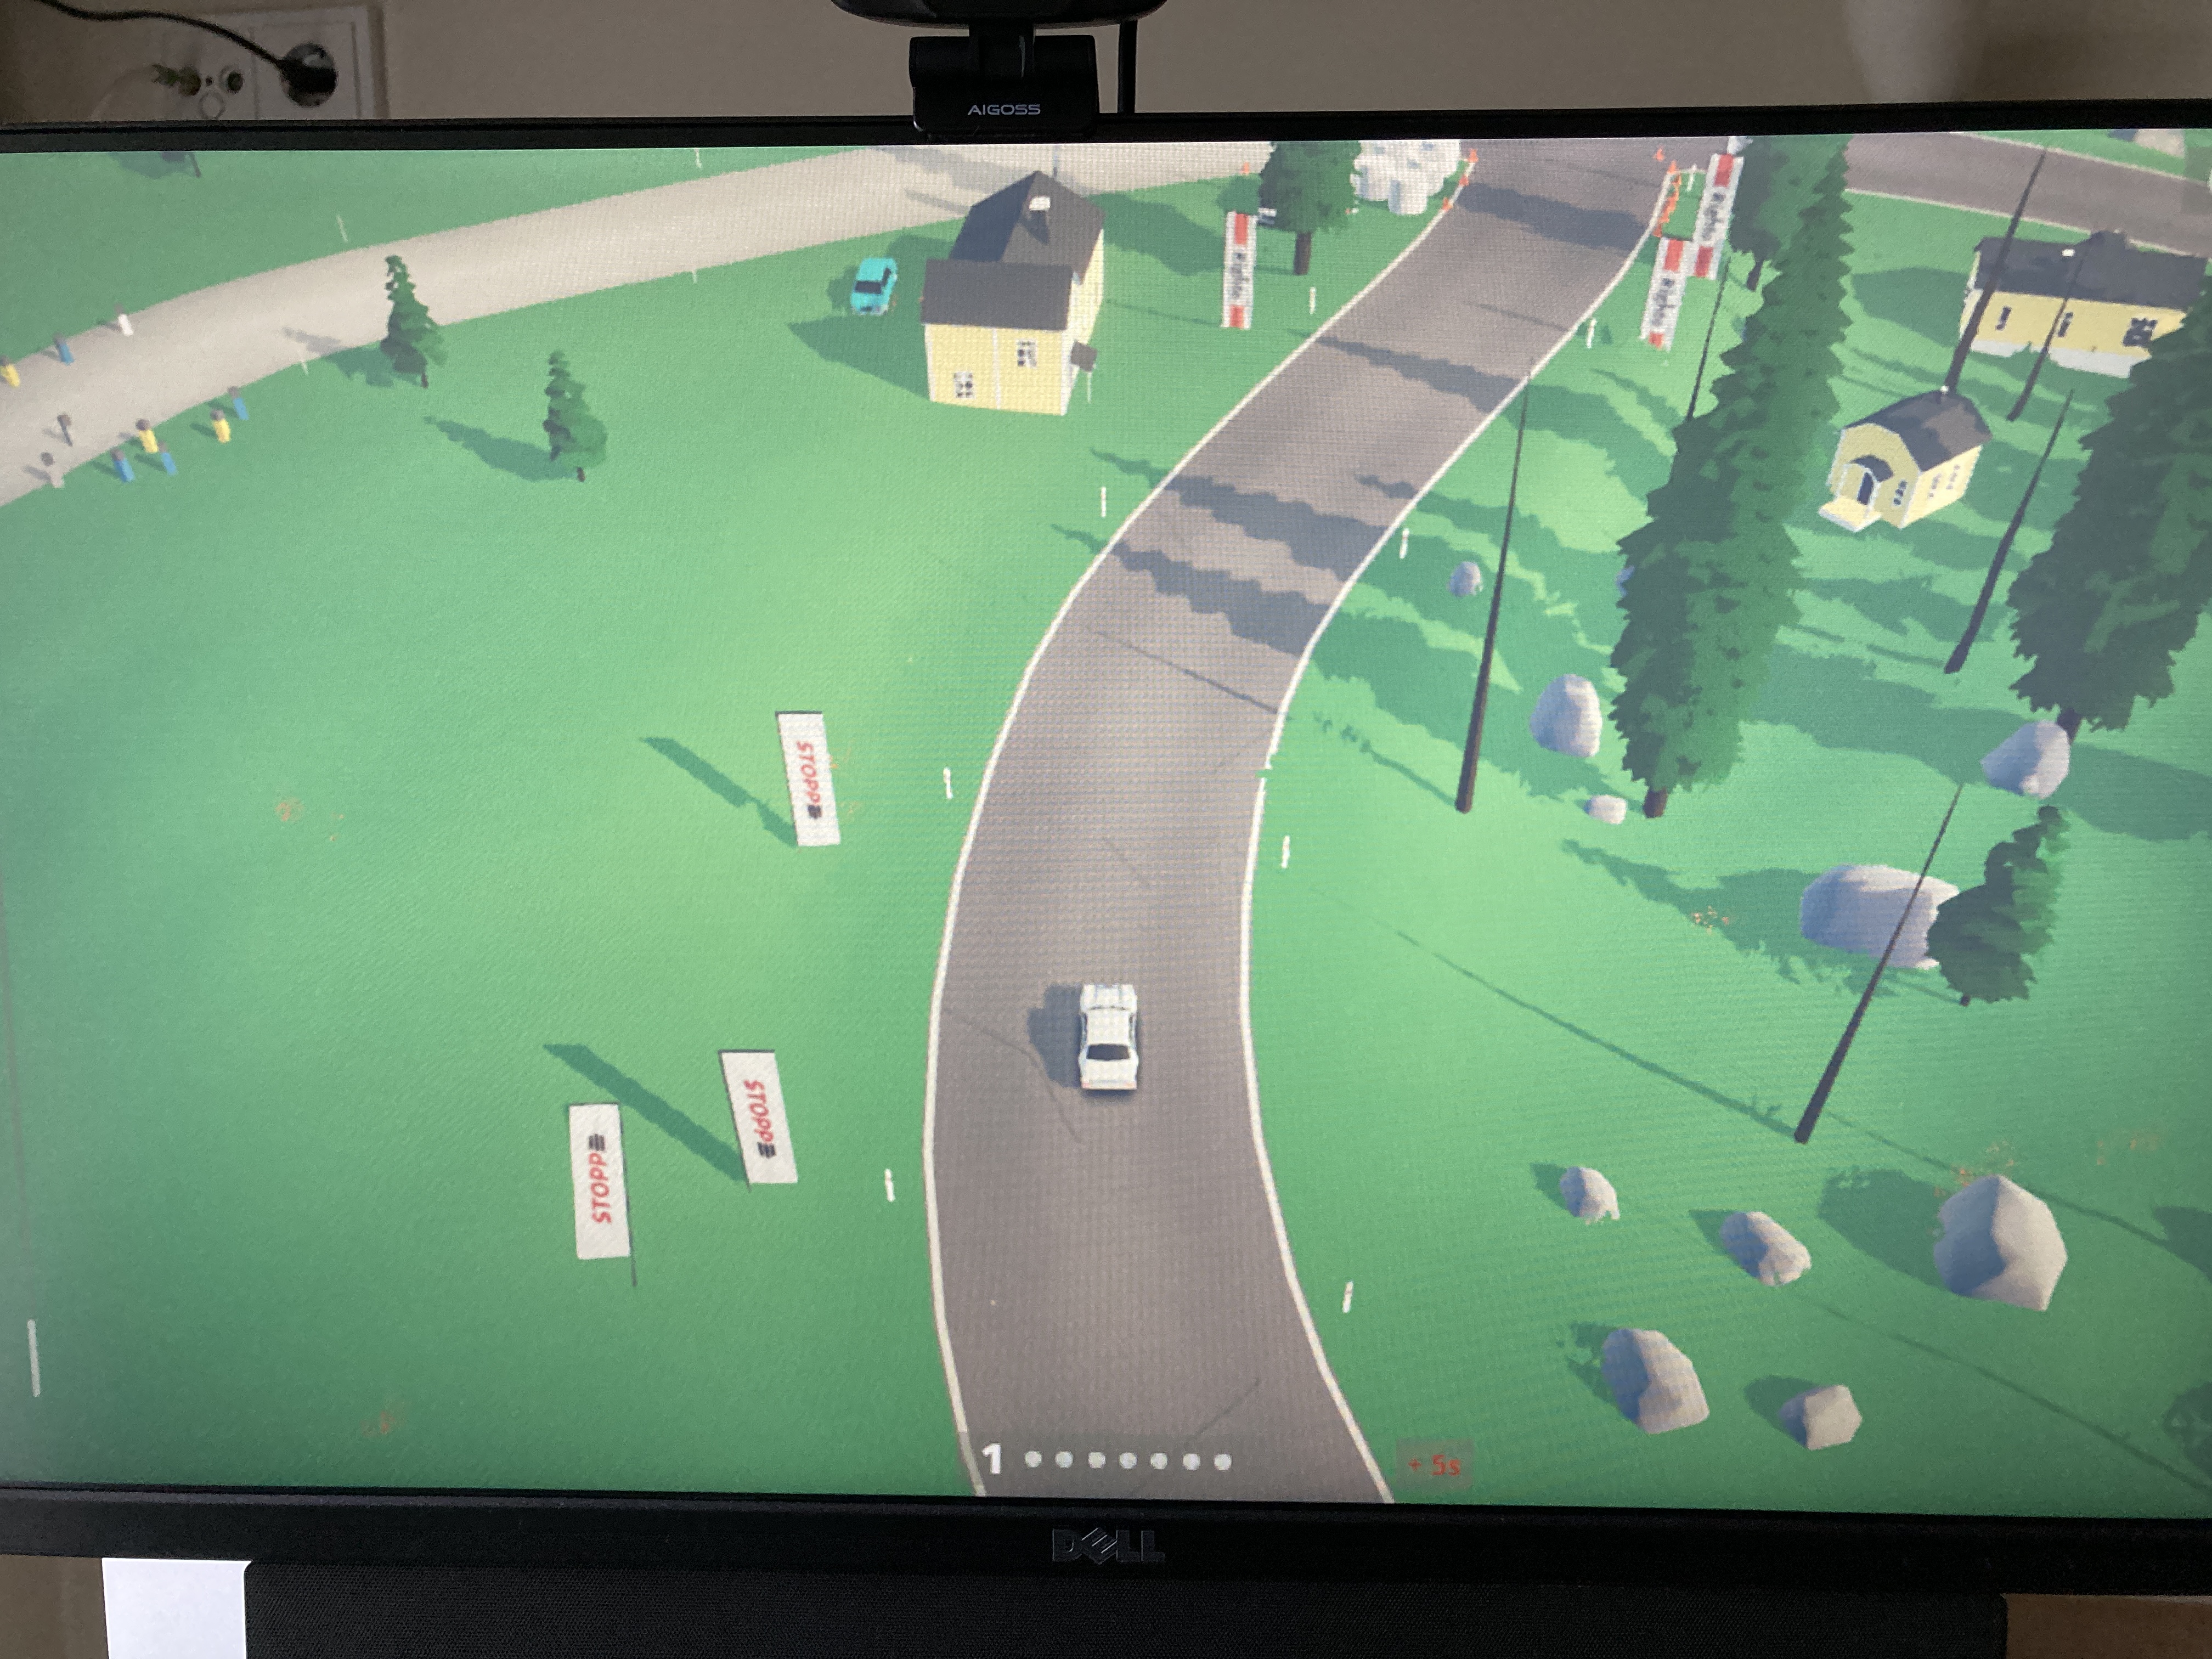
Things got a bit less exciting when I got reminded that this GPU is weak. Very weak. Regardless, I decided to demonstrate its computing prowess by downloading the art of rally demo. Side note: it’s a great game, go try it out!
The demo ran! Not well, but it still ran!
Satisfied with the results, I decided to go for gold and replace this GPU with the AMD RX 570 that I “borrowed” from this PC I built recently.
Results: AMD RX 570
After switching the GPU, I replaced the device ID-s with the new values and continued with the VFIO adventure. This time, the GPU drivers were automatically installed by Windows and everything just worked. That’s not supposed to happen, at least in my experience something always goes wrong. Always.
I installed the latest drivers from AMD-s website and continued with testing.
Furmark? Runs as expected.
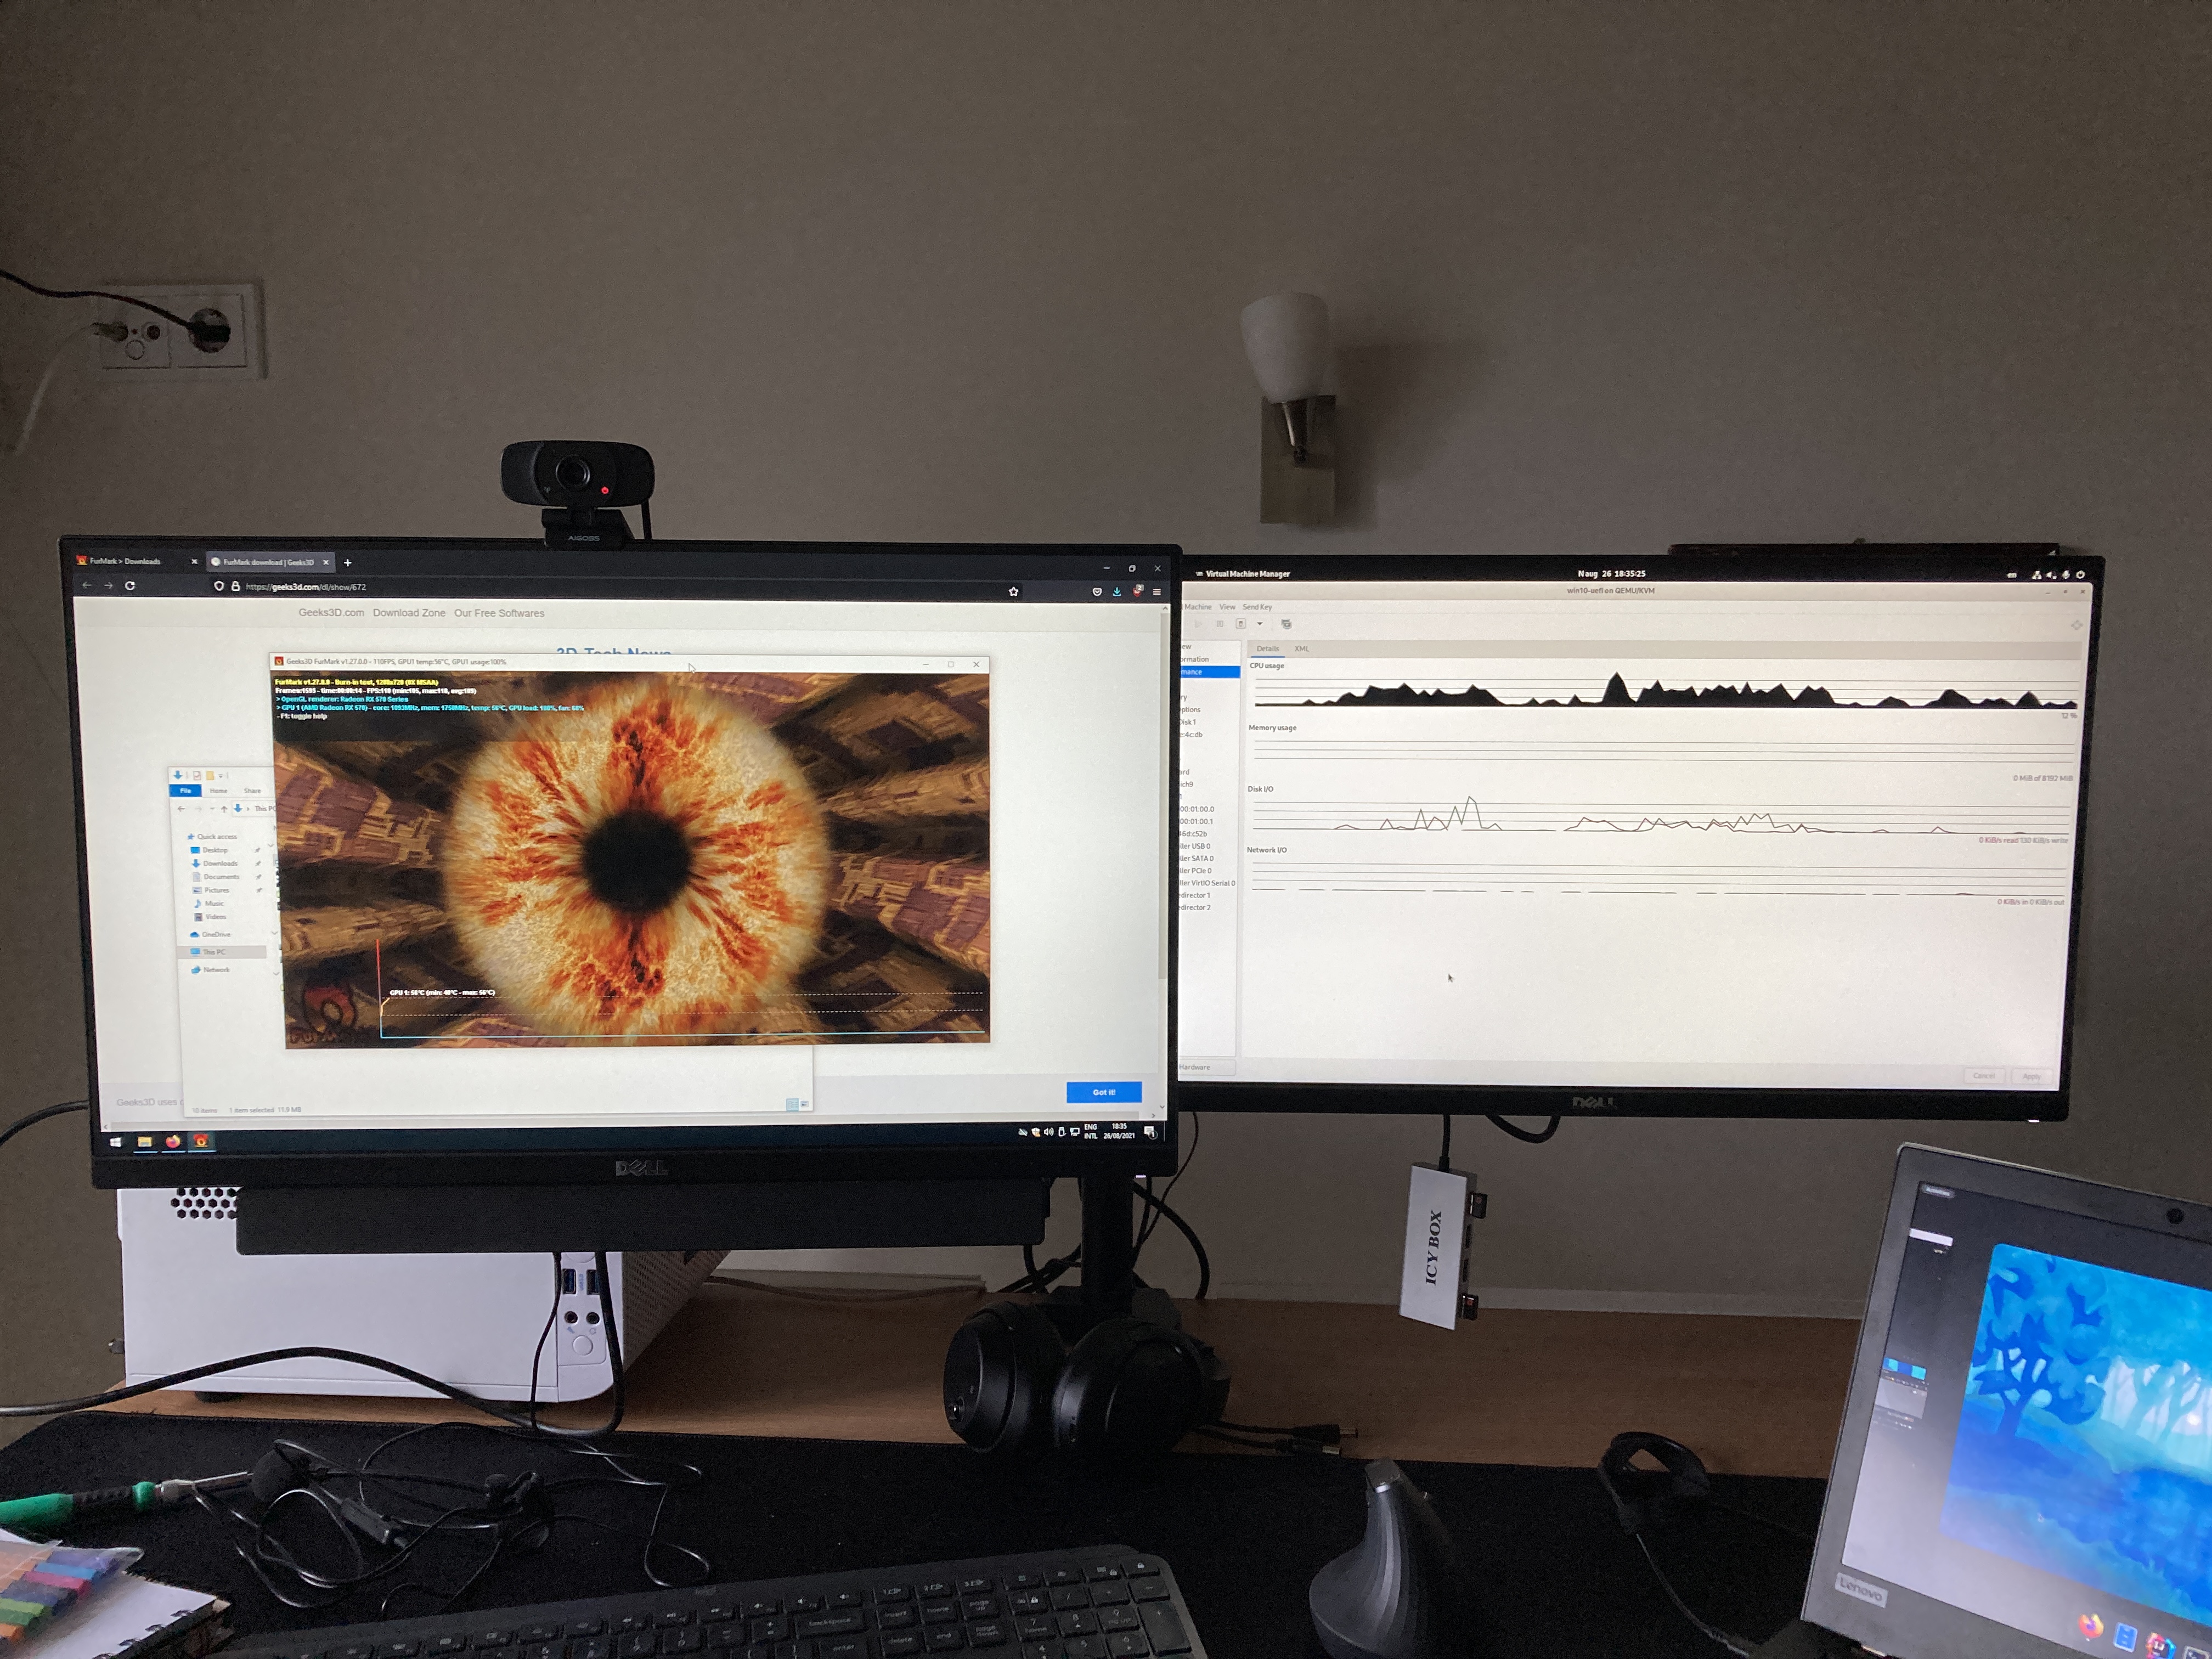
GTA IV? A stuttery mess, so yeah, runs as expected.
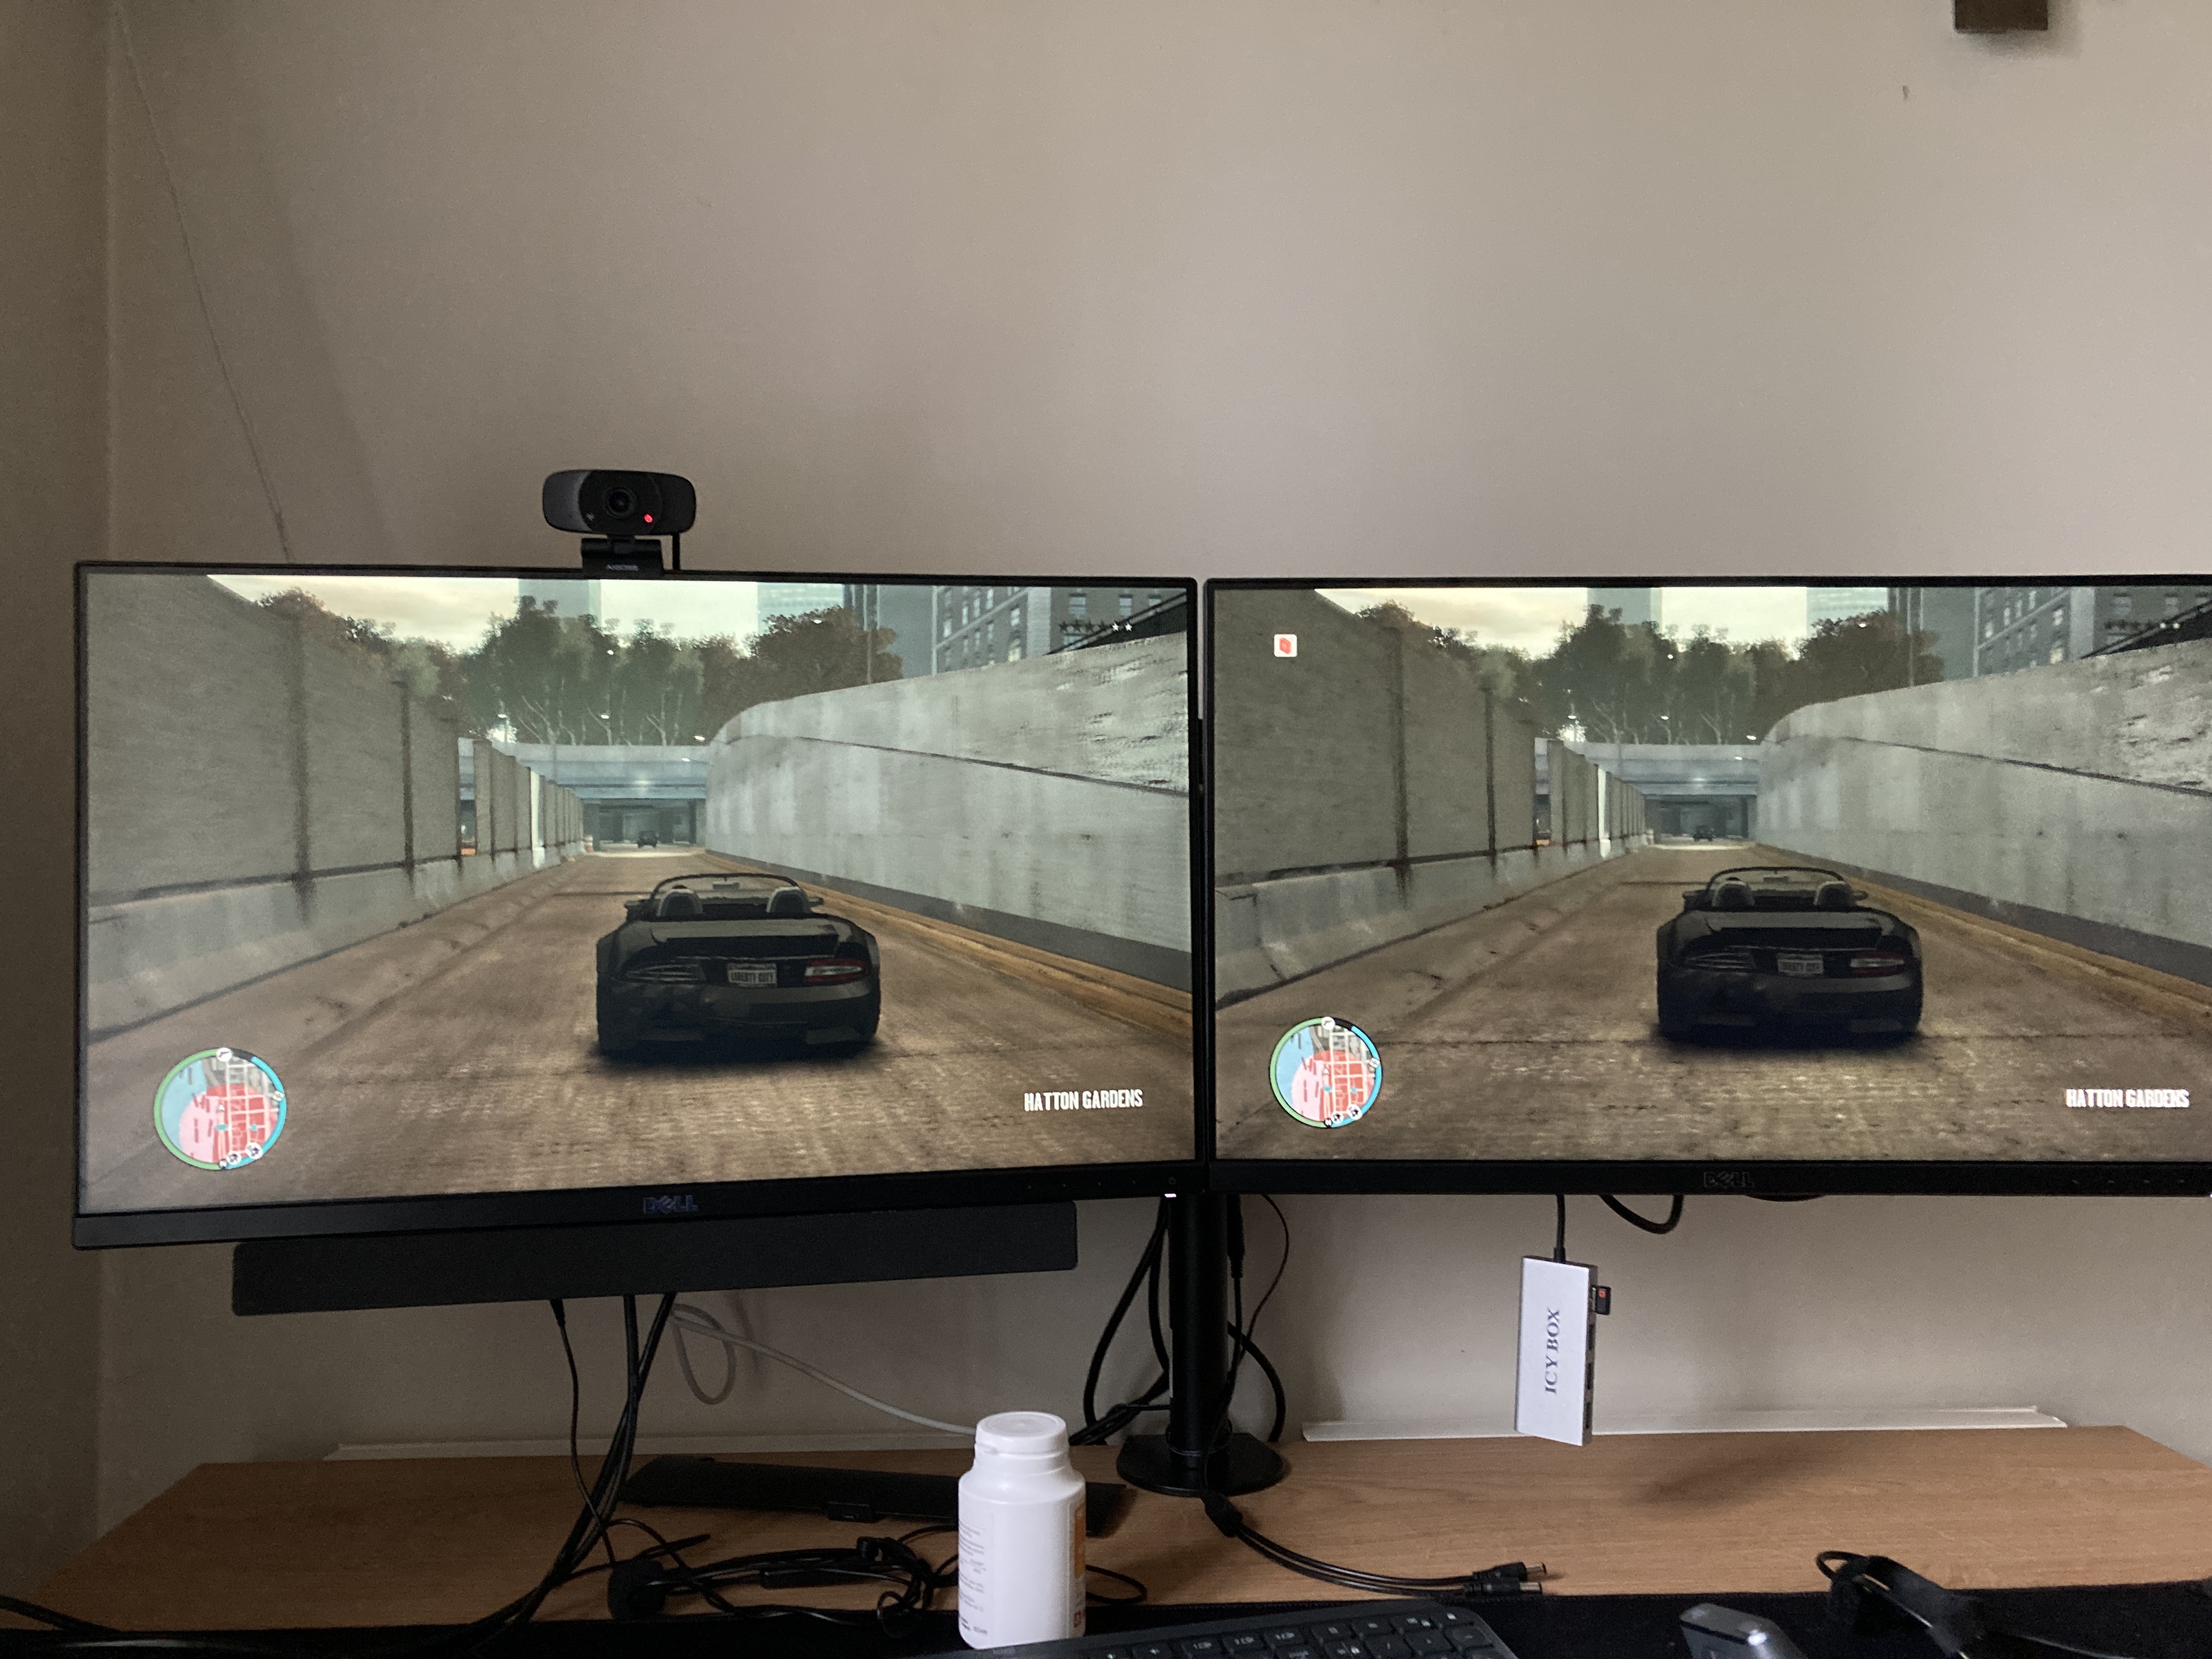
At this point the VM was assigned 4 CPU cores and I had performed no CPU pinning or optimizations of any kind, so the results were pretty good.
Storage
Because I built this setup on my current workstation/server machine, the storage situation is a bit tricky. The other VM that runs all the services has full access to the two 12TB hard drives and I wasn’t interested in setting up a networked storage setup. The only free spots I had were as follows:
- 120GB partition from the NVMe SSD. Good enough for storing the Windows 10 system files.
- 2x 250GB partitions on the Samsung SATA 1TB SSD-s. Just enough to hold my recently played games, but not much more. Running in striped configuration under Windows.
I later opted to expand the game storage partitions to 375GB, which meant that I had to get rid of the extra overprovisioning space that I had left aside. This setup is fine, but I’m losing out on some of the benefits that come with a virtualized Windows setup.
With regards to passing this storage to the VM, I had two options:
- keep using the SATA virtual disk: works out of the box, but might not perform as well.
- use
virtio: you need to manually load and install the drivers for Windows to recognize these disks, but allegedly this has better performance than the SATA implementation.
I started off with SATA and did a comparison against virtio using CrystalDiskMark.
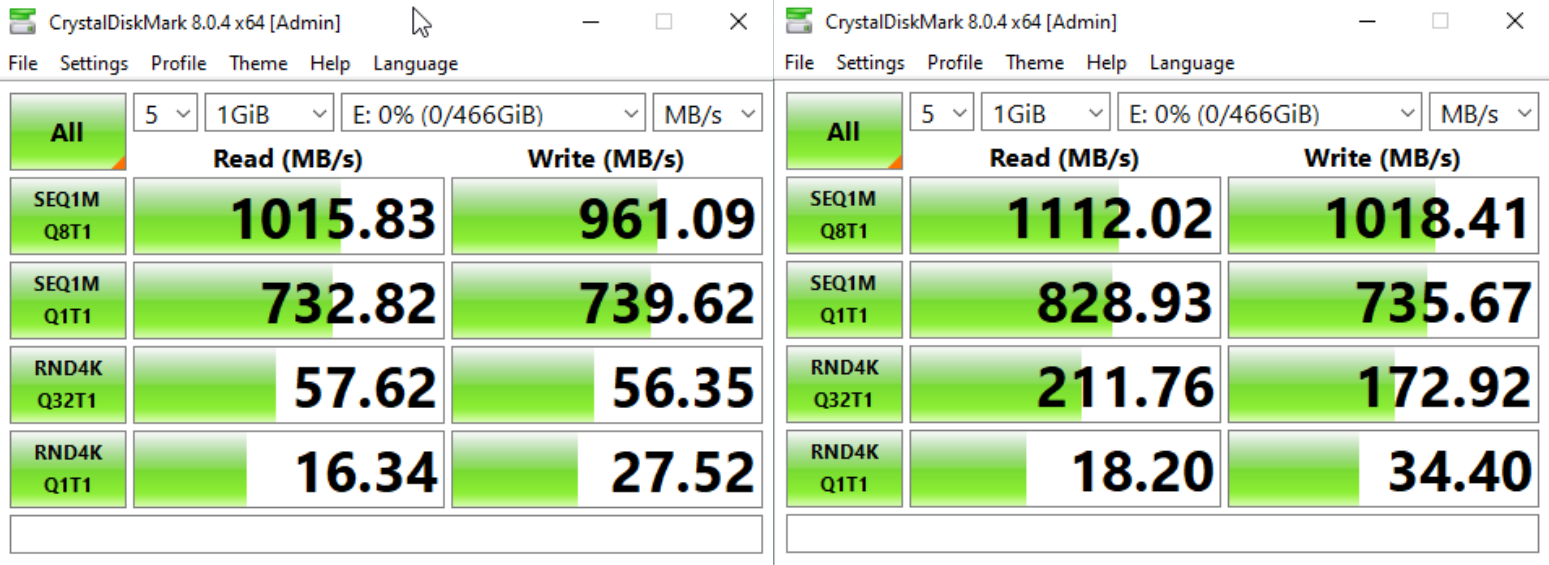
virtio did come ahead in these comparisons, but I would probably have been fine with the SATA performance as well.
Conclusion
One of the main reasons I do these kinds of setups is the technical challenge. It sounds weird, but sometimes I am happier after having completed something technical and novel compared to actually using the setup.
Previously I’ve had mixed results with GPU passthrough, with ThinkPad T430 and eGPU somehow managing to run GTA V in a VM , while in another testing session I ran into issues which turned out to be related to the CPU being faulty (lots of PCIe errors).
I do have more practical future plans with this. The plan is to use this VM as a gaming VM that I can stream games from using Parsec to any device that I wish. One idea is to use the Nvidia Shield TV as a low-power box that is capable of performing streaming. Alternatively, I could also get a super tiny form factor Dell/Lenovo/HP PC that has plenty of power to drive a 4K display and uses a reasonable amount of power. More on that in a future post.
Regarding storage I foresee an upgrade coming soon, either to the drives themselves or the whole setup since ATX motherboards support more SATA ports and expansion cards. If you also pair that up with a case like Masterbox Q500L with a good power supply placement, then you’d still have a relatively small setup.
Subscribe to new posts via the RSS feed.
Not sure what RSS is, or how to get started? Check this guide!
You can reach me via e-mail or LinkedIn.
If you liked this post, consider sharing it!