My experience at the k-space hackerspace hackathon
k-space is a hackerspace in Tallinn, Estonia, and they organized a hackathon recently. Unlike in most hackathons, in this one you could whatever you like with no expectations about building a business or coming up with an MVP, just come on down to the space and start working on your passion projects!
I had some ideas on what I could do, but a few of them would have required access to workshop tools,
for which I did not have a key. I could always get one, but was too lazy to bother with it. I looked at
the list of ideas that had been written down by other hackerspace members and picked
the one marked as [easy]: Wire up electronic lock for workshop.
If I achieve that goal, then I don’t have to worry about getting another key, and I could also get access to all the workshop tooling! And since it was marked as easy, I figured that I could do it and have some time left over for playing around with things like the laser cutter.
Impressions
Before I get to the technical part, I’d like to say a few words about the hackathon and the organization itself.
The highlight of the hackathon was the immense sense of accomplishment that I felt. I work as a software developer at my day job, which often involves dealing with incidents, migrating services from virtual machines to Kubernetes, and sometimes from Kubernetes to Kubernetes, and anything else that comes my way. The issue with most software teams is that the products that you build and maintain are often disconnected from the real world. You don’t see the physical impact of the work that you do, and that can leave you feeling empty. Sure, you spent days switching a service to Kubernetes, but you don’t feel like you did anything at all.
During this hackathon I had the opportunity to build things with my own hands, and the door controller software doing its thing resulted in real-life actions. You swipe the card, it beeps, and you can hear the electronic lock being opened. That, and the opportunity to work on a project involving a Raspberry Pi and mounting it so neatly was very satisfying.
The hackathon crowd itself was not that big, hovering around 15 or so people. We even had guests from Germany who were really helpful, great to talk with and they provided their expertise to help out wherever possible. I loved how the collaboration worked for the rewrite of the door controller software to the Go programming language. One guy knew all about the original software and how it works but was just learning Go, and the other guy was just visiting the space and had extensive Go experience.
Although this post is mainly about my own experience and the stuff that I worked on, there were plenty of other cool projects going on during the hackathon as well. One that I really liked due to how practical it was is “the kegerator” that provided cold carbonated mate tea throughout the hackathon. It lives in an old fridge and I think the execution of it was really neat! Here’s the livestream recording where other projects are also covered.
There were plenty of refreshments available and I took full advantage of that because if there’s one thing that can get my brain working on overdrive, it’s copious amounts of sugar and caffeinated beverages. Oh, and we got pancakes as well! Peetri Pizza really blew it with the pizzas though, never seen pizzas that are this sad.
There were some small issues, such as the streaming setup crapping out at the last day during the part where we presented our work, but overall I was happy with how the hackathon turned out.
For future hackathons we probably need to do a bit more marketing and think about the dates more so that we can get more enthusiasts on board. Having our German friends around really added a lot to the event and I would like to see more knowledge-sharing between communities in the future.
Build log
Here’s a rundown of what I did during the hackathon.
There’s also a video where I talk about my hackathon work!
Whenever you see the name Arti, then that refers to my good friend who helped out a lot during the hackathon.
Day 0
The hackathon began on 27th of July at 18:00.
Everyone presented their plans and then the work begun.
I used the first evening to put together a rough plan and figure out what needs to be done. In short, the plan was like this:
- buy some quick splice terminals
- assemble the Raspberry Pi with the custom HAT that is used to interact with the card reader and electronic door lock
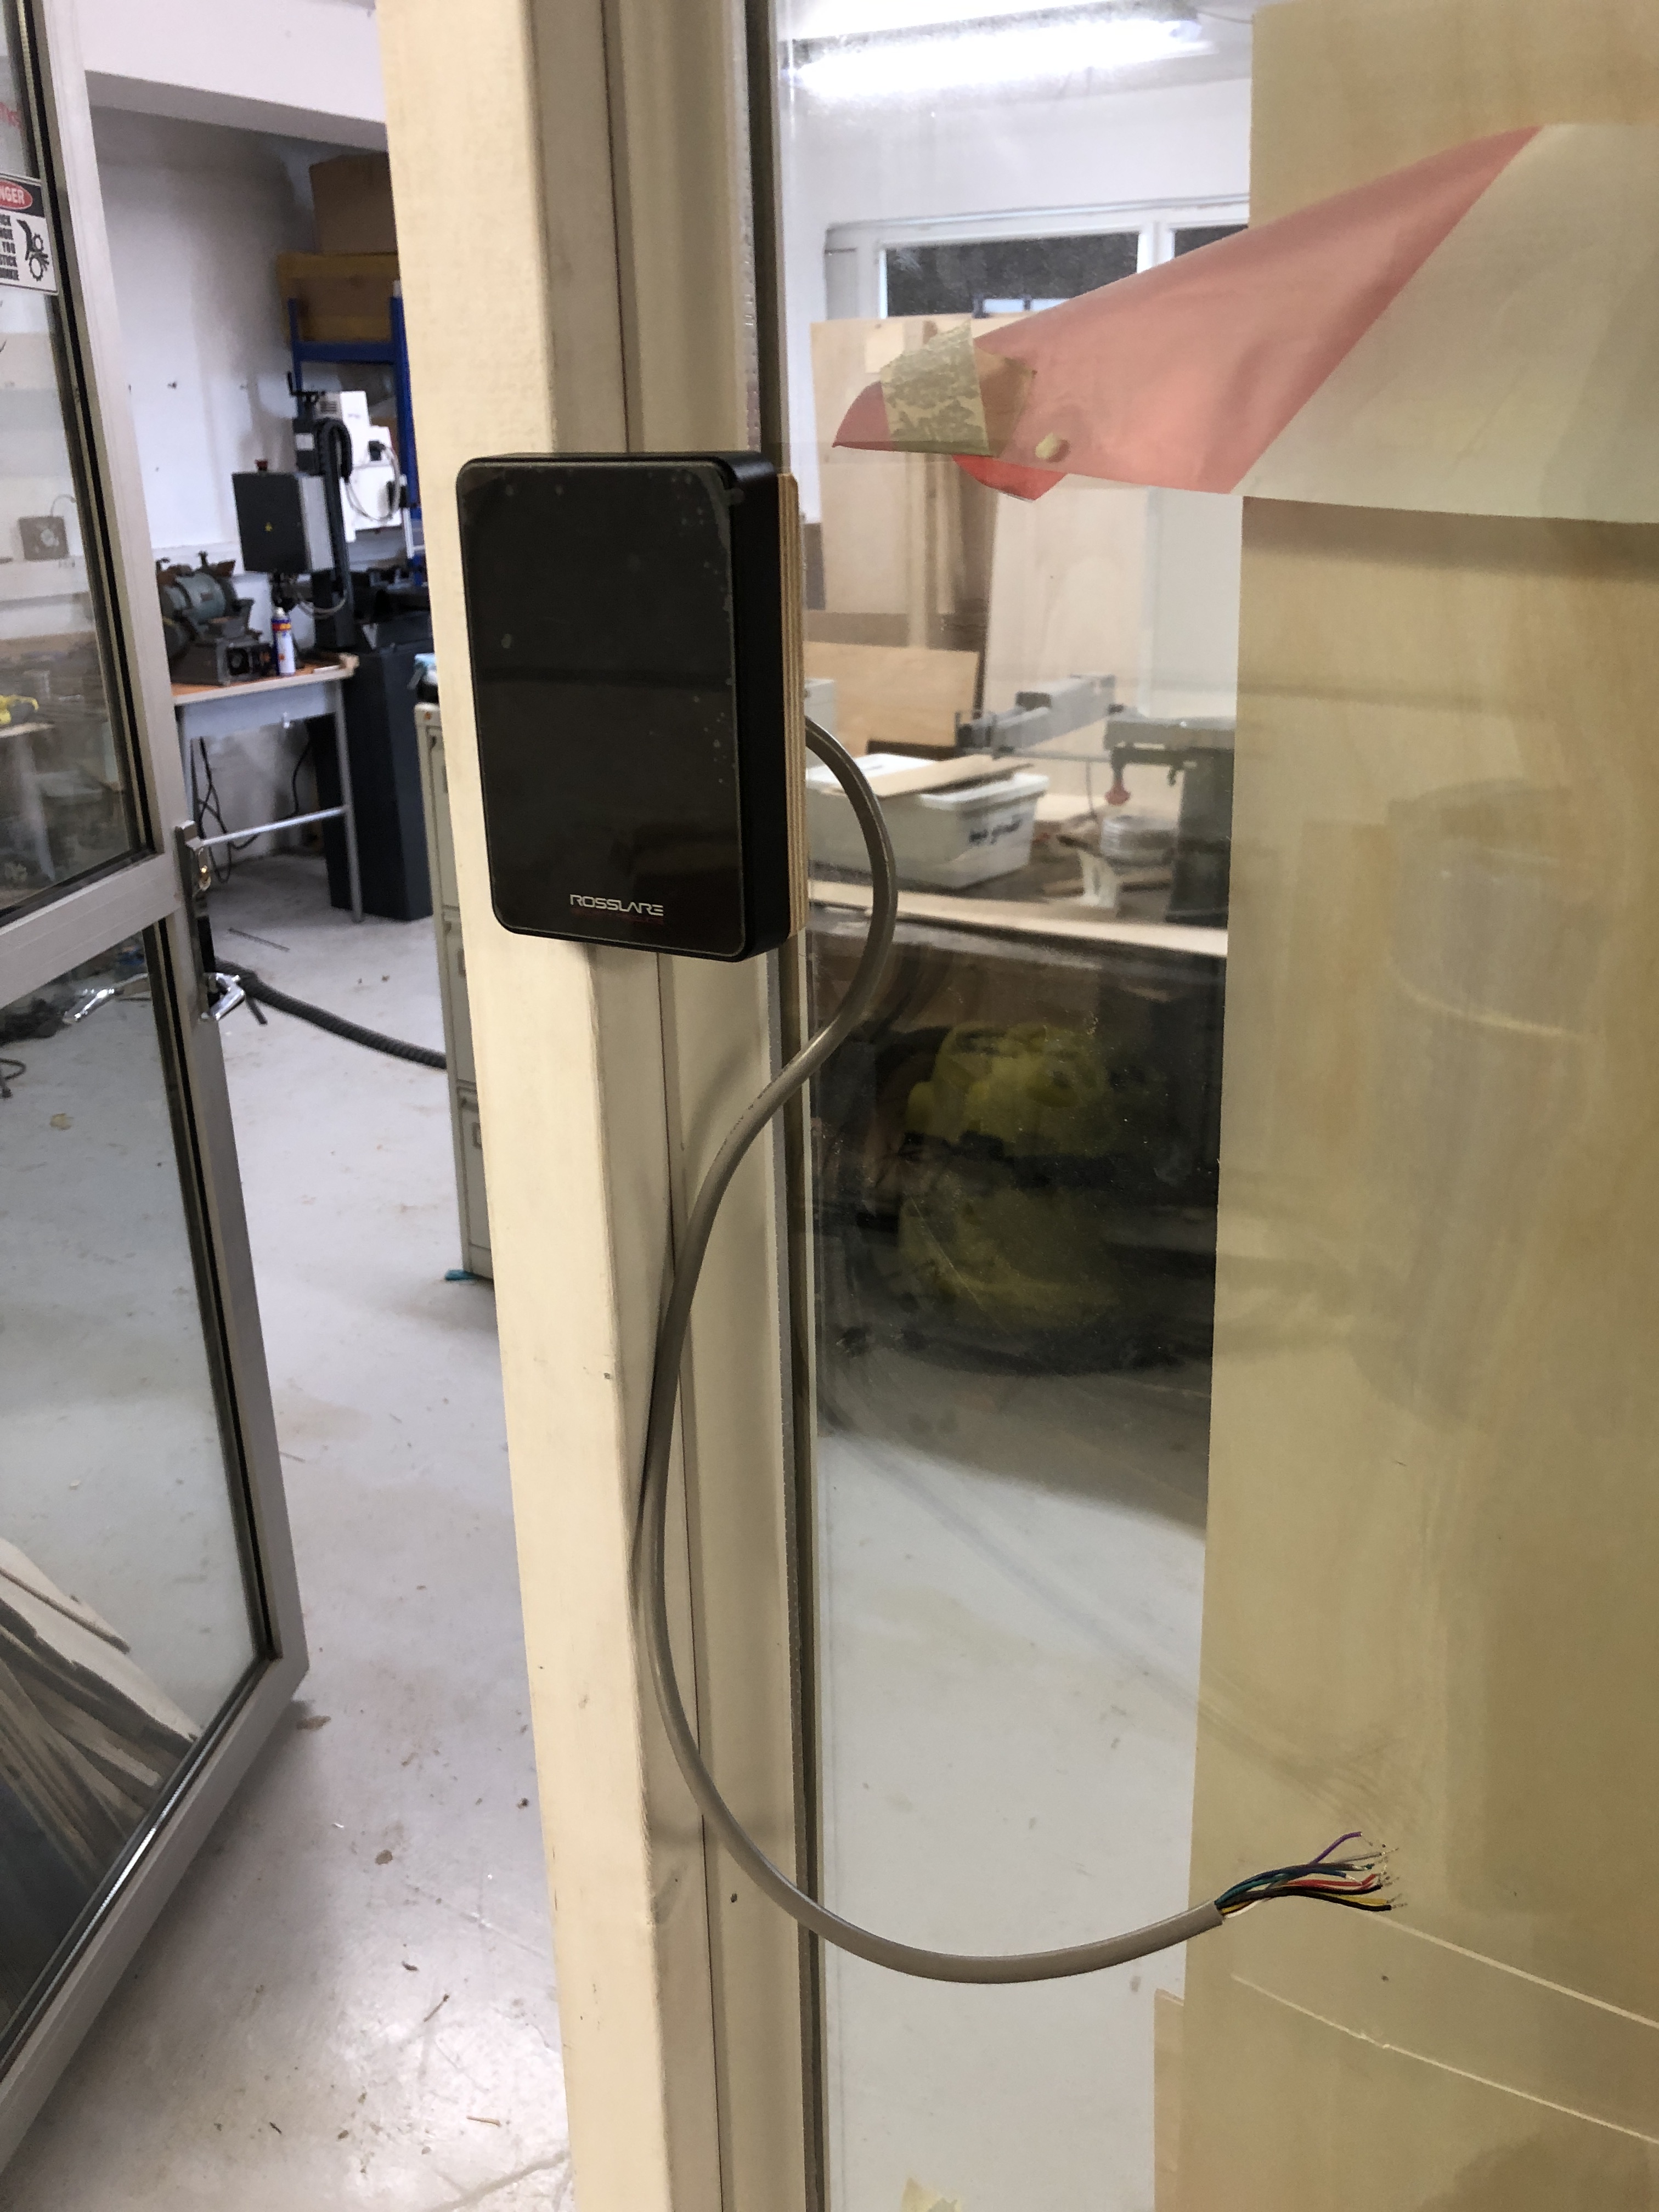
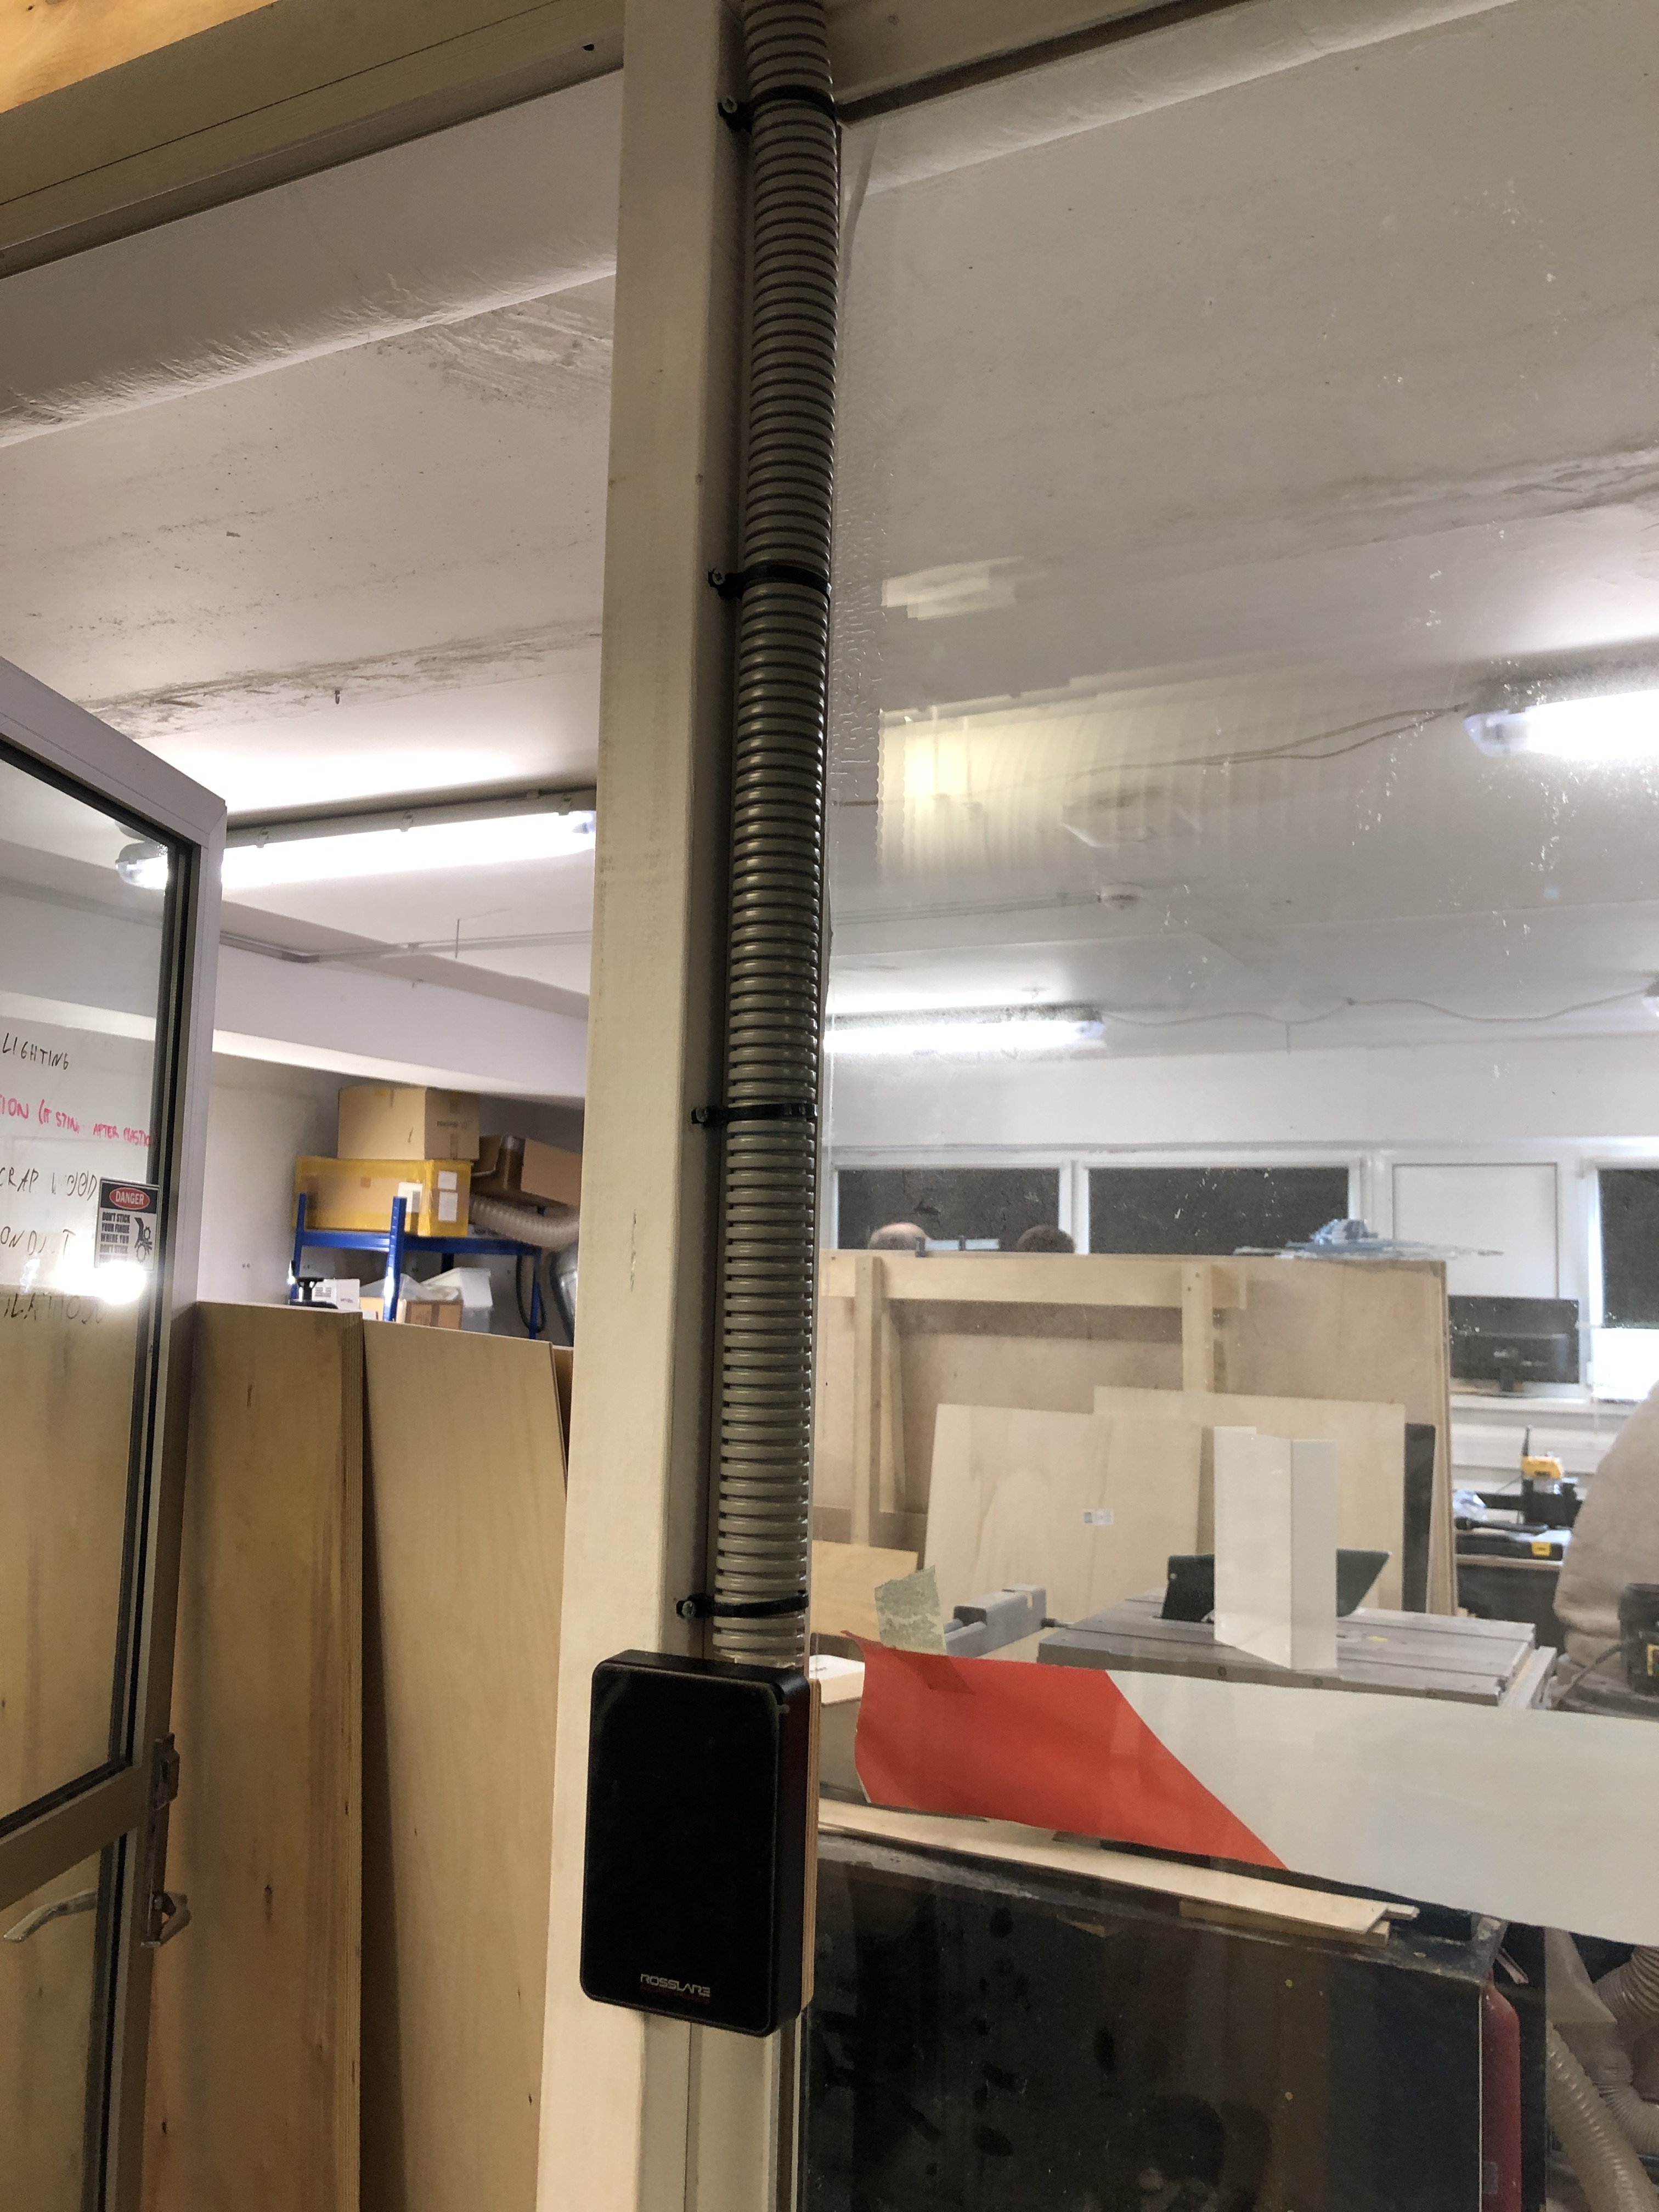
- install the card reader on the door
- run the networking and power cables
- connect all the cables to the Pi
- set up the card reader software
- test in production
After taking some pictures of the door lock test setup that another participant assembled, I decided to go and rest for what’s to come.
Day 1
This is the part where all the action started.
I began by taking stuff apart.
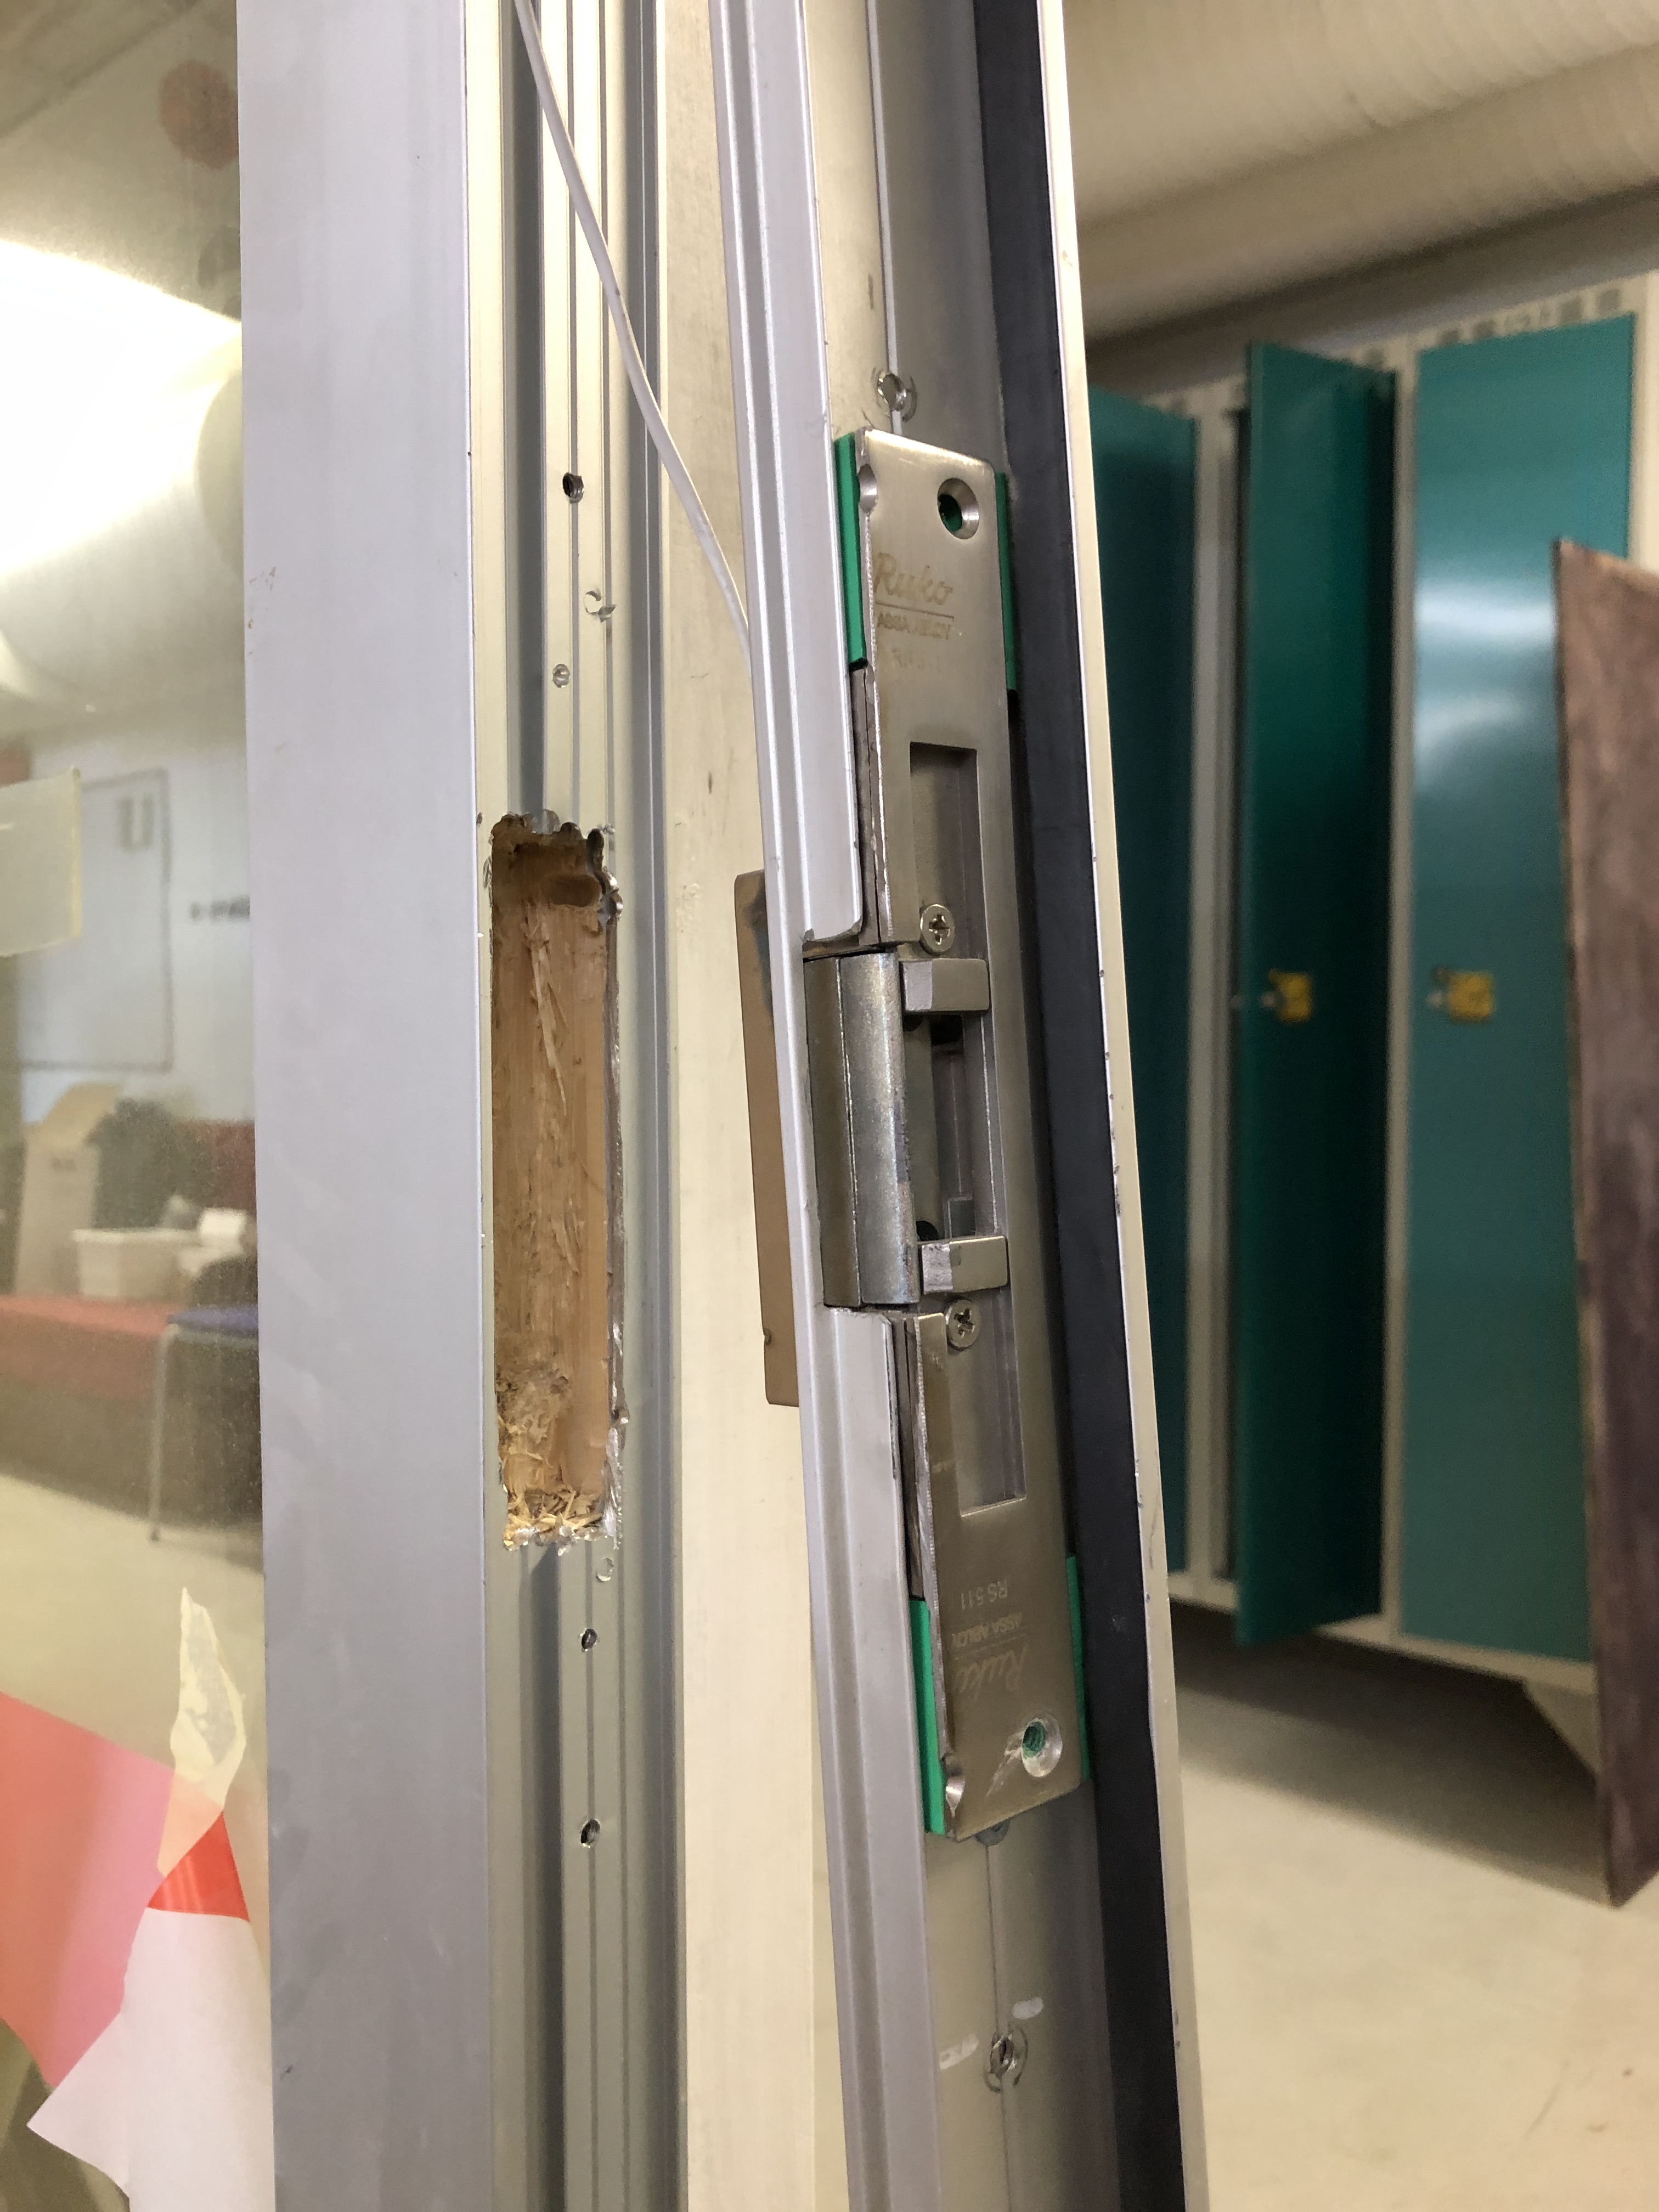
After making some additional holes I ran the cable that connects to the electronic door switch. That was easy enough.
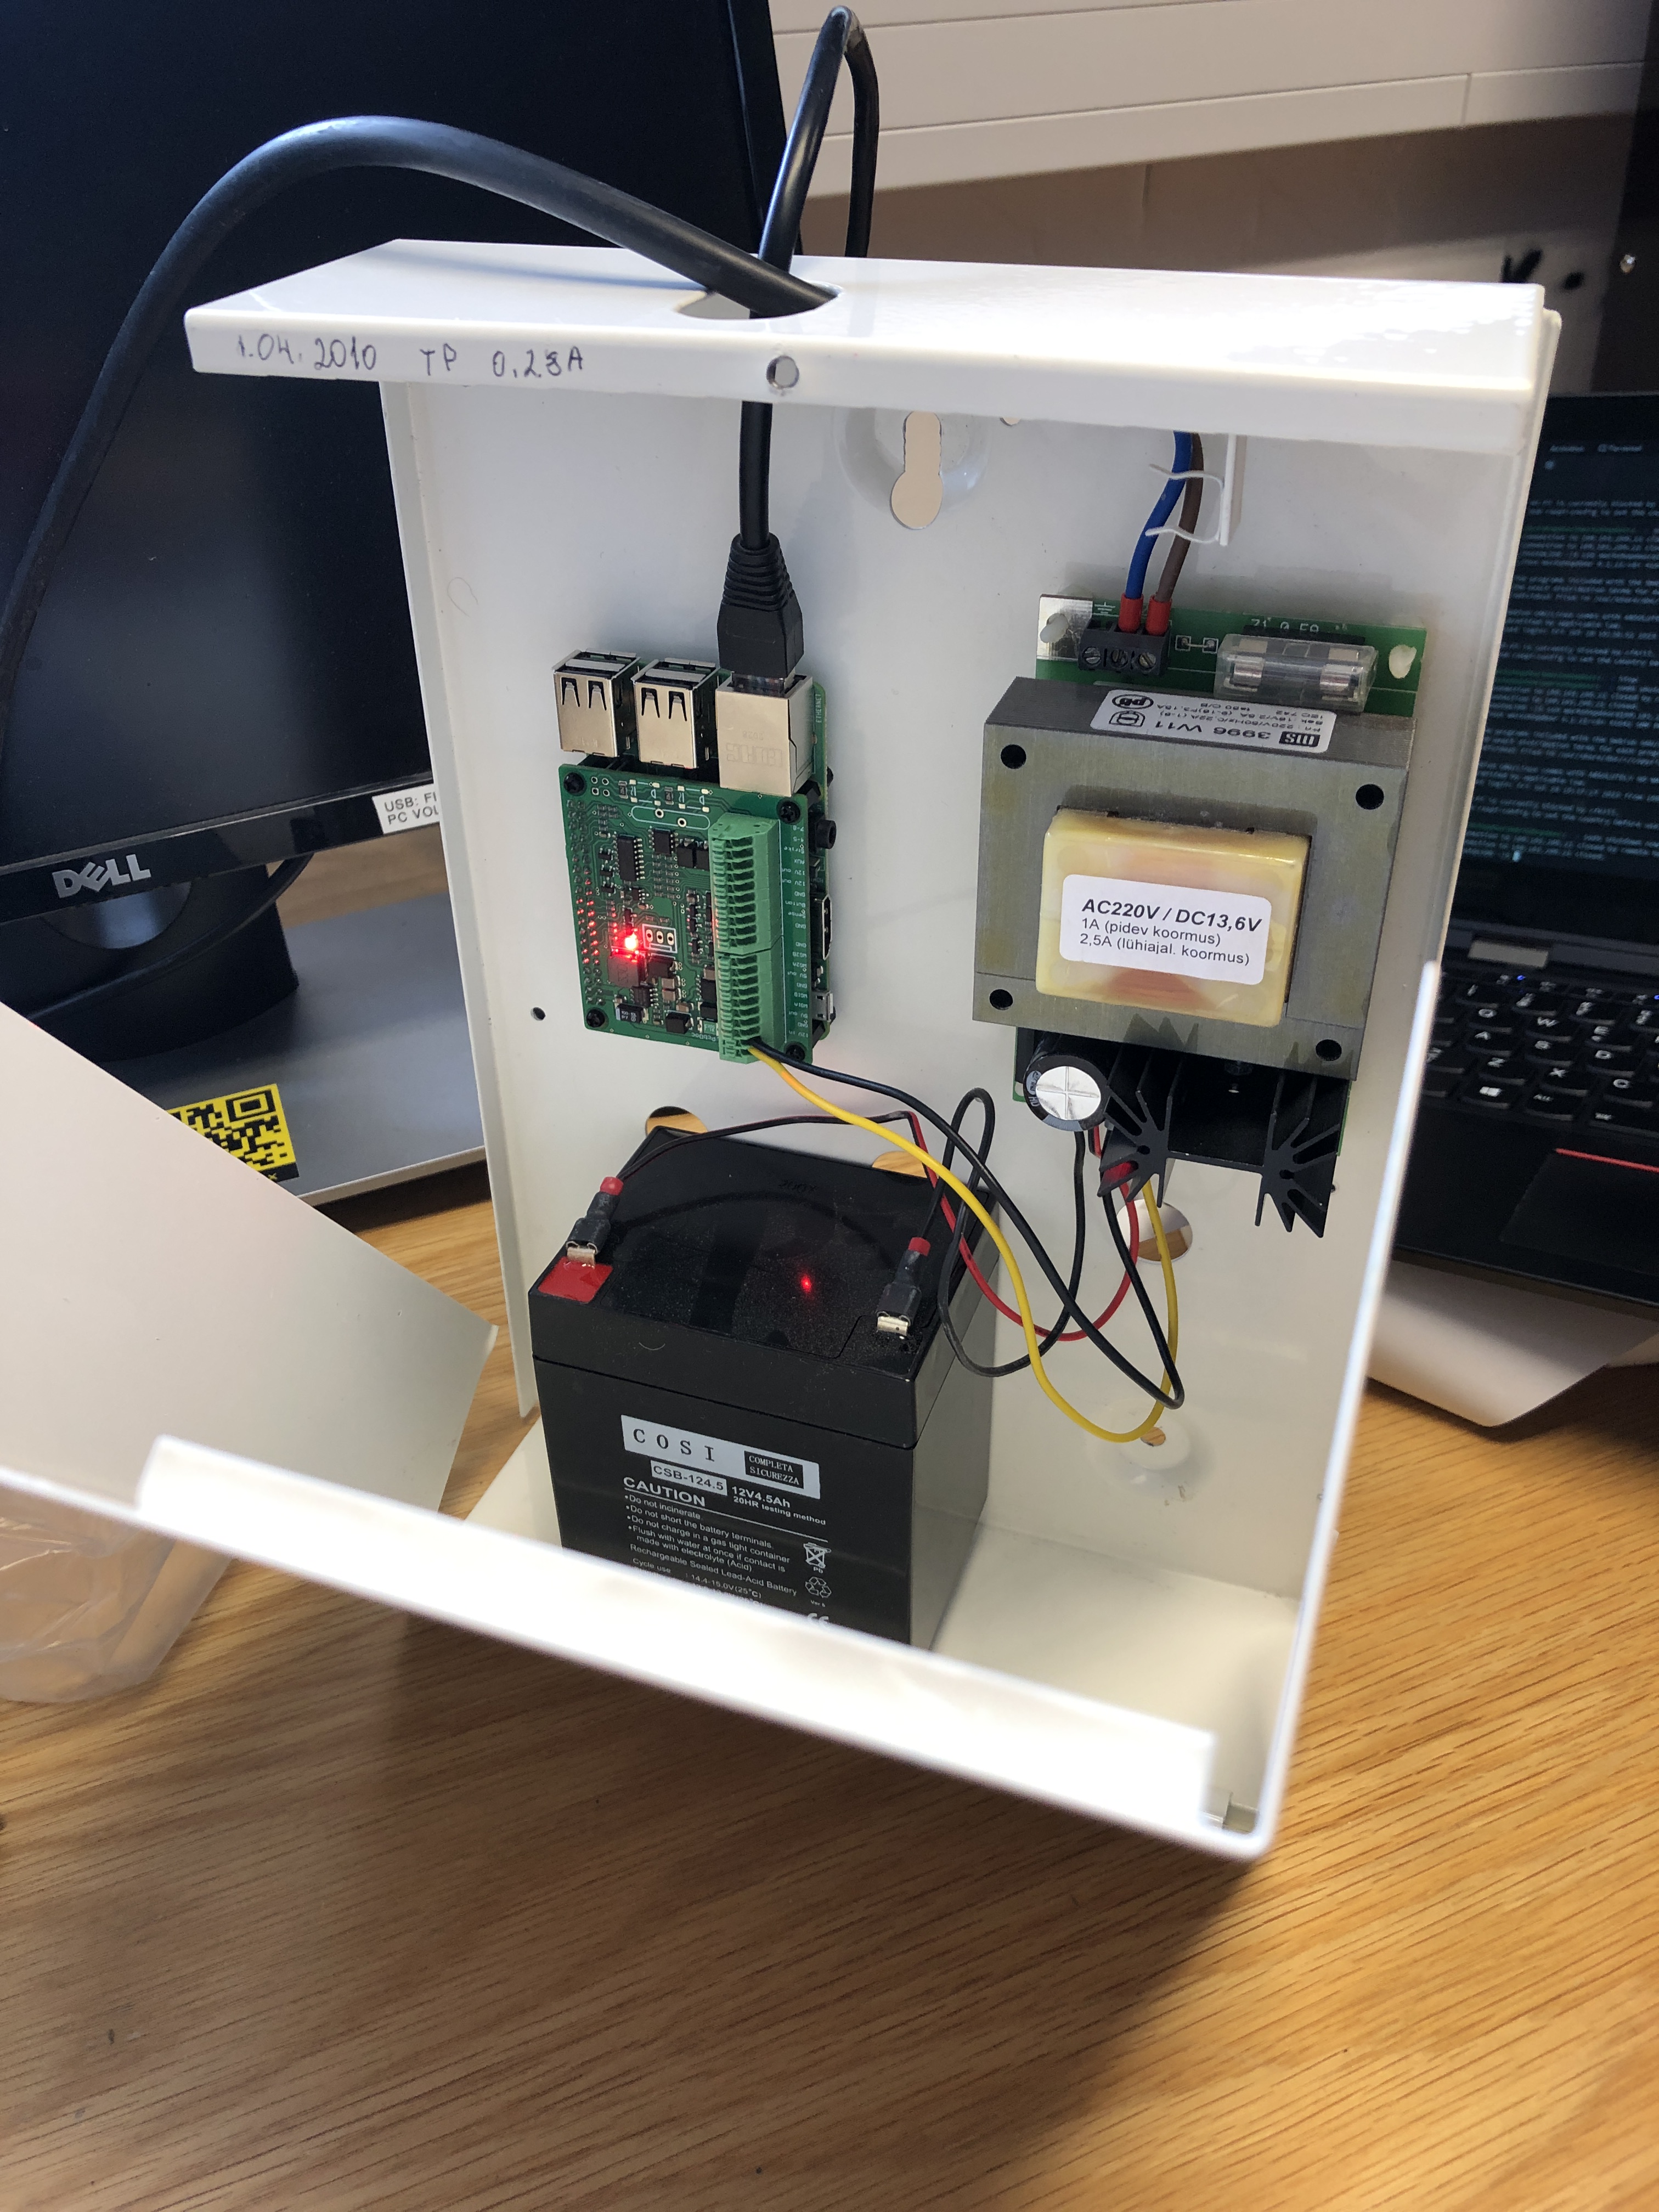
Then I began thinking about where the Raspberry Pi door controller setup would go. The workshop is a very dusty place and it would probably need some kind of protection from it. The first idea was to custom design a 3D printed case or customise an existing design, but after a short discussion and brainstorming we realized that getting a plastic box big enough to house the Pi and all the wiring makes more sense.
Me and Arti set off to find something like that in the hackerspace. After going through lots of boxes and shelves, we stumbled upon two metal boxes. Those boxes used to house some kind of security equipment and had inside circuitry that converts 220V AC to 13.6V DC, which was ideal for our use case. It also had leads to connect an UPS battery, which was even better!
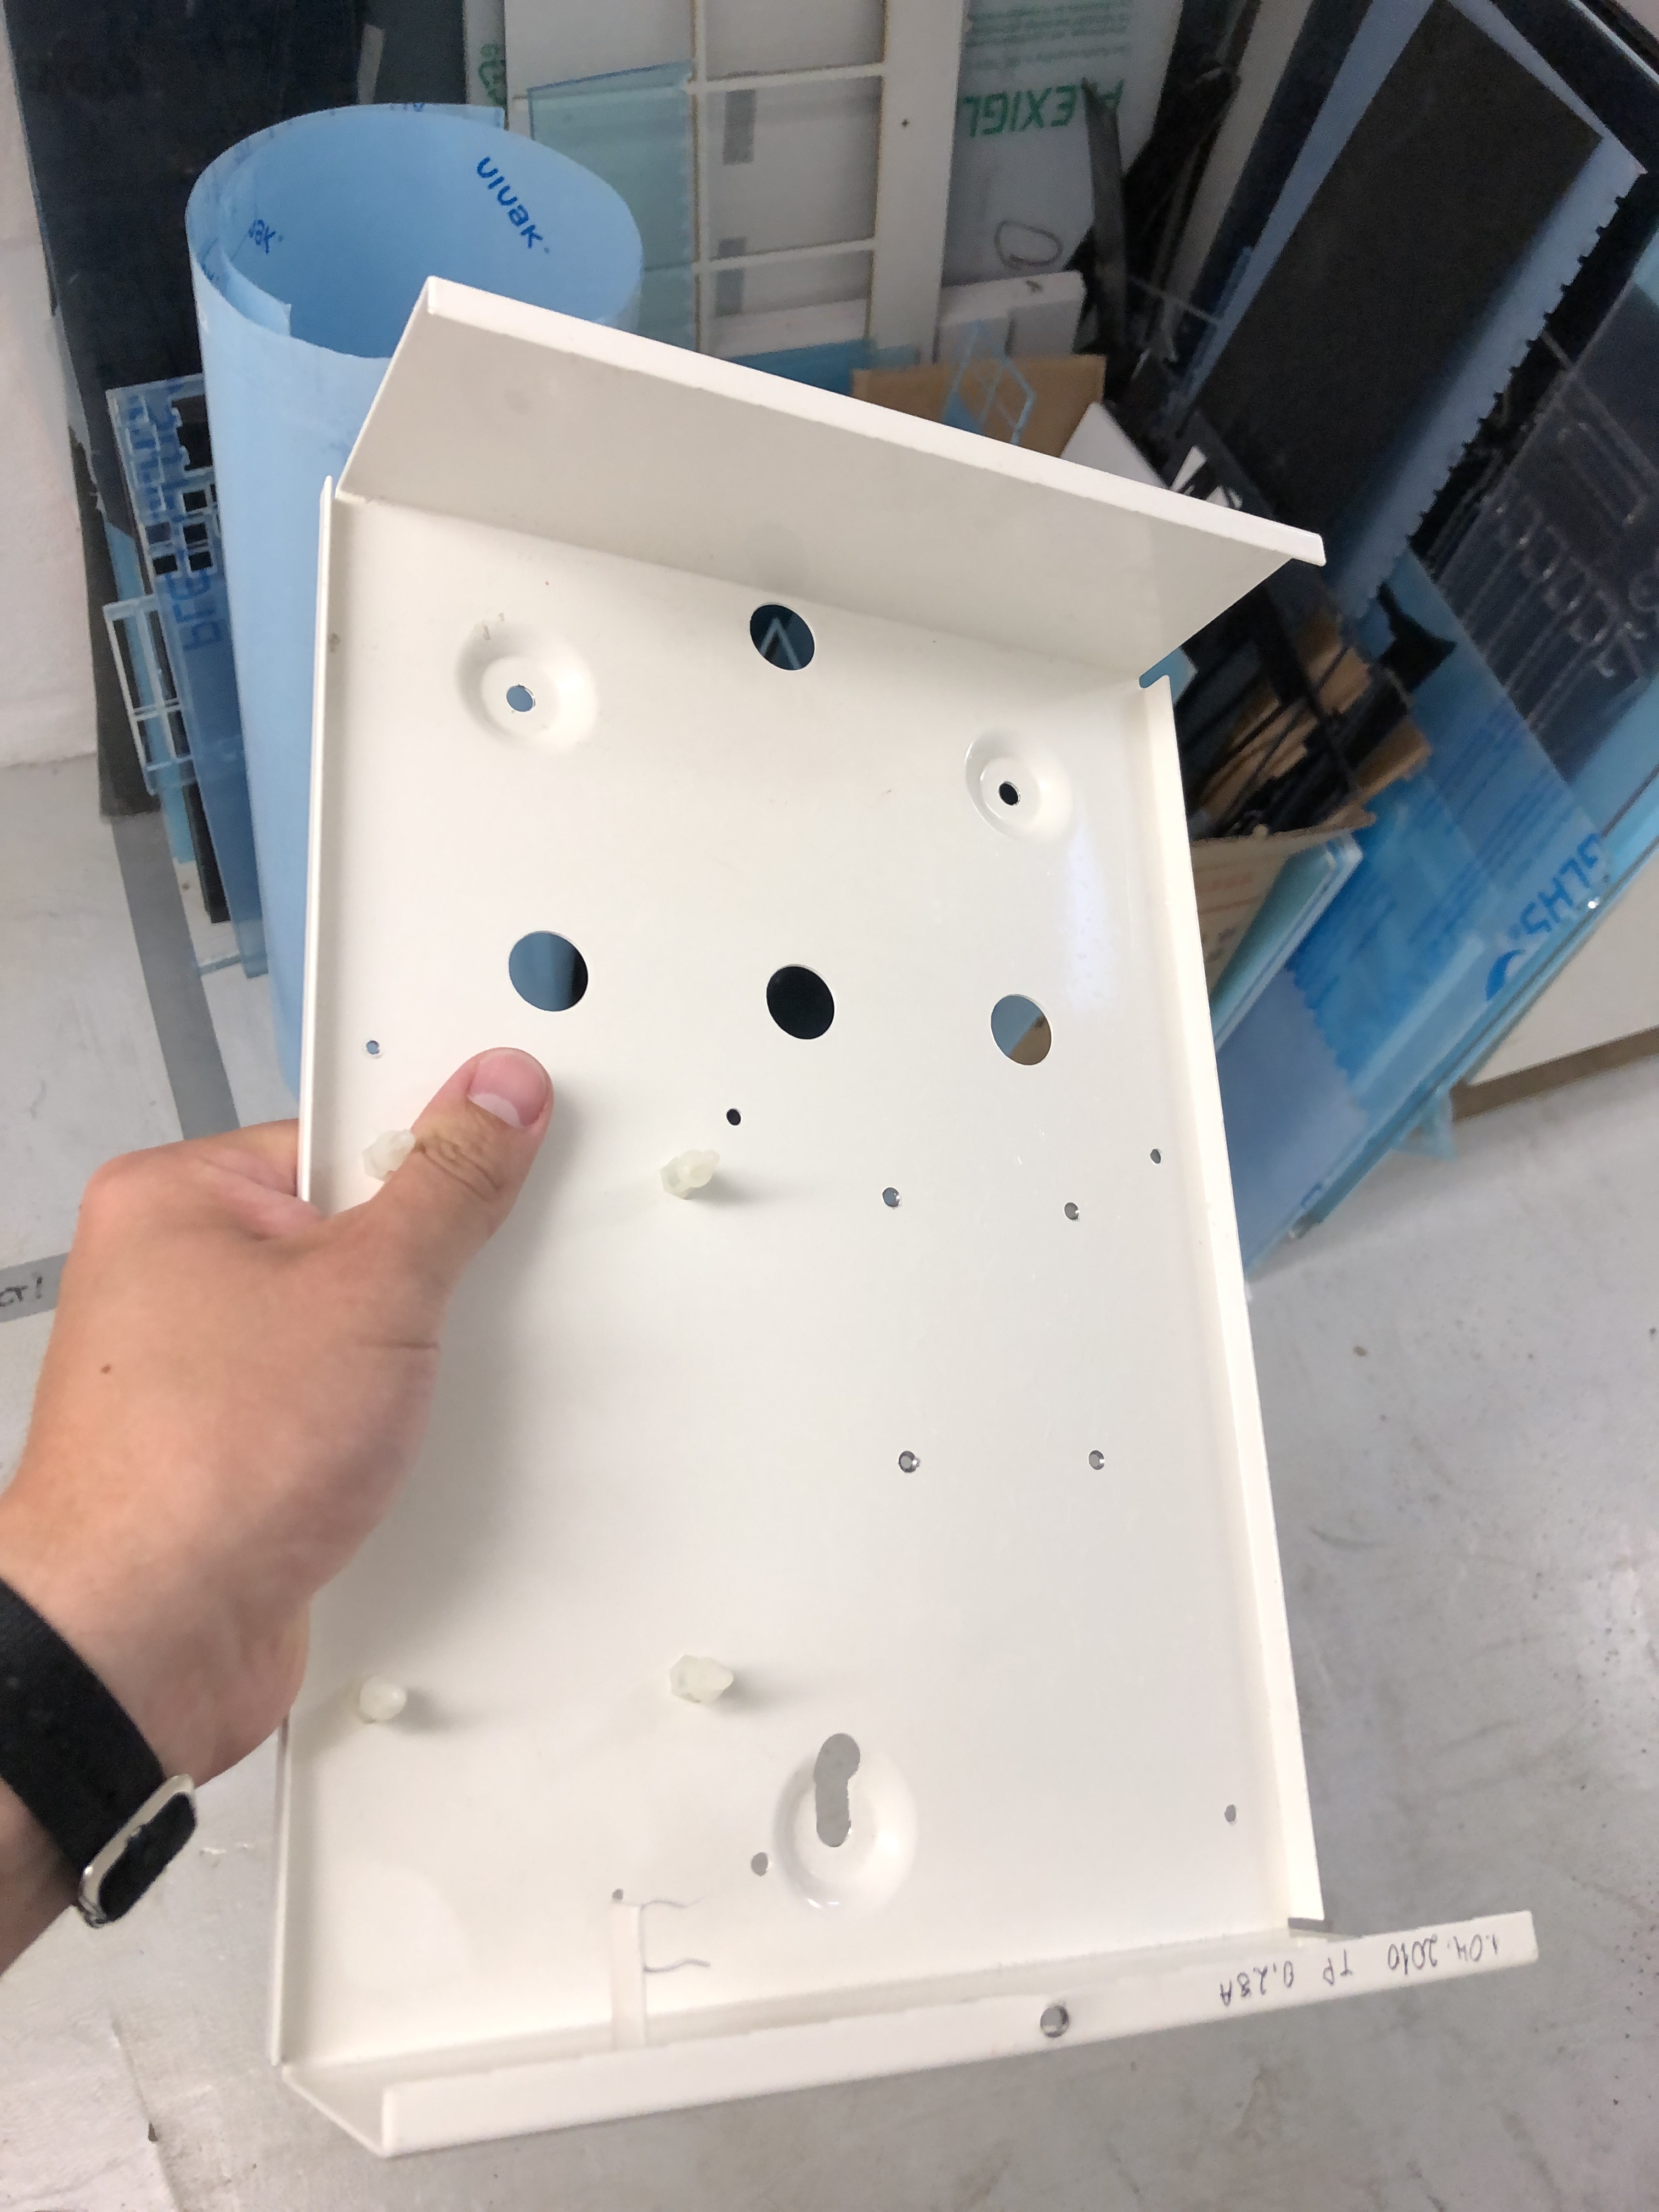
Oh, and we also found this fun little thing.

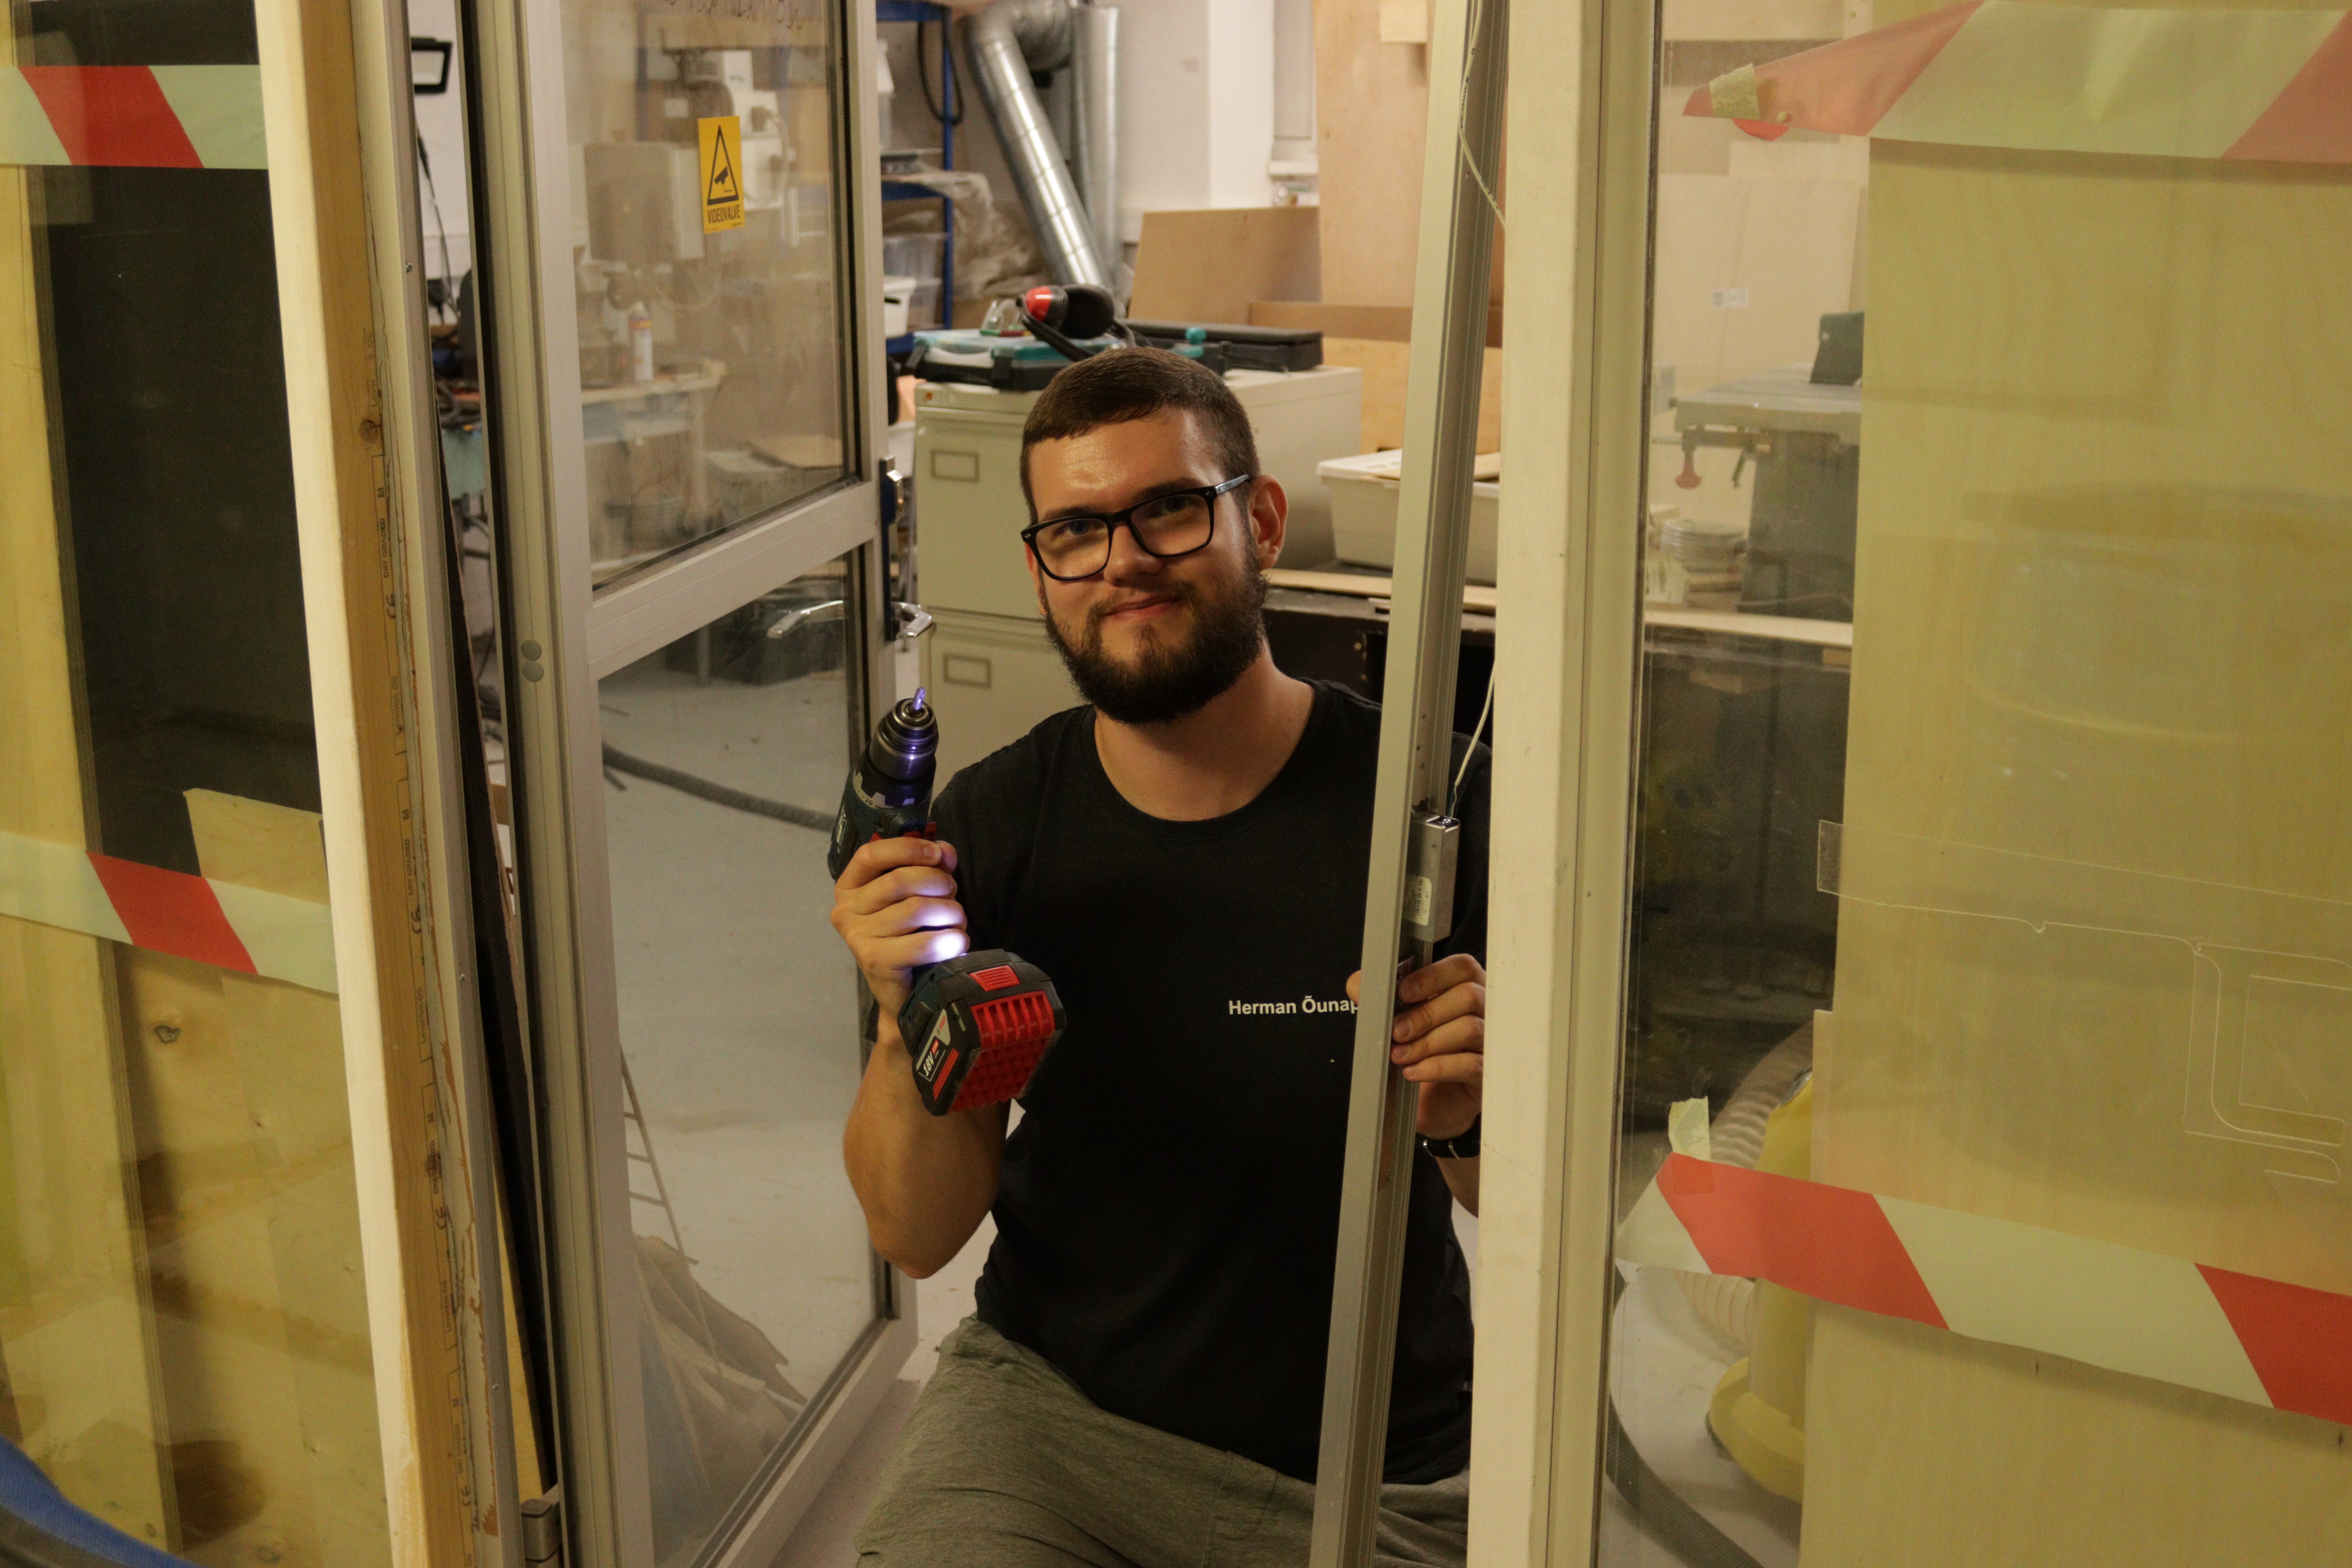
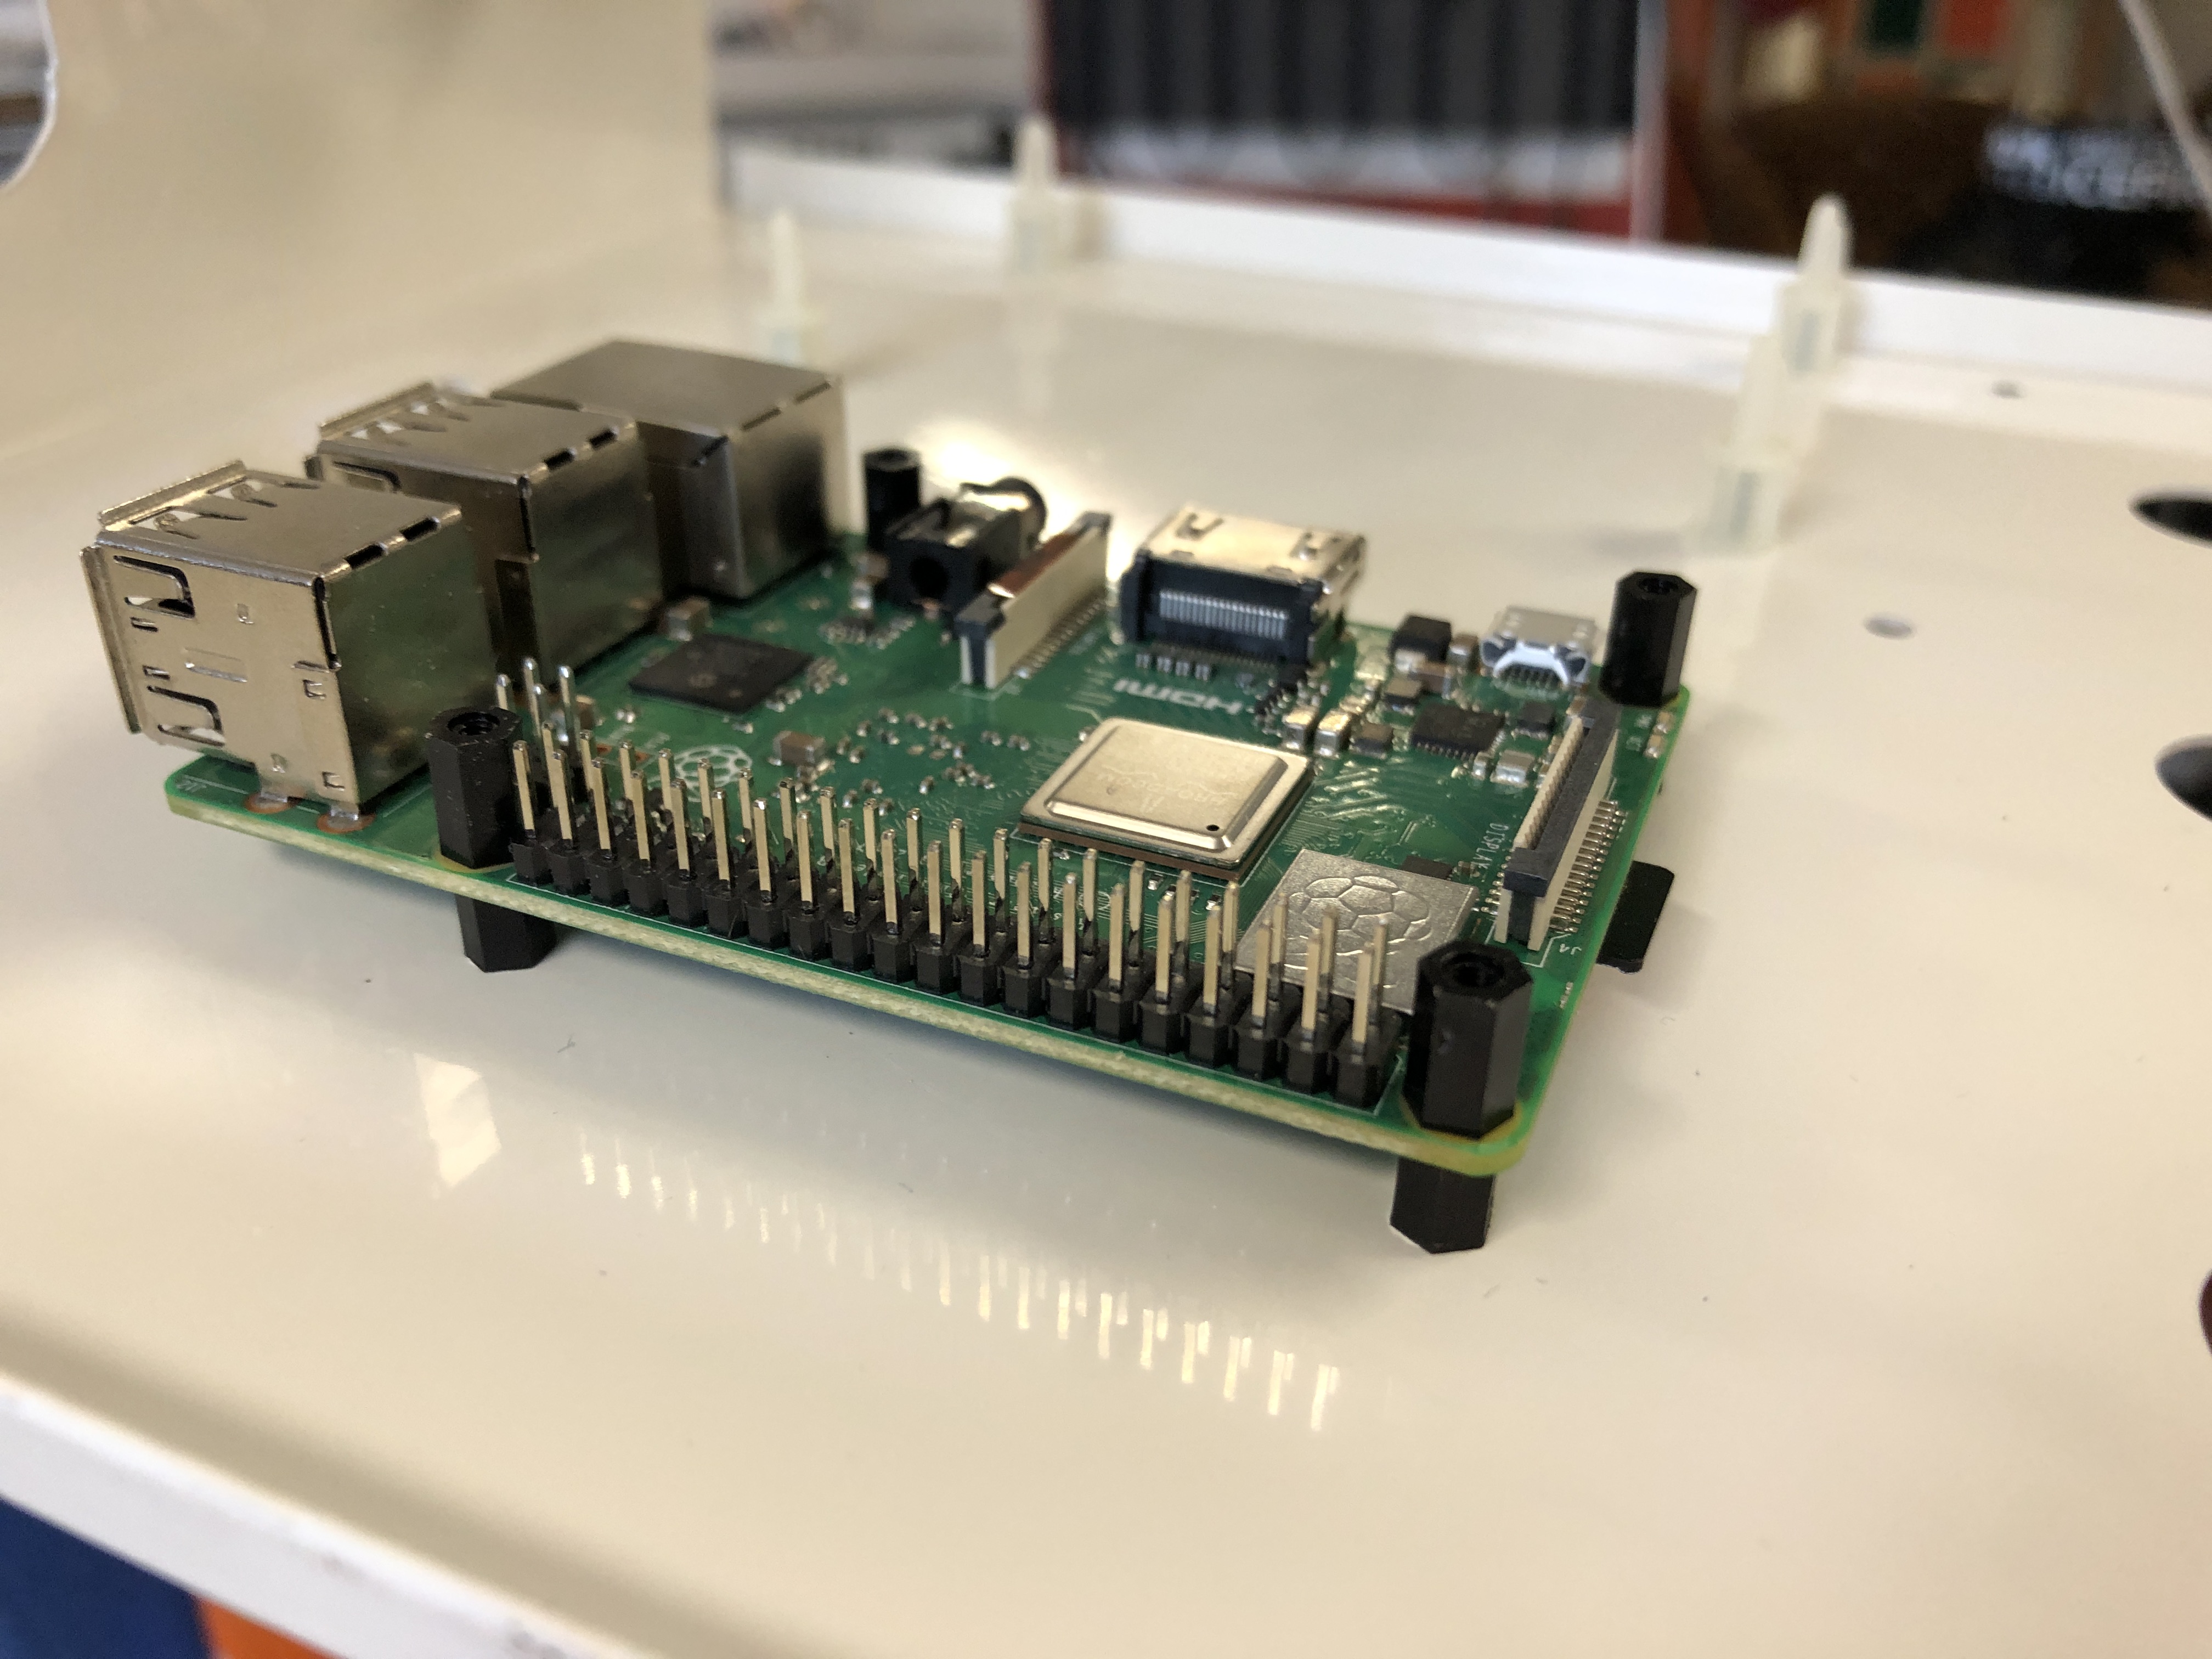
Anyway, I went ahead and drilled some mounting holes for the Pi. We had M2.5 nylon screws and standoffs available at the space, and with some assistance from Arti I learned about the wonders of countersink drill bits.
I really liked how the mounted Pi looked. I’ve seen a ton of projects on YouTube and elsewhere with Raspberry Pi-s being modded and mounted in all sorts of ways, but doing it myself felt really good, especially since I was reusing an old metal box that had no other purpose.
I set up the microSD card with Raspberry Pi OS and figured that I could find it on the k-space network. However,
I then remembered that the internal network was /16, which made the process much longer. I did not have access
to the network switch, but I did end up getting acces to a Pi, it just wasn’t the one I just set up. That was a
fun discovery.
I decided to go with the easy route and connect the Pi to an actual monitor and keyboard. That process ended up being faster than scanning the network for Pi-s.
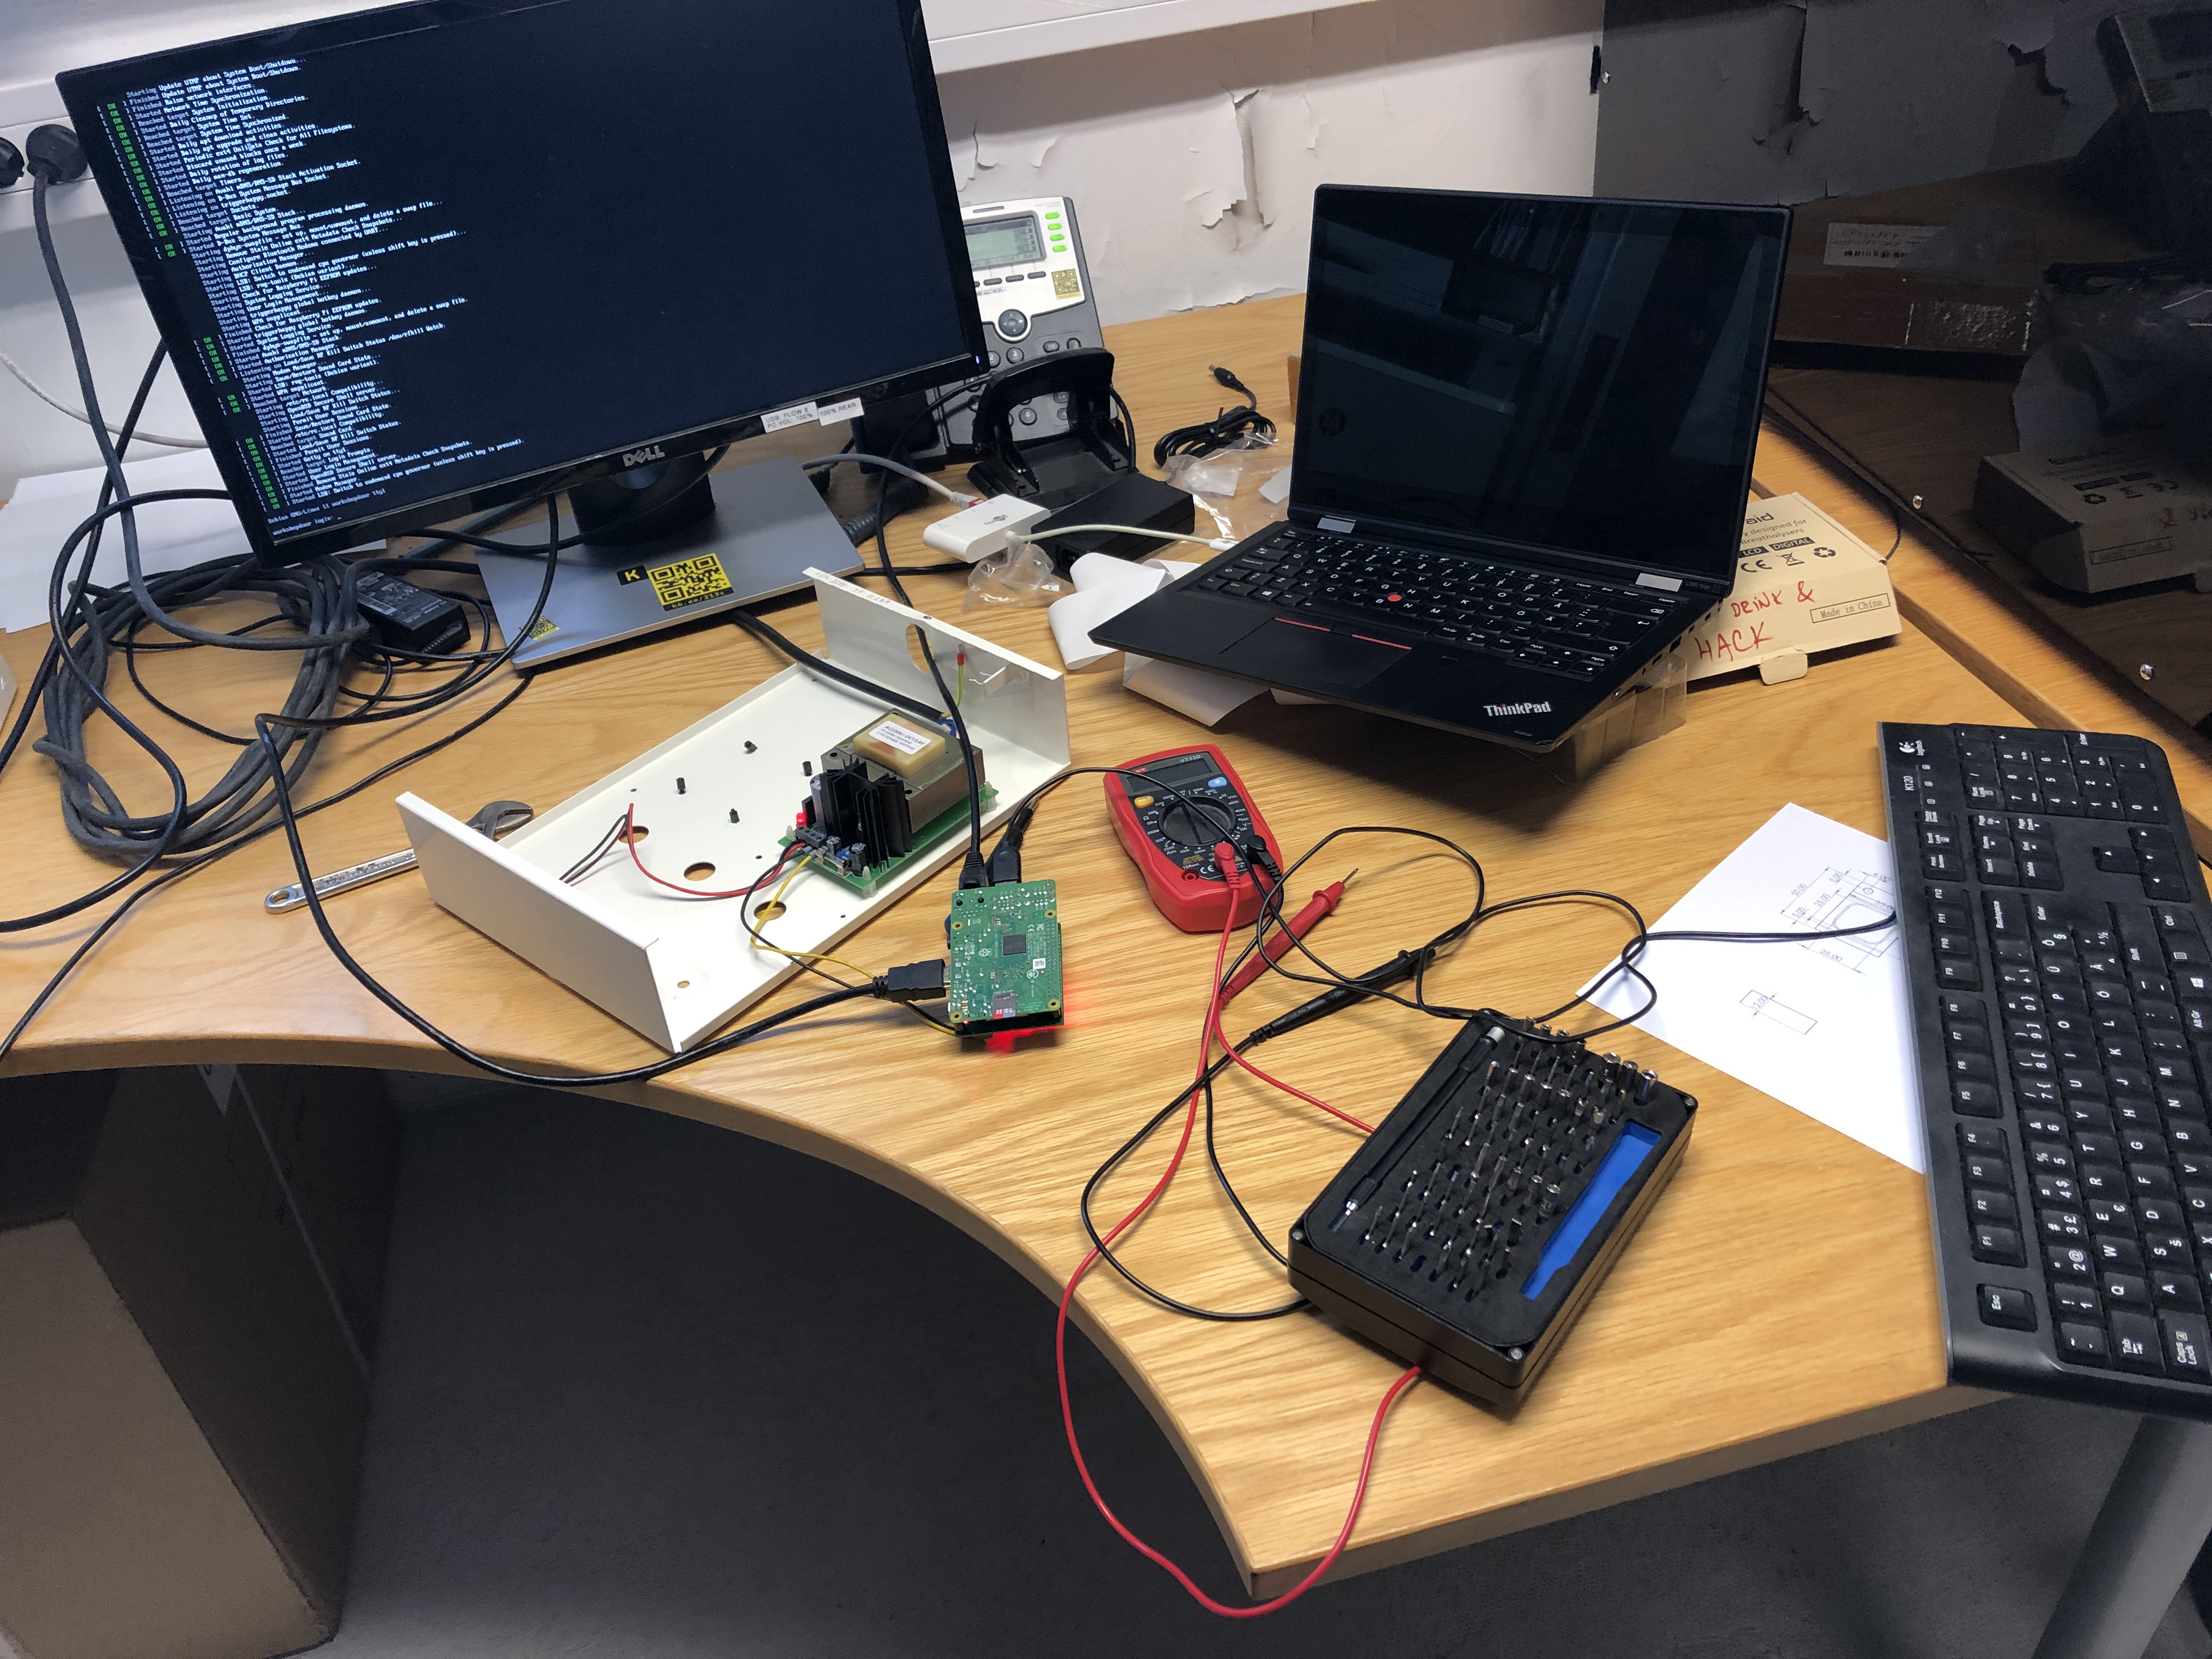
I also added an UPS battery to the setup. It barely fit the enclosure and it had to be raised a bit so that the lid on the box would close properly. But it worked out really well!
By the end of the day we also had the card reader installed on the door. We contemplated putting the reader on the other side of the glass because the reader can read cards up to 9cm away, and quick tests showed that it would actually work, however we had concerns about mounting it that way, and it would look a bit too janky even by k-space standards.
Day 2
Day 2 started with me trying to figure out how to run the cables. Making a suitably sized CAT5e cable was easy and it worked on the first try and drilling a hole through plywood was also simple, but when trying to figure out how to run the power I ran into a bit of trouble. There was very little room in the junction point that I intended to use, and when my brain shorted out I asked Arti for some help (again). He figured out a way to run the additional cable while not interfering with the power cables that ran to the light fixtures.
Due to the way we decided to run the card reader cables, we had to extend the cable that comes from the card reader. For that I used a CAT5e cable and some quick splices. I later learned that using your thumb power alone is not enough to splice cables, you actually need to push them all the way in with plyers. Once that was figured out, me and Arti installed a very professional looking cable cover involving a random piece of plastic tube, zipties and screws. Not that I needed the help, Arti was just working on porting some Python code to Golang and wanted a break. He ended up making a lot of breaks, not sure what that says about the learning curve of Golang.
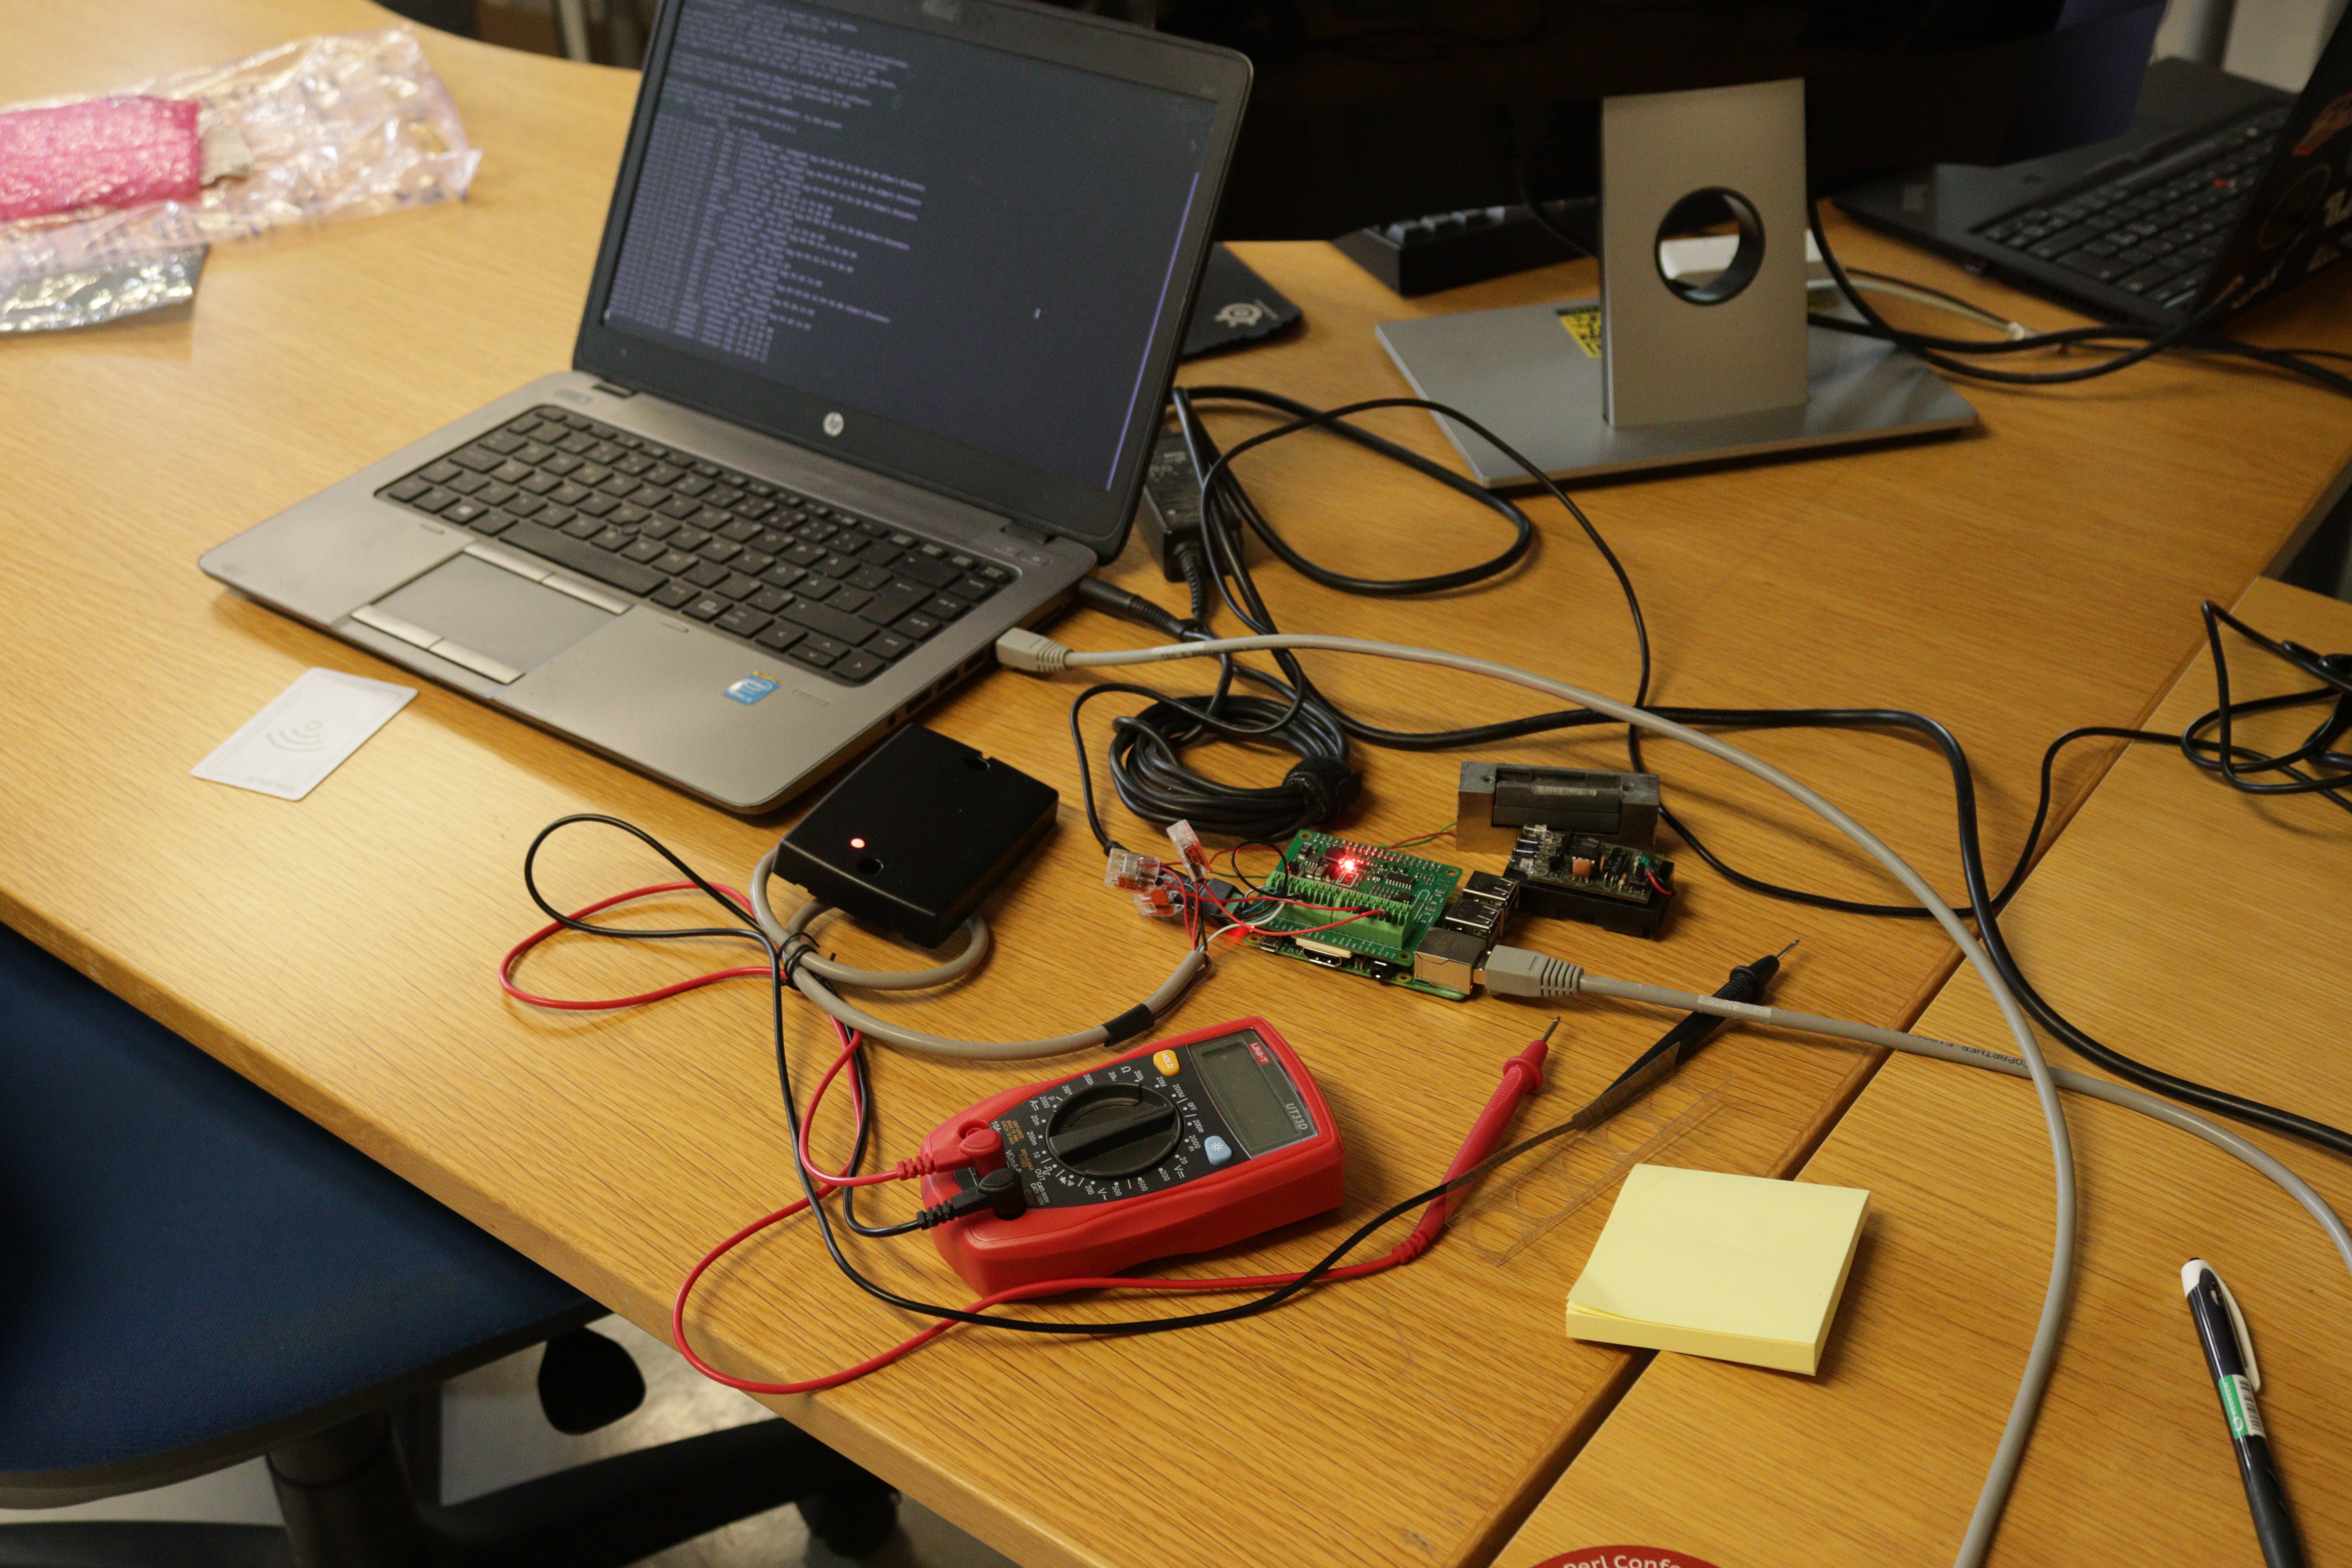
Now came the difficult part. I had to wire up everything to the Raspberry Pi without breaking anything. I had the photos I took on day 0, but in hindsight they were not that great since I had trouble figuring out what went where. Luckily another door controller in the space had a similar setup and I could use that as a reference point.
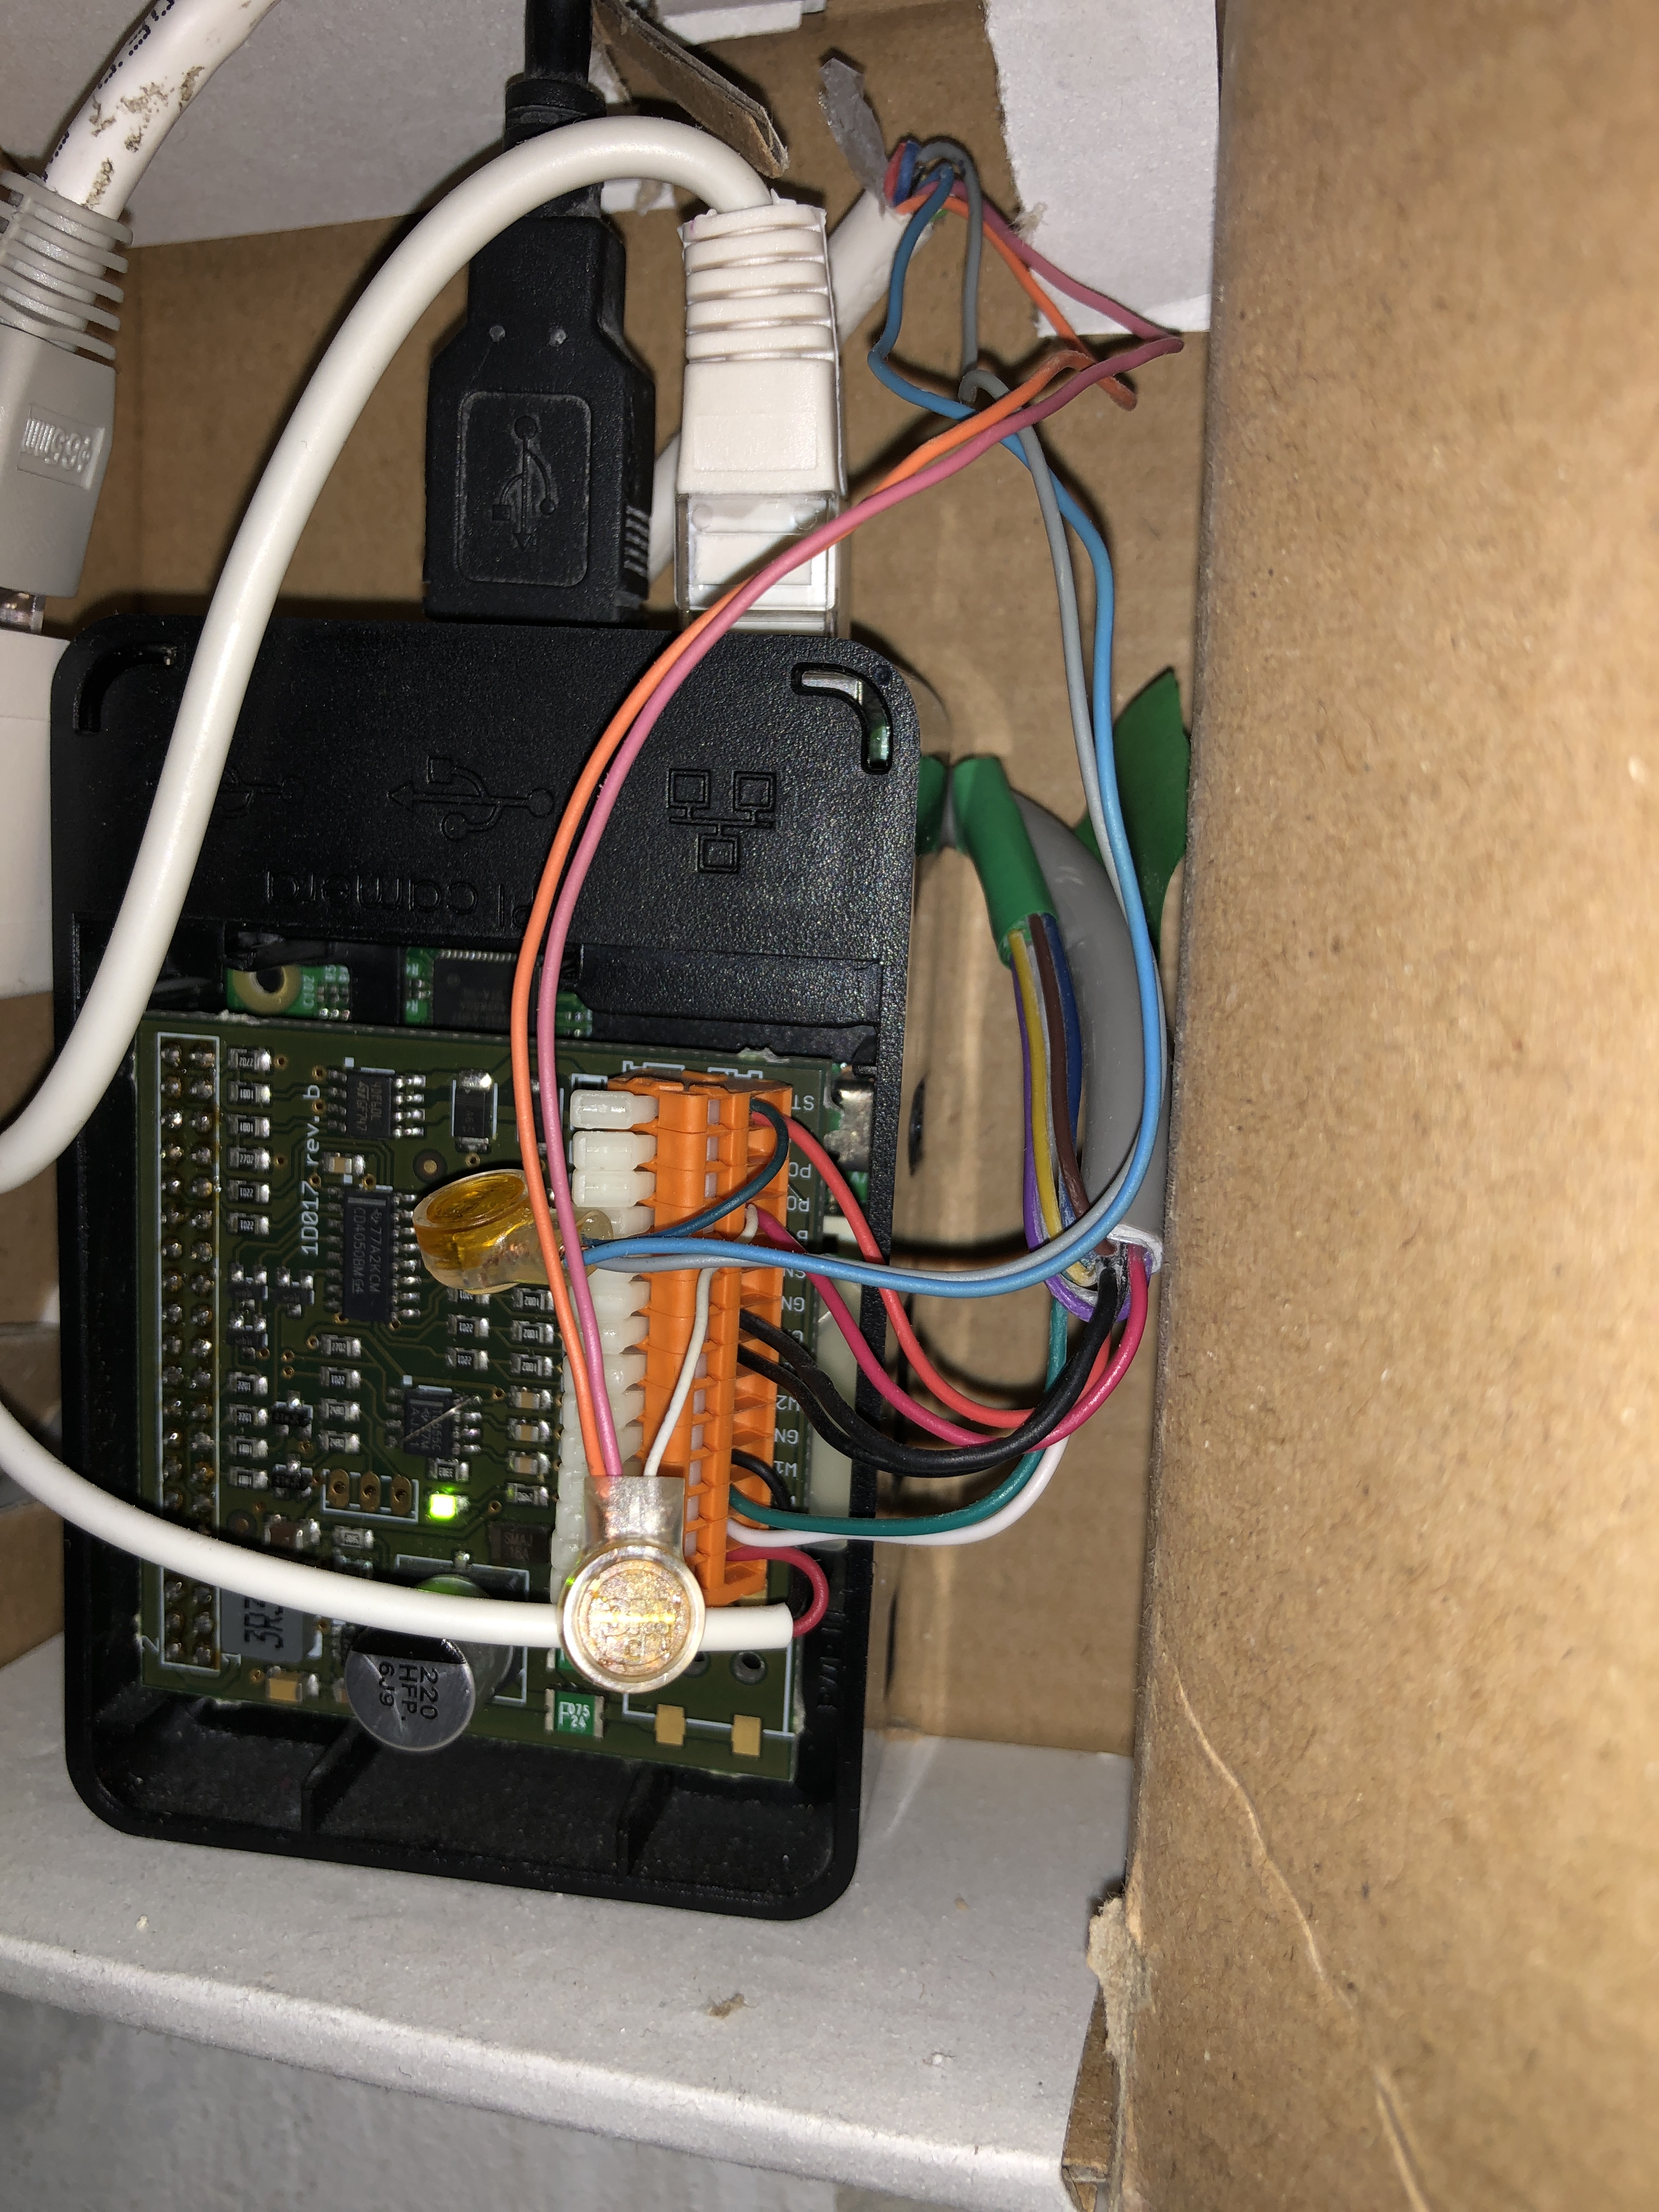
The Raspberry Pi HAT gets 12V input power, some of that is passed to the door controller, and then we have two leads that are connected to both the door controller and the electronic lock. If someone swipes their card and they have access to that particular door, the card reader light goes green and 12V is applied to the electronic door lock, making it open it. There’s software that controls it, but I did not have to worry about that too much because two other hackathon participants were working on that.
I had Arti check the cabling before the initial test and after a hesitant go-ahead from him we powered it on. The Pi powered on, but the card reader was not doing anything. It was supposed to do a few beeps and show a red light. Uh-oh. That’s when Arti reviewed the quick splices that I used and pointed out that they were not pushed all the way in. After using brute force (pliers), we powered it on again and it worked!
The rest of the evening was spent testing out the card reader software that was being ported. That revealed a few issues, but we did get a successful door opening!
At this point I was very happy and I think half the hackerspace heard that.
Day 3
At this point I was quite tired, but I felt really accomplished. I assembled the setup without burning everything down, and I only shorted out the UPS battery once after absent-mindedly connecting the same alligator clip to both power leads. Whoops.
I spent that half-day cleaning everything up and mounting the power and networking cables to the wall. I also labeled the box so that we know what that mysterious white box is and where it gets its power.
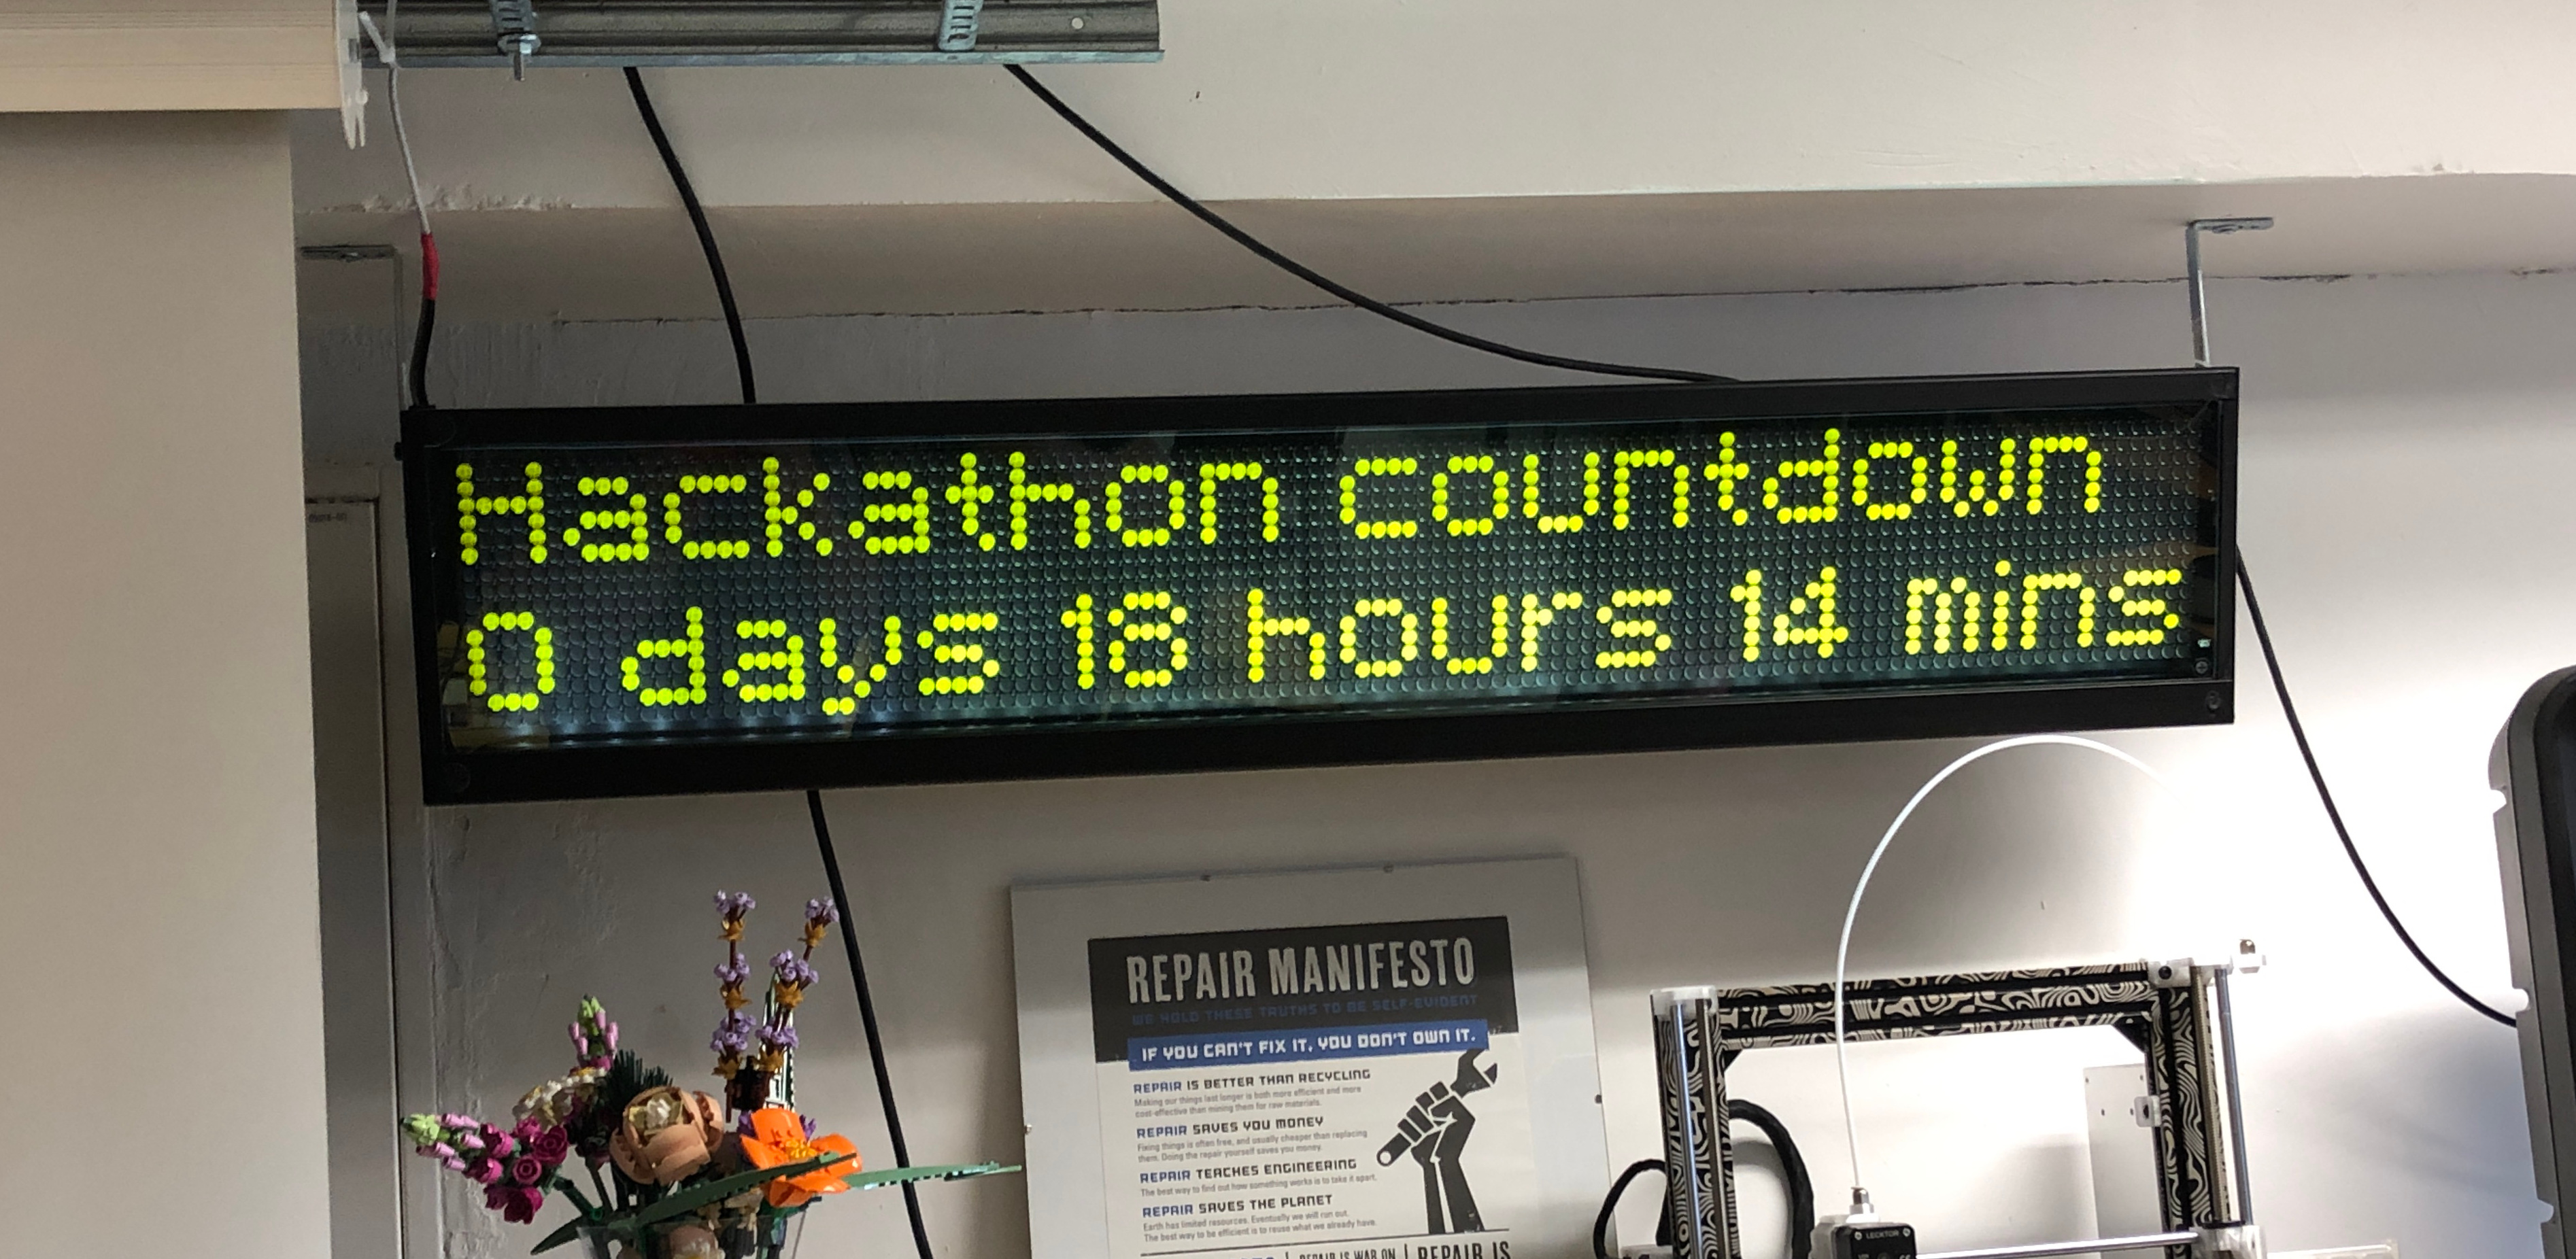
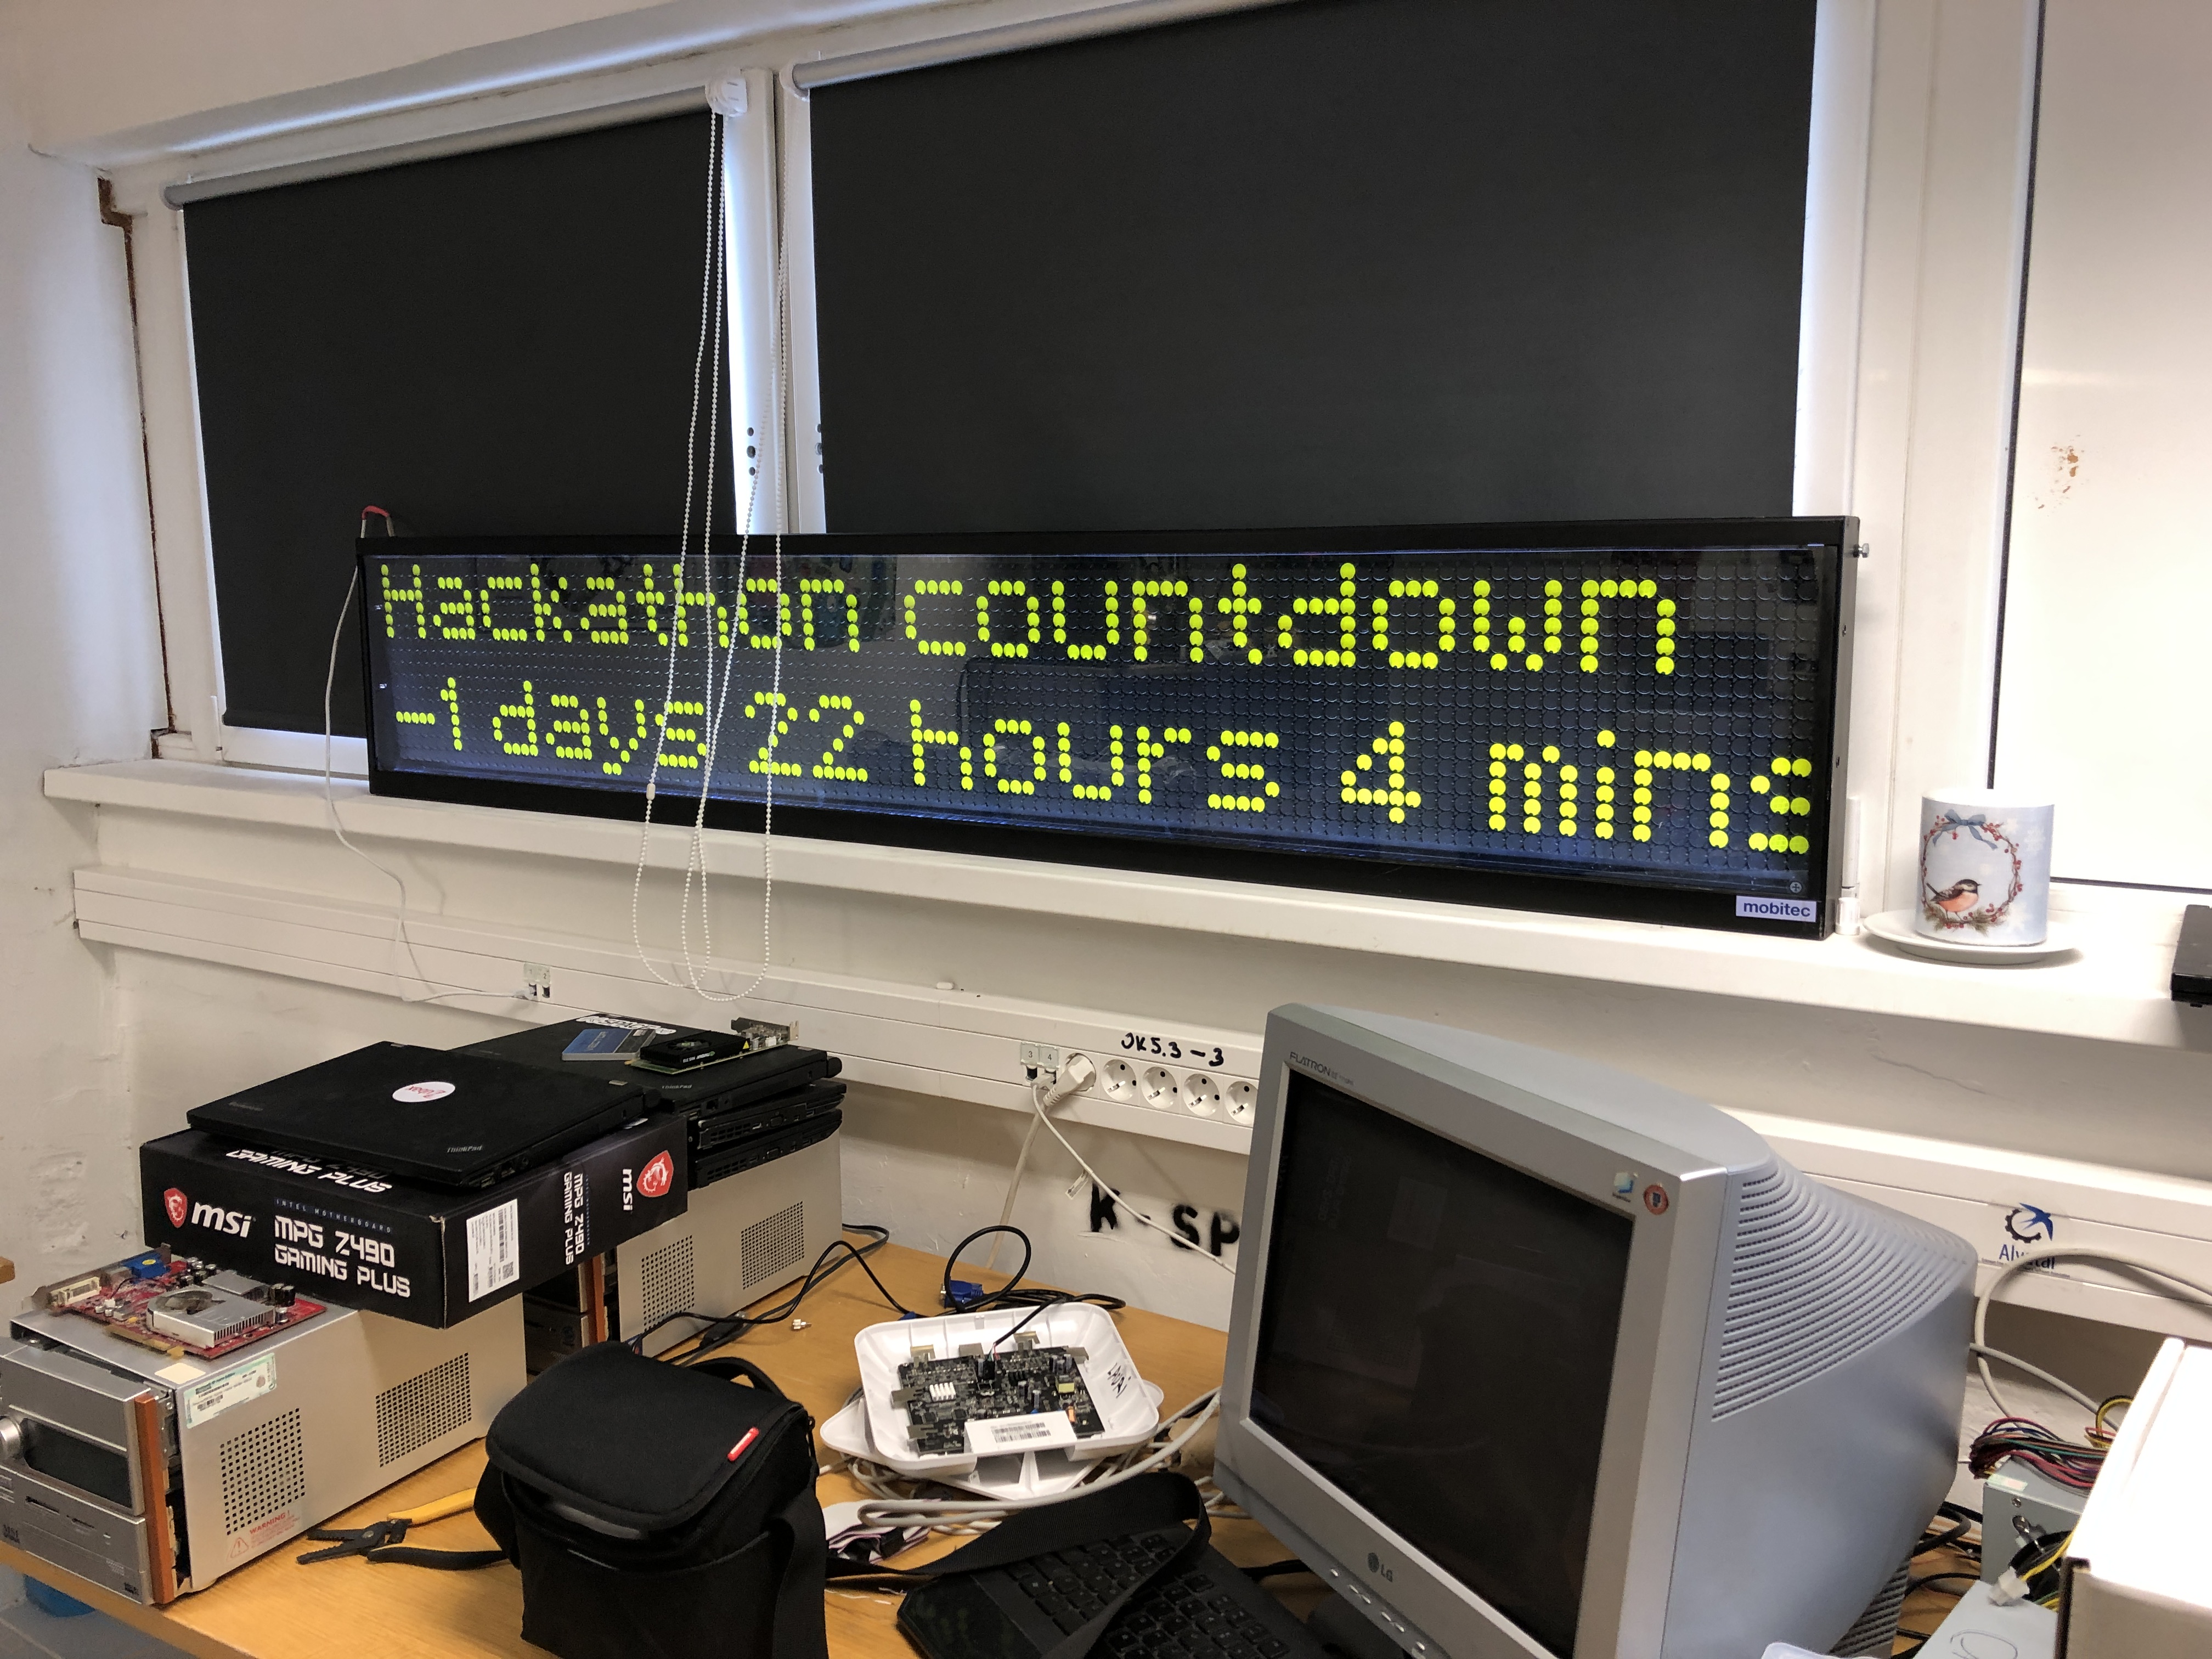
At 14:00 the hackathon timer ran to zero and we were wondering what would happen with the countdown. Well…
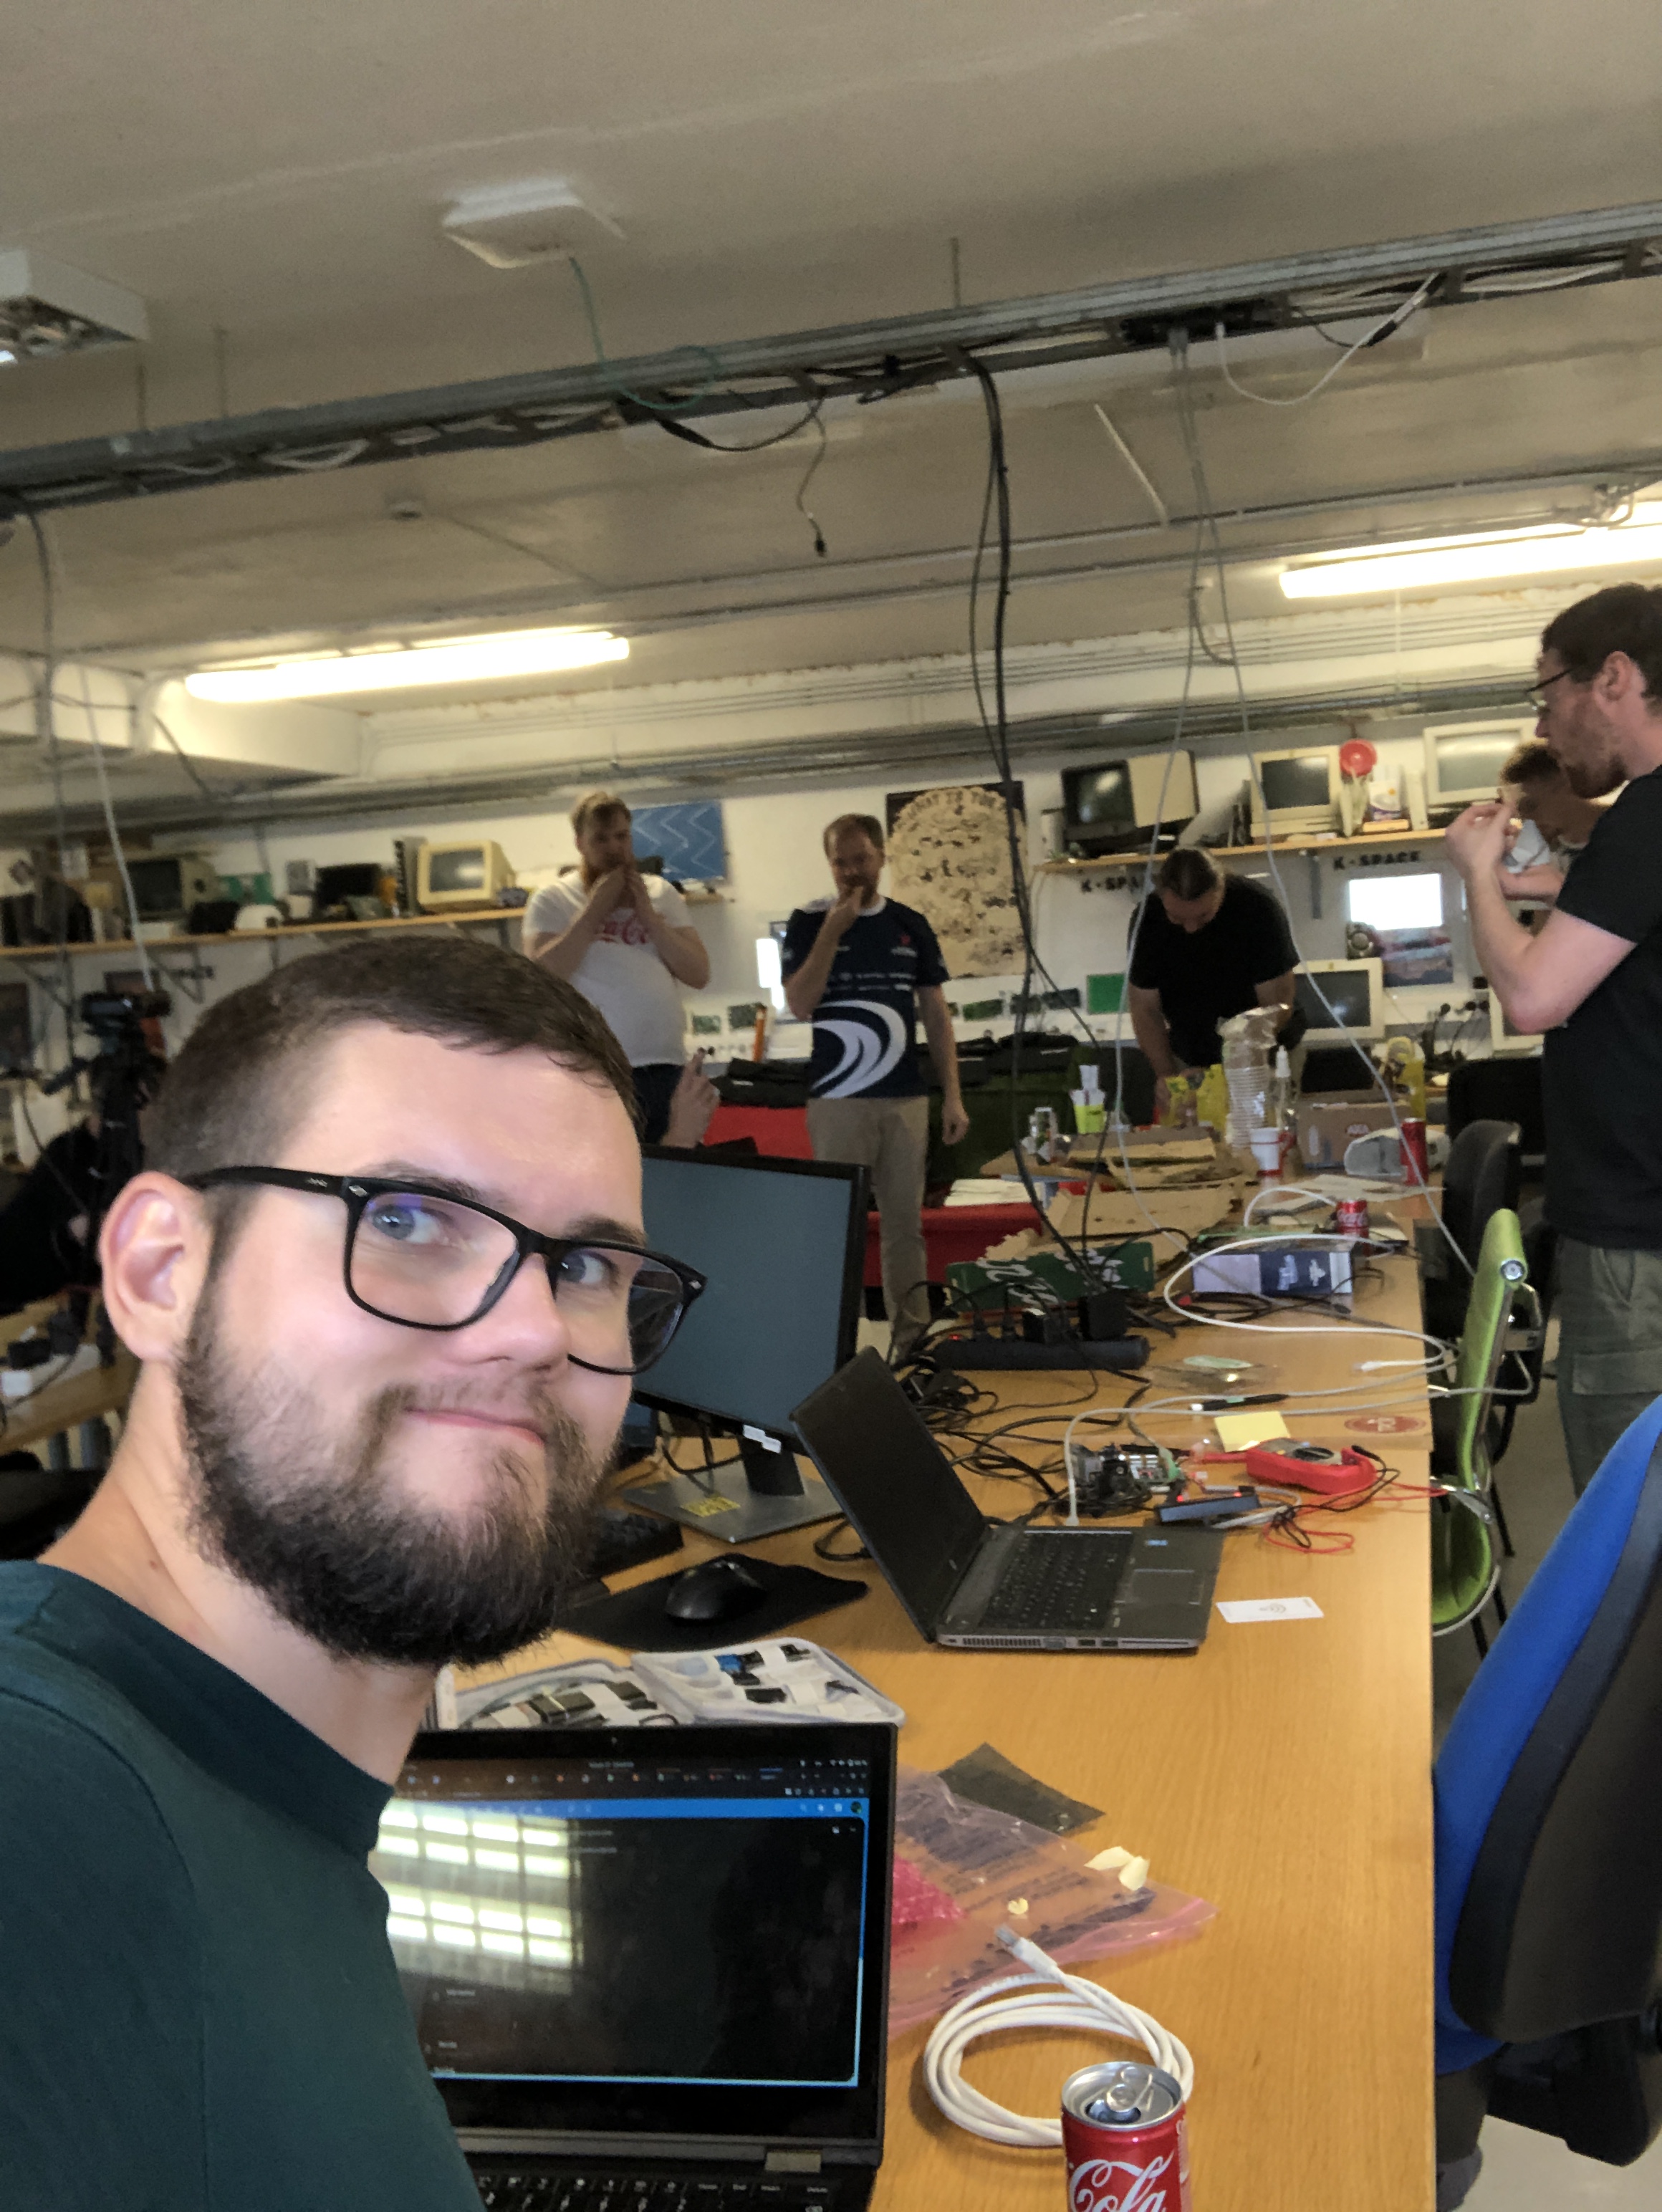
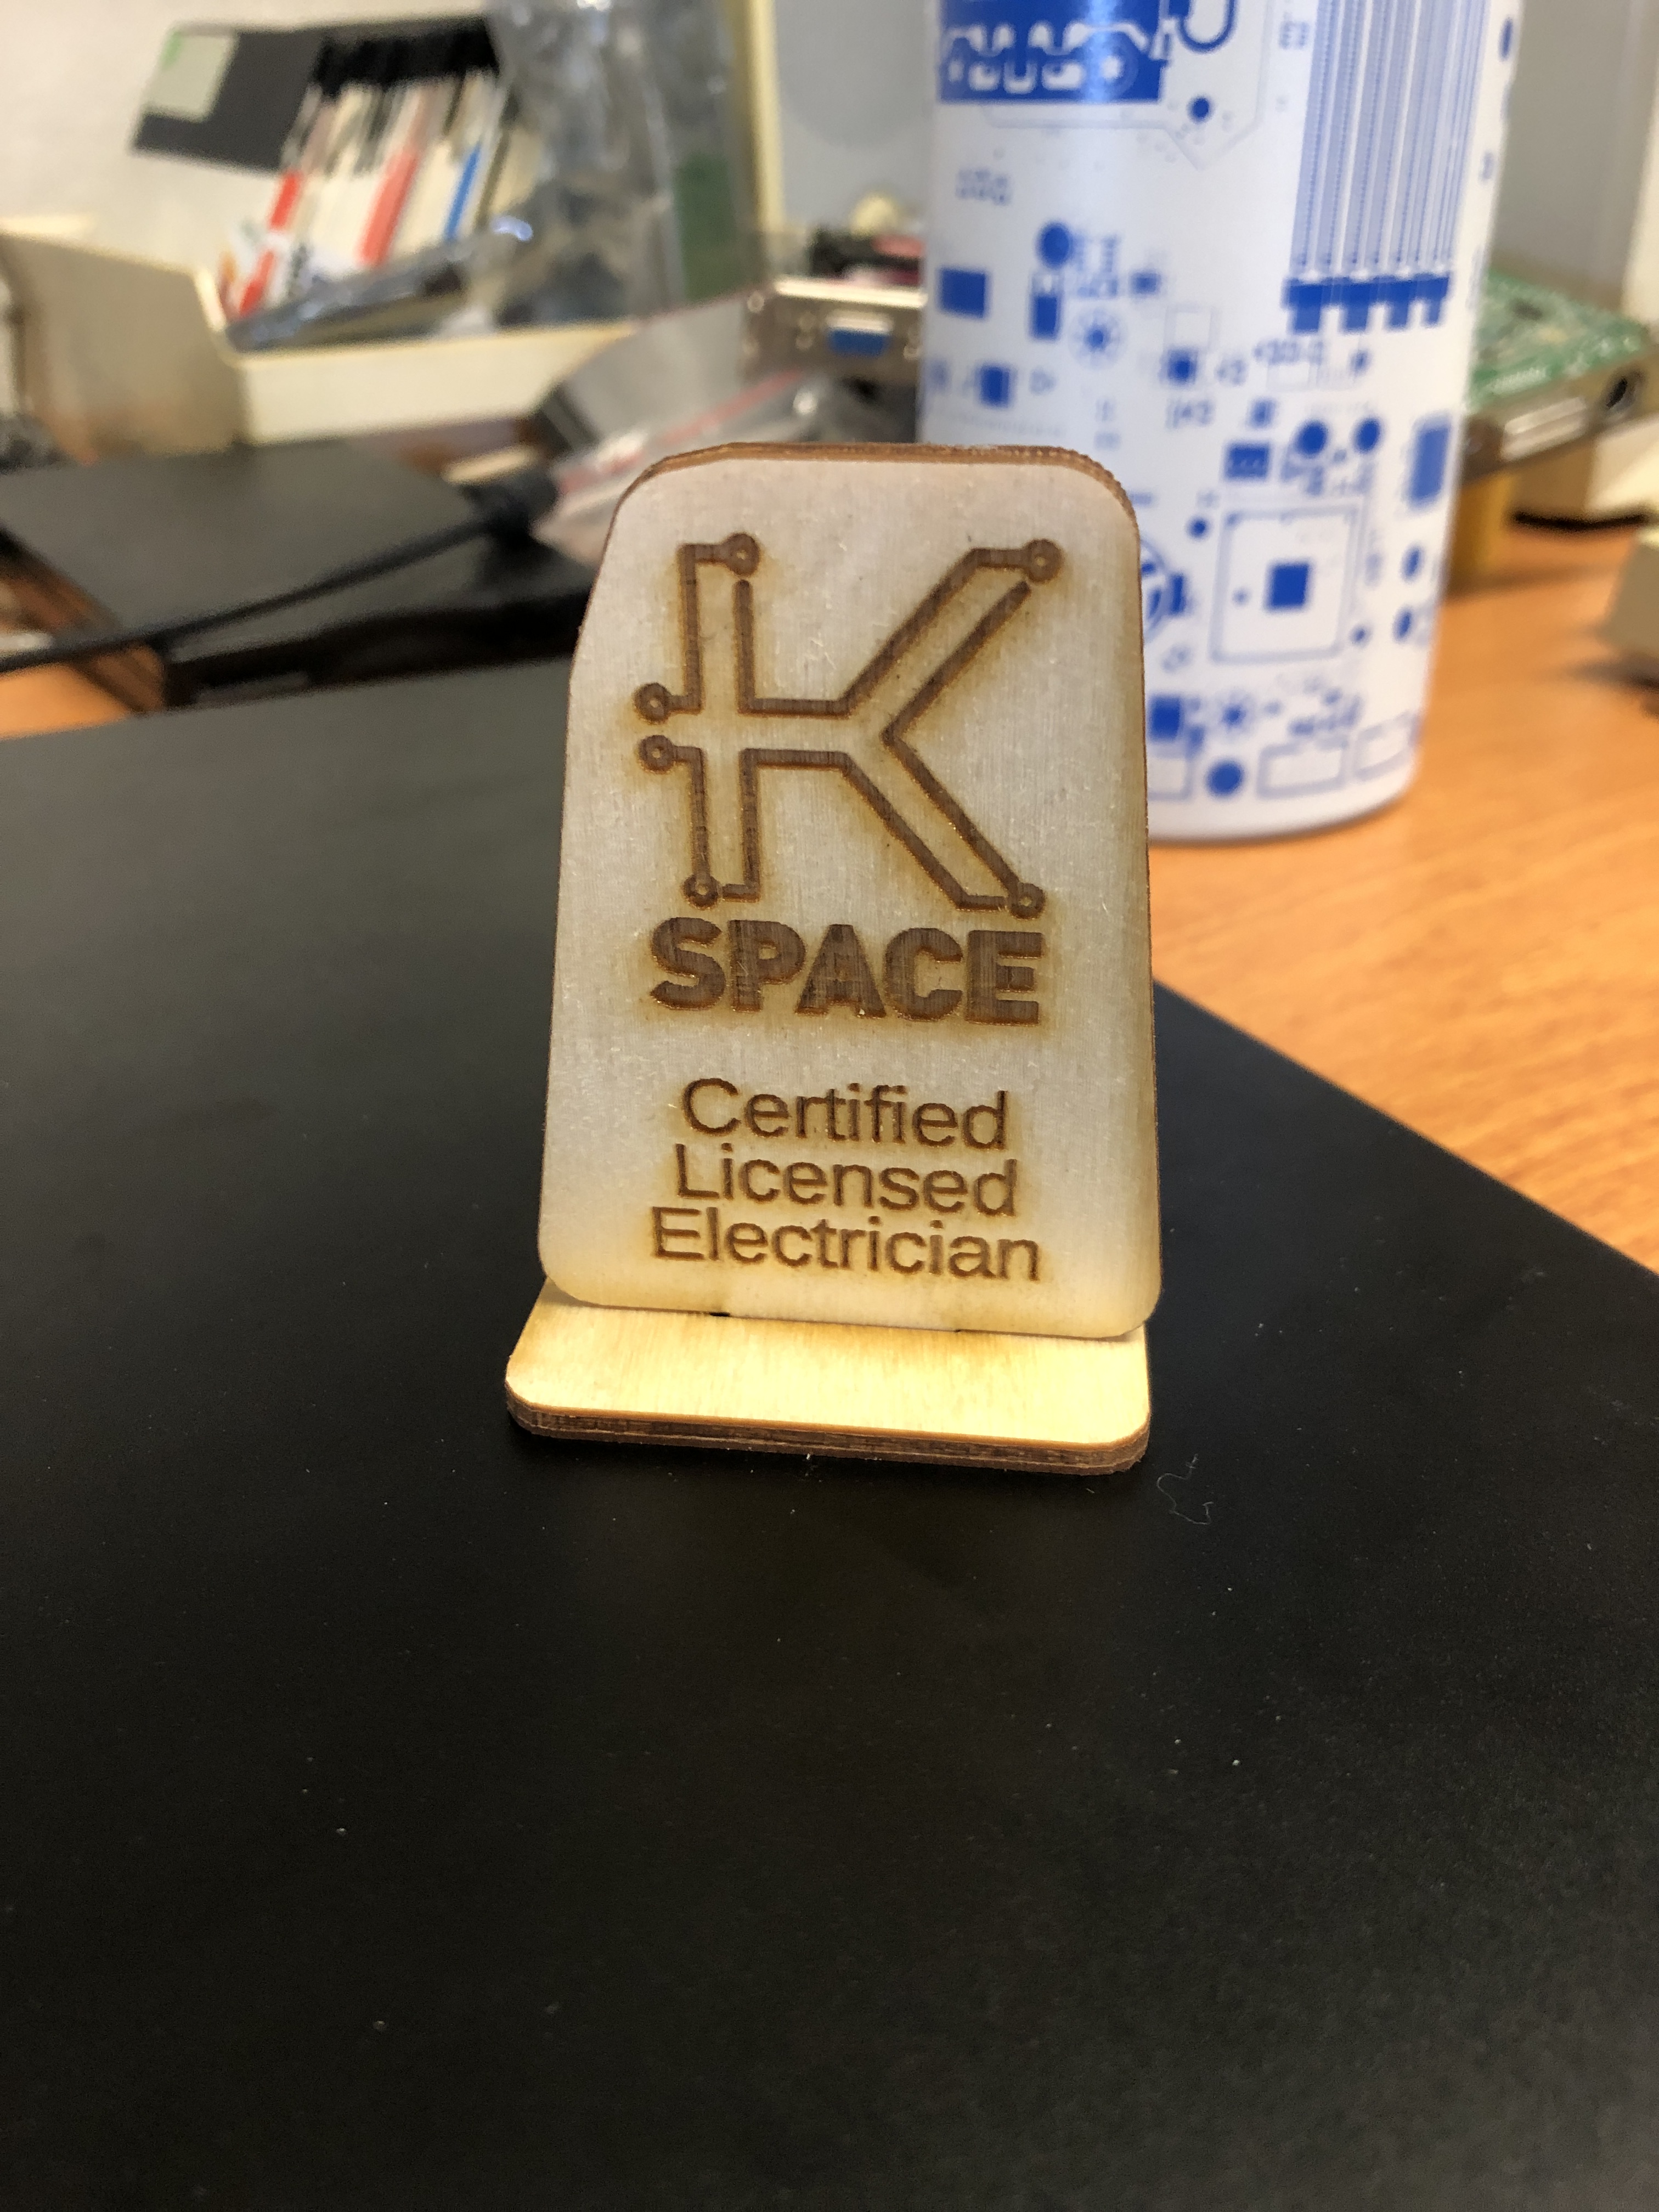
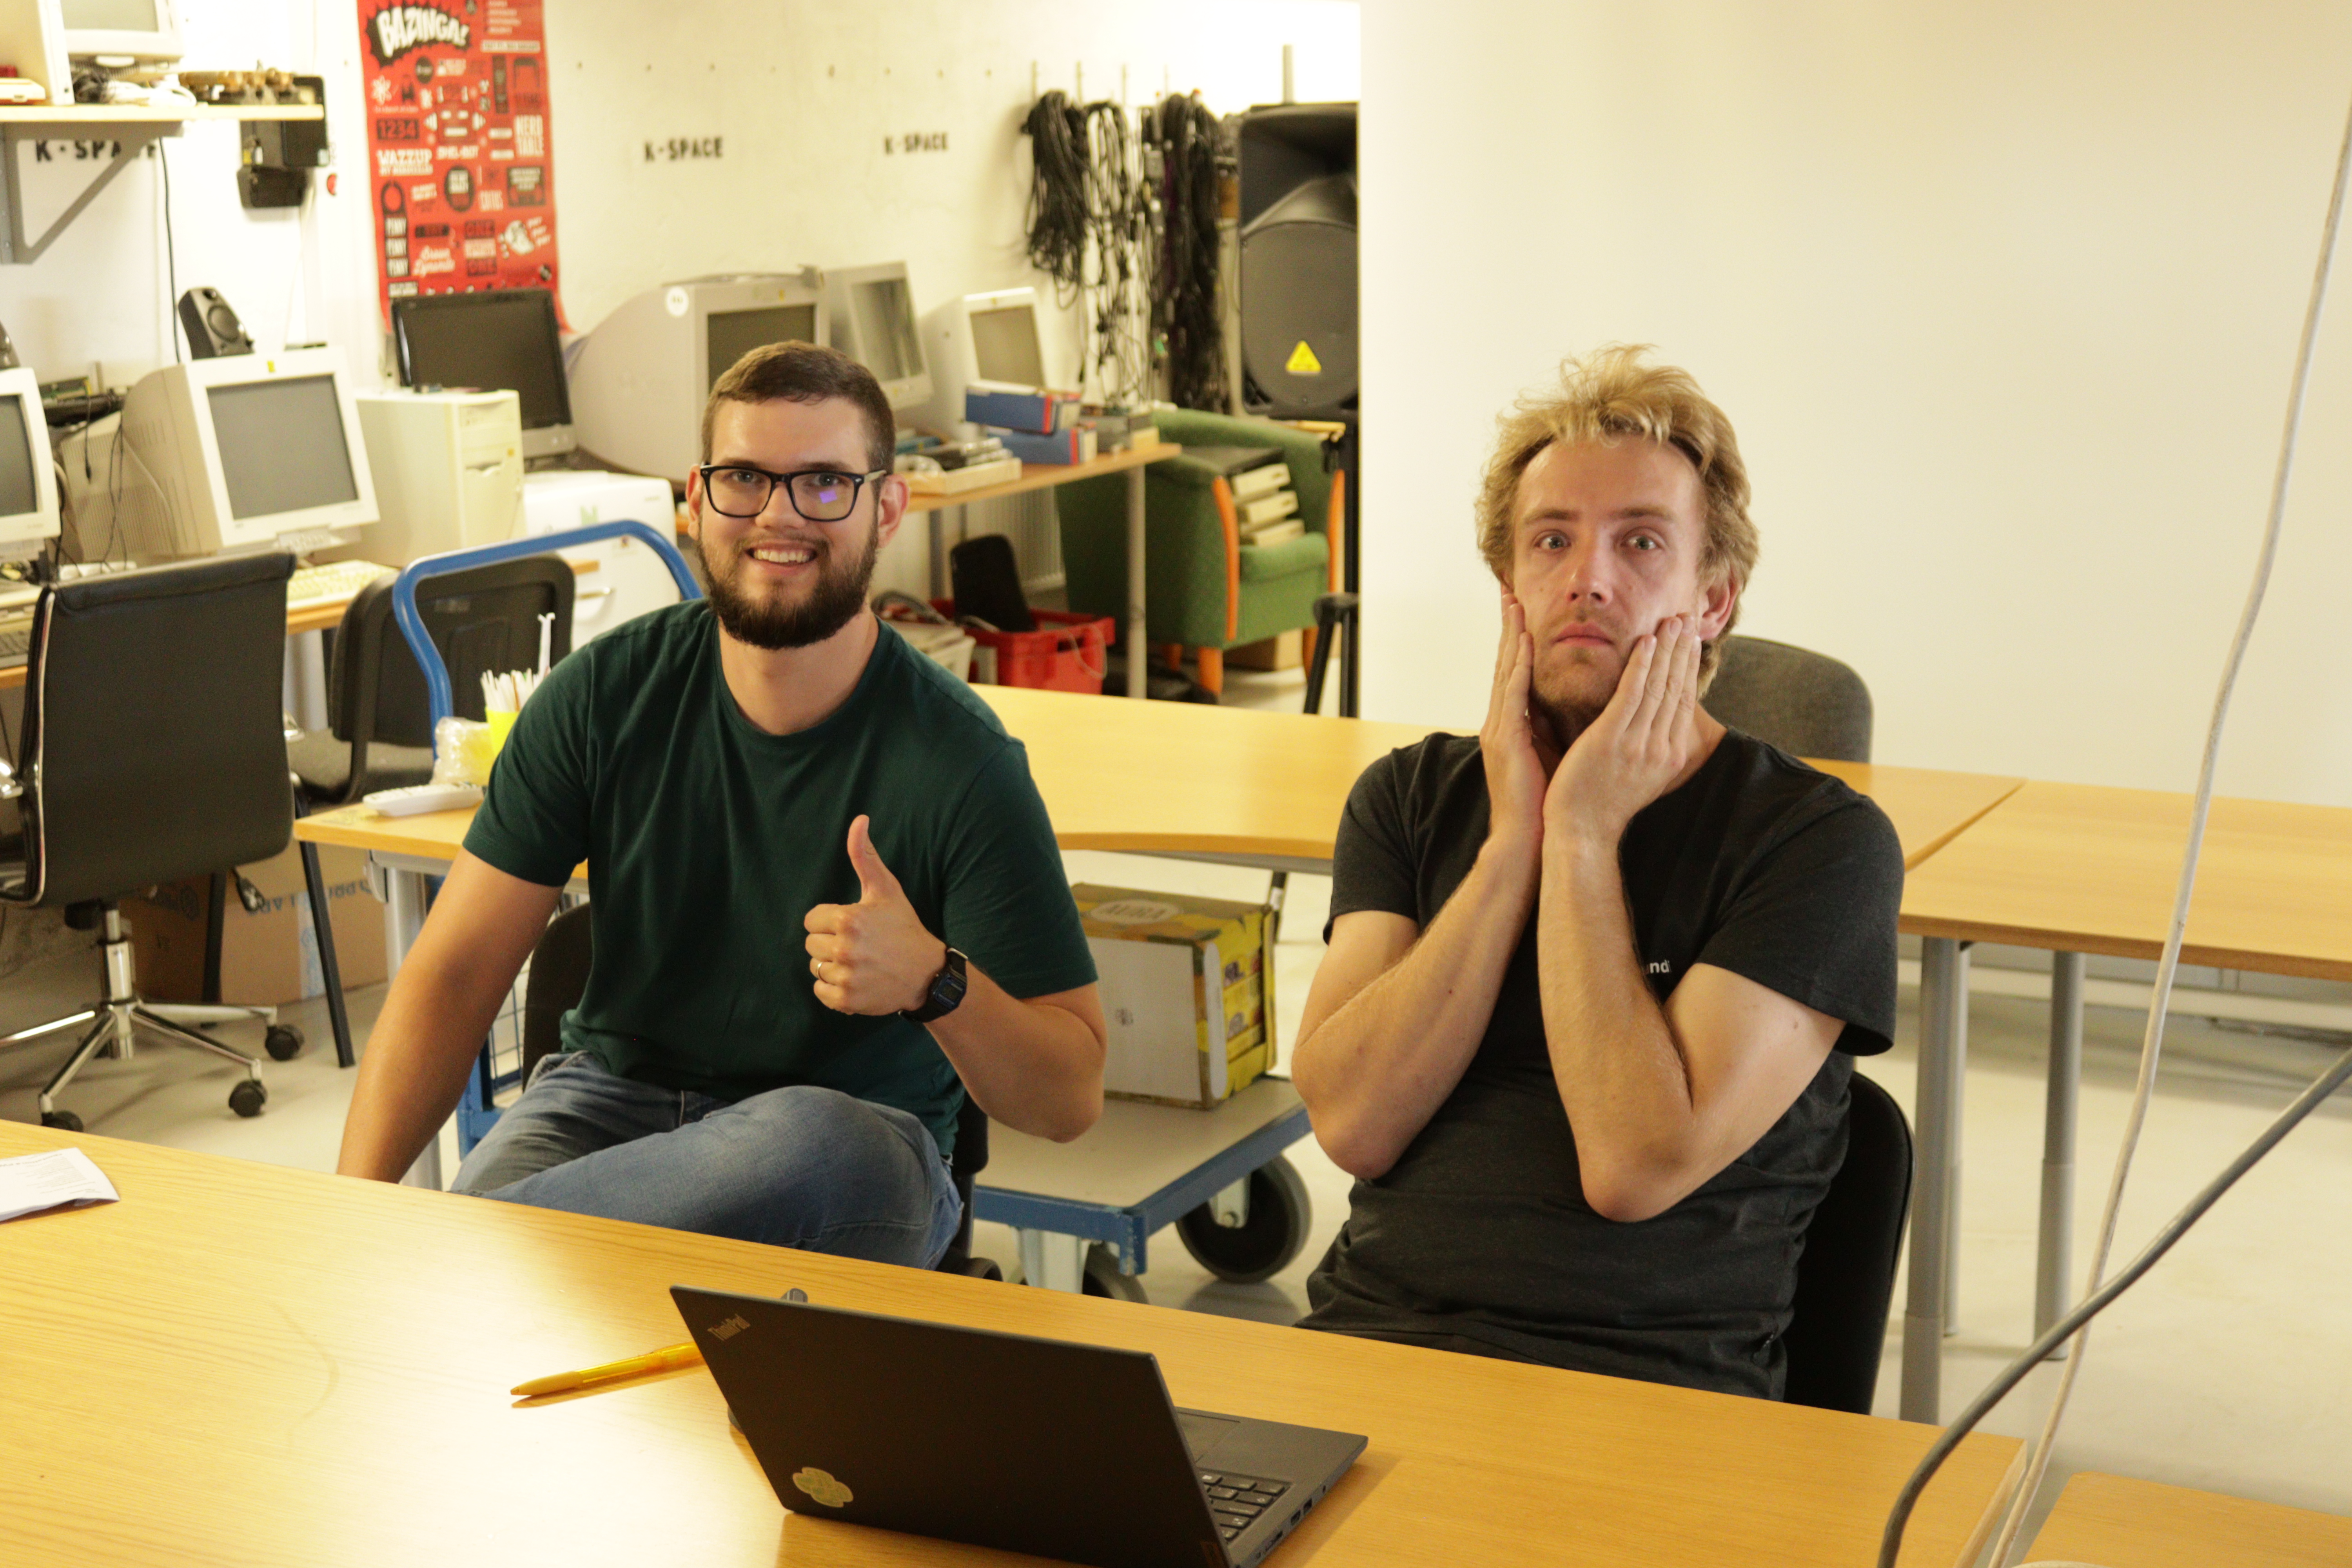
I presented my work, listened to what others were up to, and then we got some creative awards. Arti, the guy working on the Golang port of the door controller software, got “K-SPACE Certified Go Developer”, and I am now a “K-SPACE Certified Licensed Electrician”. Whoo!
I’d like to thank everyone who organized the event, and Arti Zirk for helping out with the project on many occasions!
That was pretty much it!
Subscribe to new posts via the RSS feed.
Not sure what RSS is, or how to get started? Check this guide!
You can reach me via e-mail or LinkedIn.
If you liked this post, consider sharing it!