Meet the Garbage PC
This is the Garbage PC.
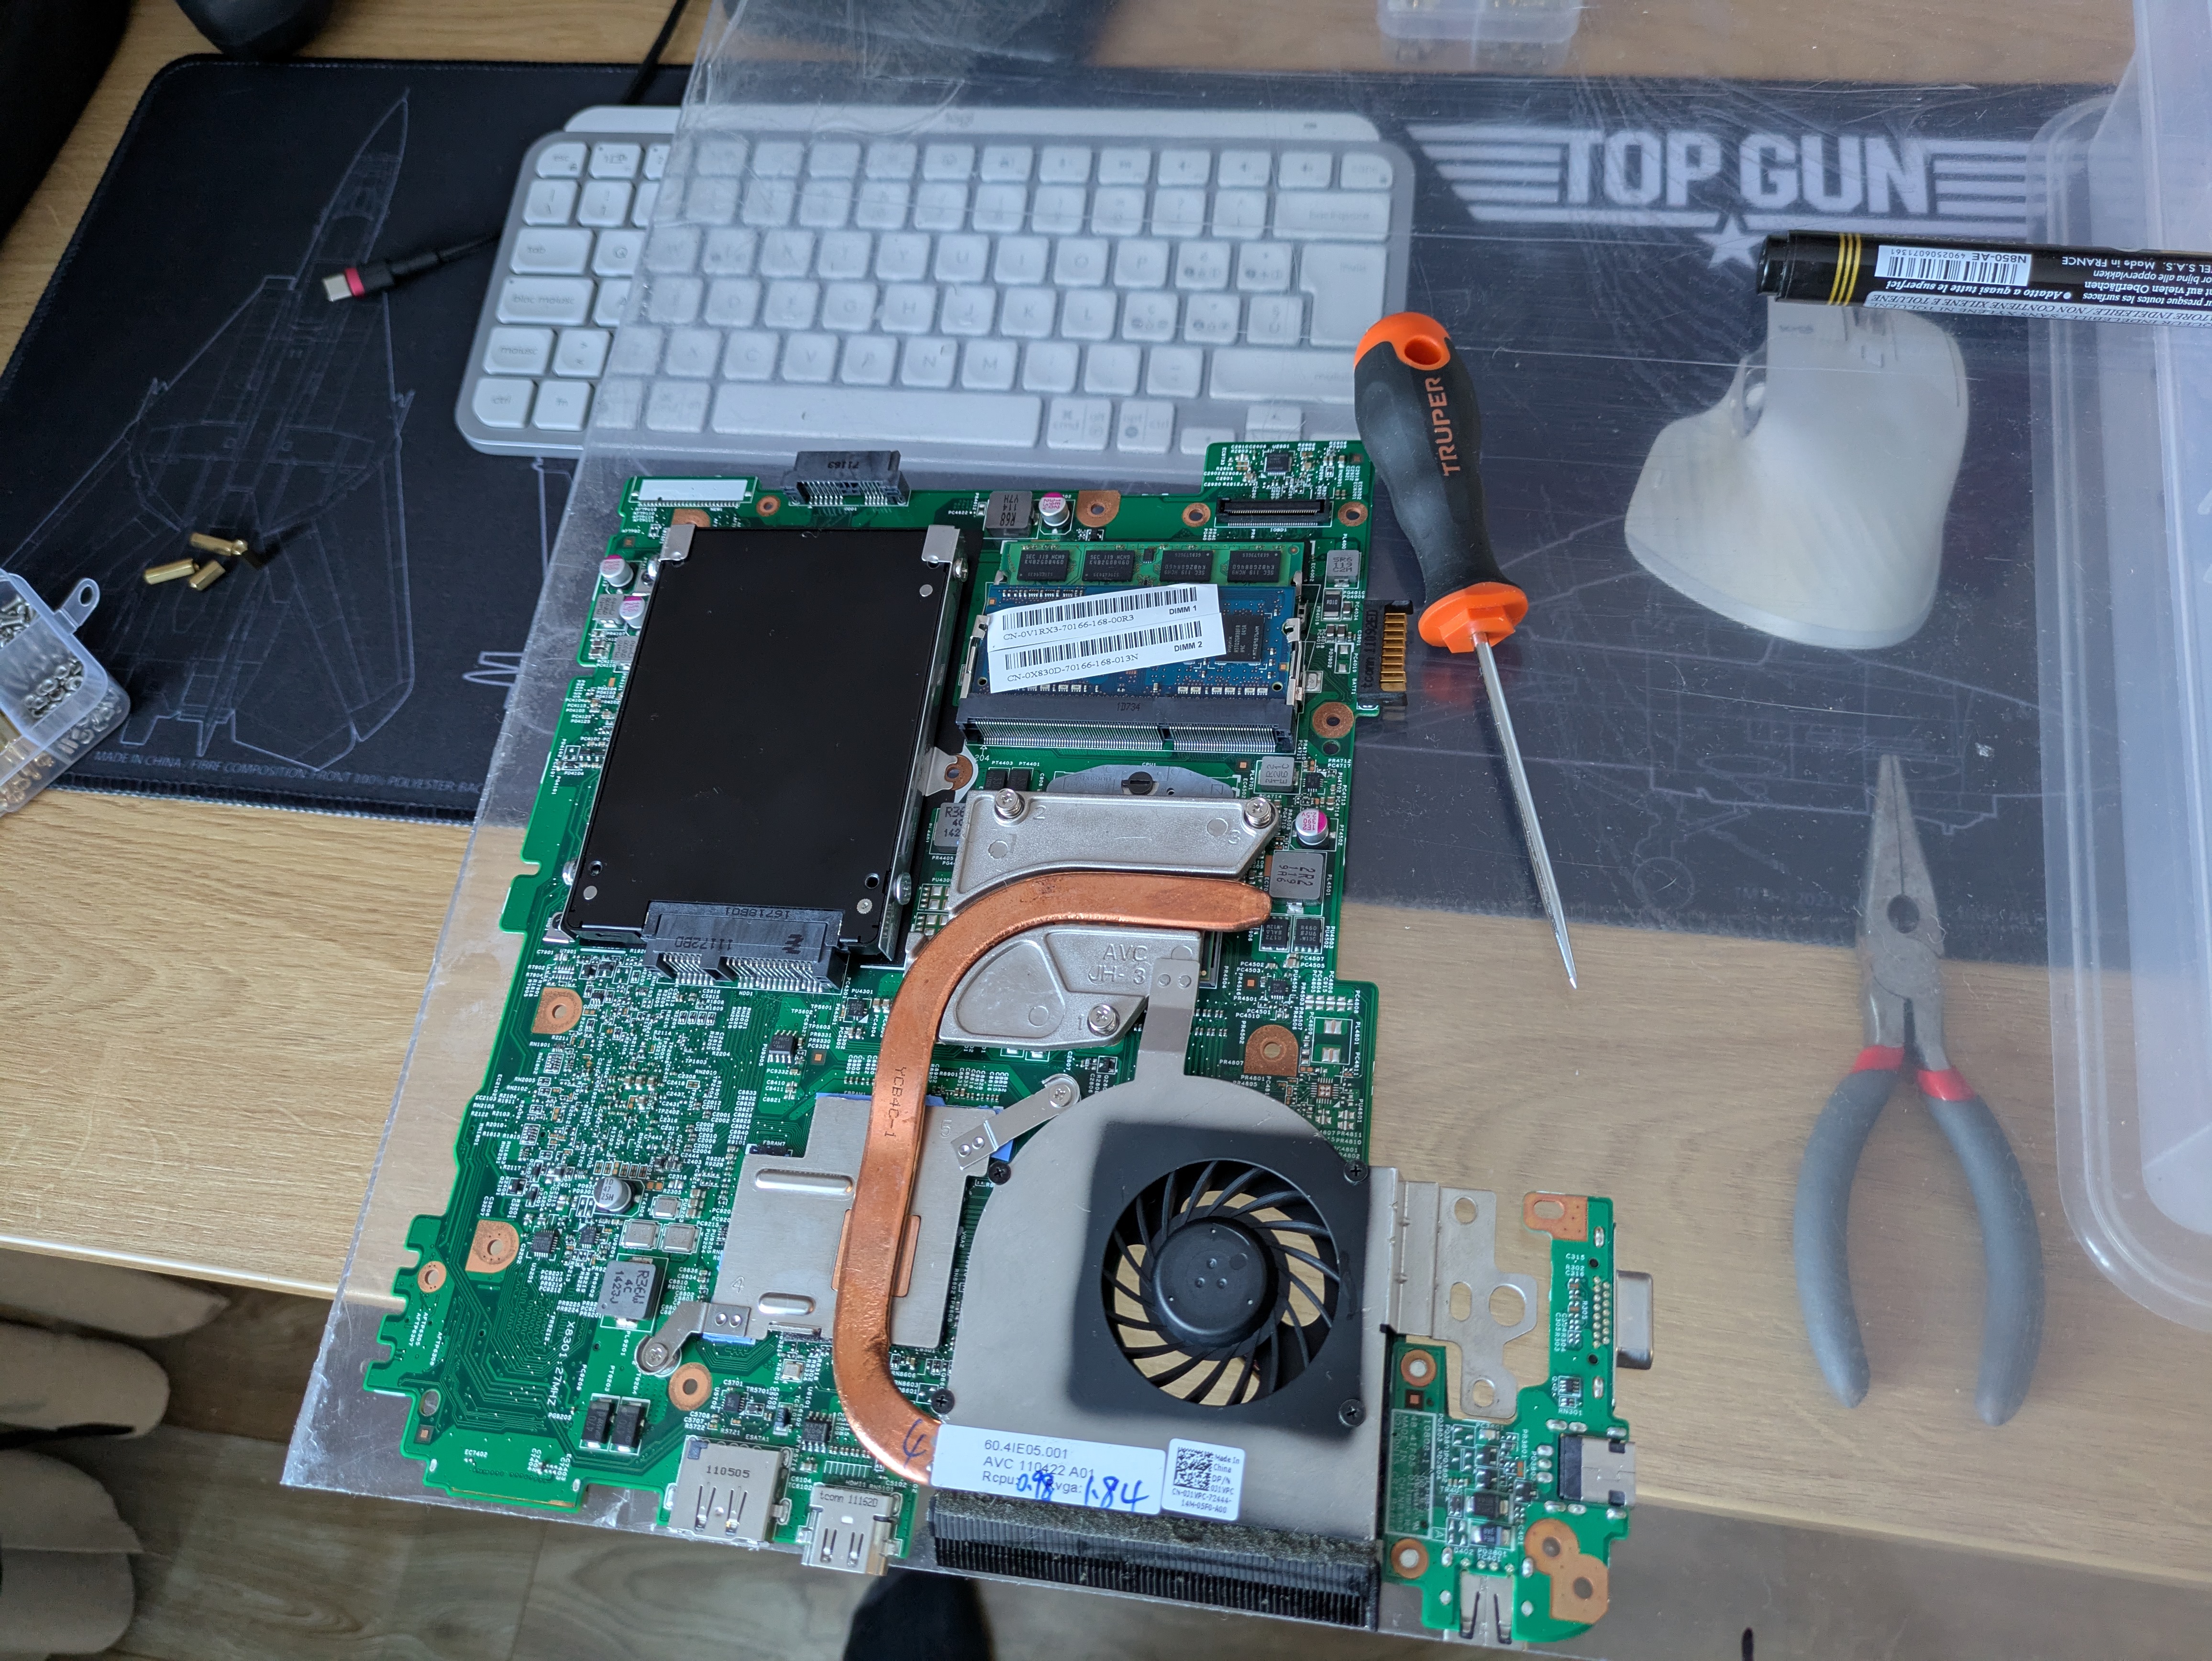
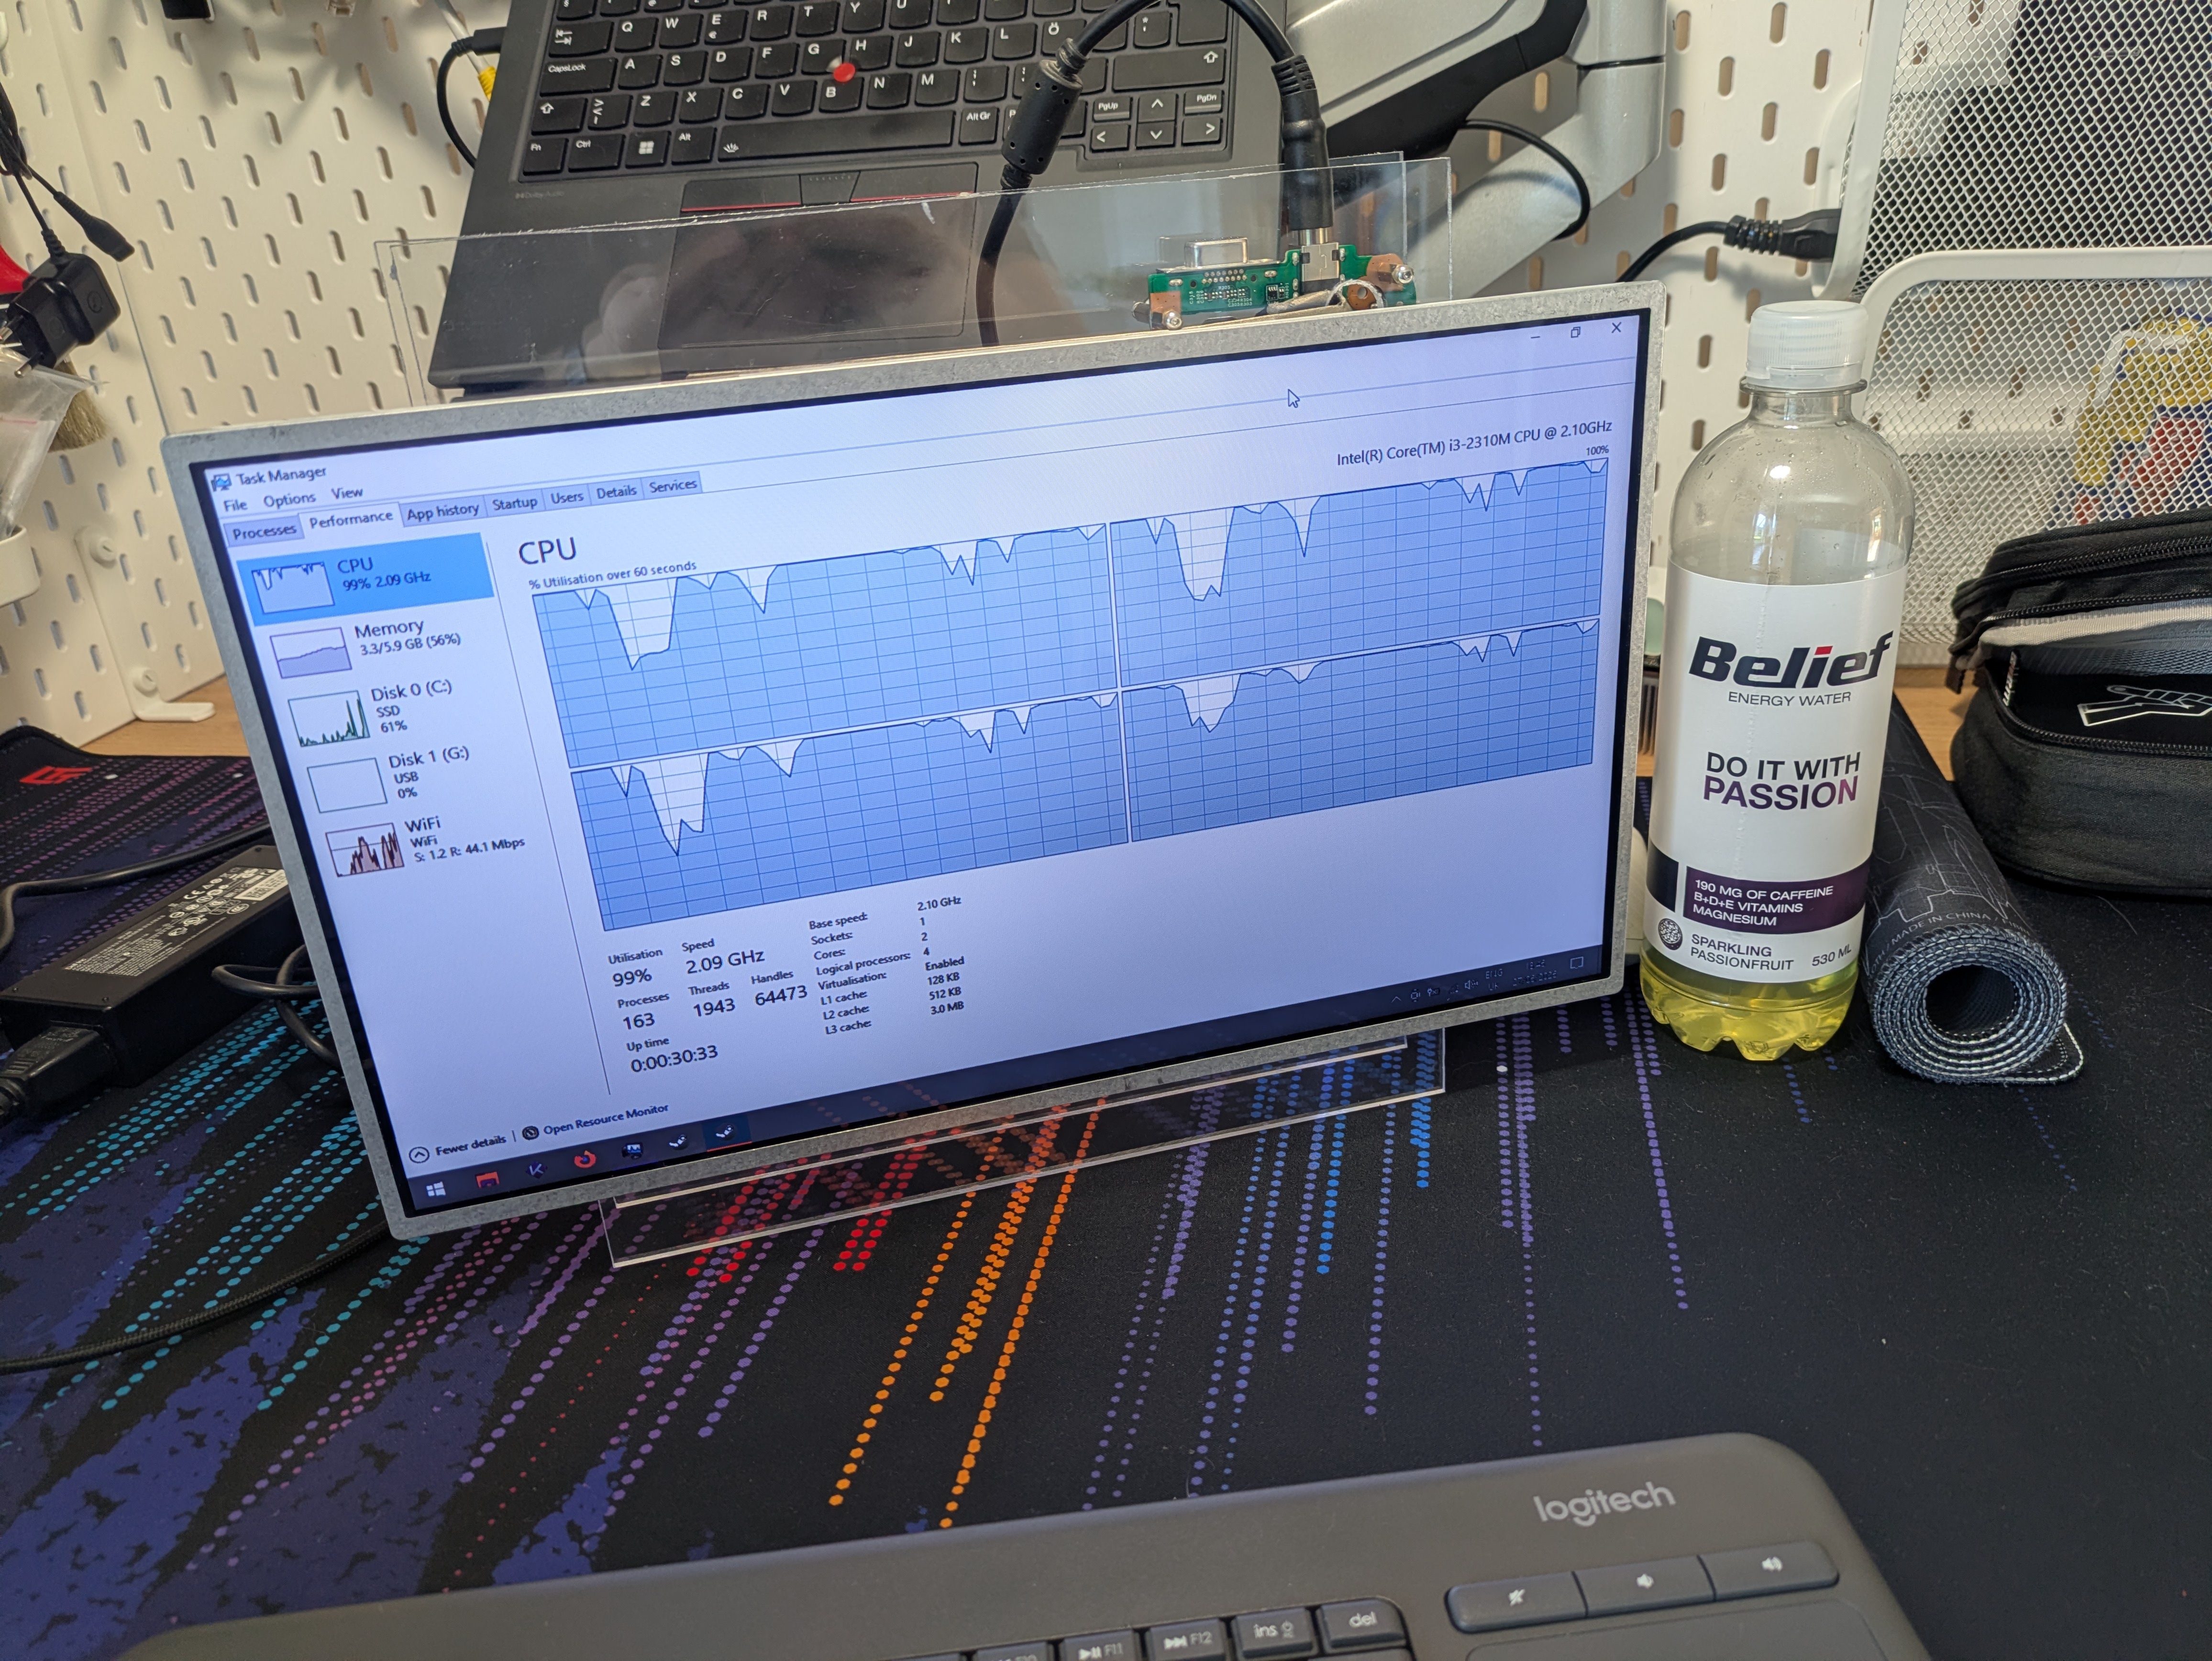
Not too long ago, I received a half-broken Dell Inspiron N5110, sporting 6 GB of RAM, a dual core Intel i3-2110M, and an unsupported NVIDIA GPU of some sort.
One of the hinges was loose from the case because it was screwed into plastic (common issue for these types of laptops), the touchpad did not work, and to insert a drive into it, you had to disassemble the whole machine.
I’m quite confident that I’ve worked on this laptop model in a very distant past, around 2012-2013, and I remember it well because during the disassembly plastic bits were falling off everywhere and the right hinge was broken in exactly the same way.
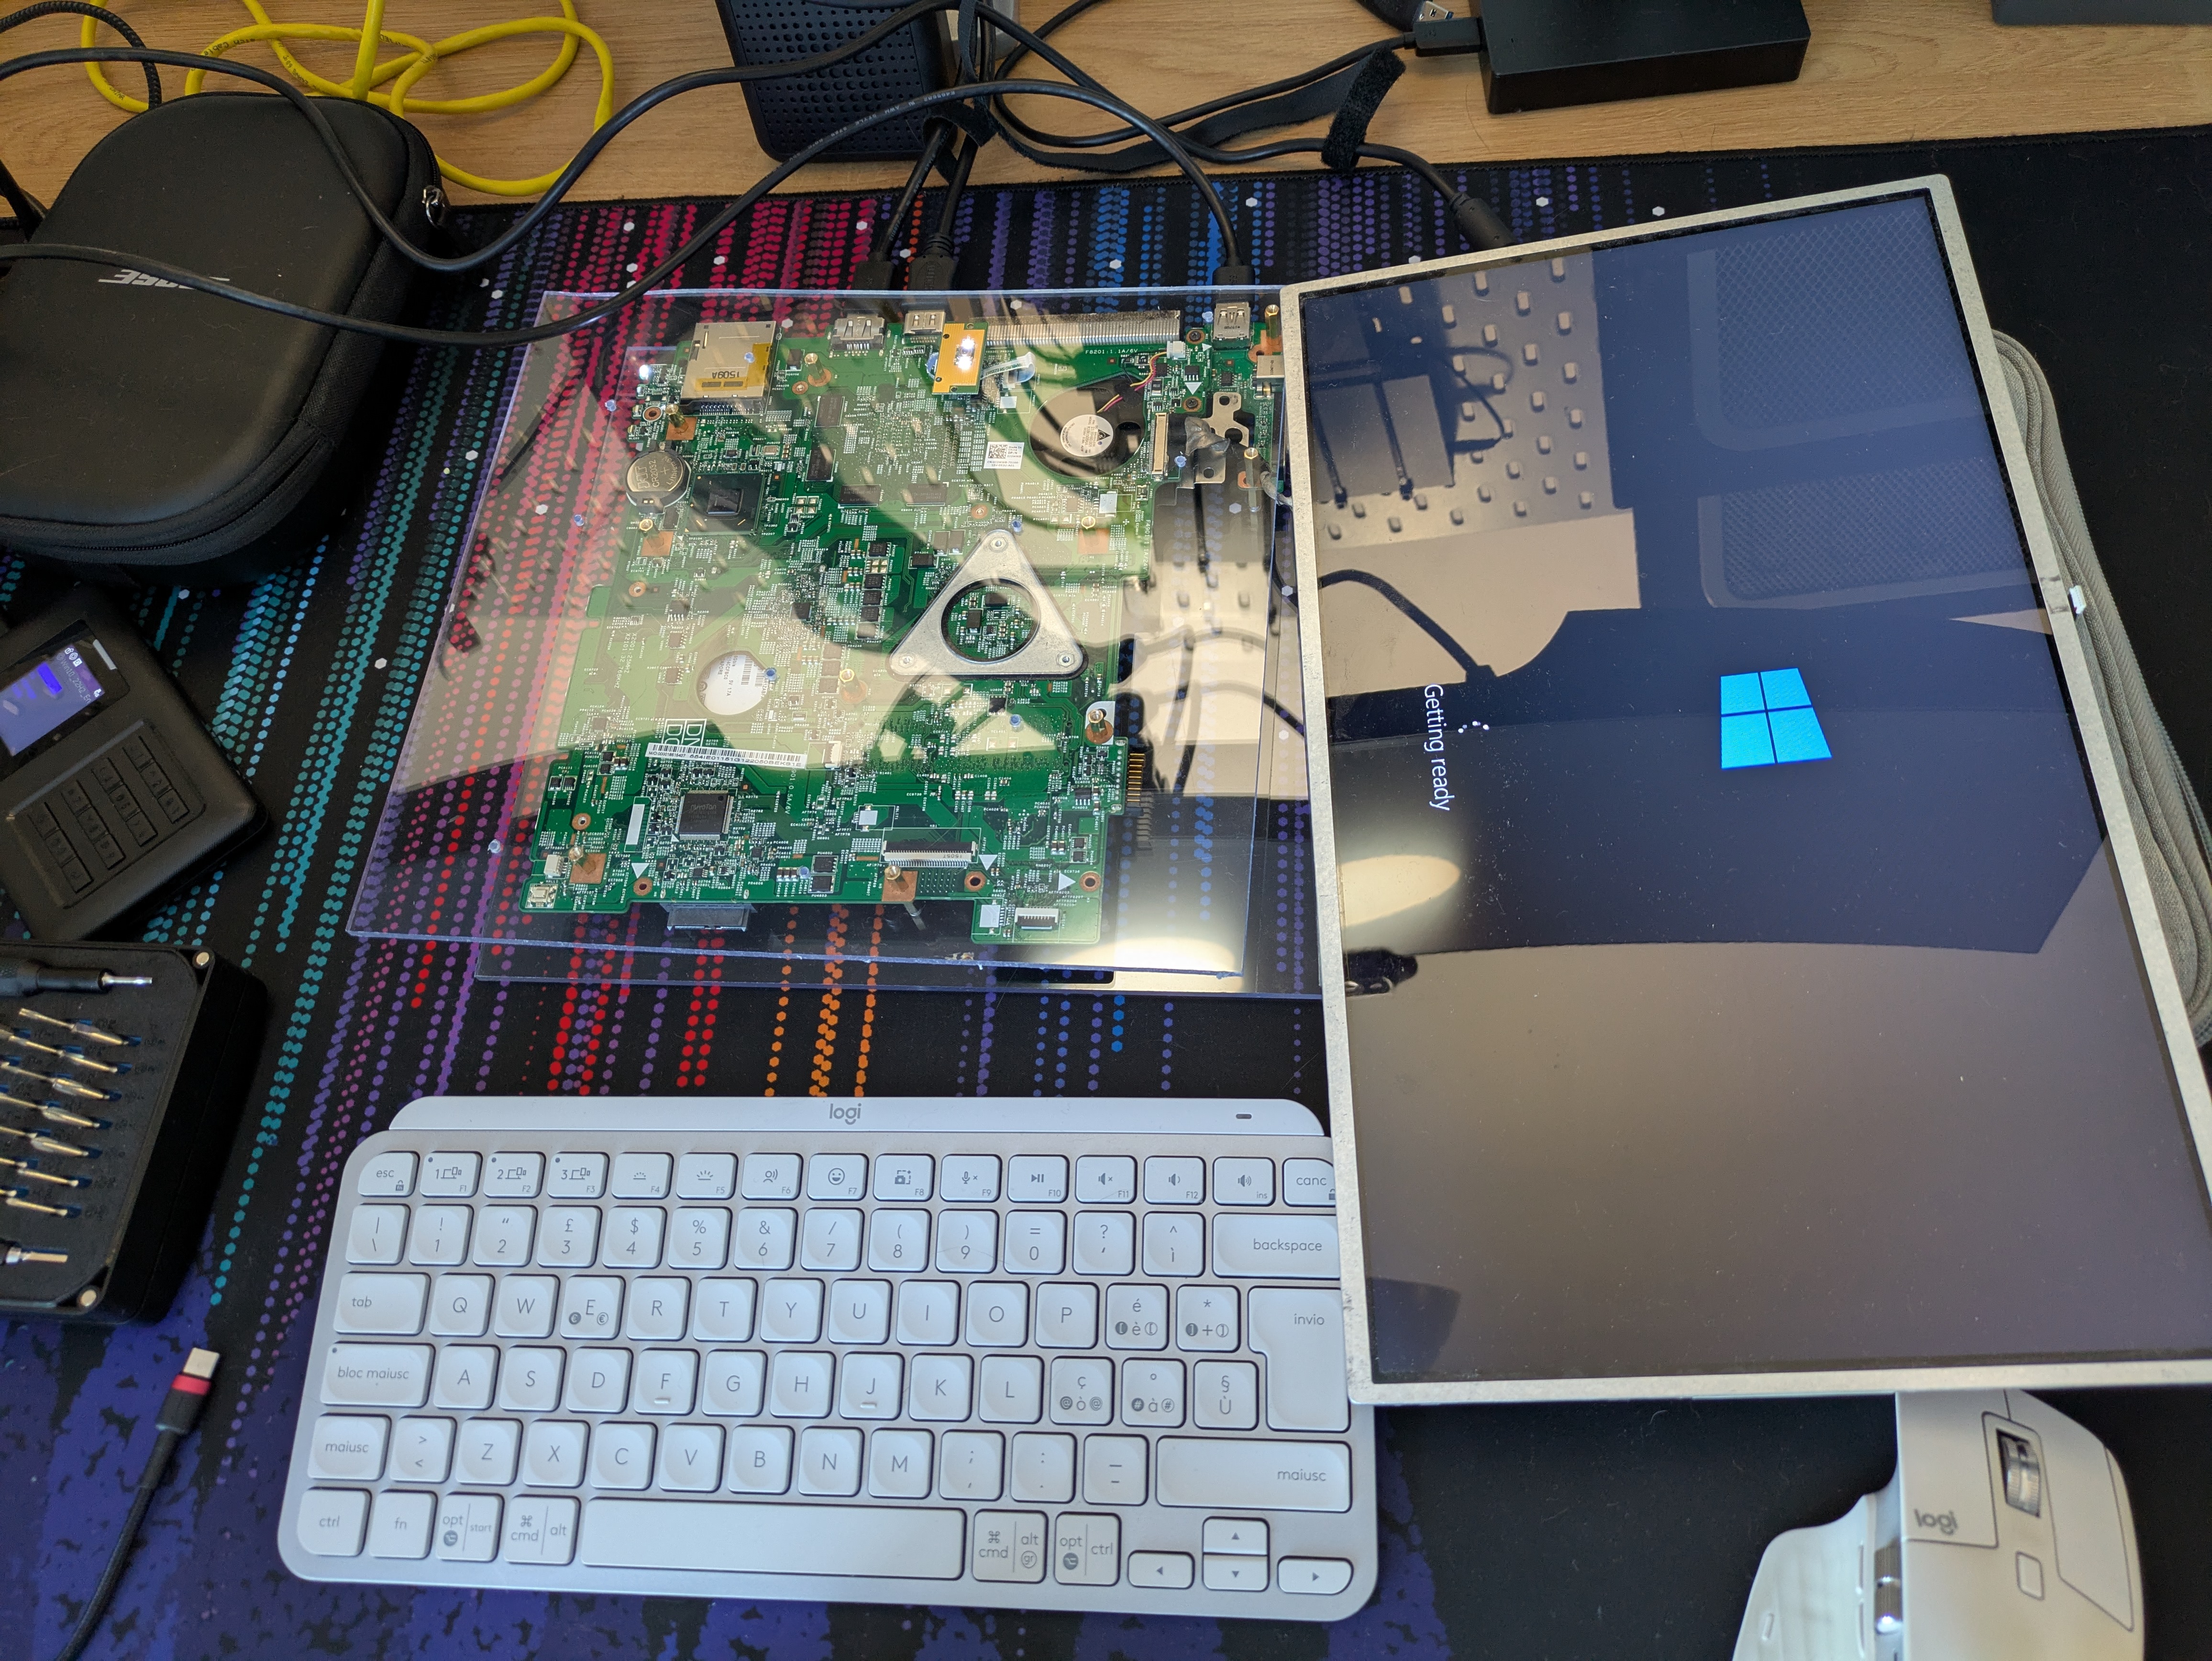
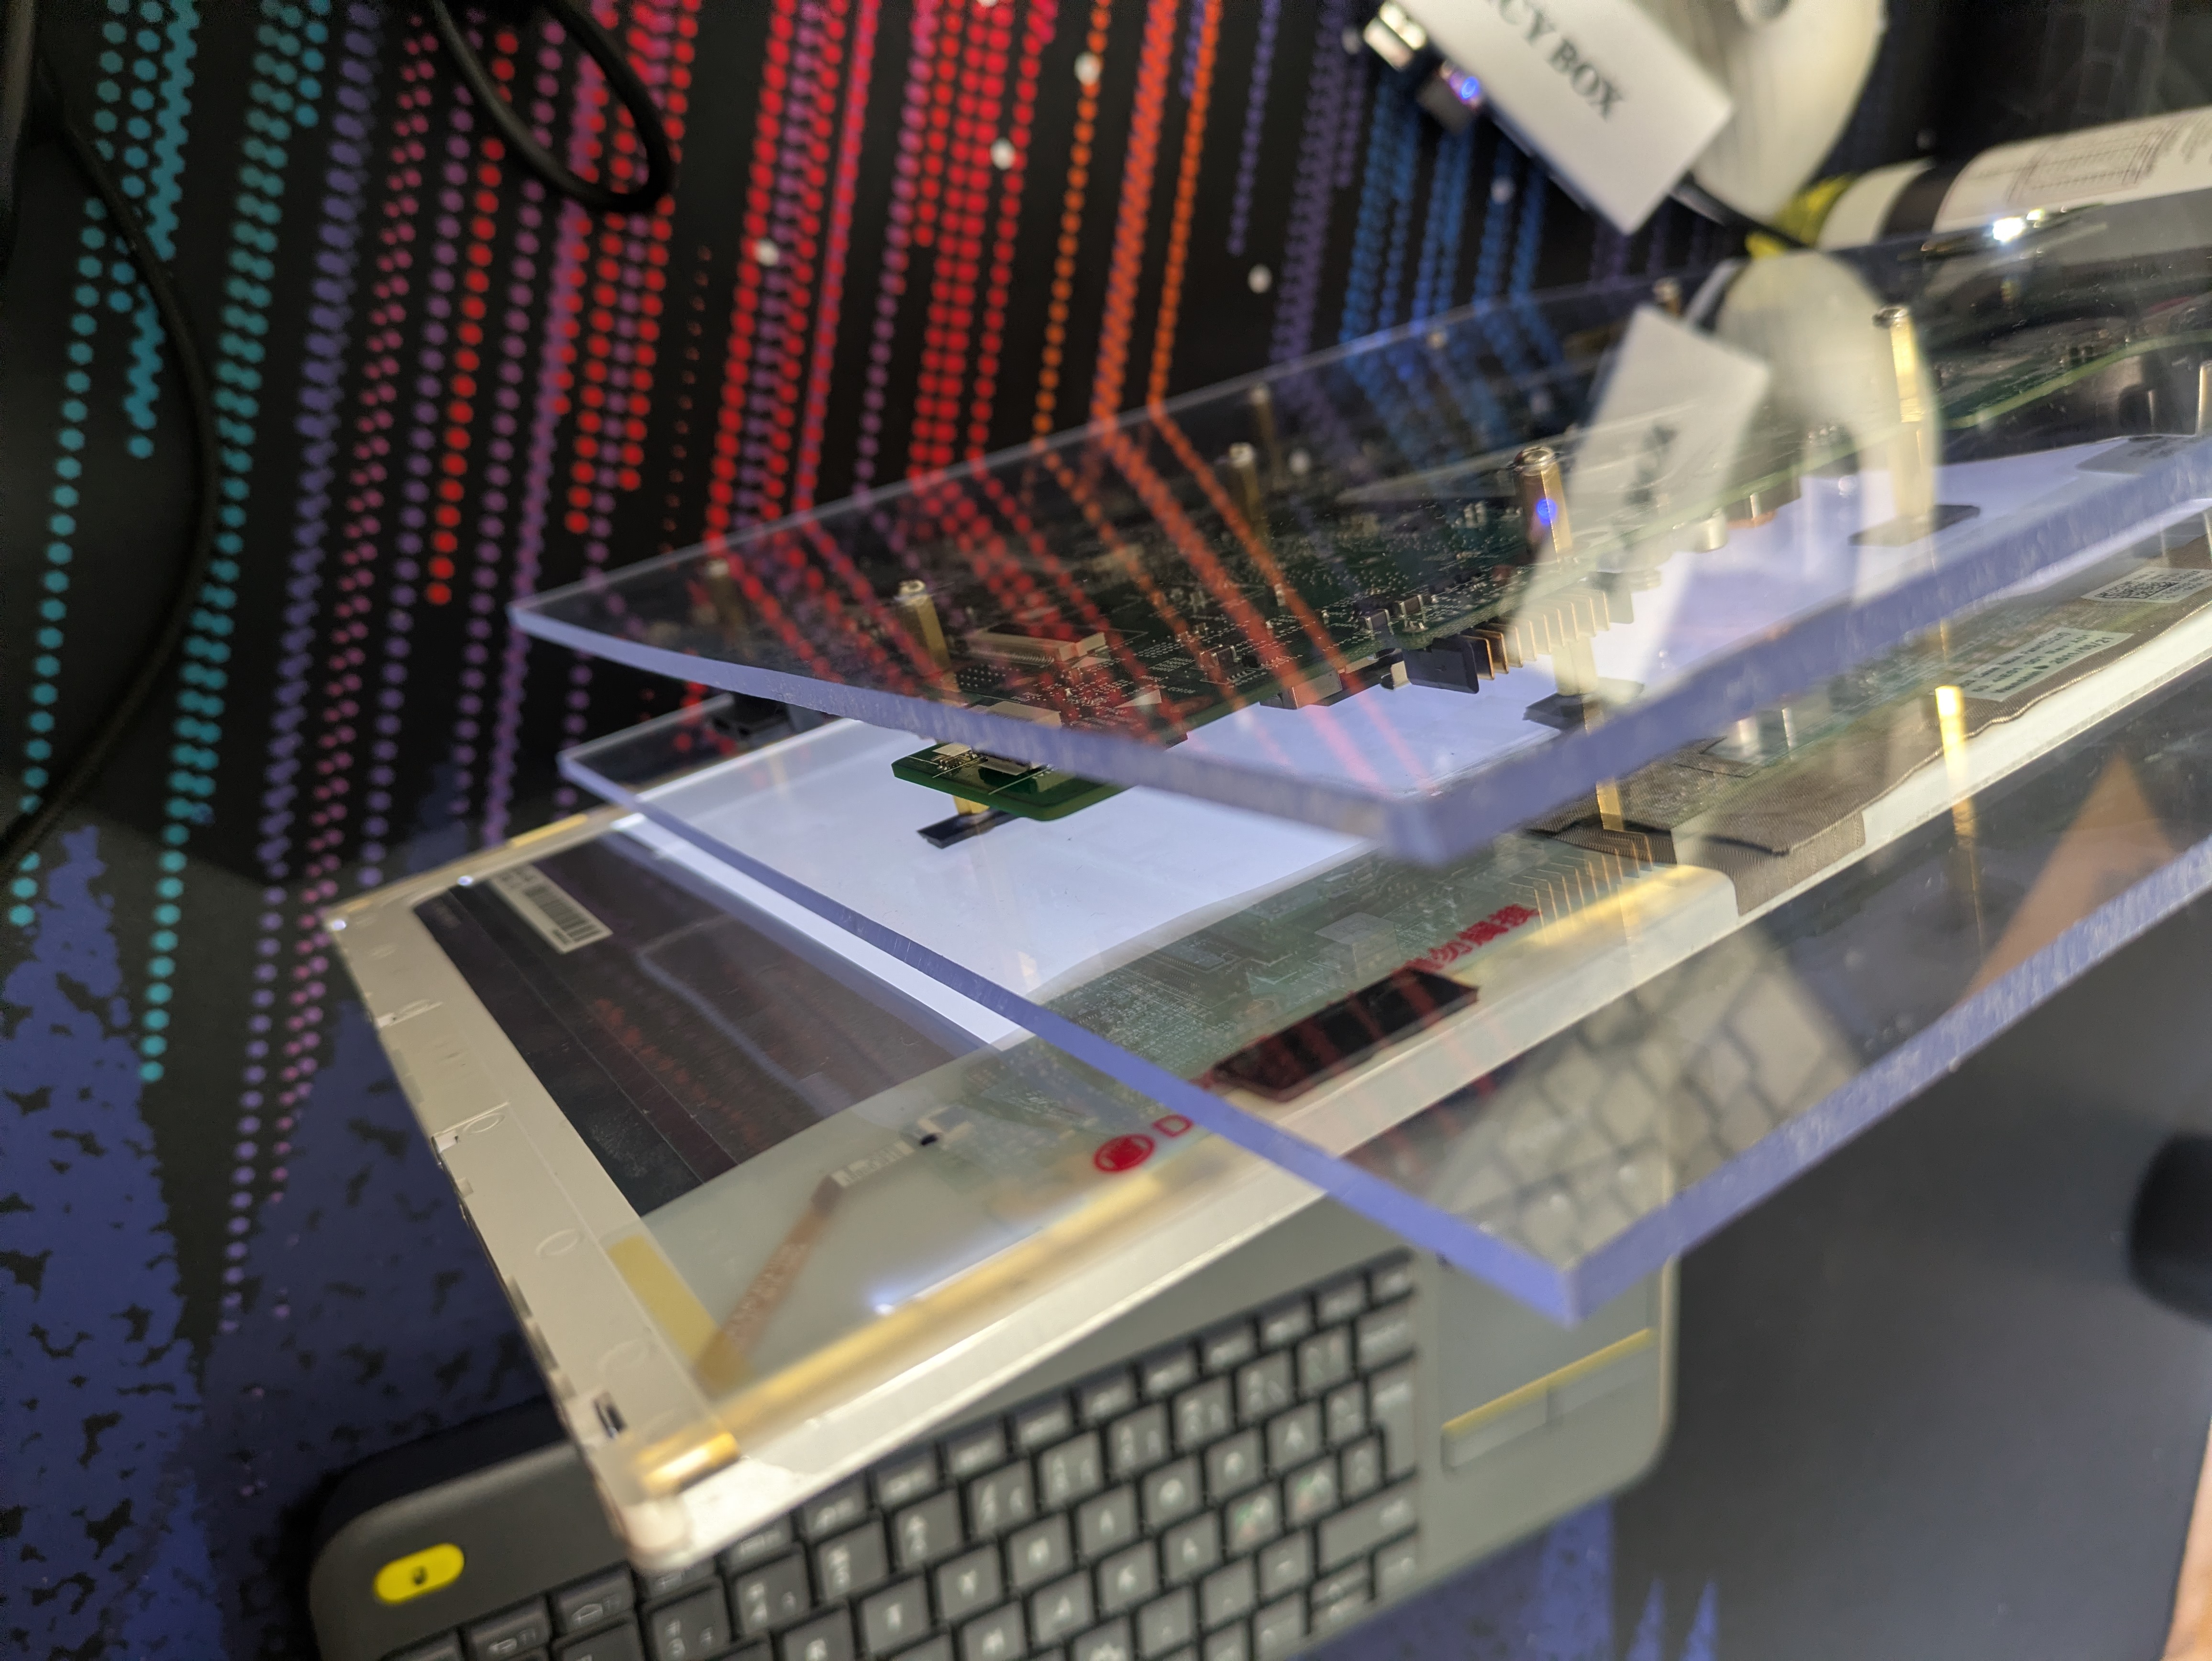
I’ve always wanted to take a half-broken laptop and to mount it on some acrylic panels (plexiglass) using brass standoffs. I love how bare PCB-s look. They’re just so damn cool, and I can’t be the only one who thinks this way, right?
I also get a good feeling out of taking trash/obsolete parts and making them useful once again. This laptop was destined for the e-waste pile, which meant that it was a fantastic candidate to try this idea on.
The main constraint in this project was time. I’m a parent, I have a job, and sometimes between all that I like to rest, so the amount of available time for this project was about 8 hours spread across a month. I also lack proper tooling to do a good job, so this was achieved using whatever I had available, mainly a cordless jigsaw and a hand drill. On the upside, this means that if I can do it, then you can likely do it as well!
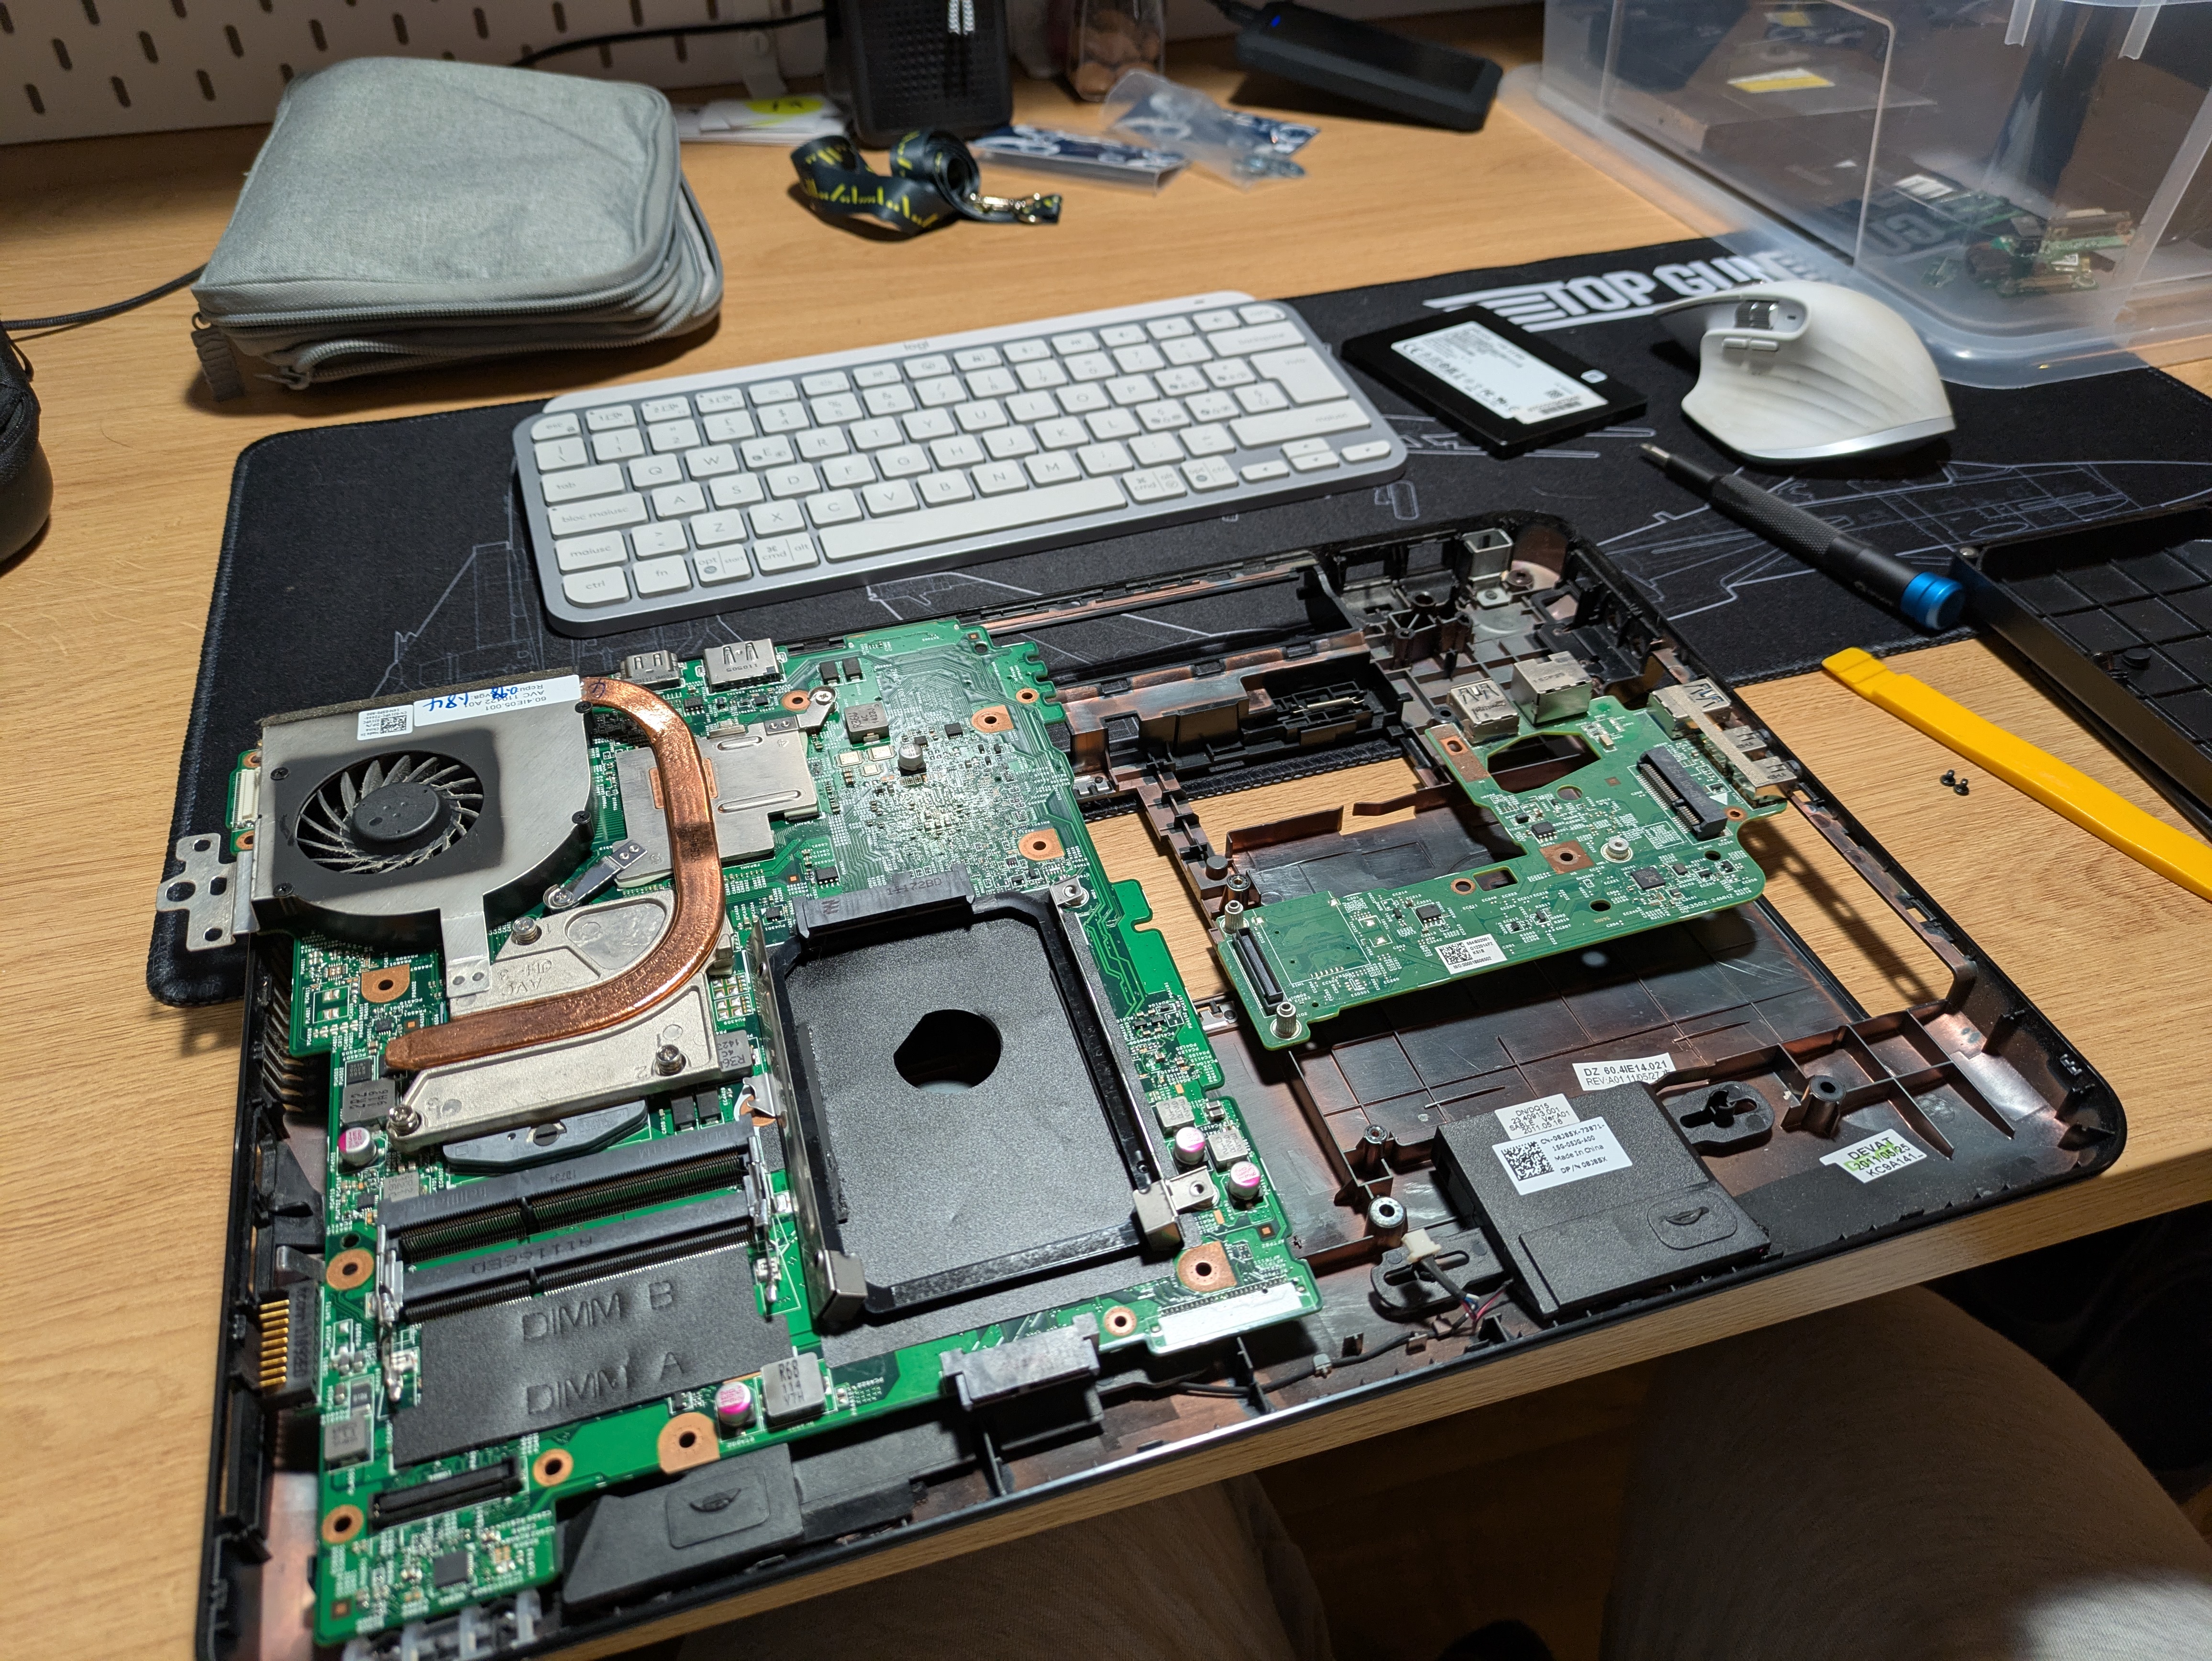
Disassembly and testing
This laptop turned out to be a total pain to work on.
During initial testing, it was very clear that the laptop needed a good thermal paste and pads replacement, as it tried to overheat playing casual videos off of YouTube.
After I disassembled the laptop to bare essentials and put it together as a test run for the “mount it on acrylic panel” idea, the extension board containing two USB ports and the Ethernet port just stopped working. I probably broke something, but annoying nevertheless. On the positive side, the overall size of the build was smaller as a result of this happy little accident.
Using this laptop via the HDMI output only also turned out to be an unnecessary headache. LibreELEC did not play well with it, often resulting in a blank screen, and on Fedora Workstation 43, there was a “ghost” display somewhere that always showed up on the display settings view. So did the internal display, even when it was disconnected.
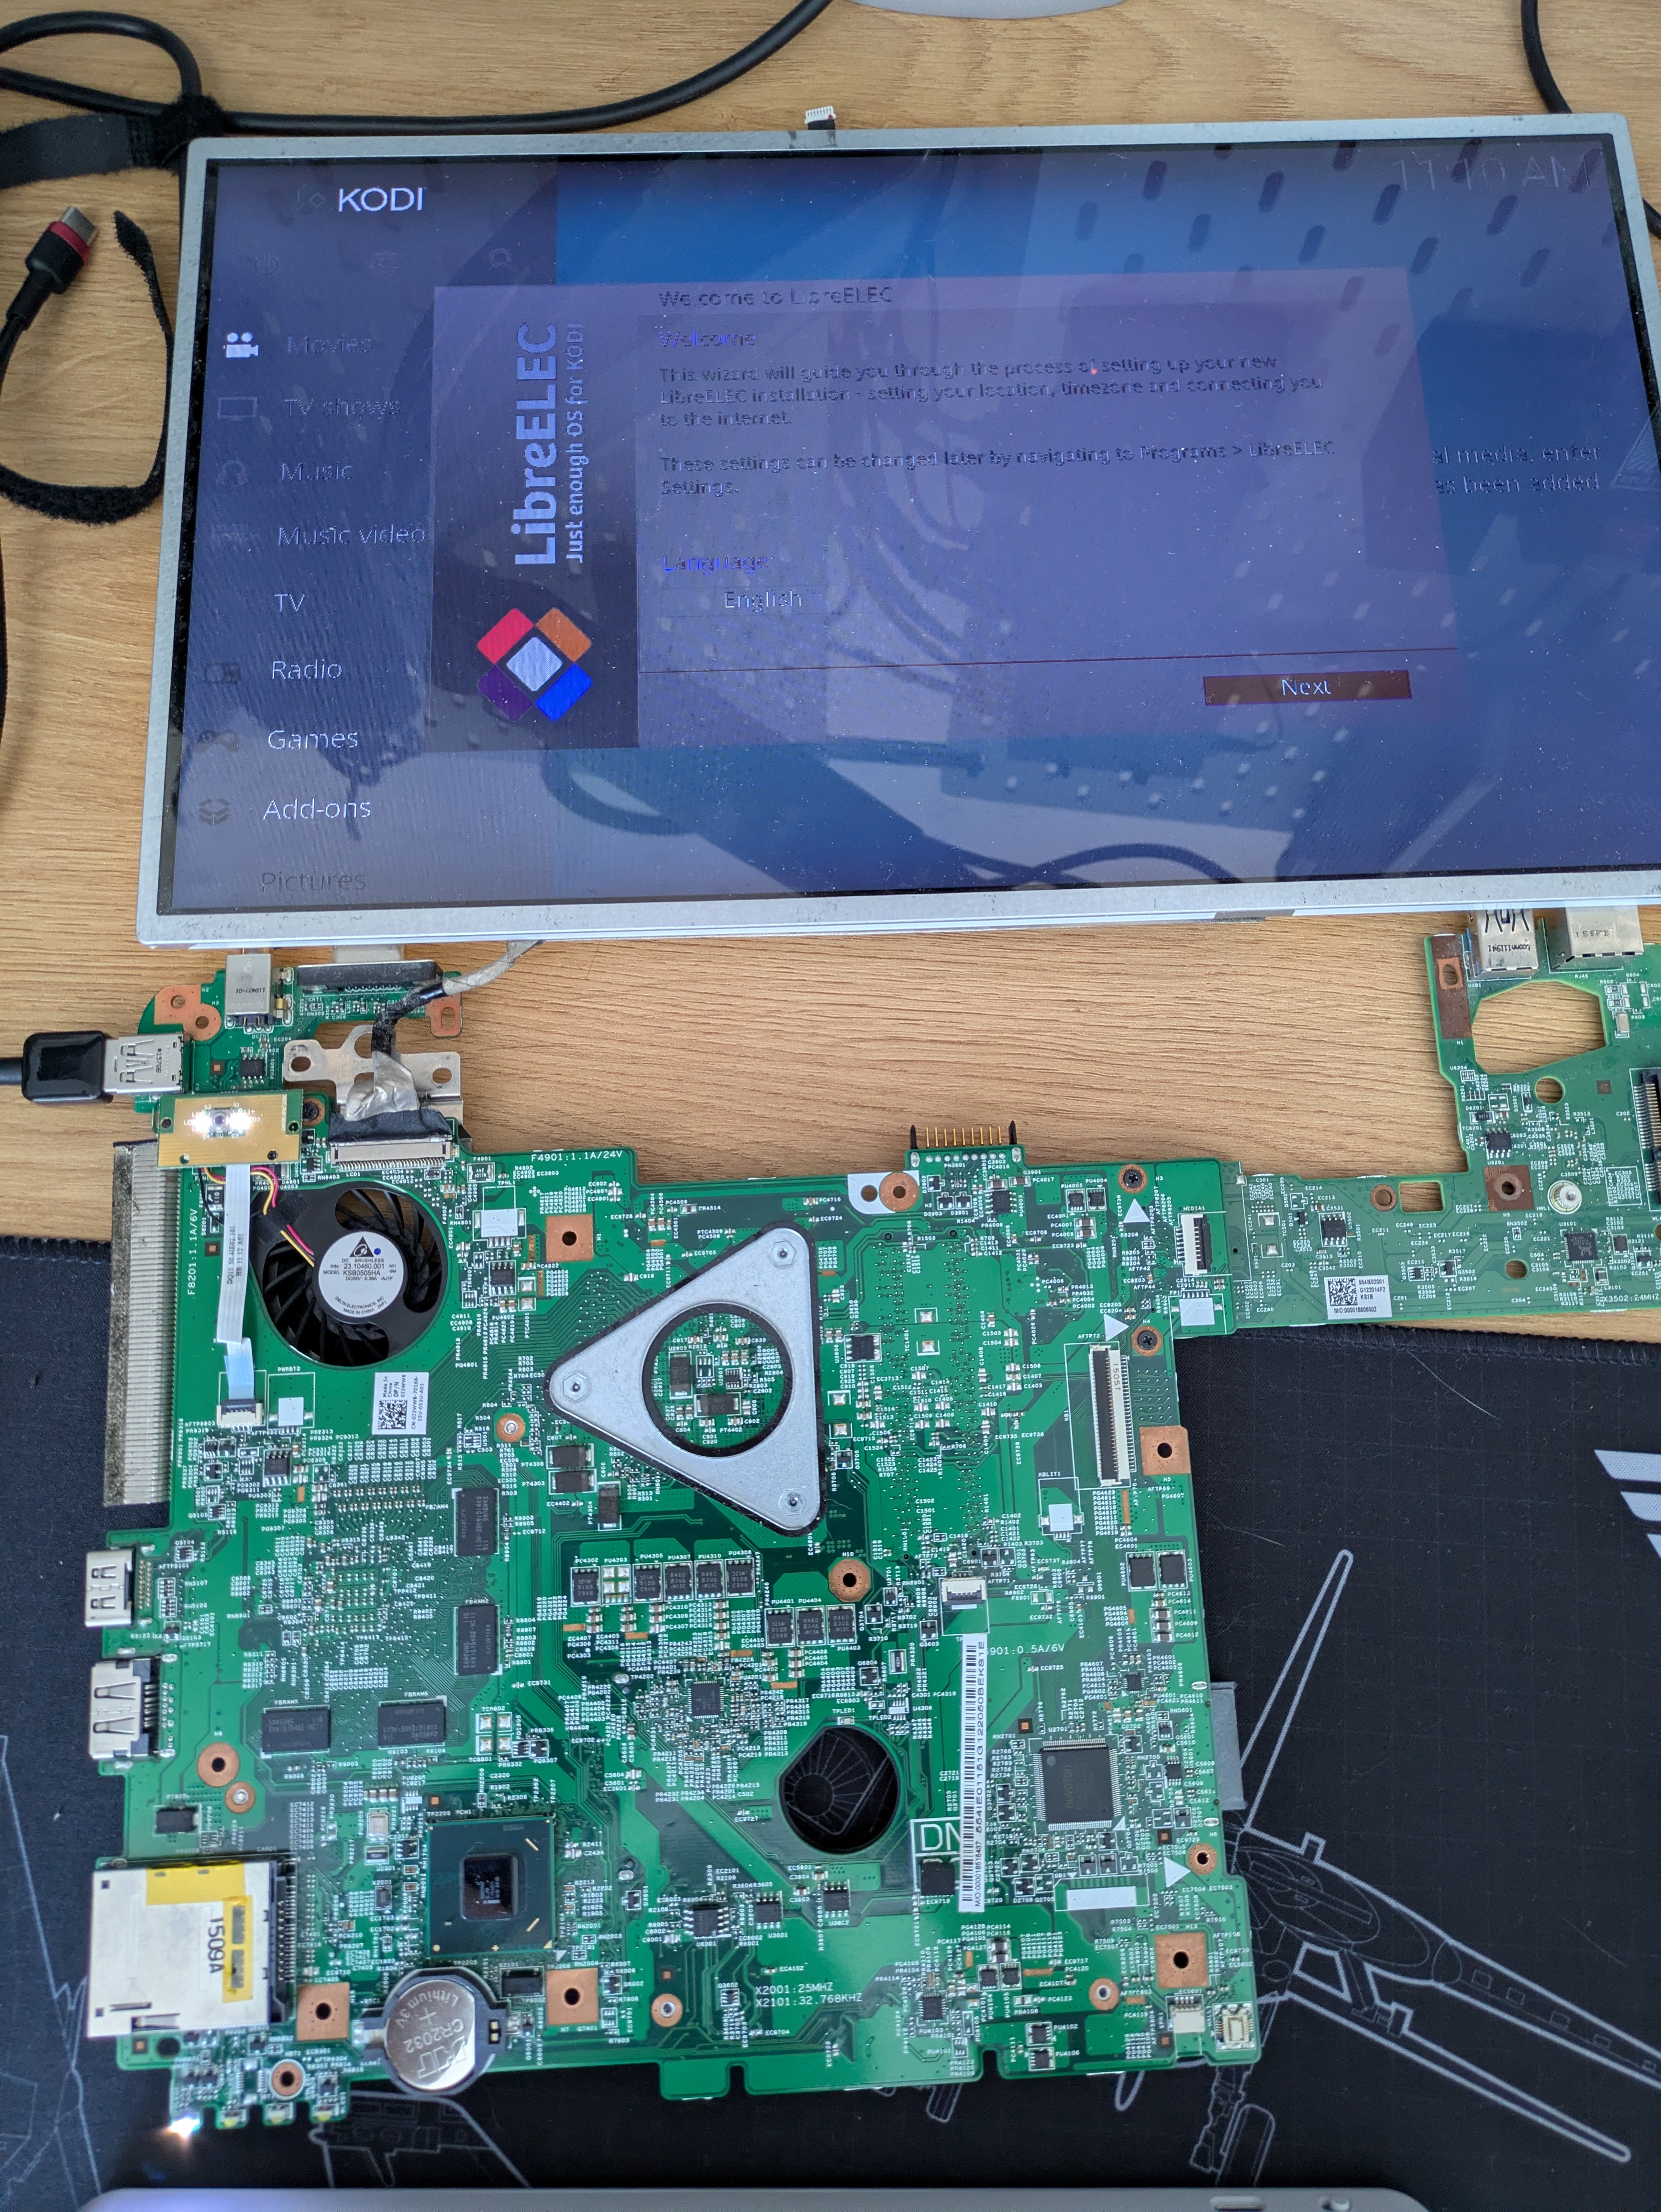
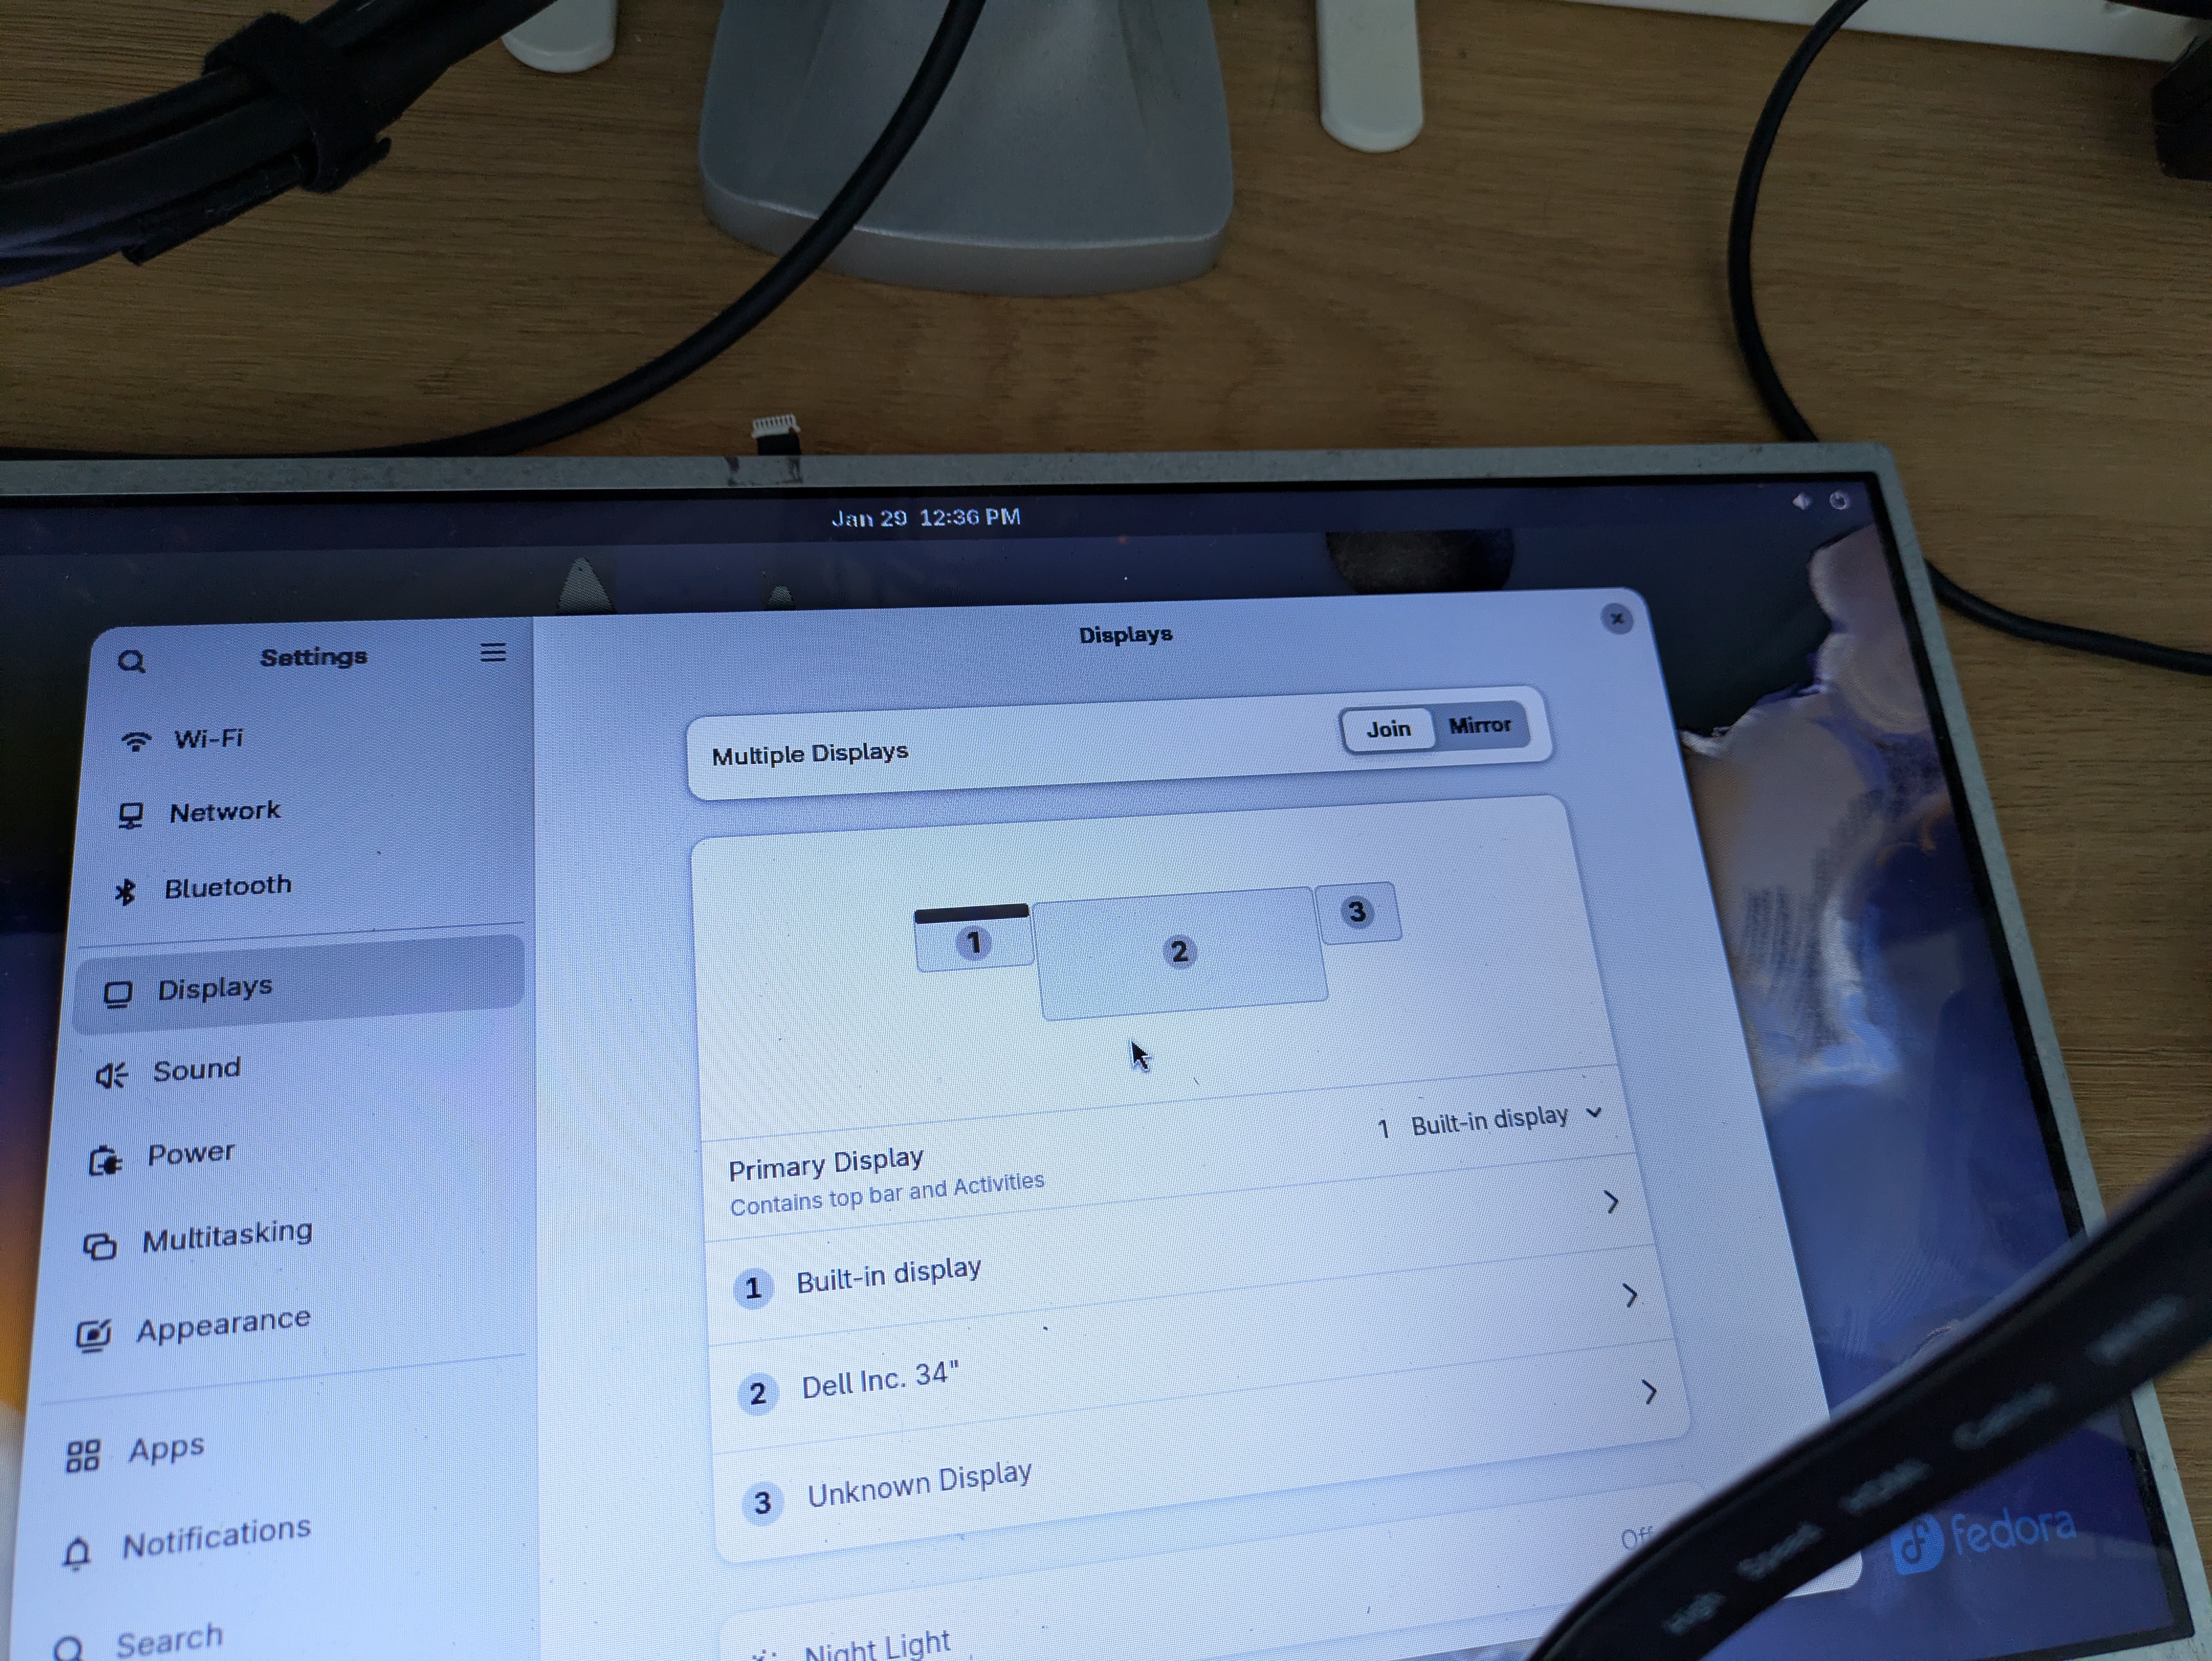
This caused an issue when trying to get Fedora installed on this machine, as the installation UI would be placed on a
screen that
was not the HDMI output one that I was actually using. This issue can be mitigated similar
to my LattePanda V1 adventure by disabling video outputs completely. For this
laptop, I modified kernel parameters via /etc/default/grub and added the following kernel parameters:
video=VGA-1:d video=LVDS-1:d video=VGA-2:d
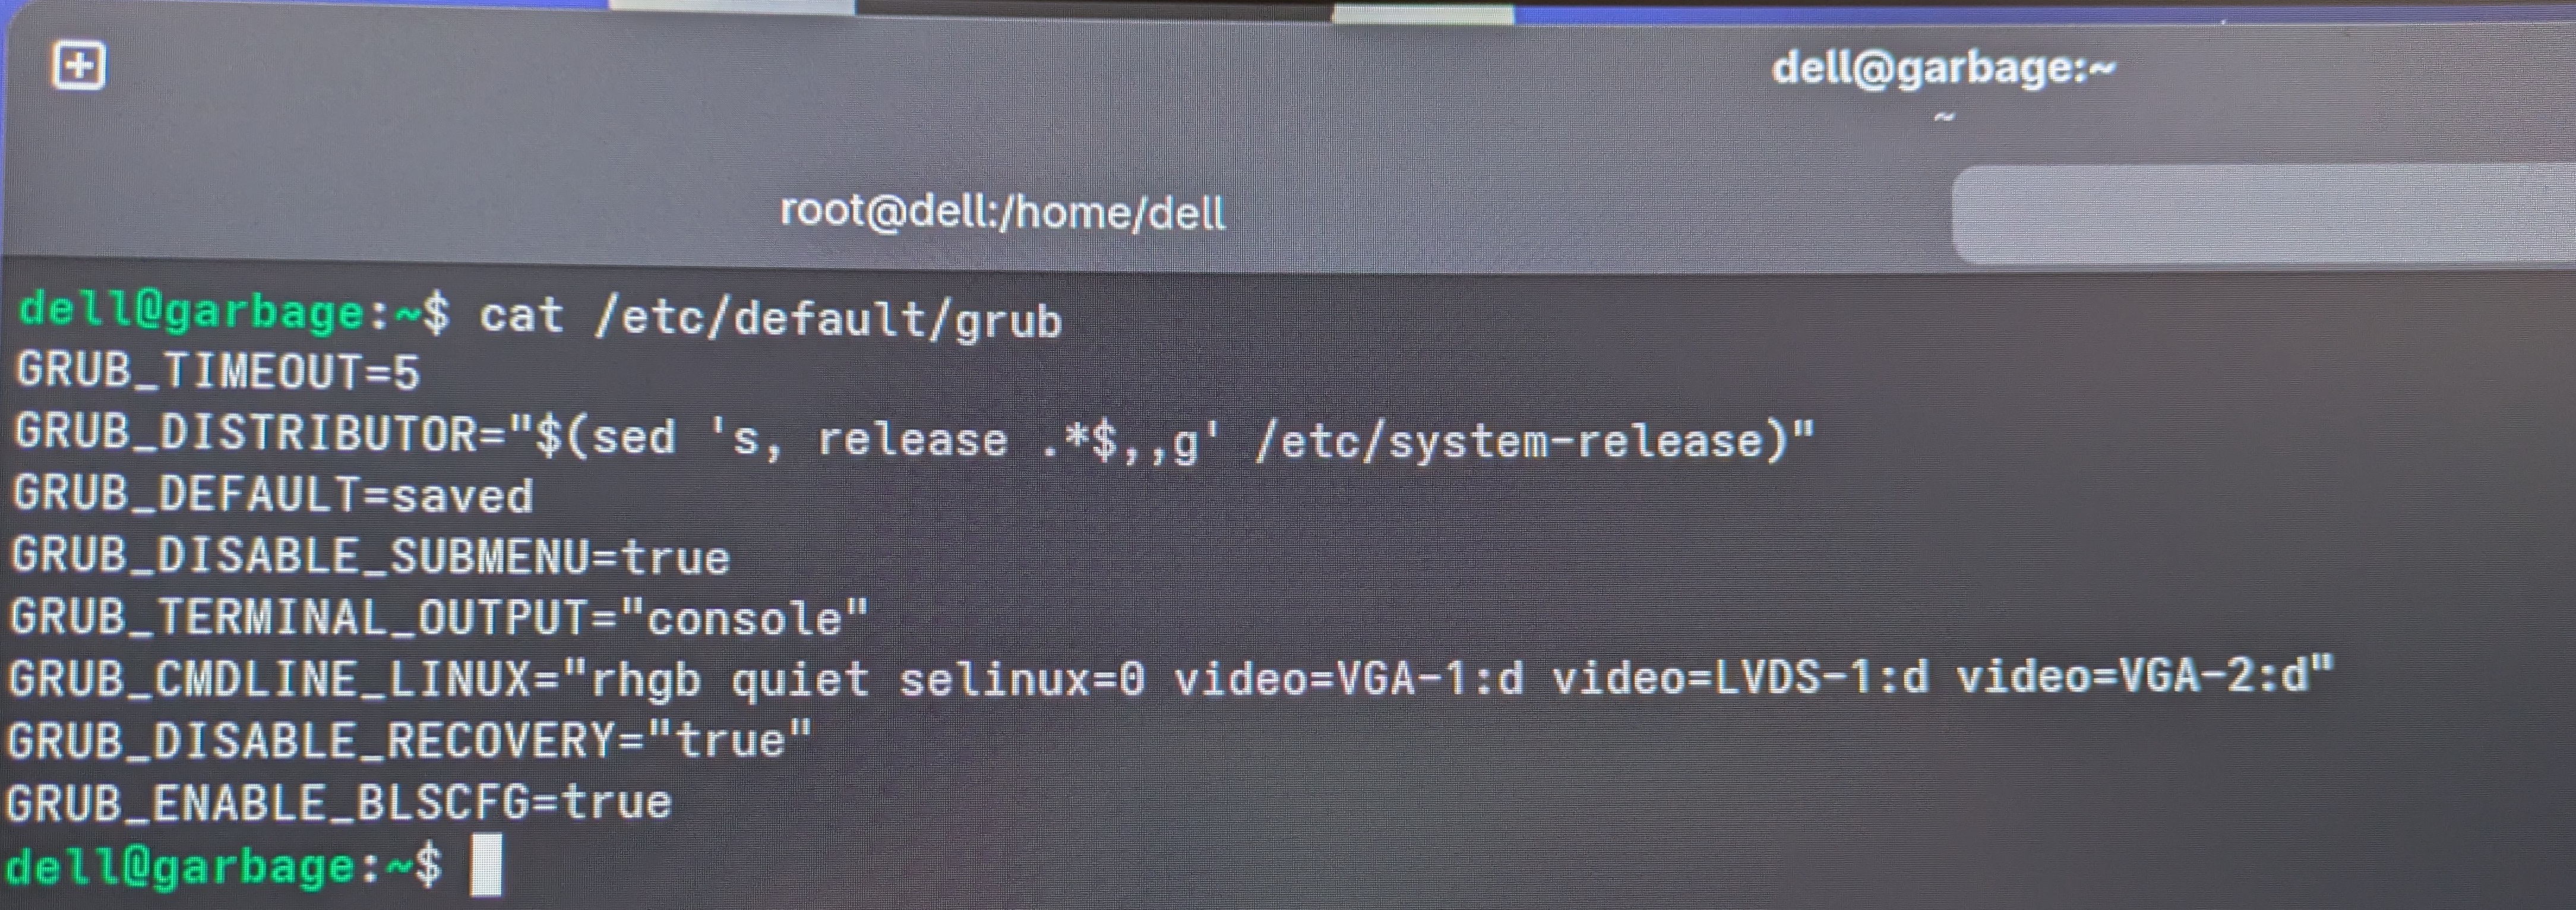
Yes, it’s possible to modify the display setup on your desktop environment of choice to disable certain outputs that way, but using kernel parameters ensures that if you change monitors, you won’t have to do that all over again.
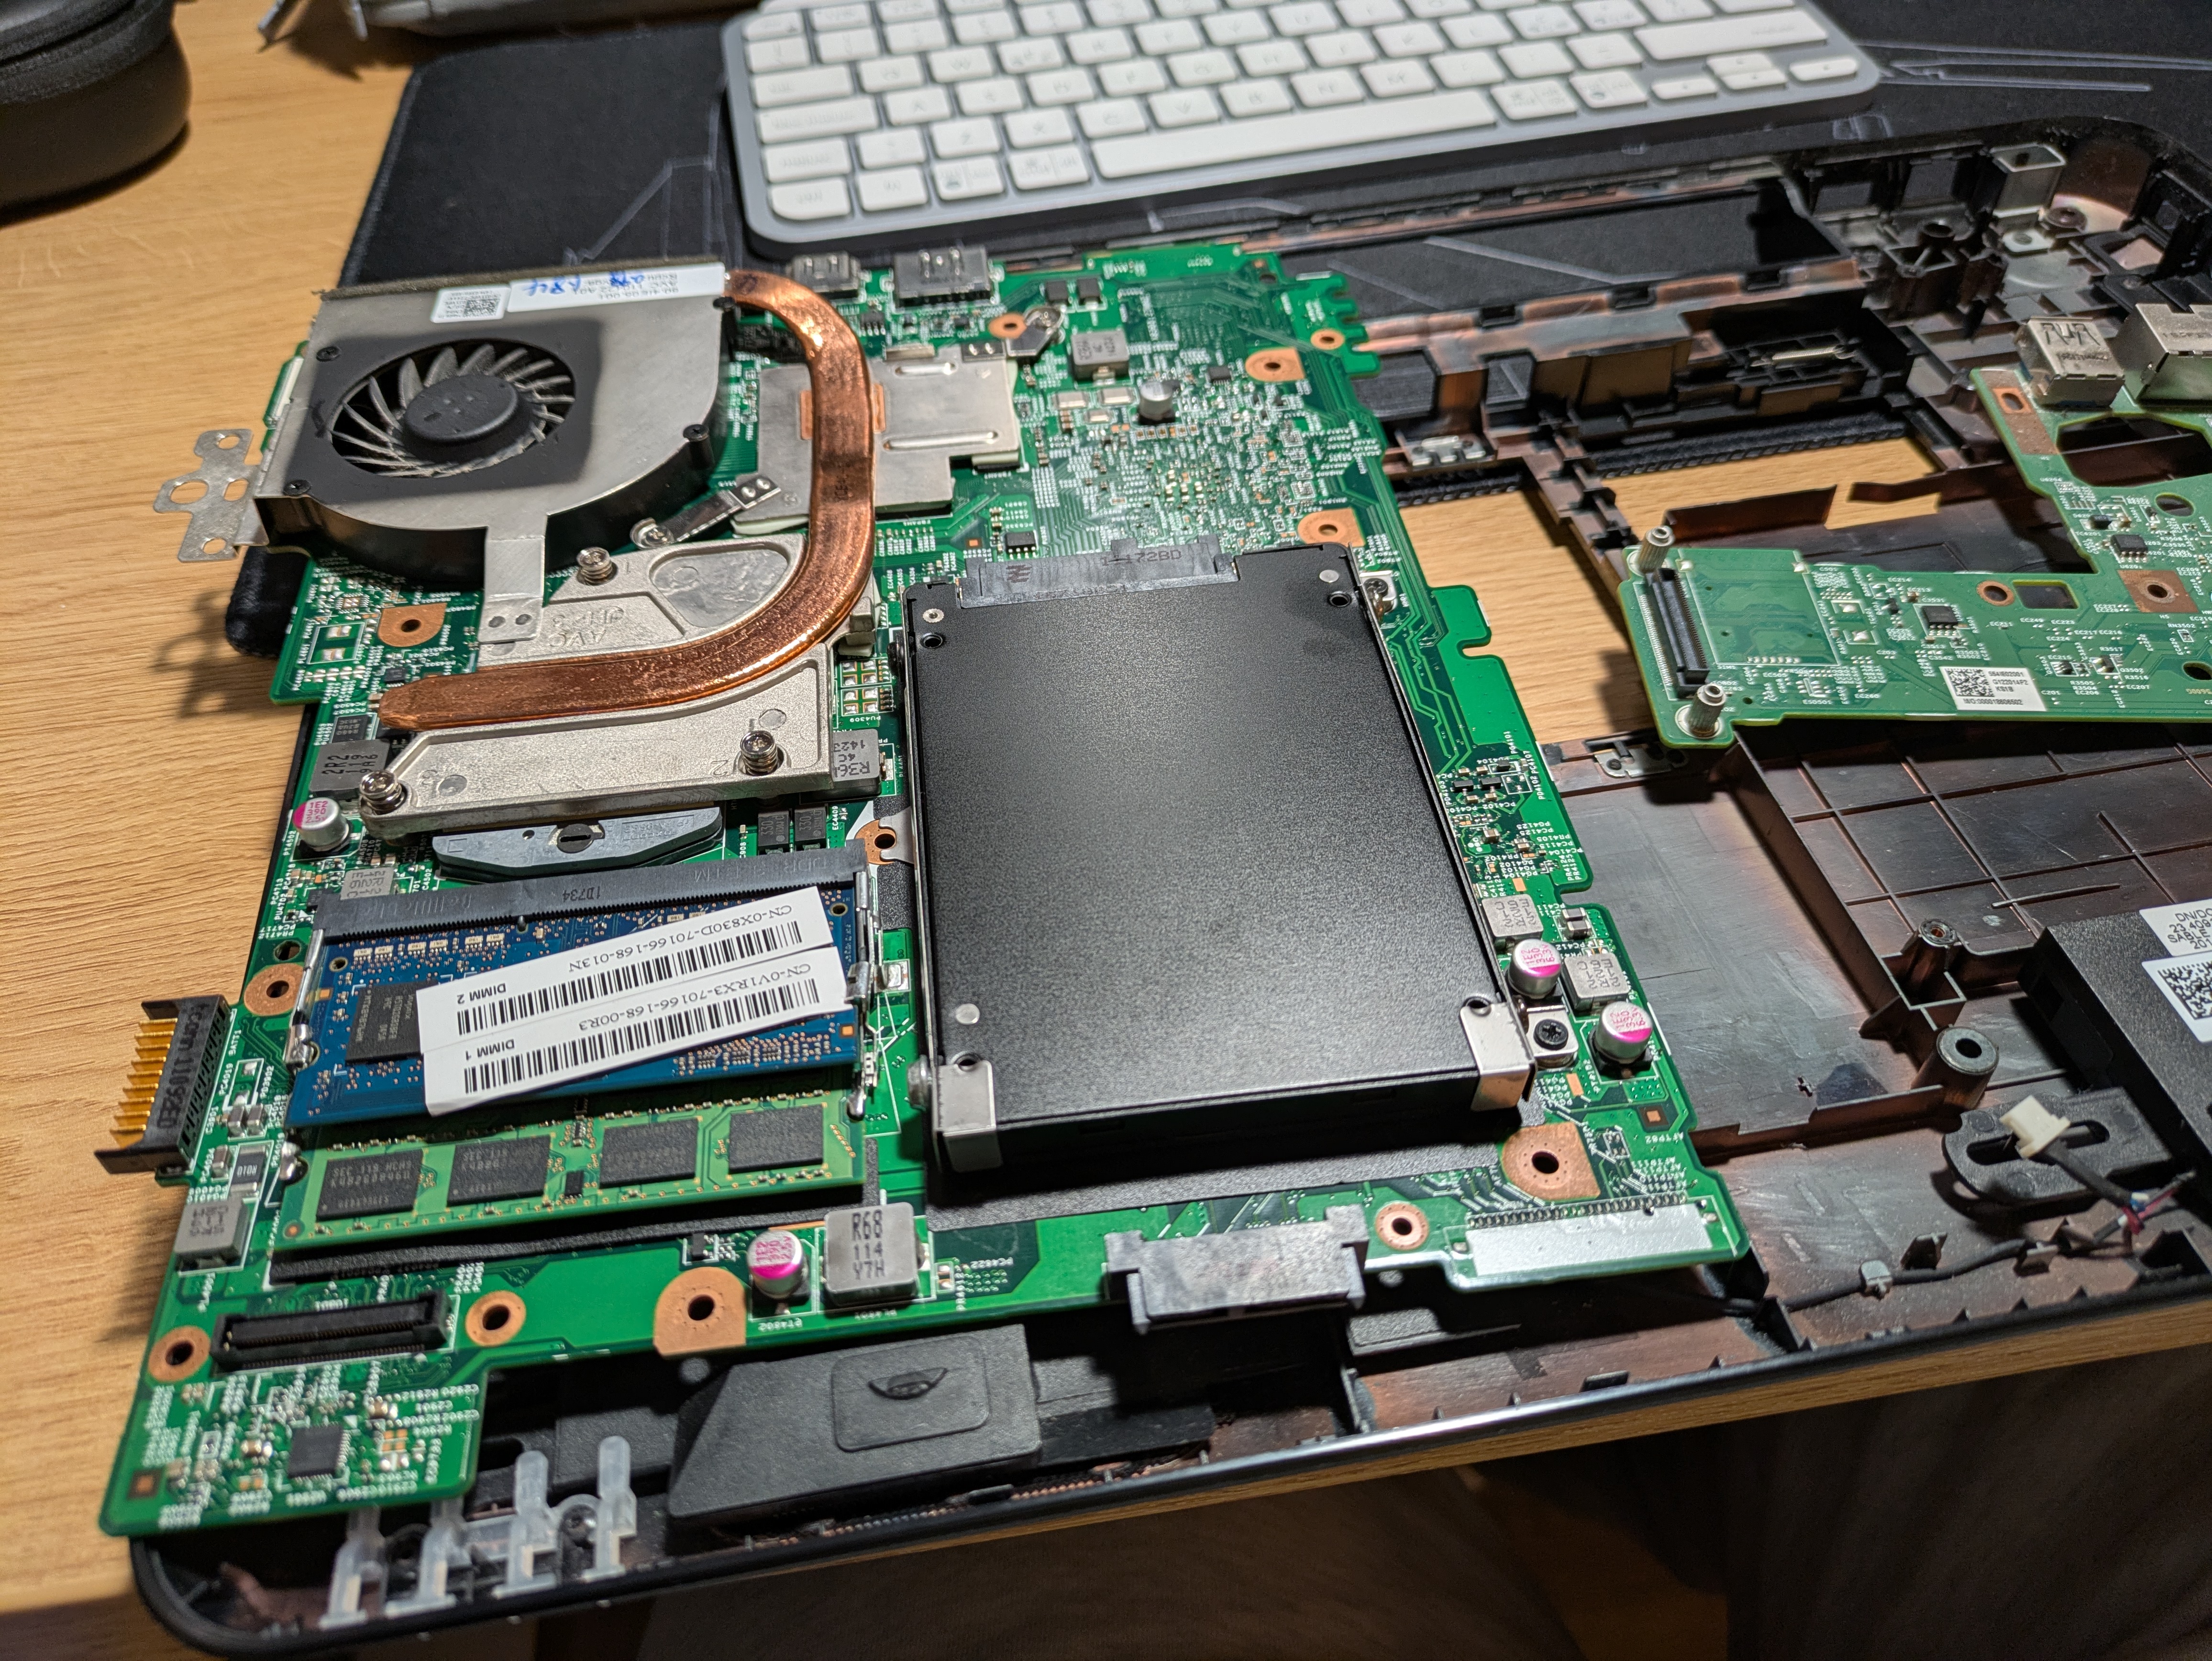
To make this whole build even more garbage-tier, I used an 256GB SATA SSD with 5 known bad blocks.
The build
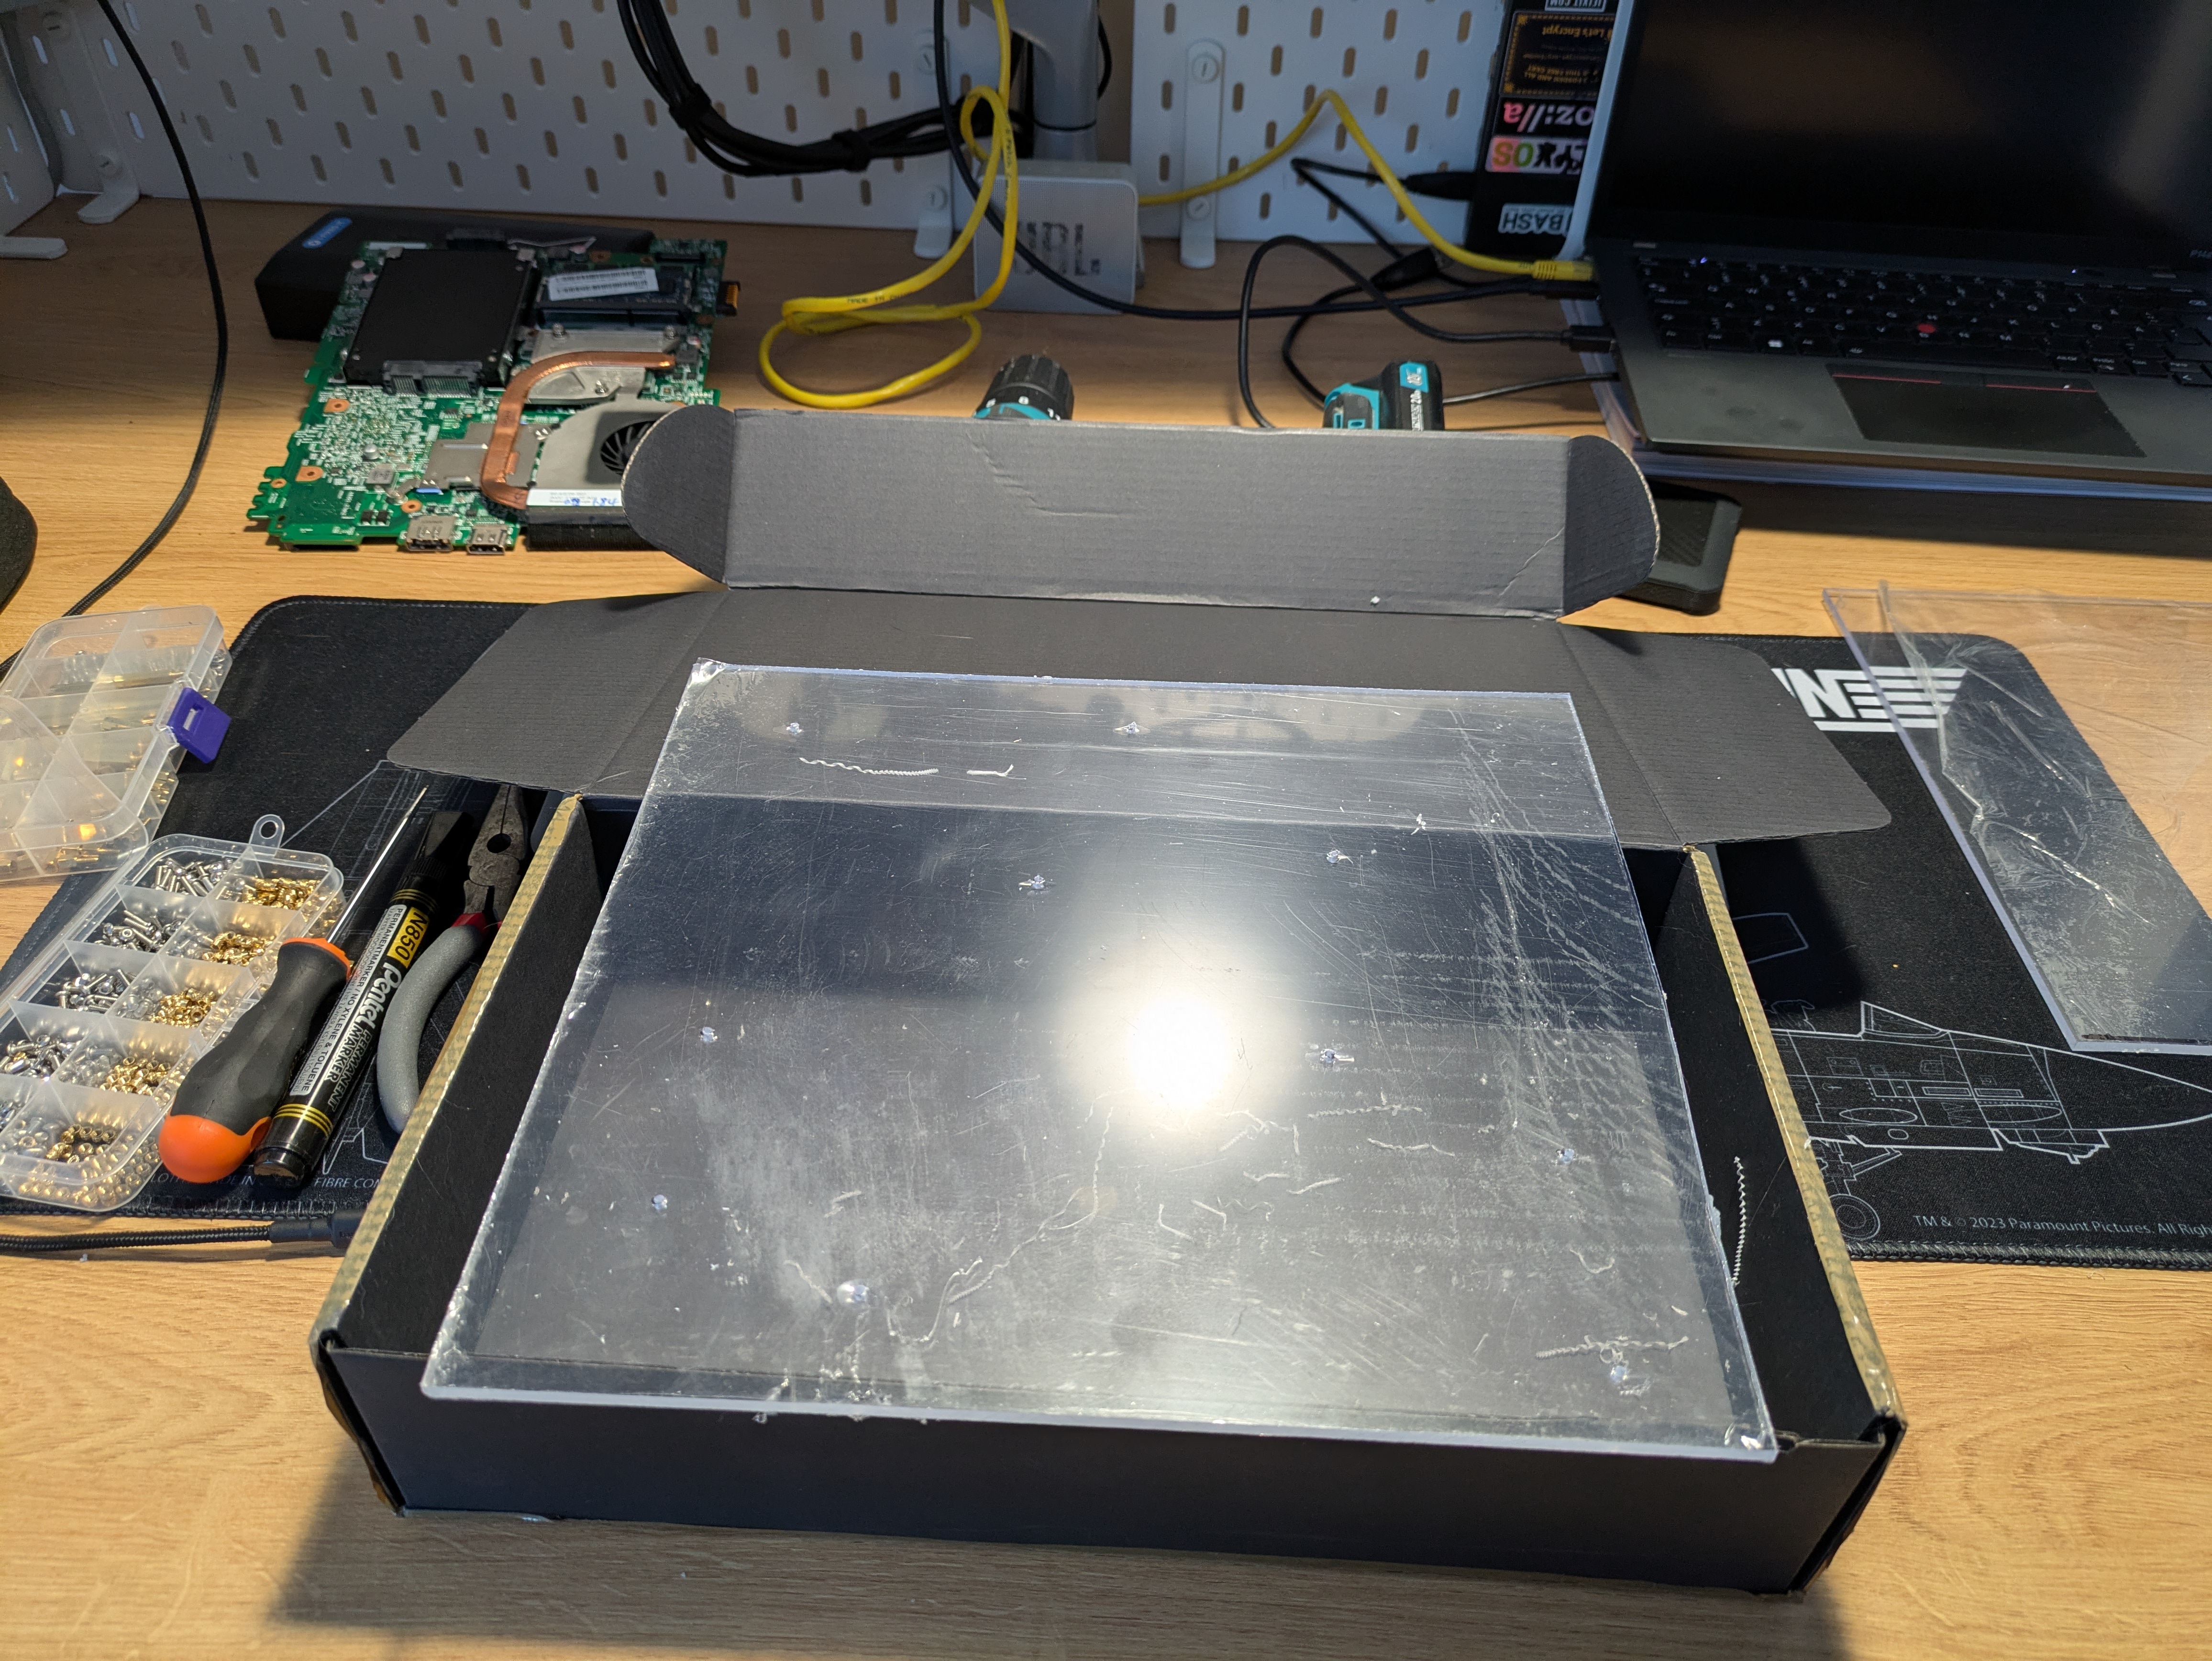
I sourced a large 4mm thick plexiglass panel from a hardware store, as that seemed to be the most accessible place where I can get one. In Estonia, these types of panels are often sold in the gardening sections of general hardware stores.
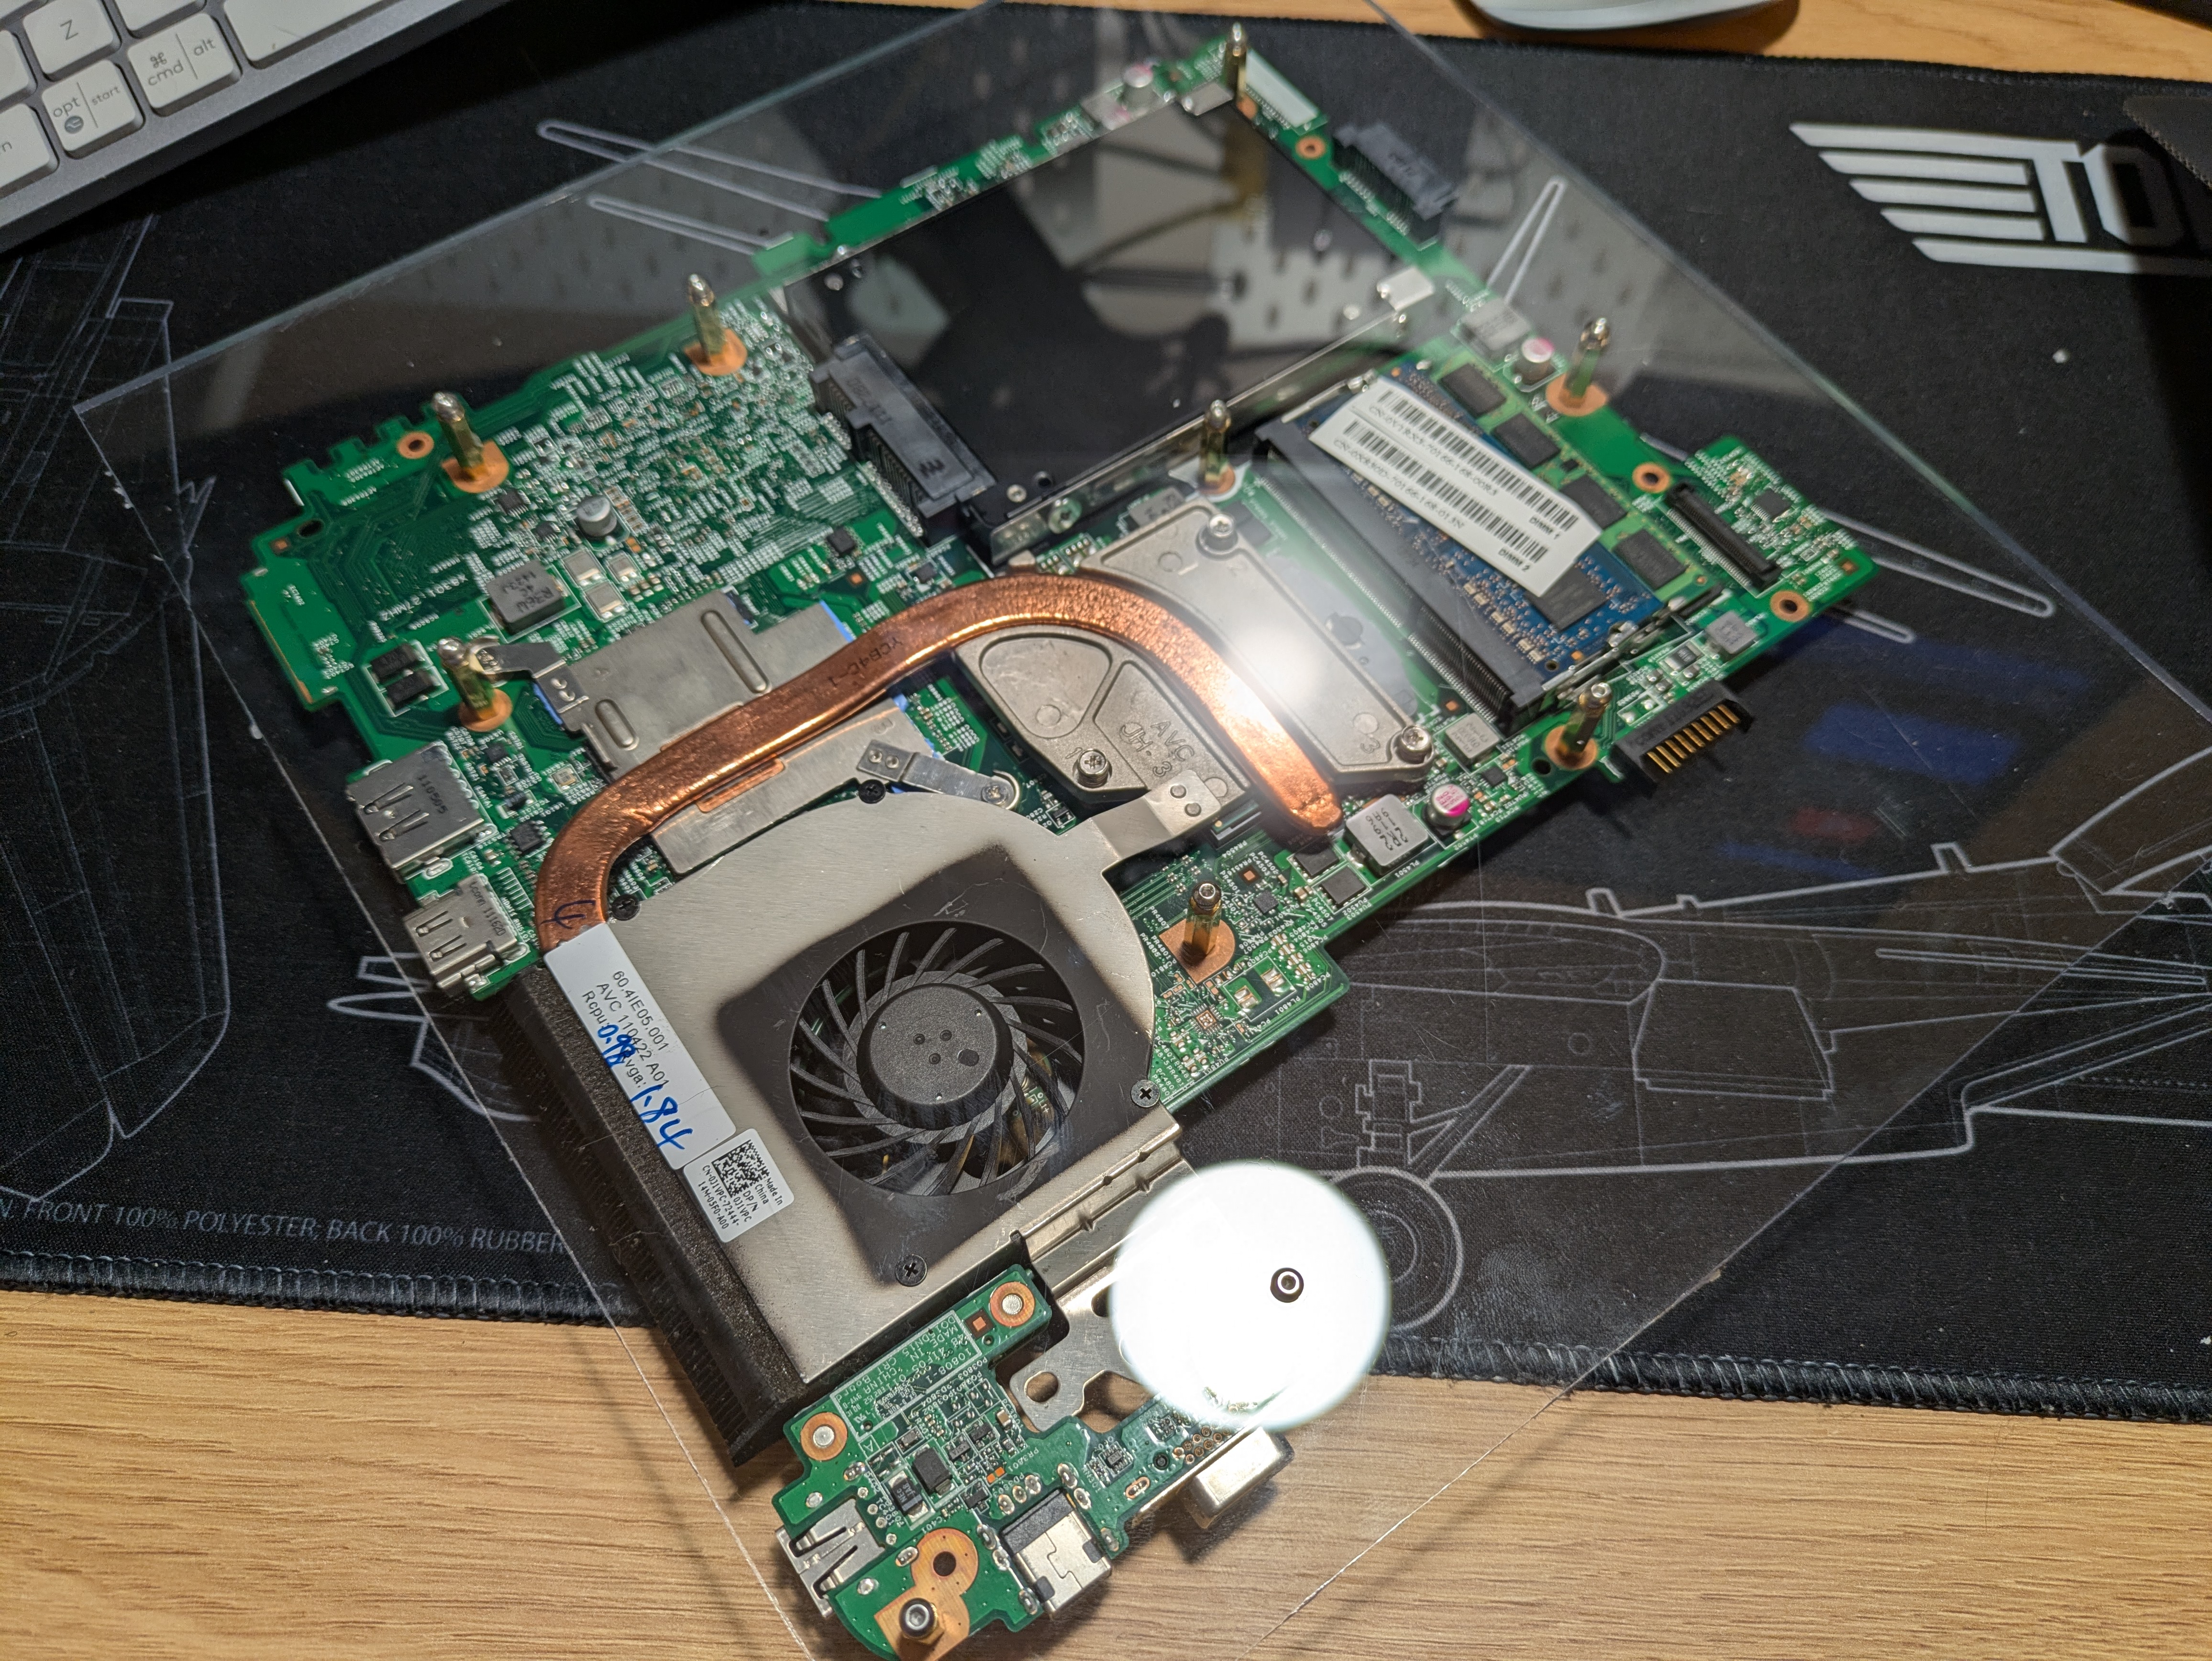
For attaching the motherboard to the board, I sourced an assortment of M2.5 brass standoffs and screws, and multiple
sets in case I need more of a specific height (turned out to be a good call on my part). I chose M2.5 because the laptop
used screws of that size, and this size is common in the world of Raspberry Pi and other SBC-s, which can be handy for
any future dumb ideas experiments.
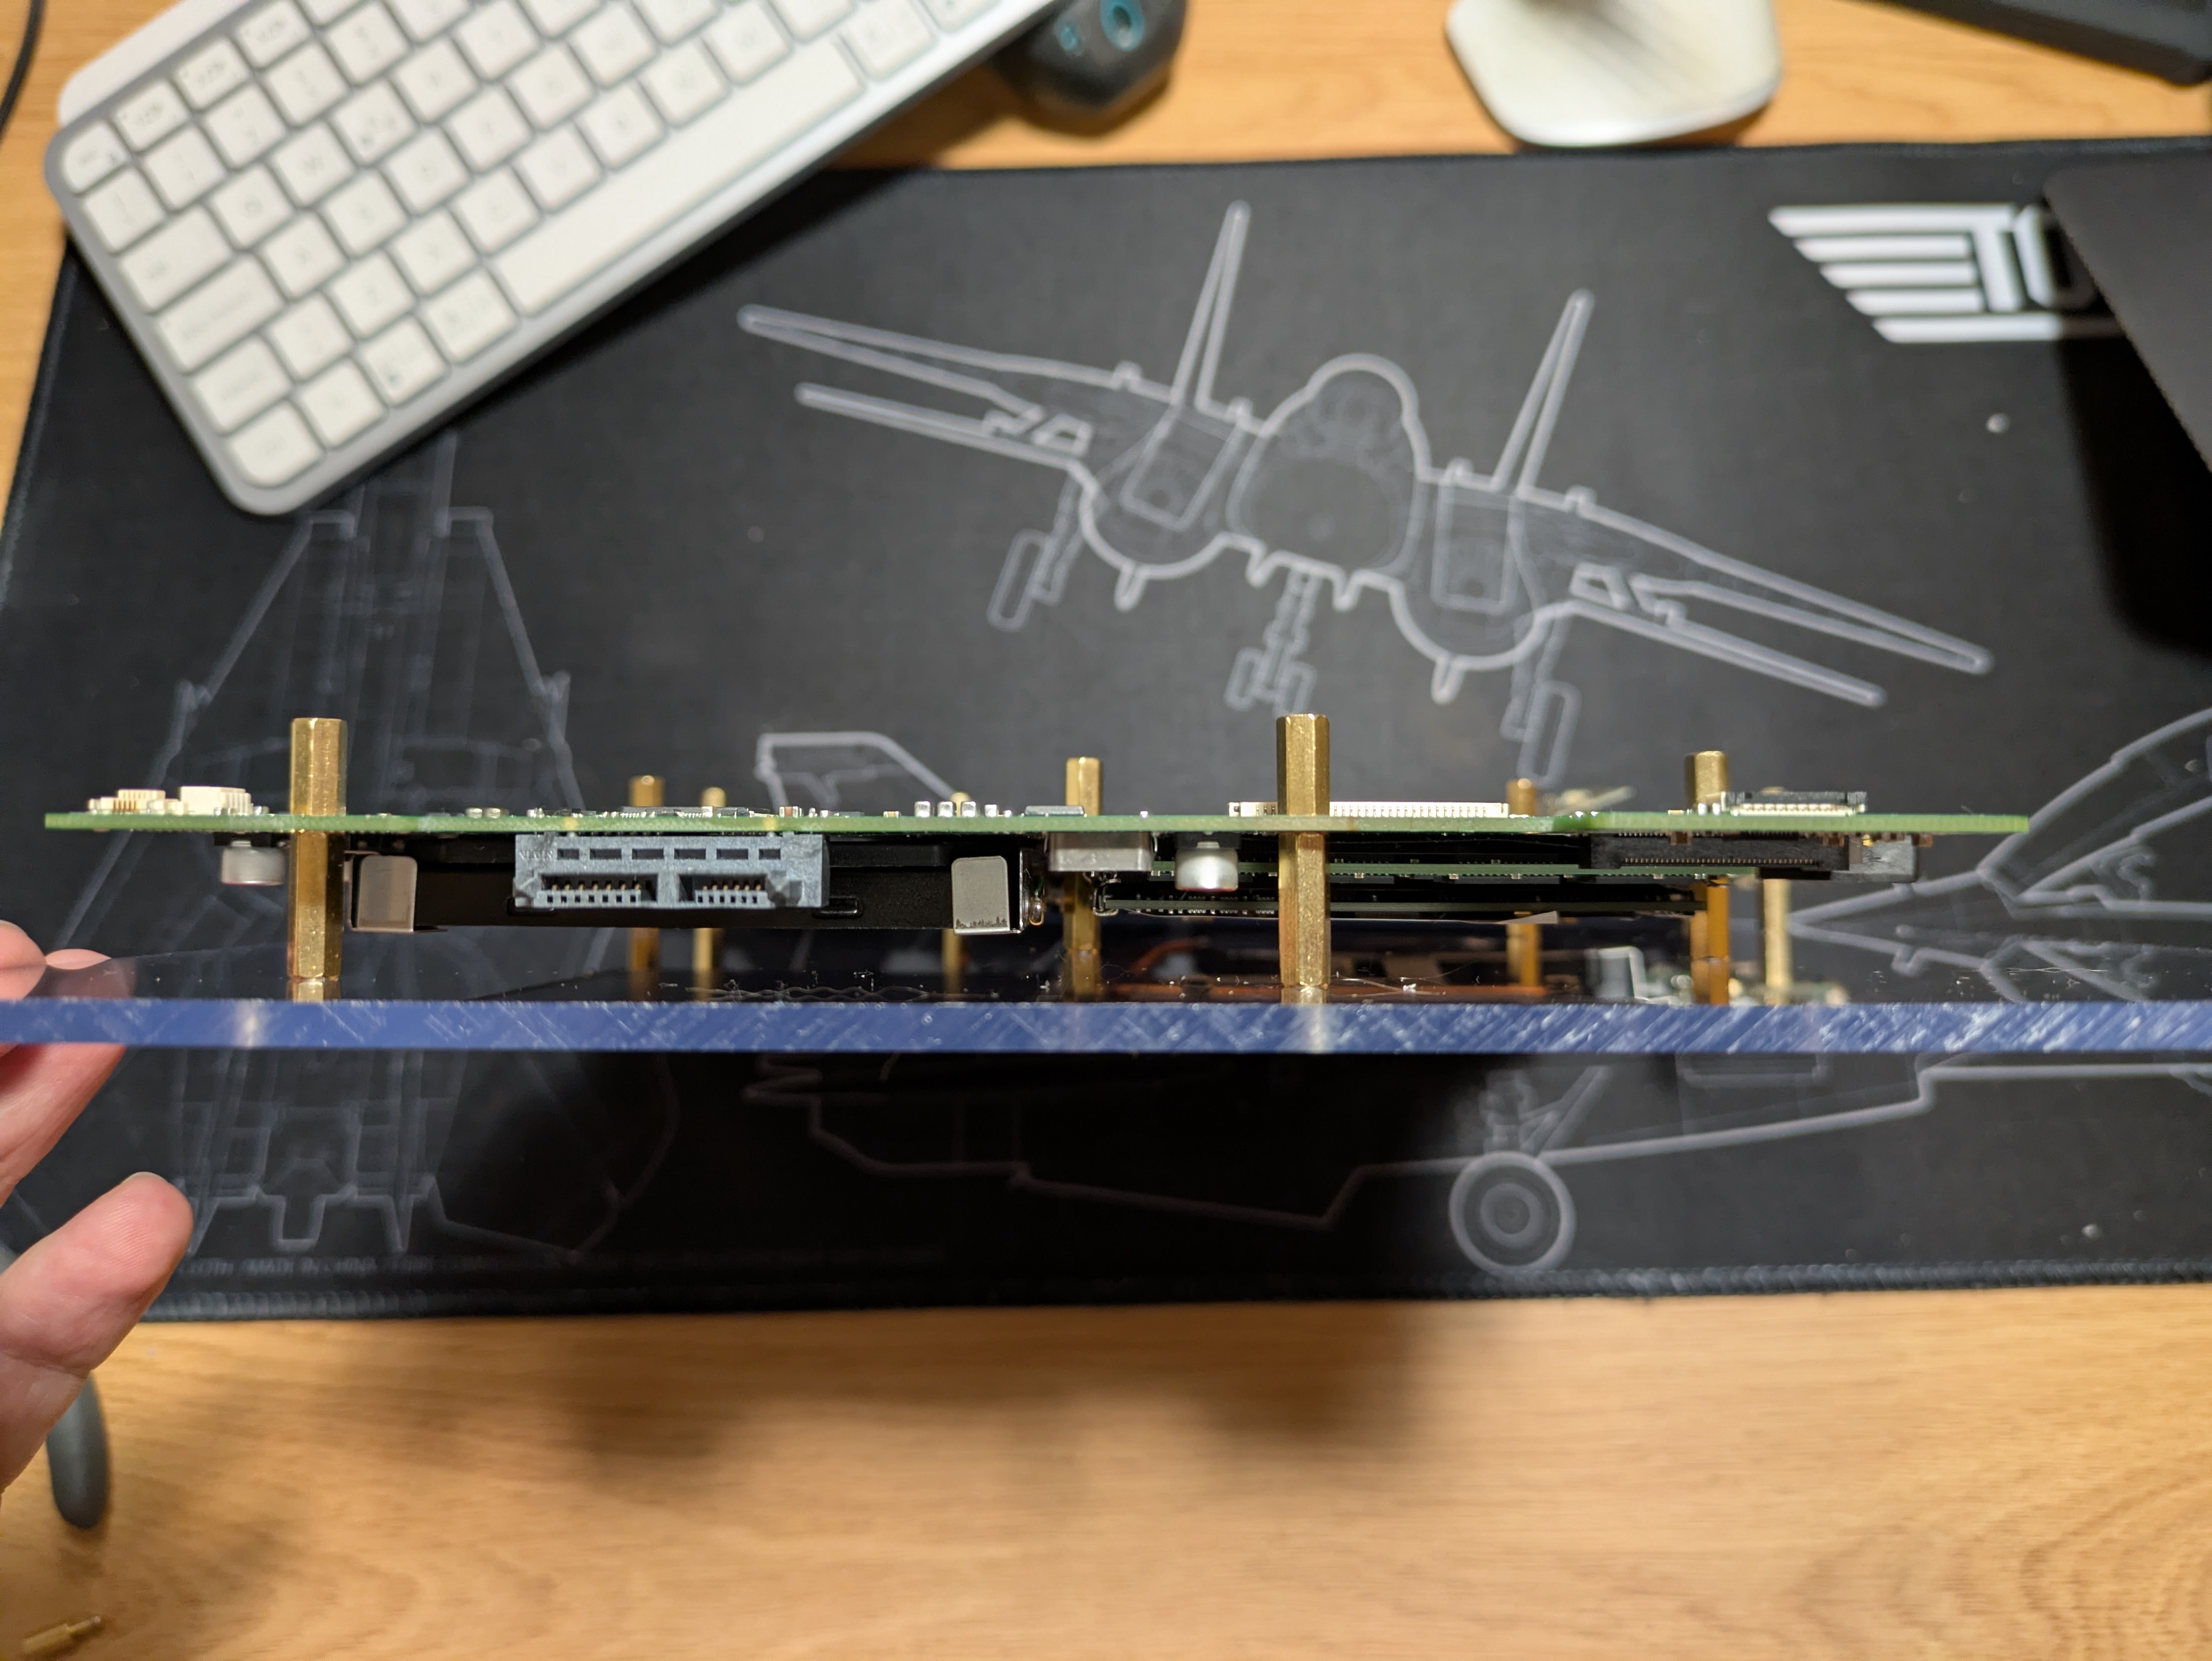
To mark the positions on the plexiglass, I put the motherboard assembly on it, marked some good spots with an awl 1, and then drilled holes using a hand drill and 2.5mm drill bit.
I also sourced heat inserts so that I can melt them into the plexiglass assembly, but those didn’t work out very well. I used my Pinecil soldering iron to push these in to the 2mm pre-drilled holes that I set up for these, but I had alignment issues and the threads ended up getting gunked up by the melted remains of the plexiglass, so I could not screw any brass standoffs in there.
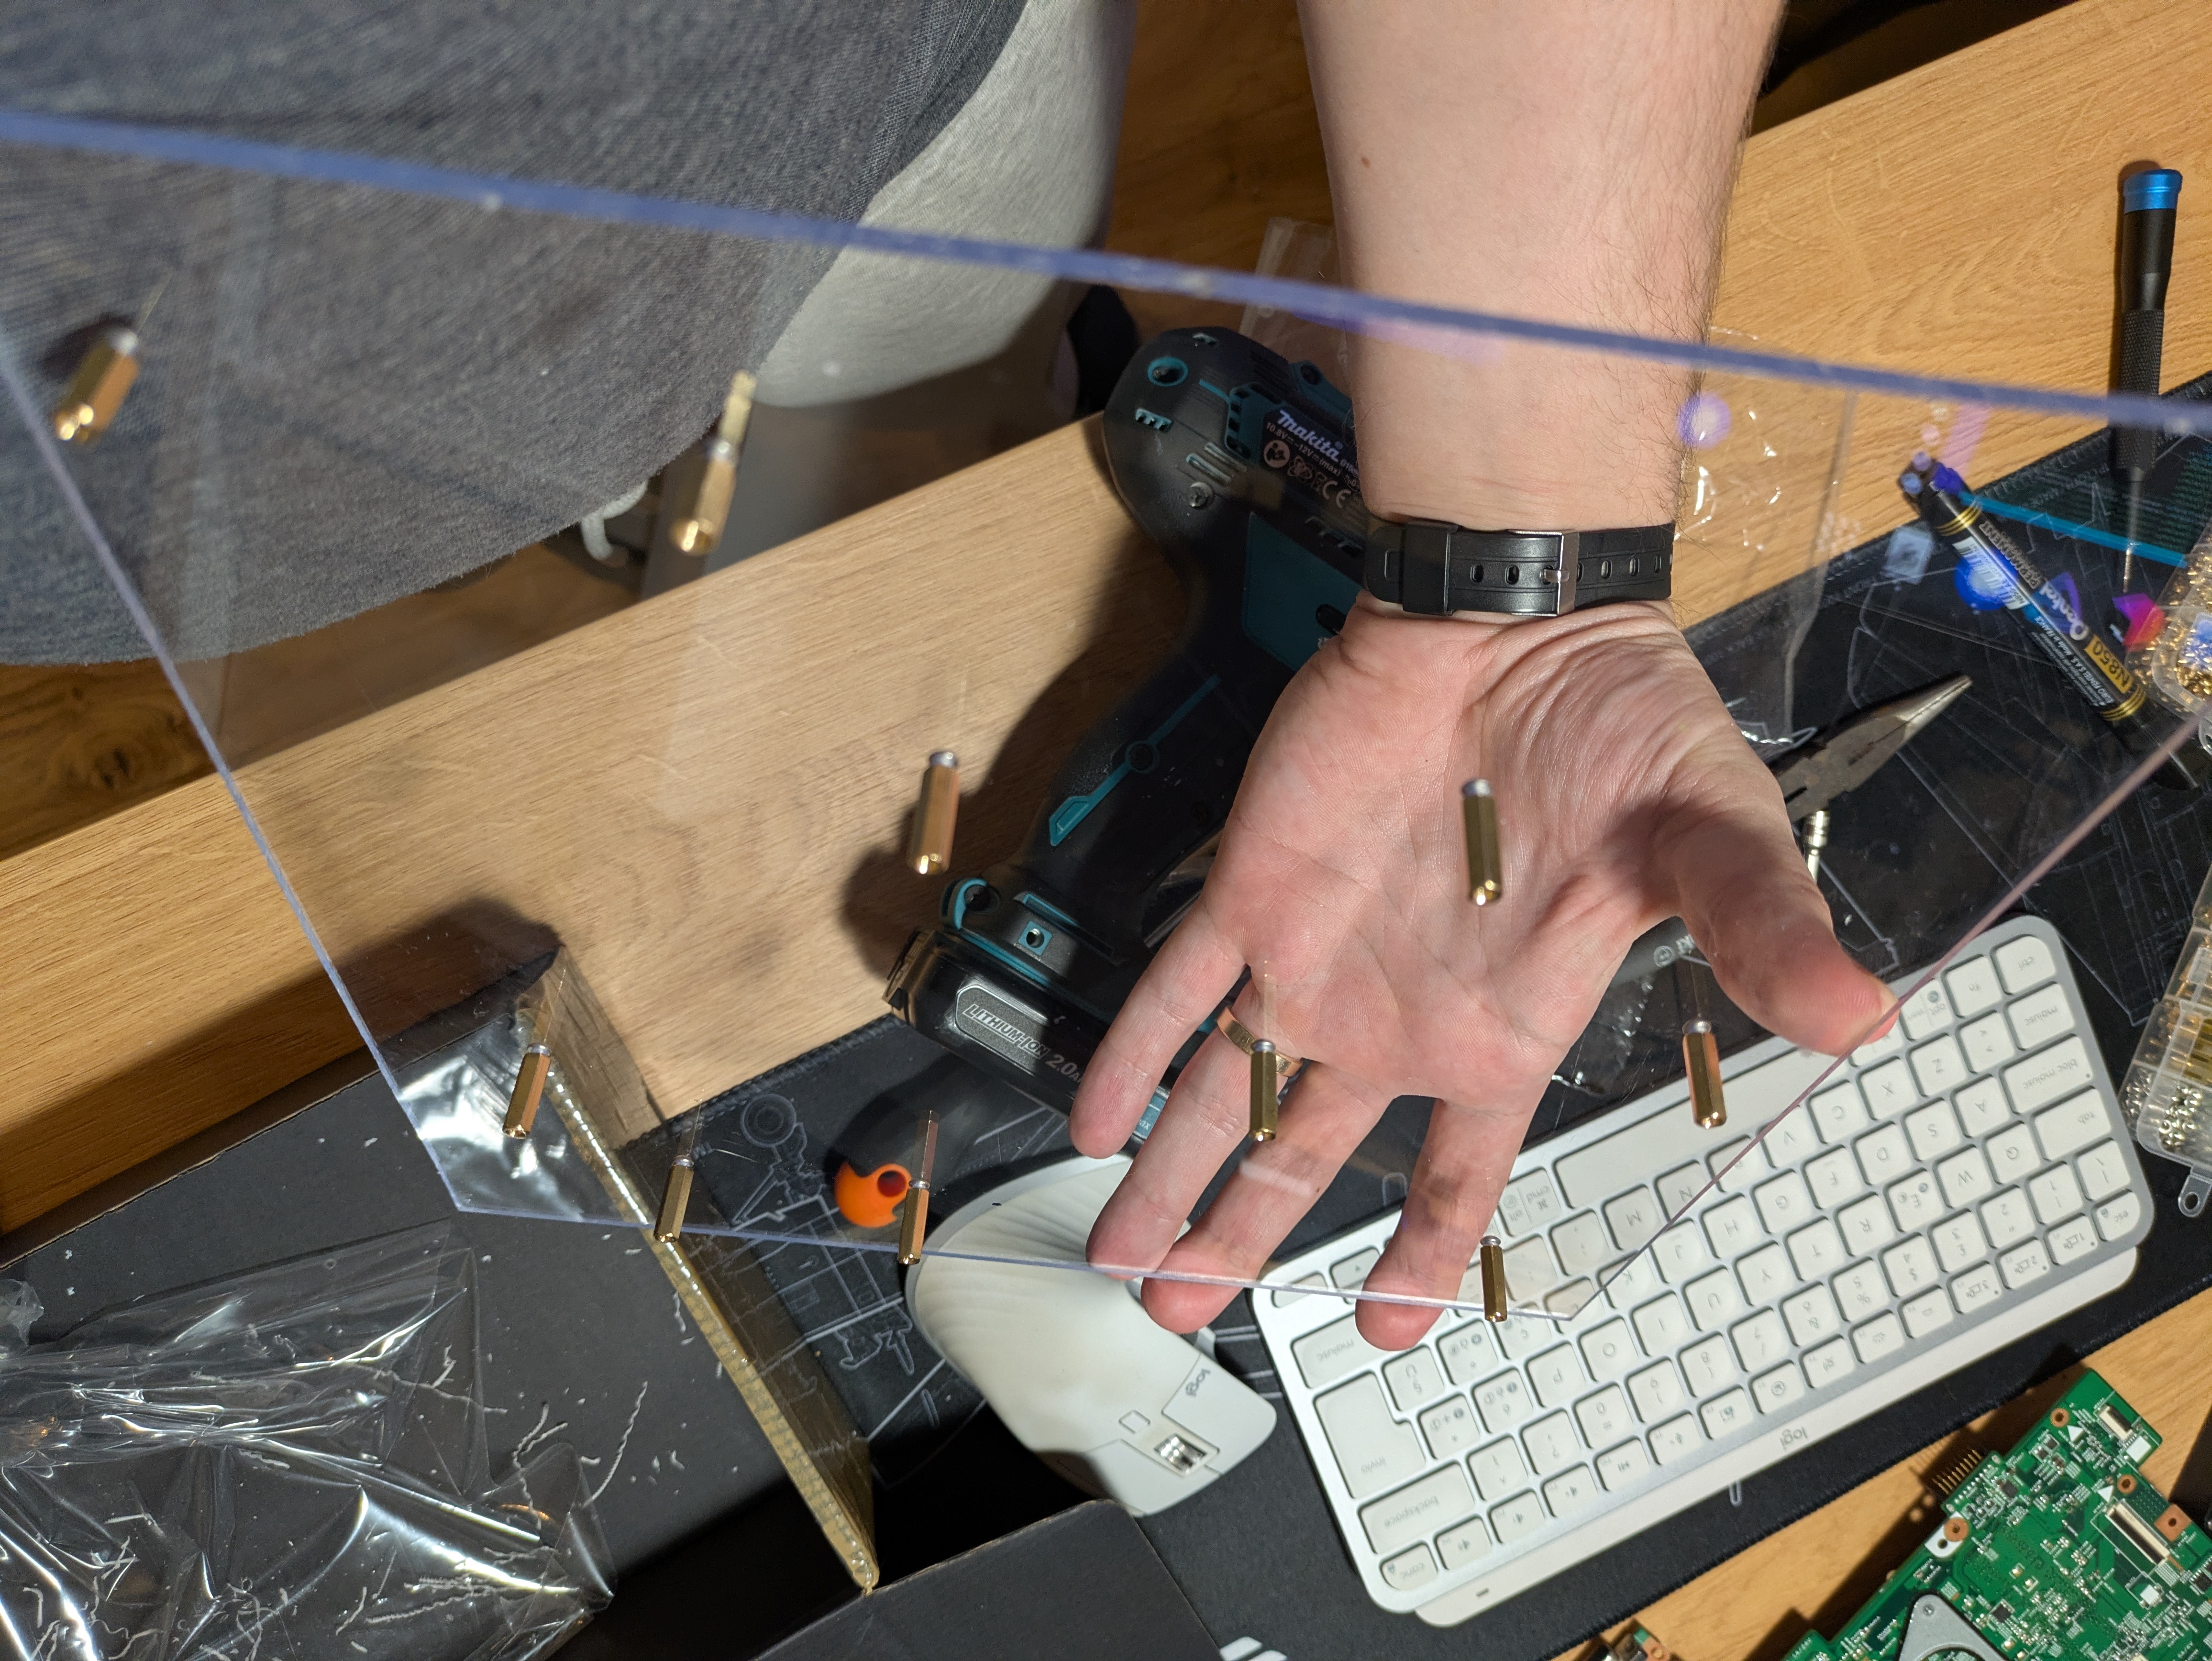
I tried to be very careful with getting the drill holes to line up, and it went mostly alright. My recommendation here is to be precise, and don’t screw everything tight before you’ve got screws and standoffs lined up for all planned holes, otherwise you lose the option of wiggling things a bit to get them to line up.
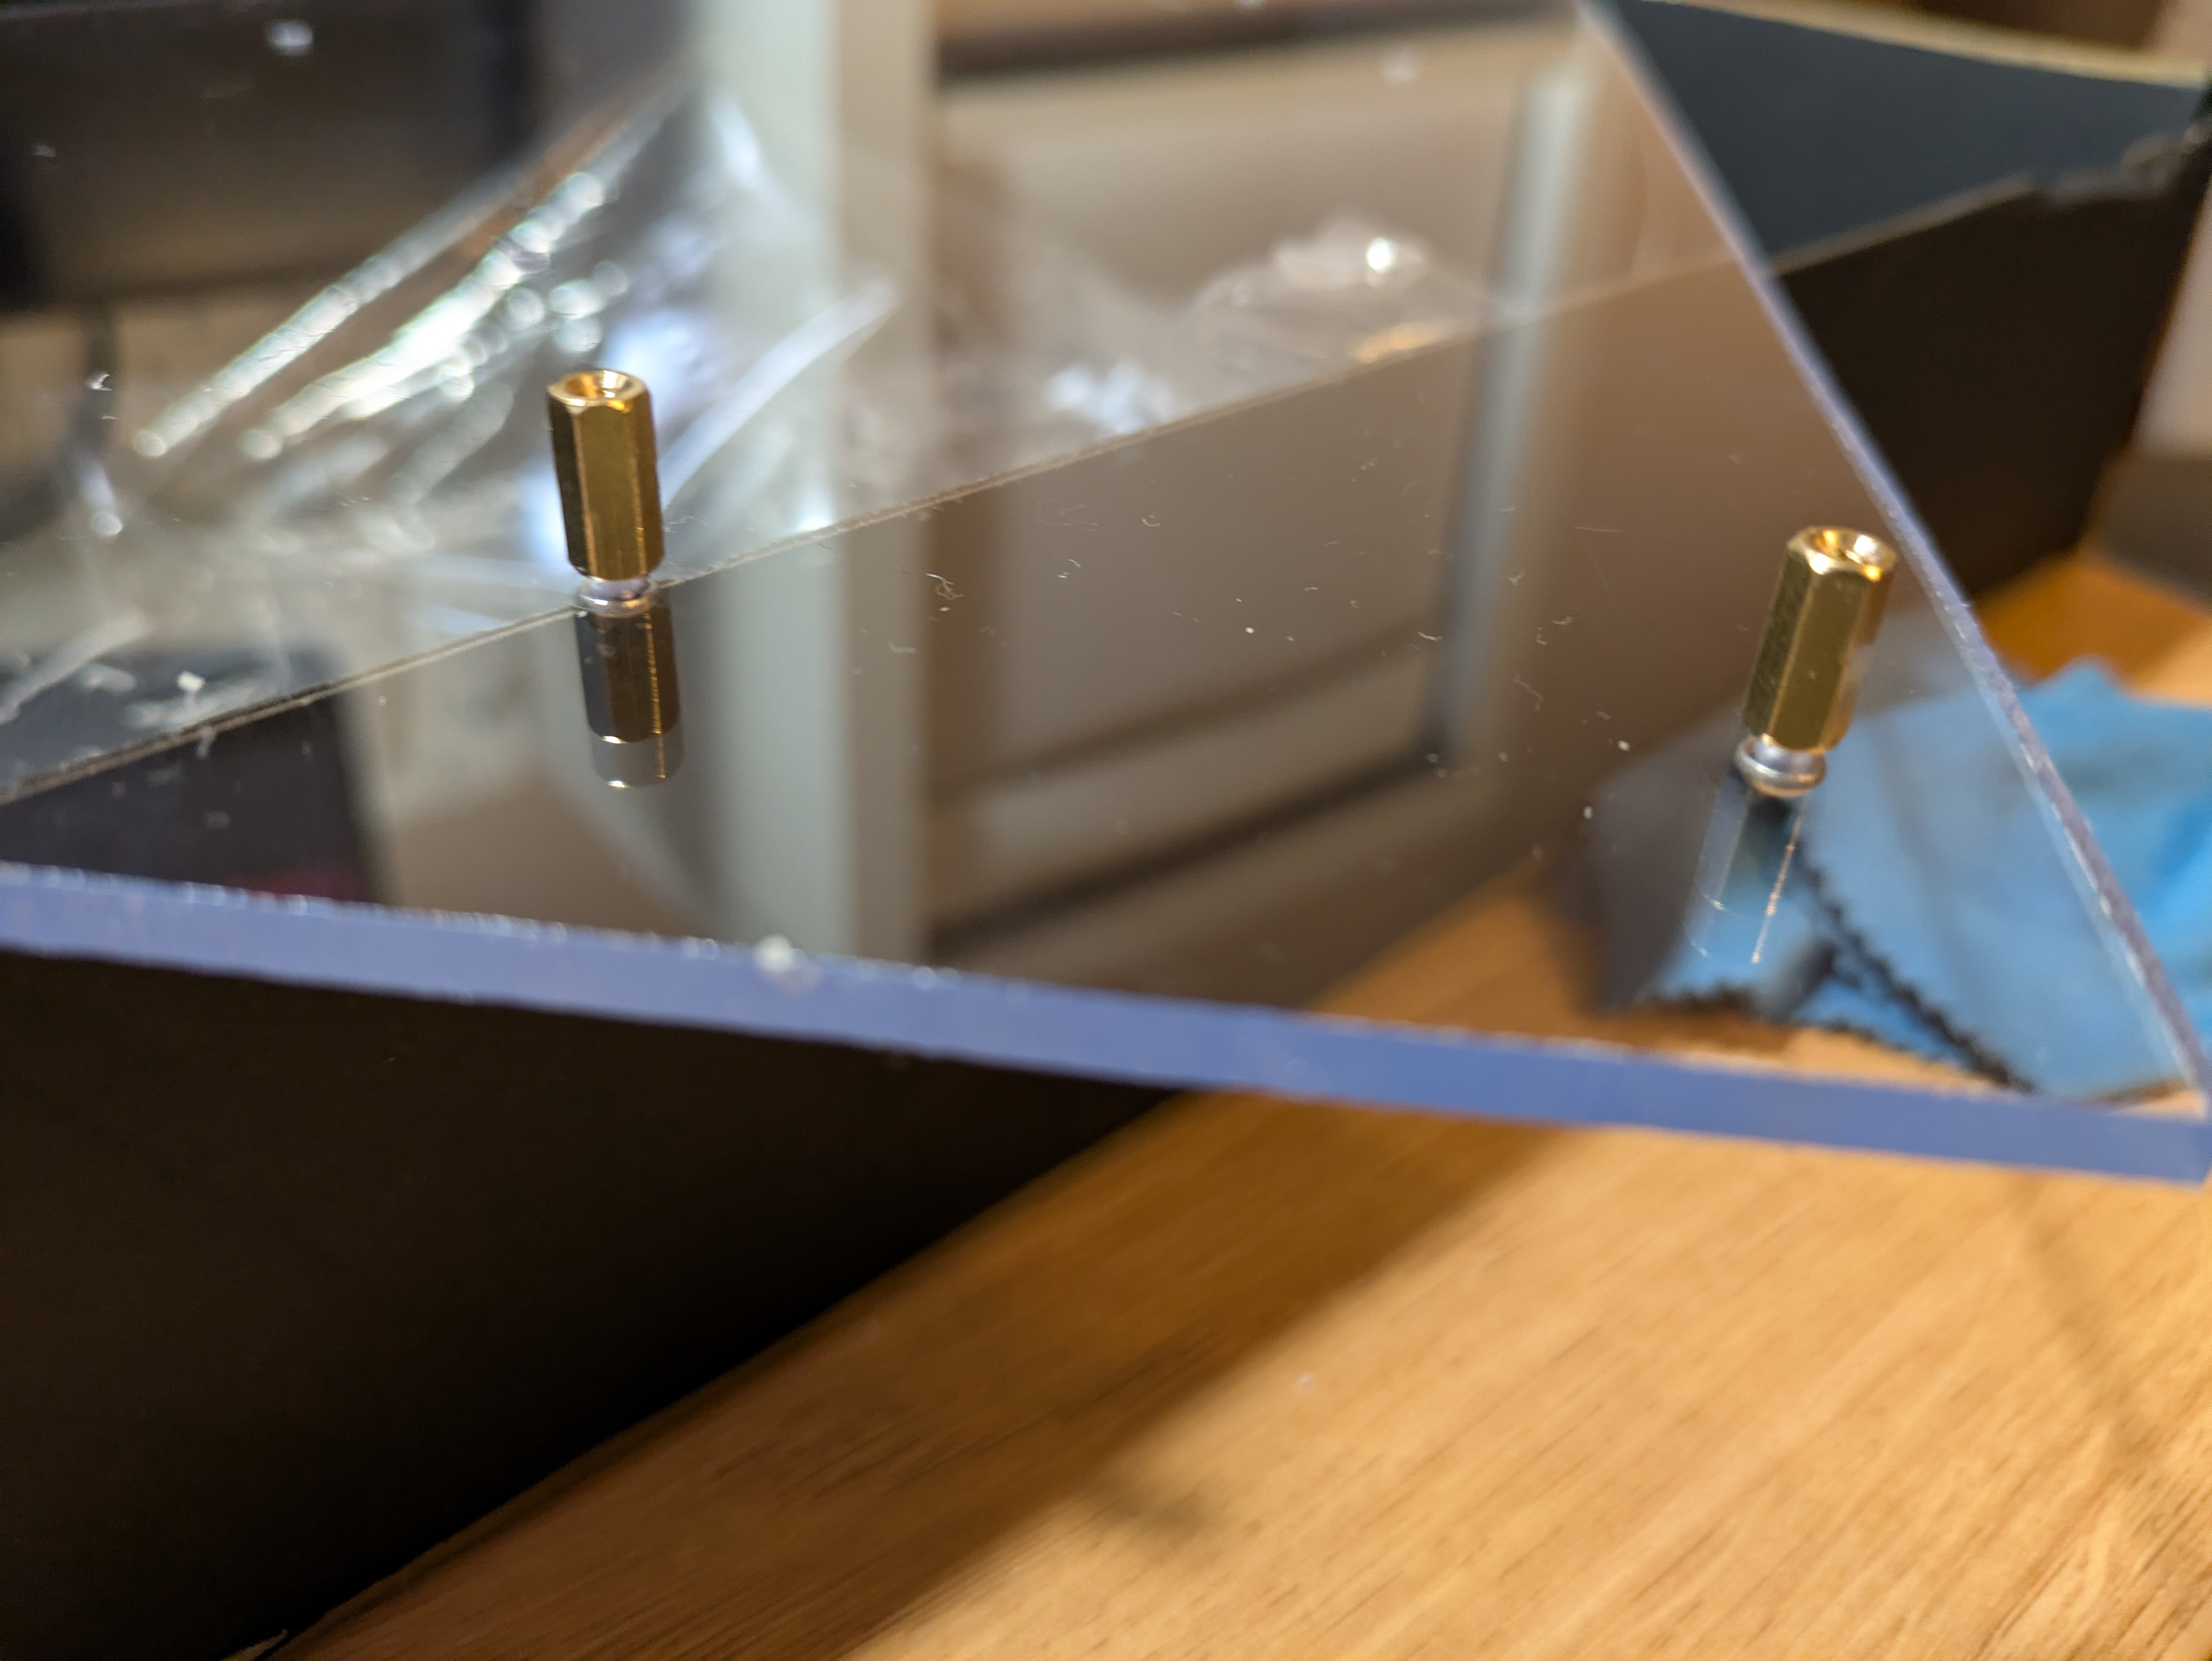
The standoffs and screws were screwed on tight enough to keep things in place, but not too tight to avoid cracking.
For the other panel, I cut out a similarily sized plexiglass panel, marked the holes again, and repeated the process. Since I was using a cordless jigsaw, I positioned the new piece so that the flat side of the plexiglass panel that I bought lined up with the other straight end on the existing assembly, because I will never get a good straight cut with a freehanded jigsaw. That worked out well enough.
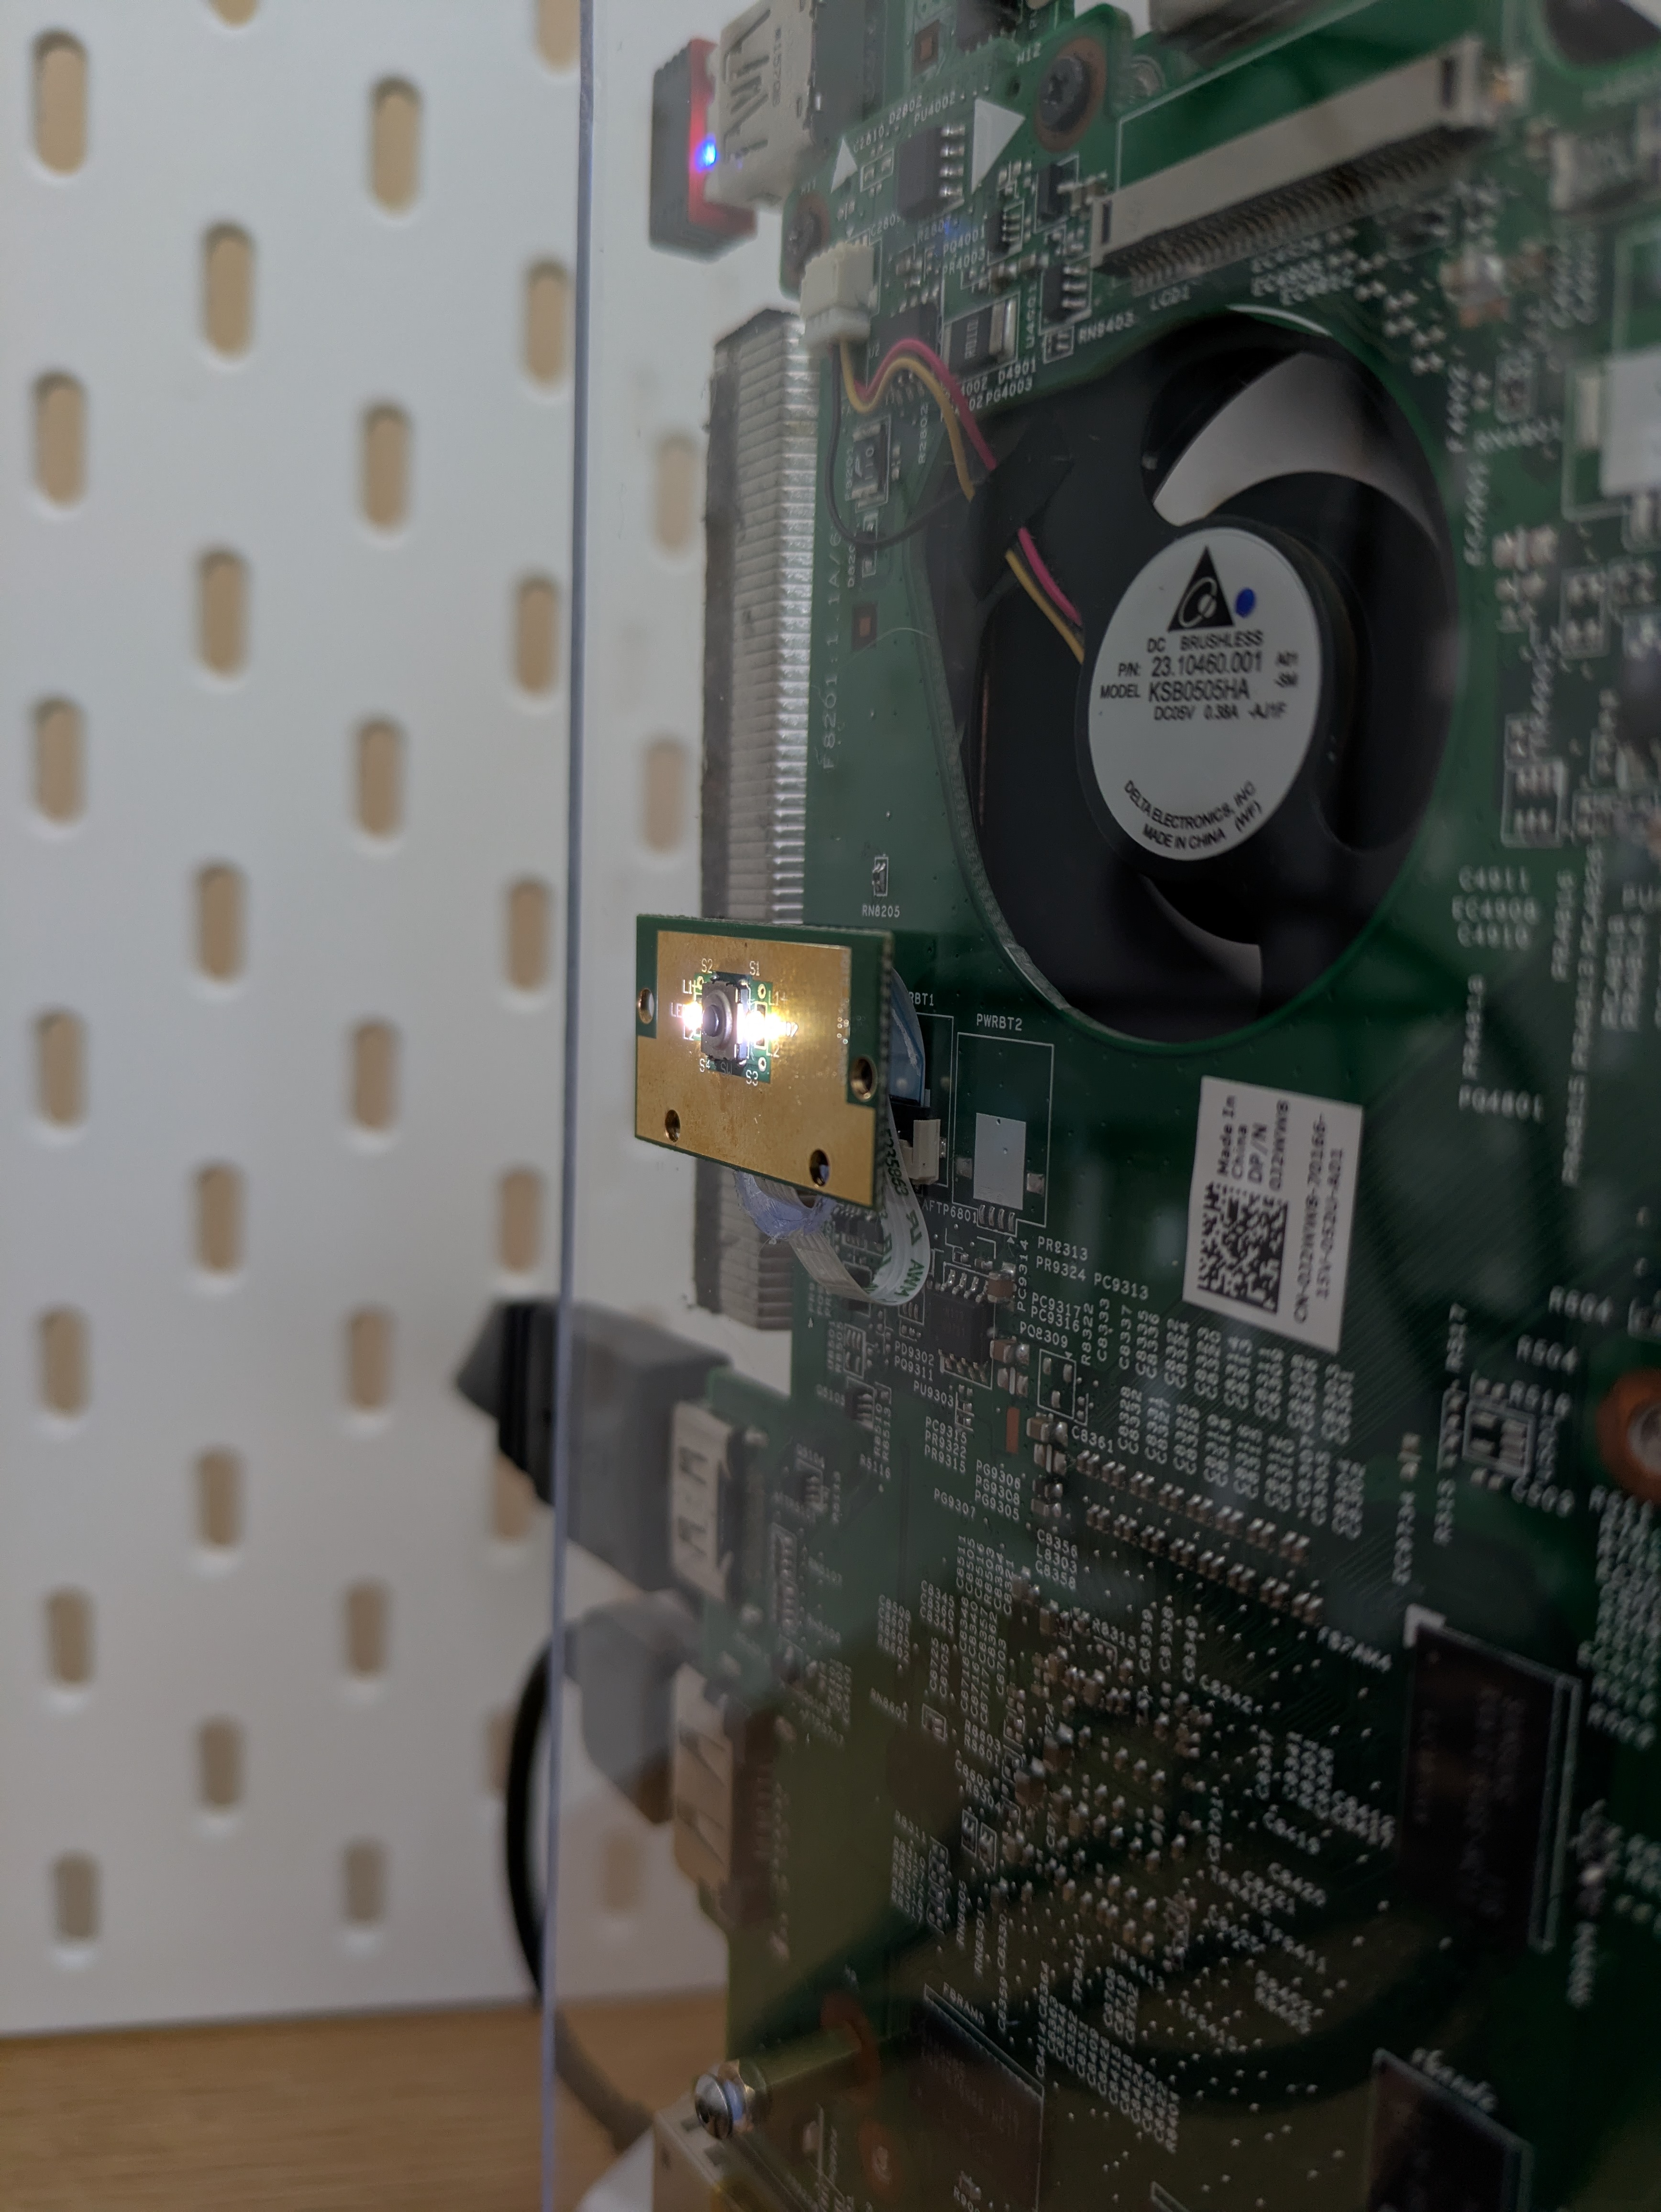
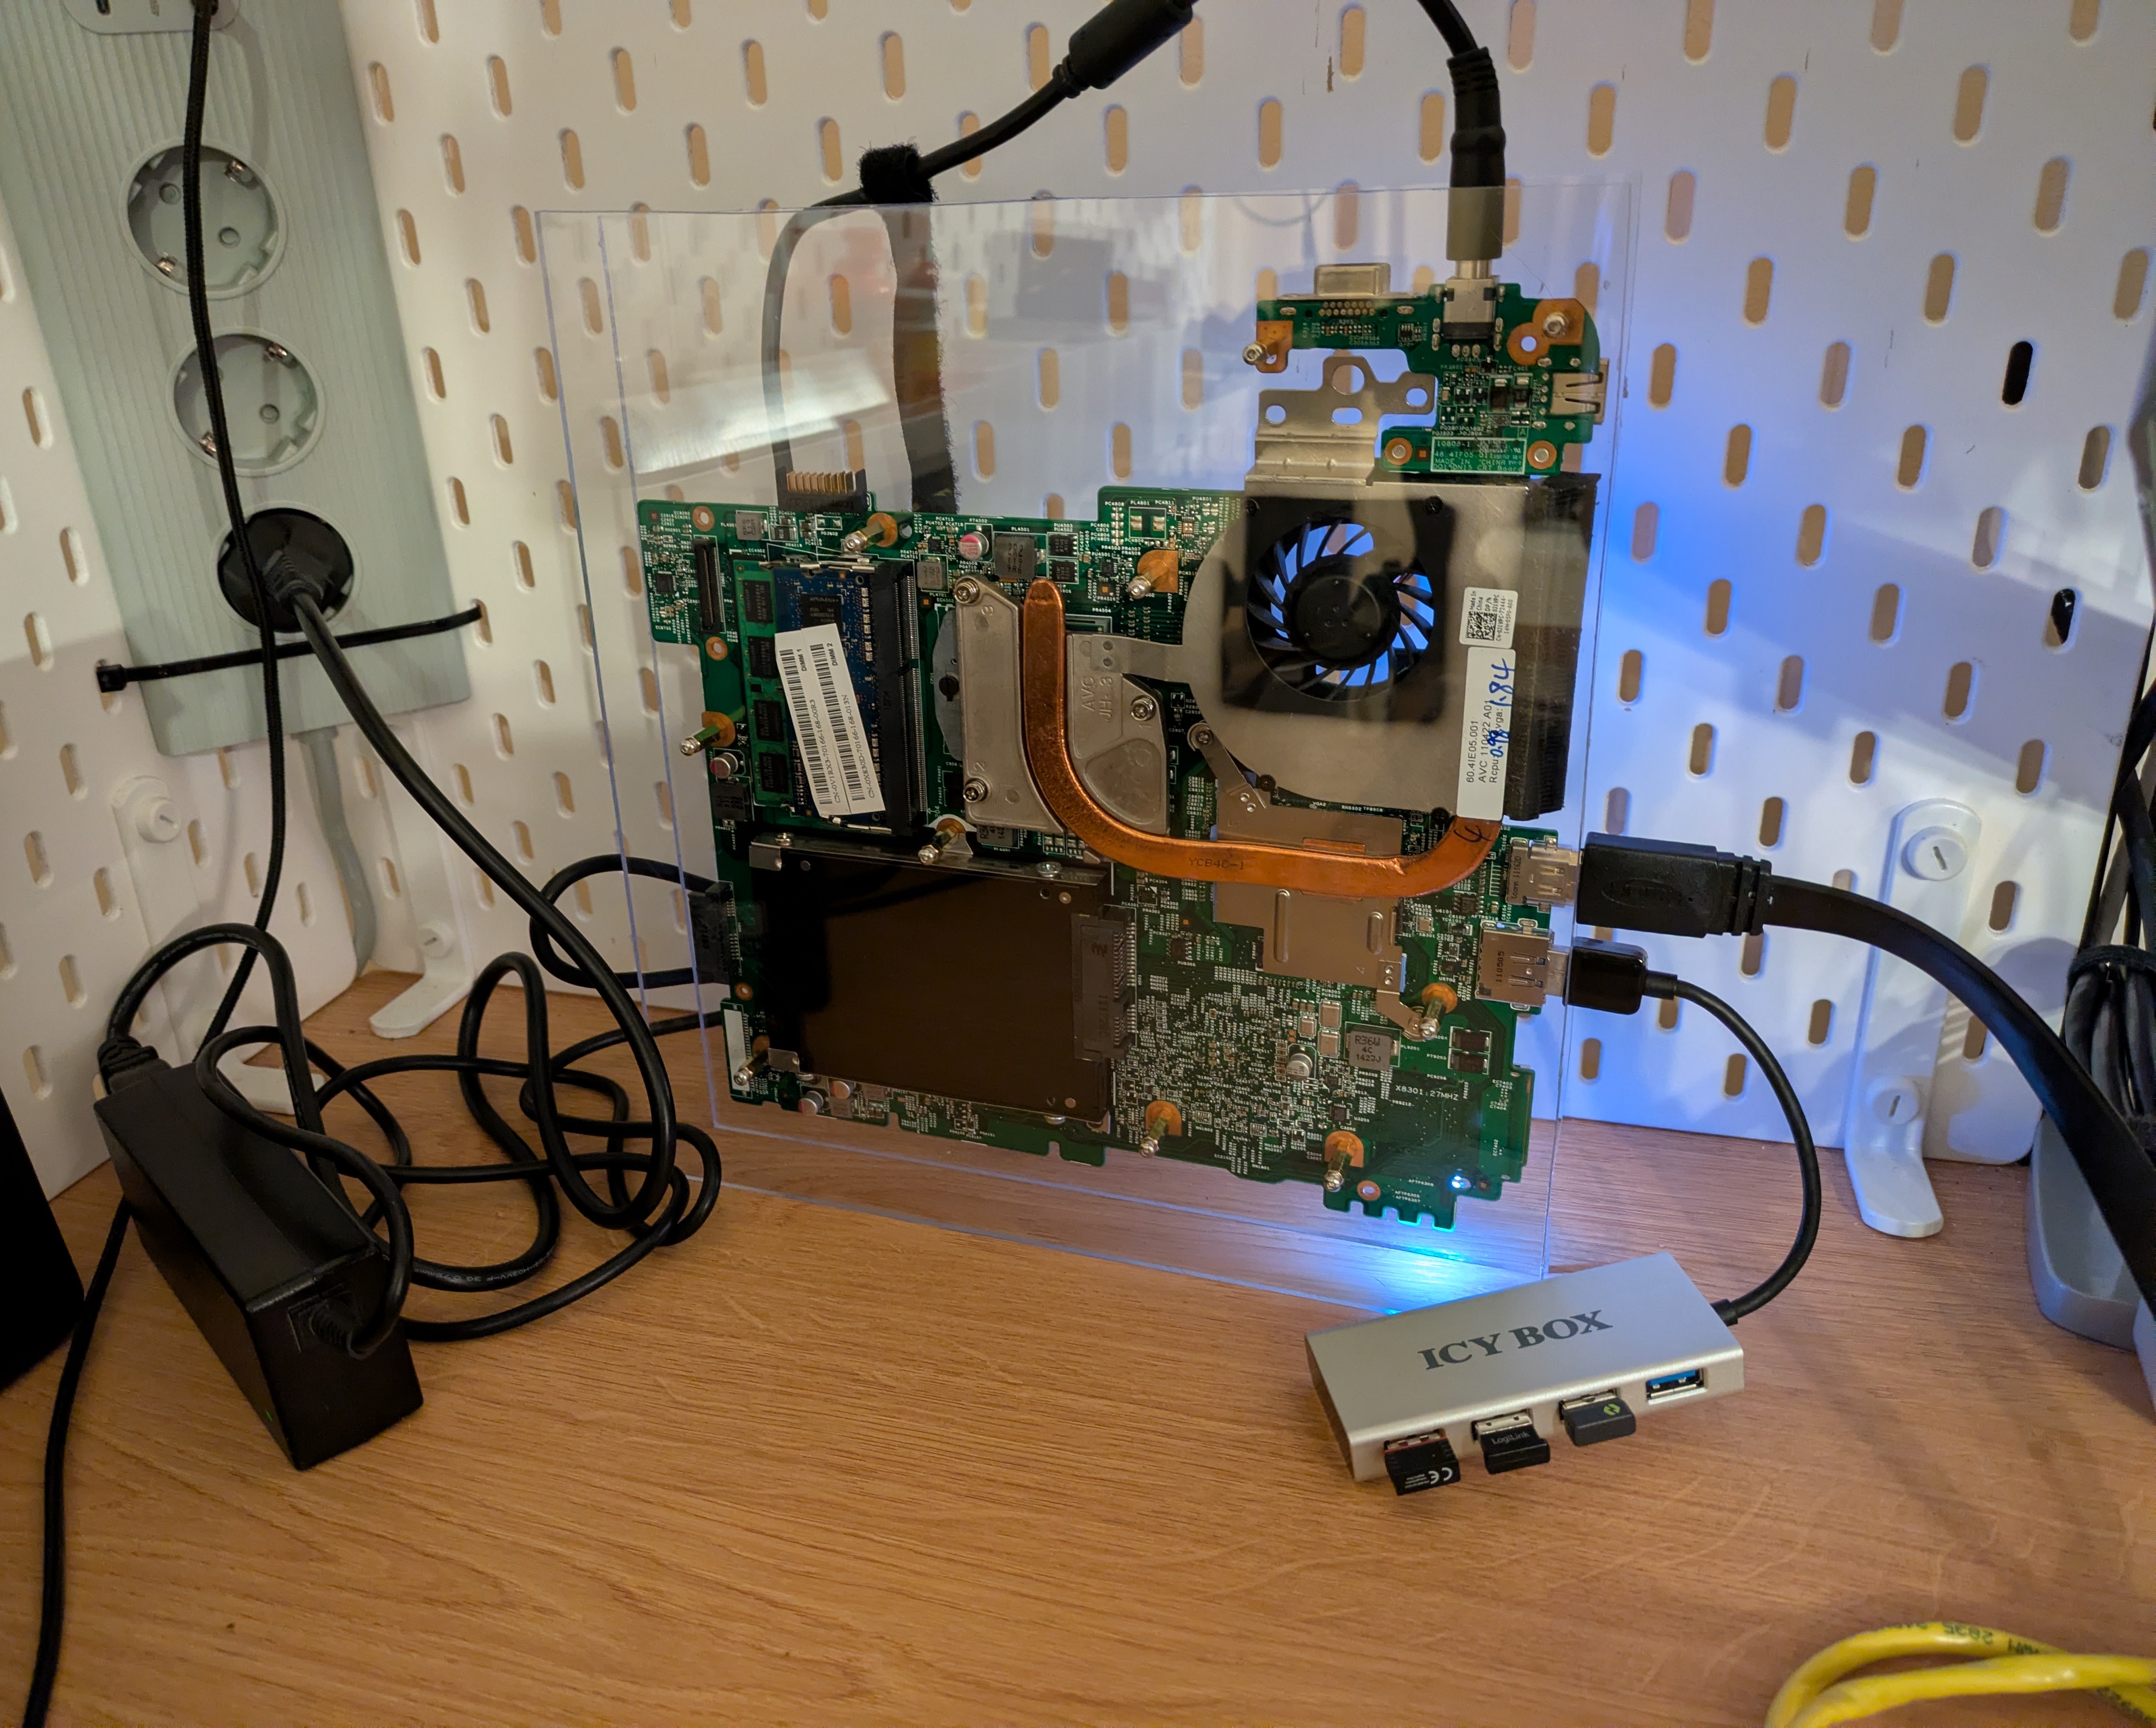
For the power button, I reused the small PCB that contains the power button and power LED-s from the original case. To house that, I drilled a small hole with 1cm diameter to slip the ribbon cable in, and I used small pieces of 3M VHB double-sided tape2 to secure it to the panel.
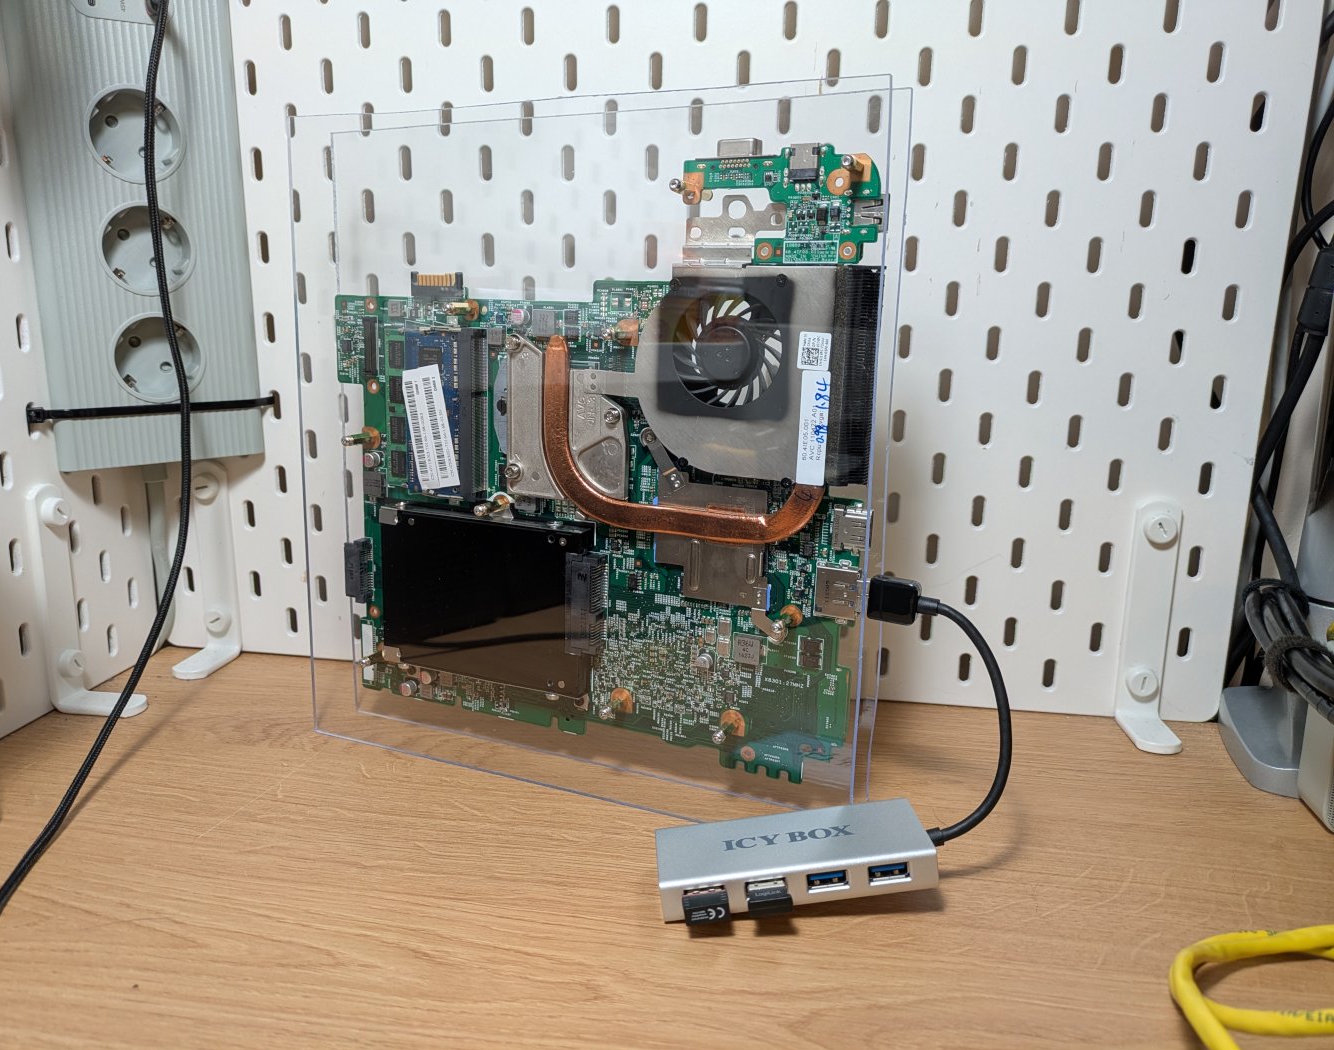
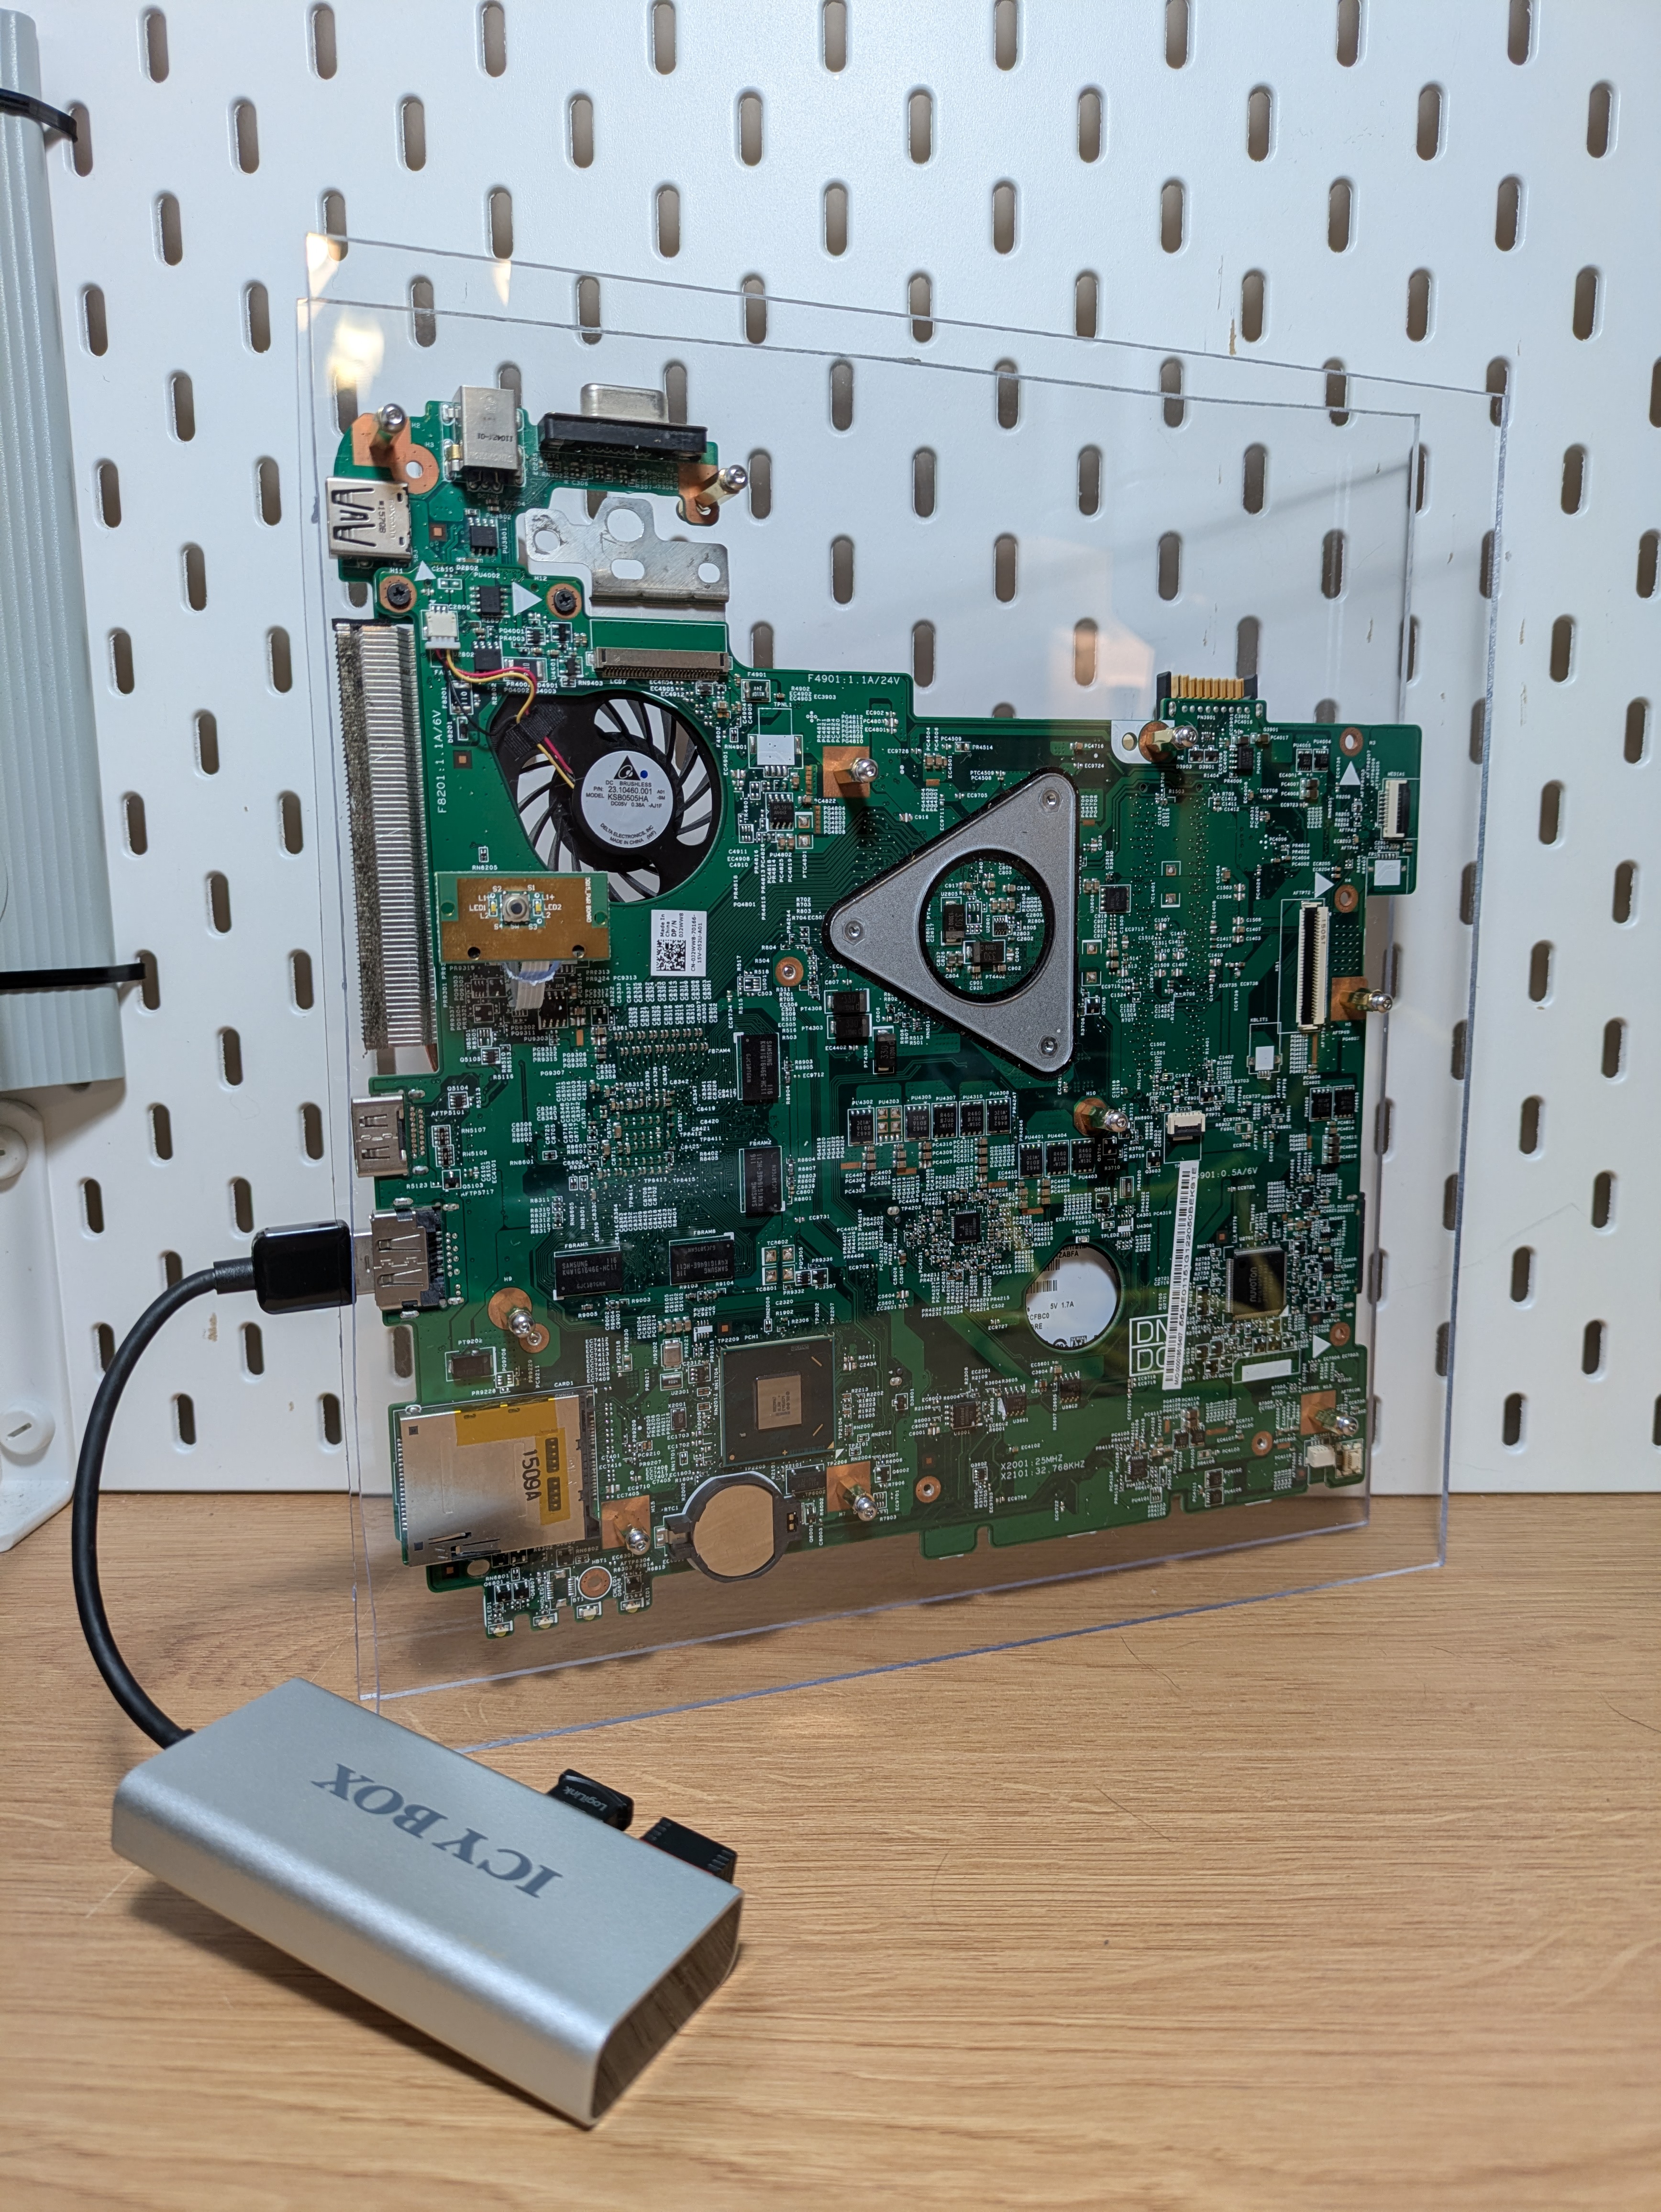
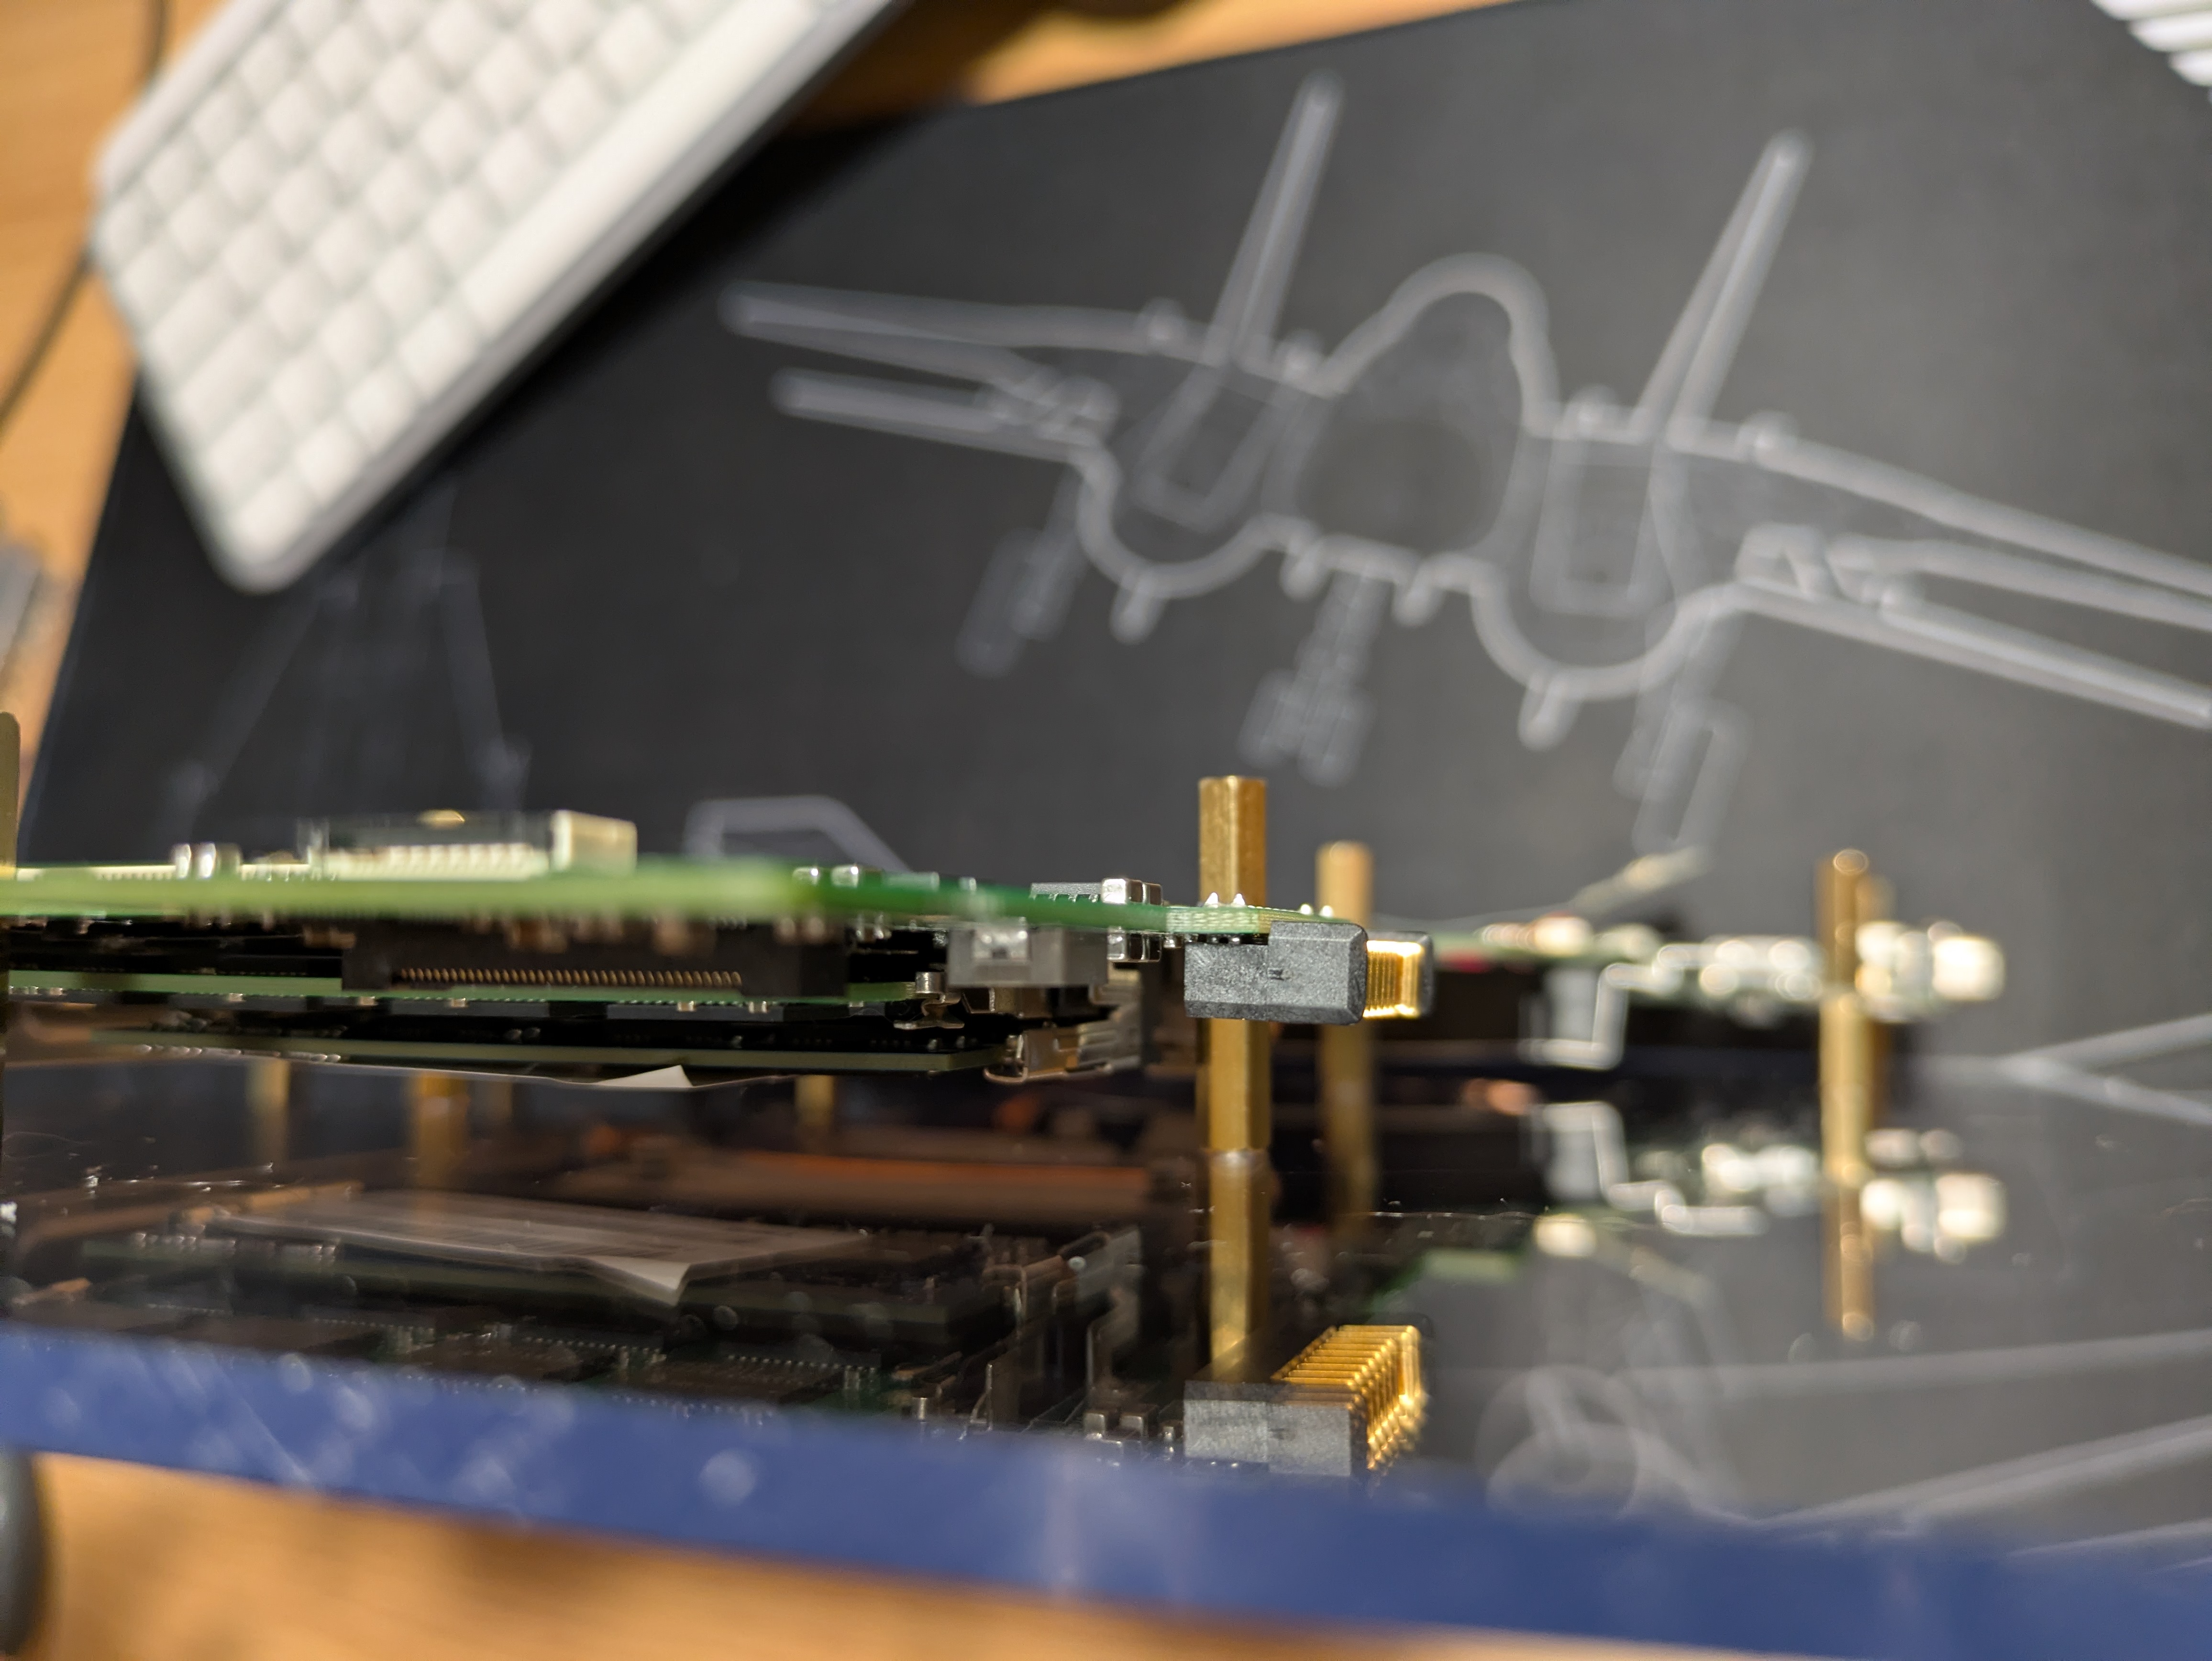
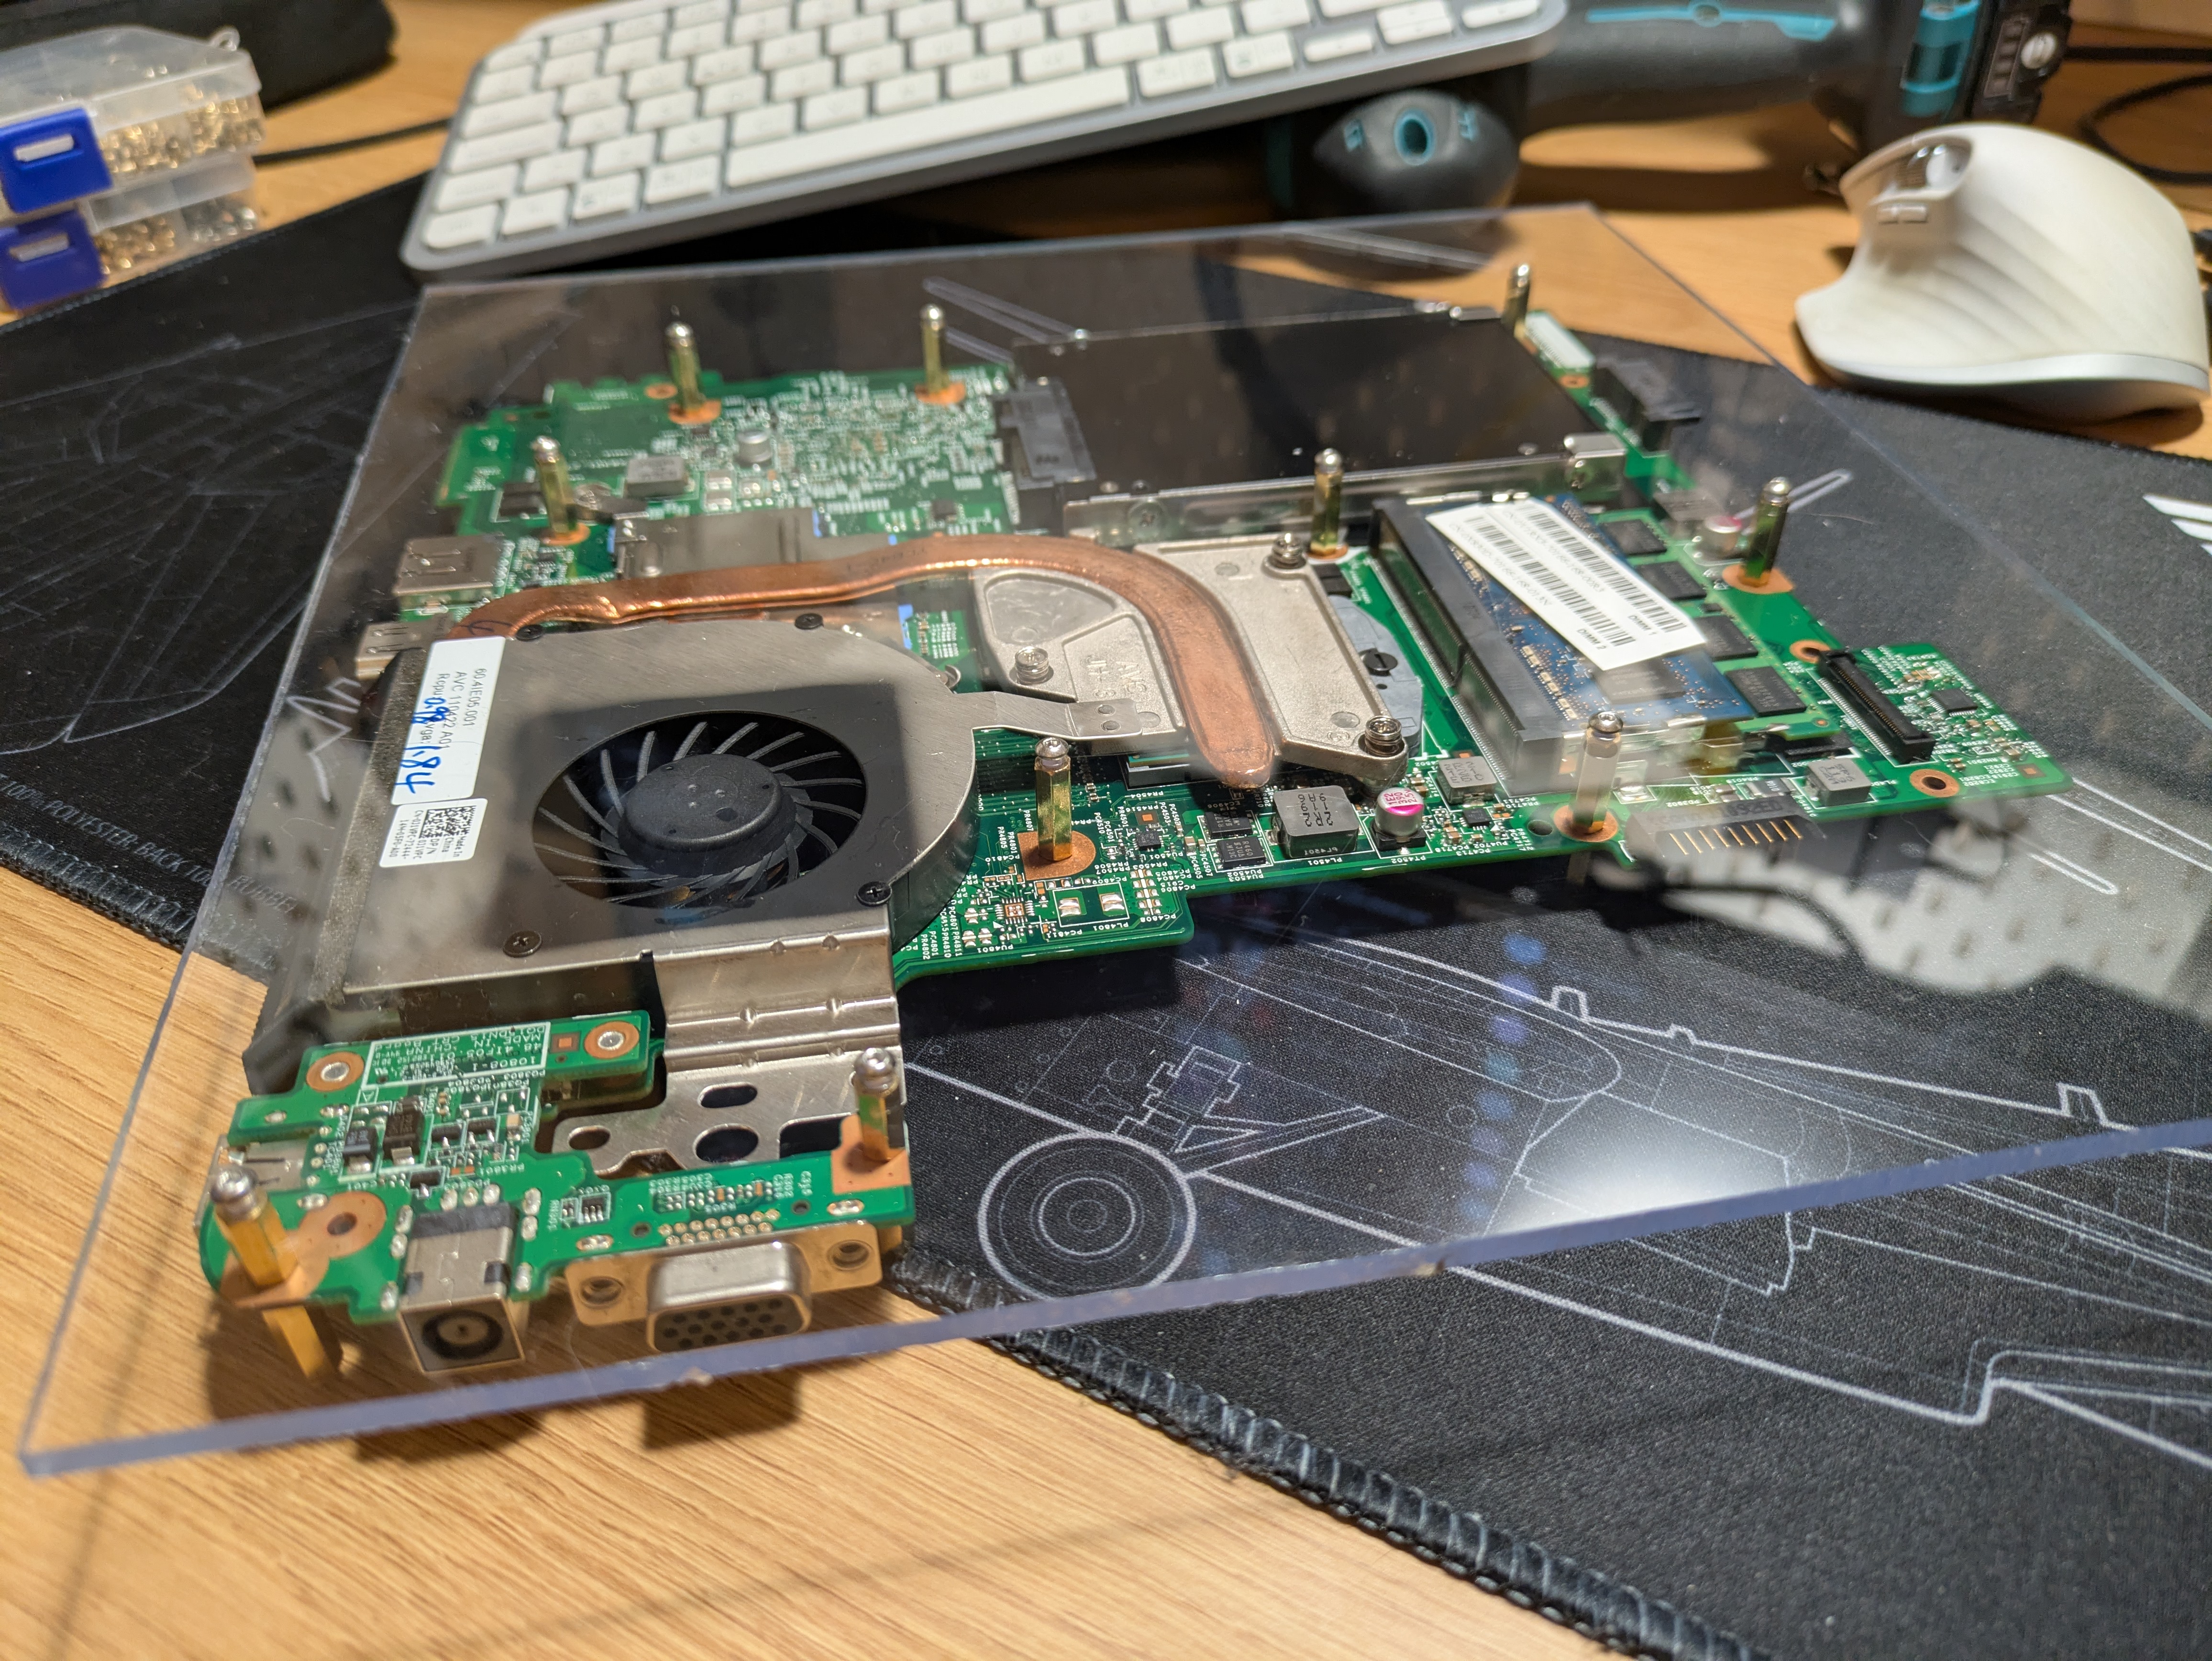
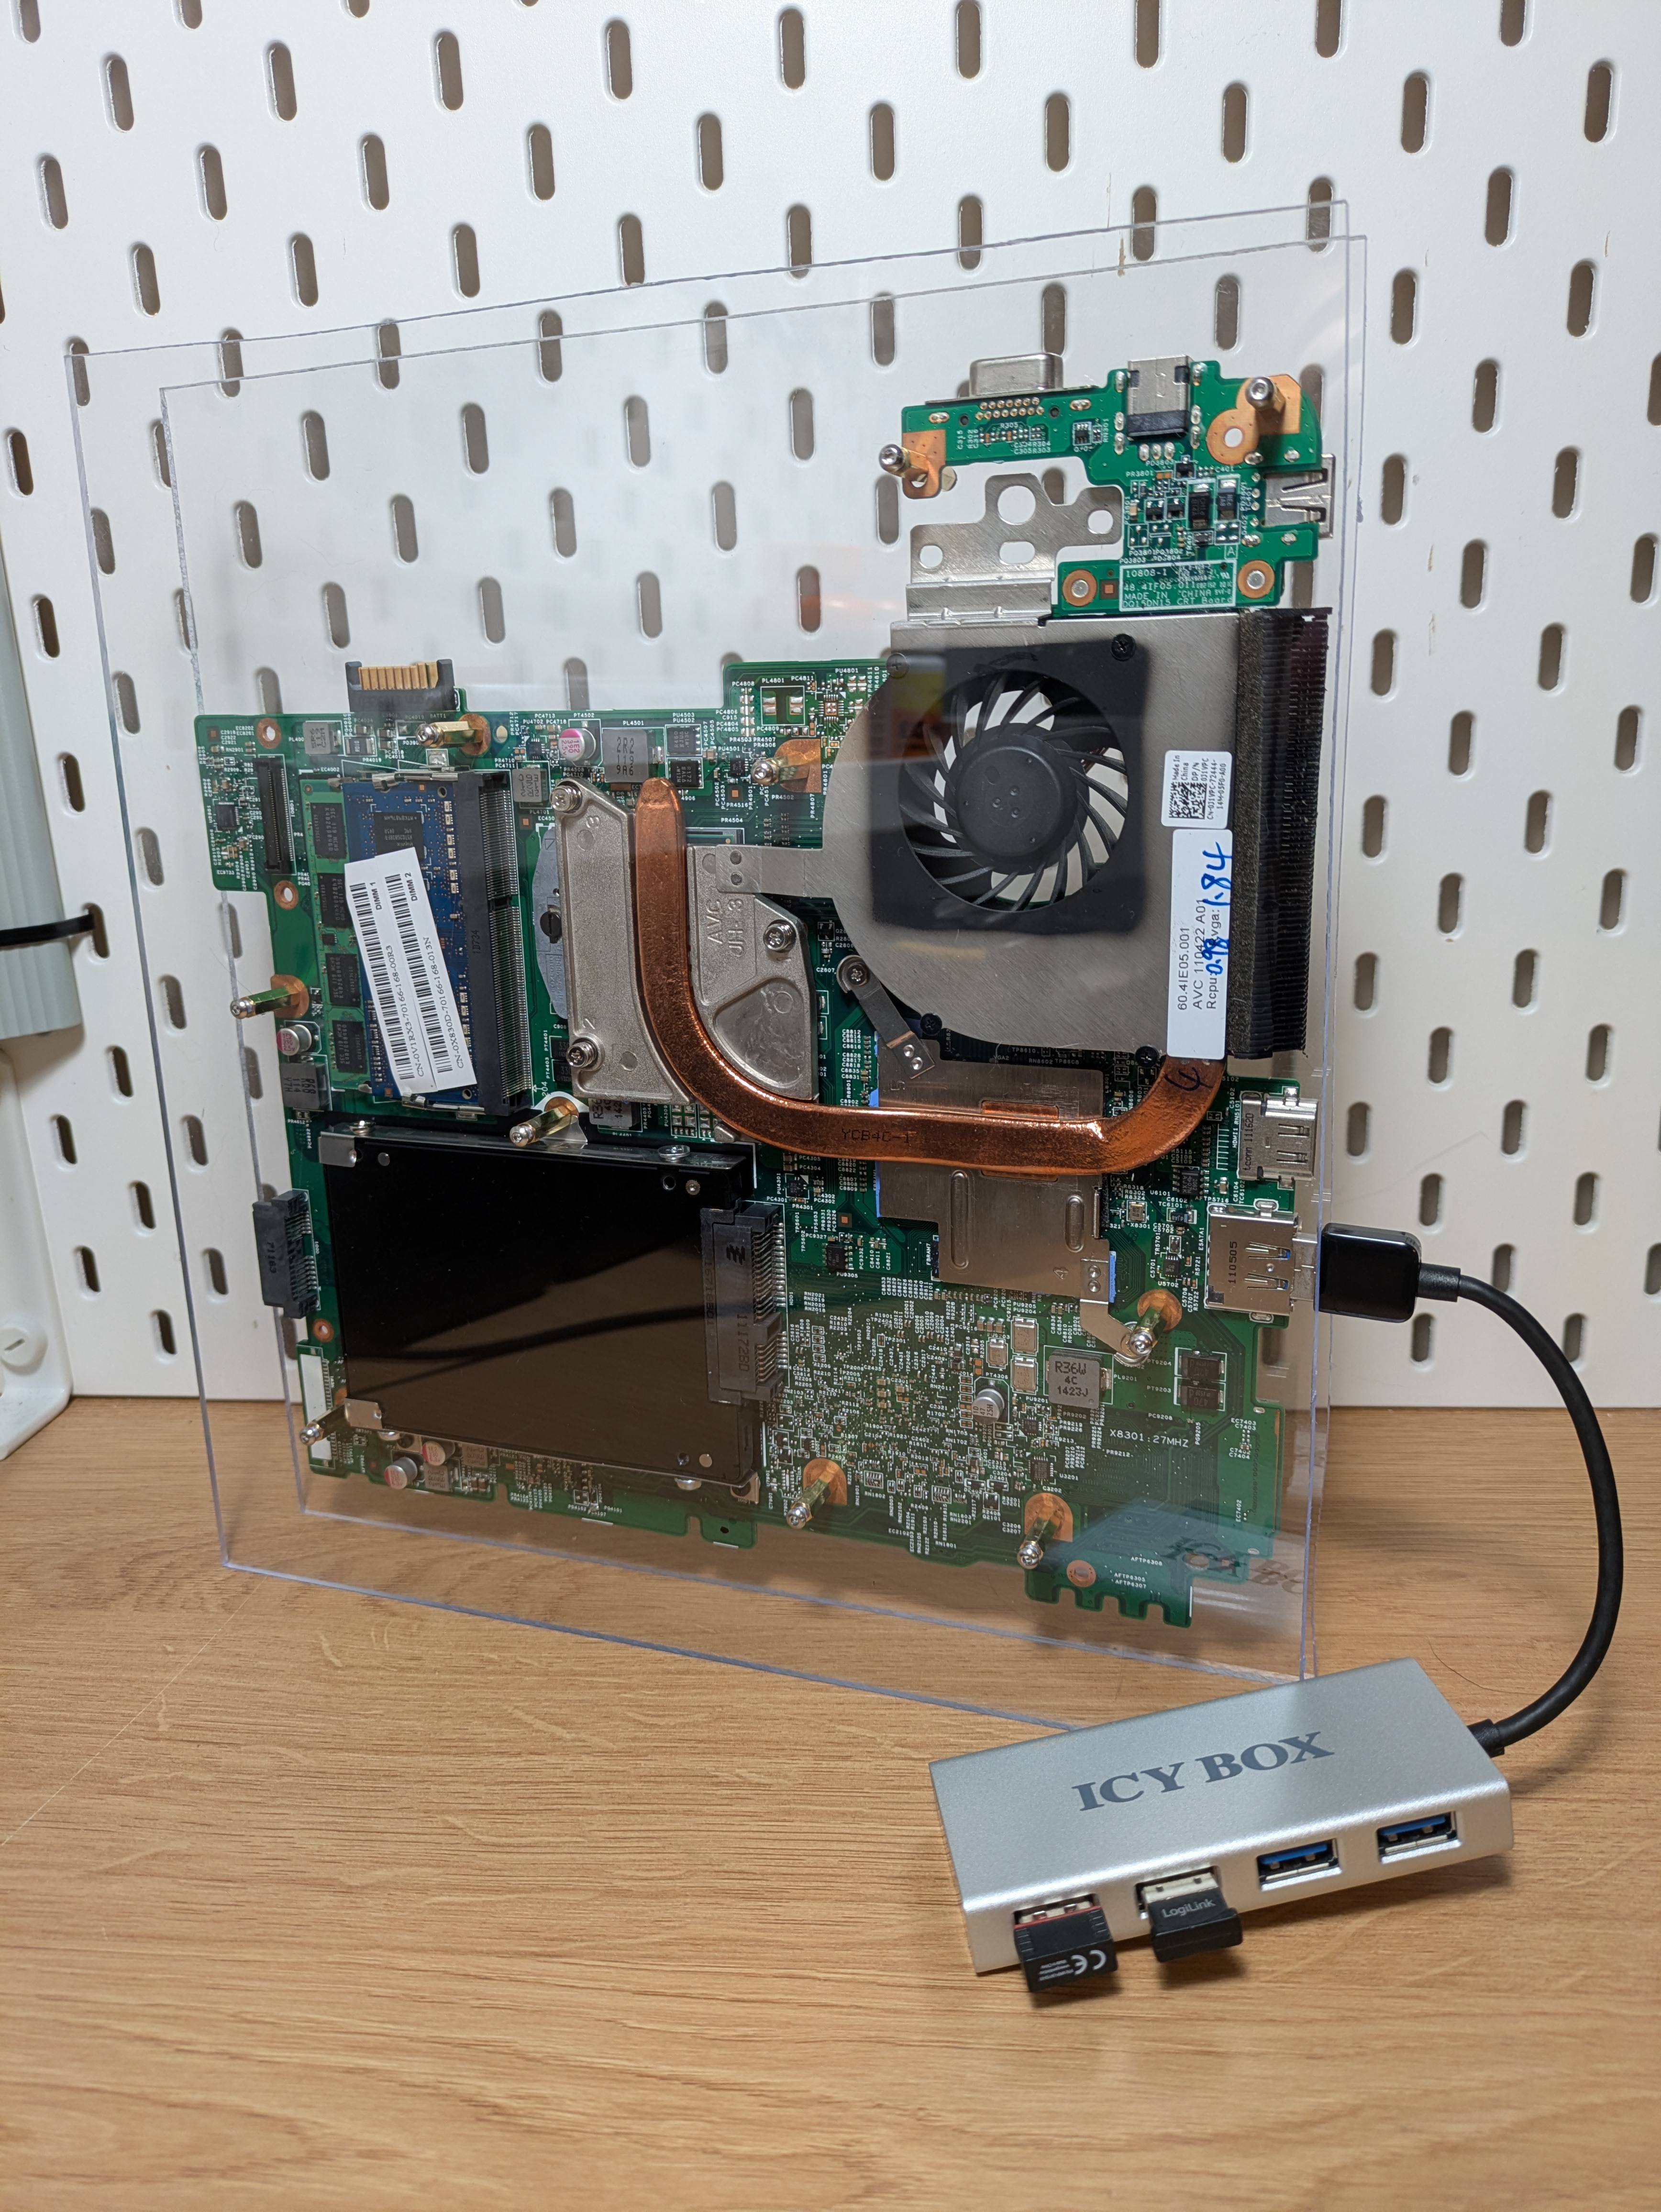
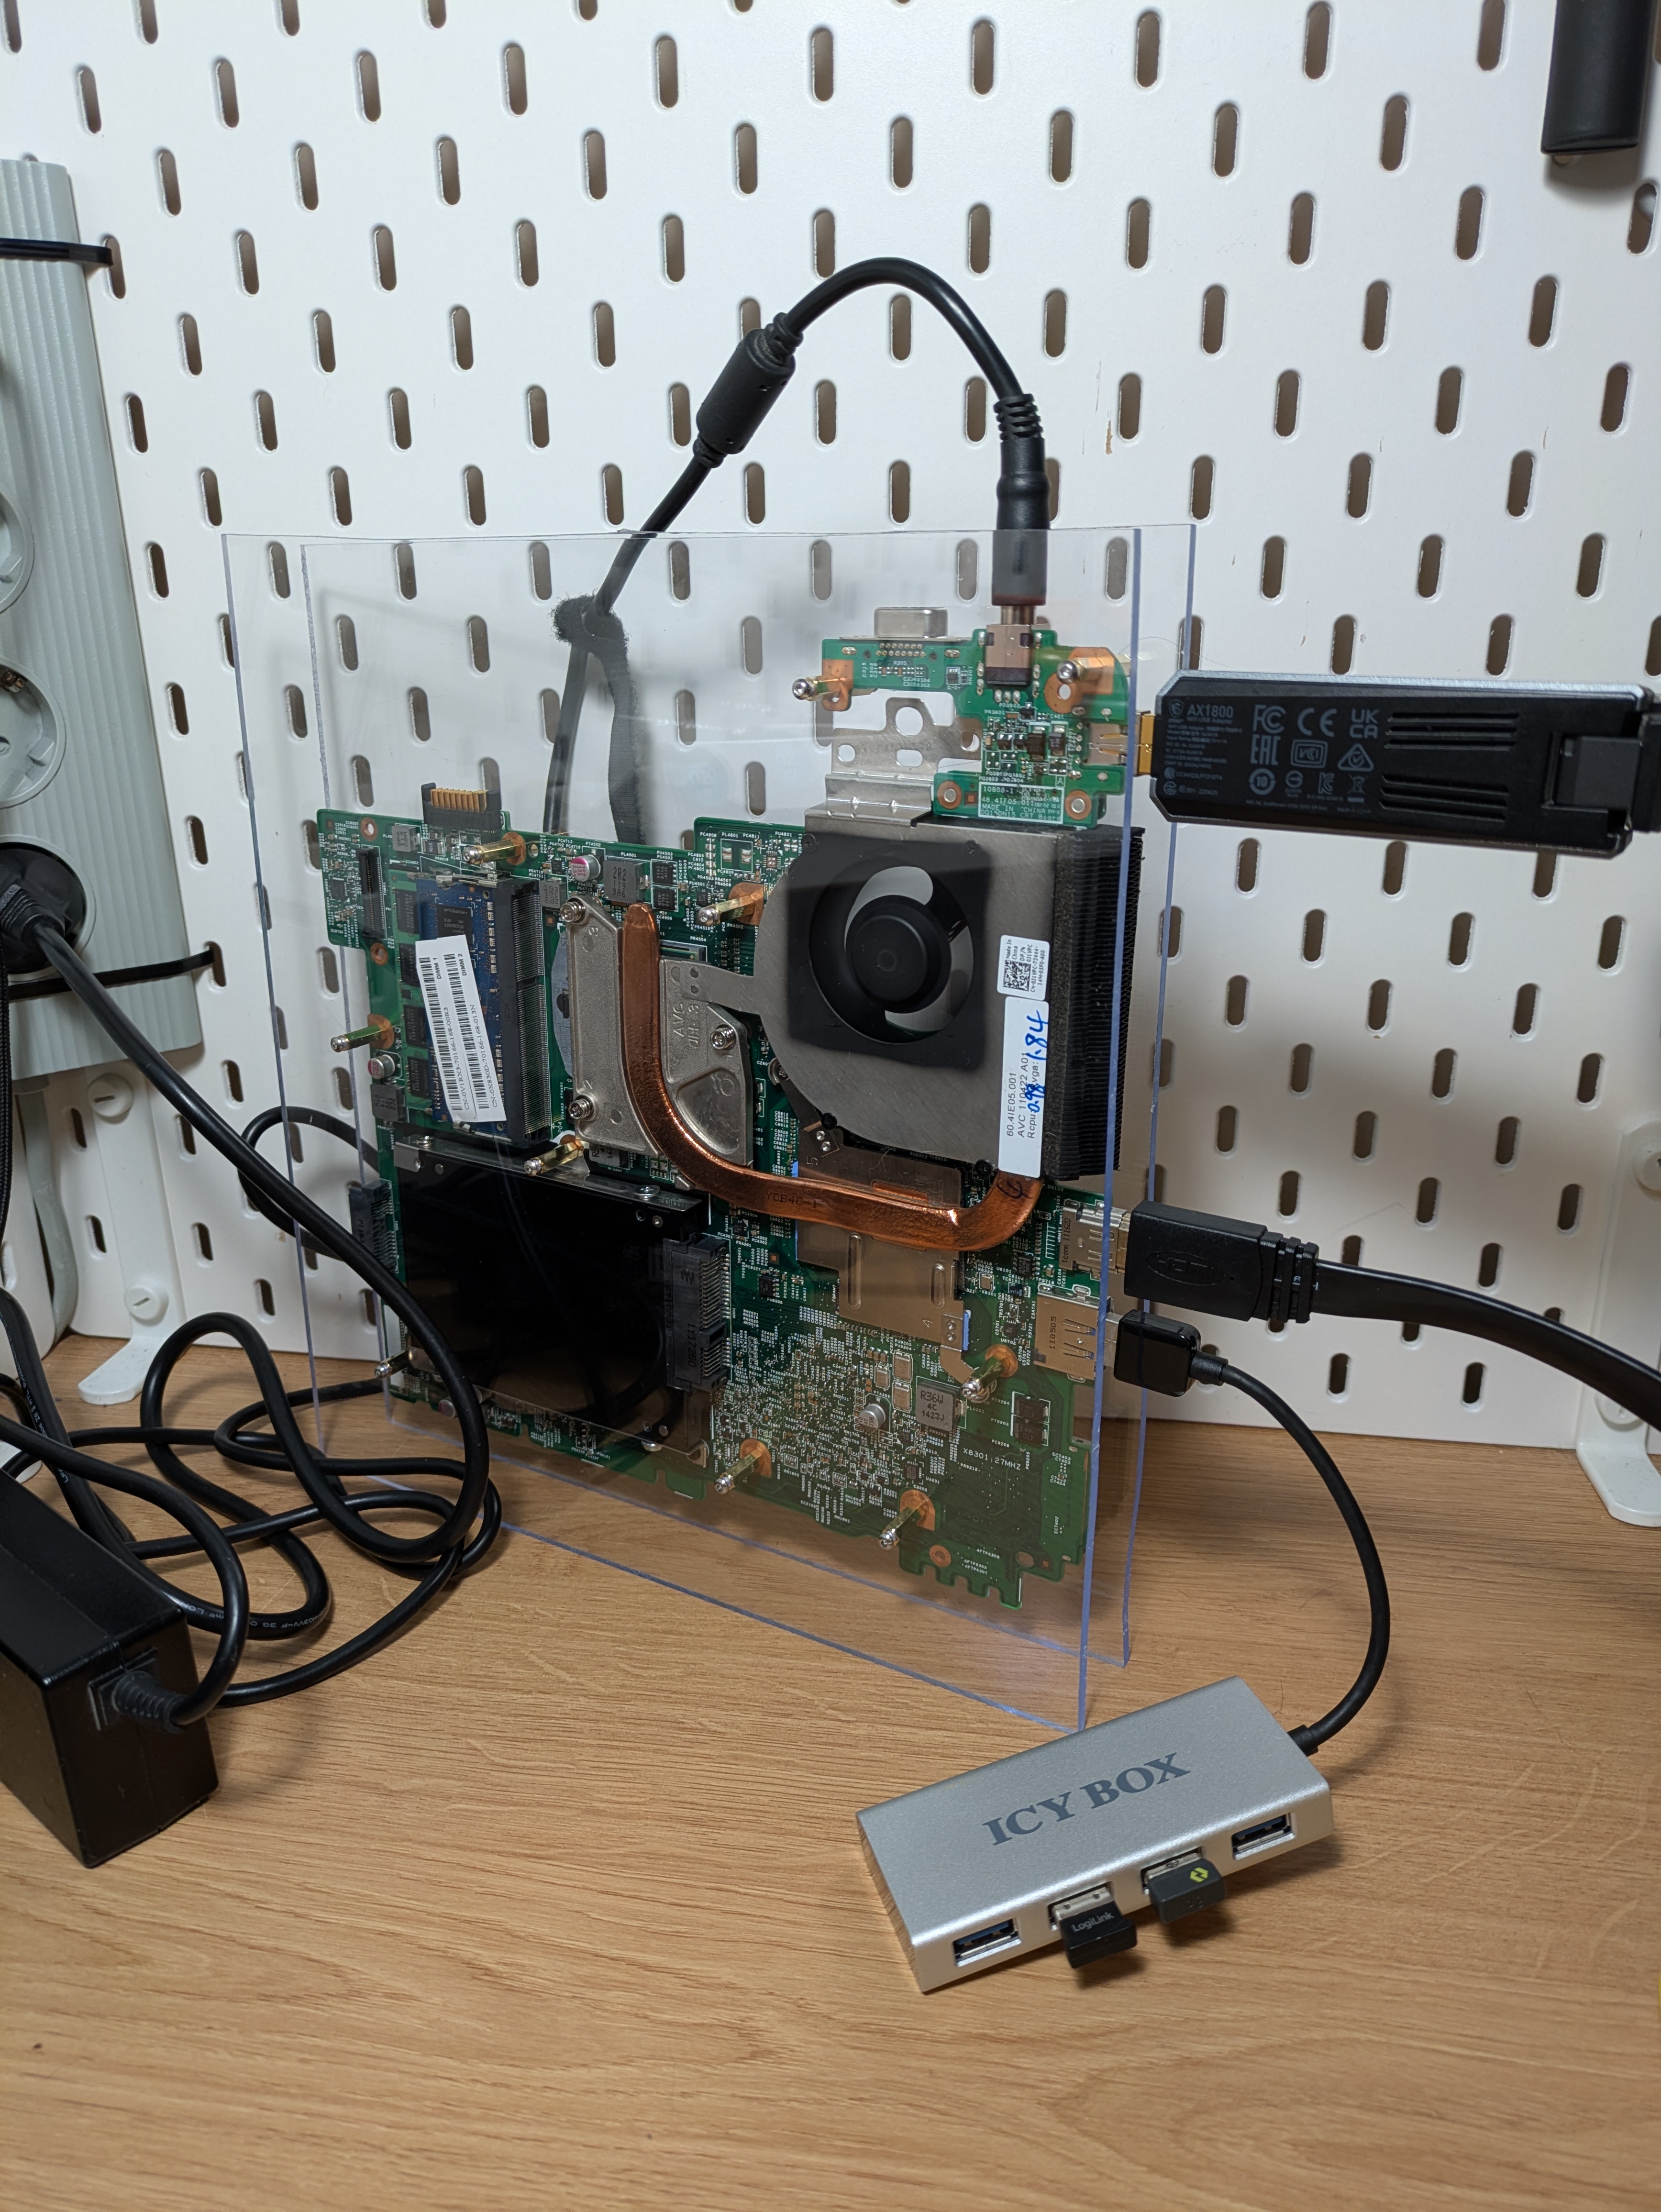
And there you have it, the garbage PC. The shine of the plexiglass does a fantastic job of bringing out the beauty of the motherboard and all its components. Standoffs leave plenty of room for the machine to breathe.
Since the extension board is missing, this build relies heavily on one USB port and one eSATA port that also supports USB connectivity. WiFi, Bluetooth, keyboard/mouse, it’s all over USB 2.0 ports.
One thing that I have yet to do is to add a base to the build so that it does not tip over that easily. Double-sided tape plus a wooden trim piece might do the trick.
The experience
This build is using parts that are about 15 years old. For context, that was when dubstep was popular, it was cool to hate on Justin Bieber, rage comics and bad memes were a thing, and the news in Europe were worried about Greece going bankrupt or something.
That does mean that the performance on this machine is not great.
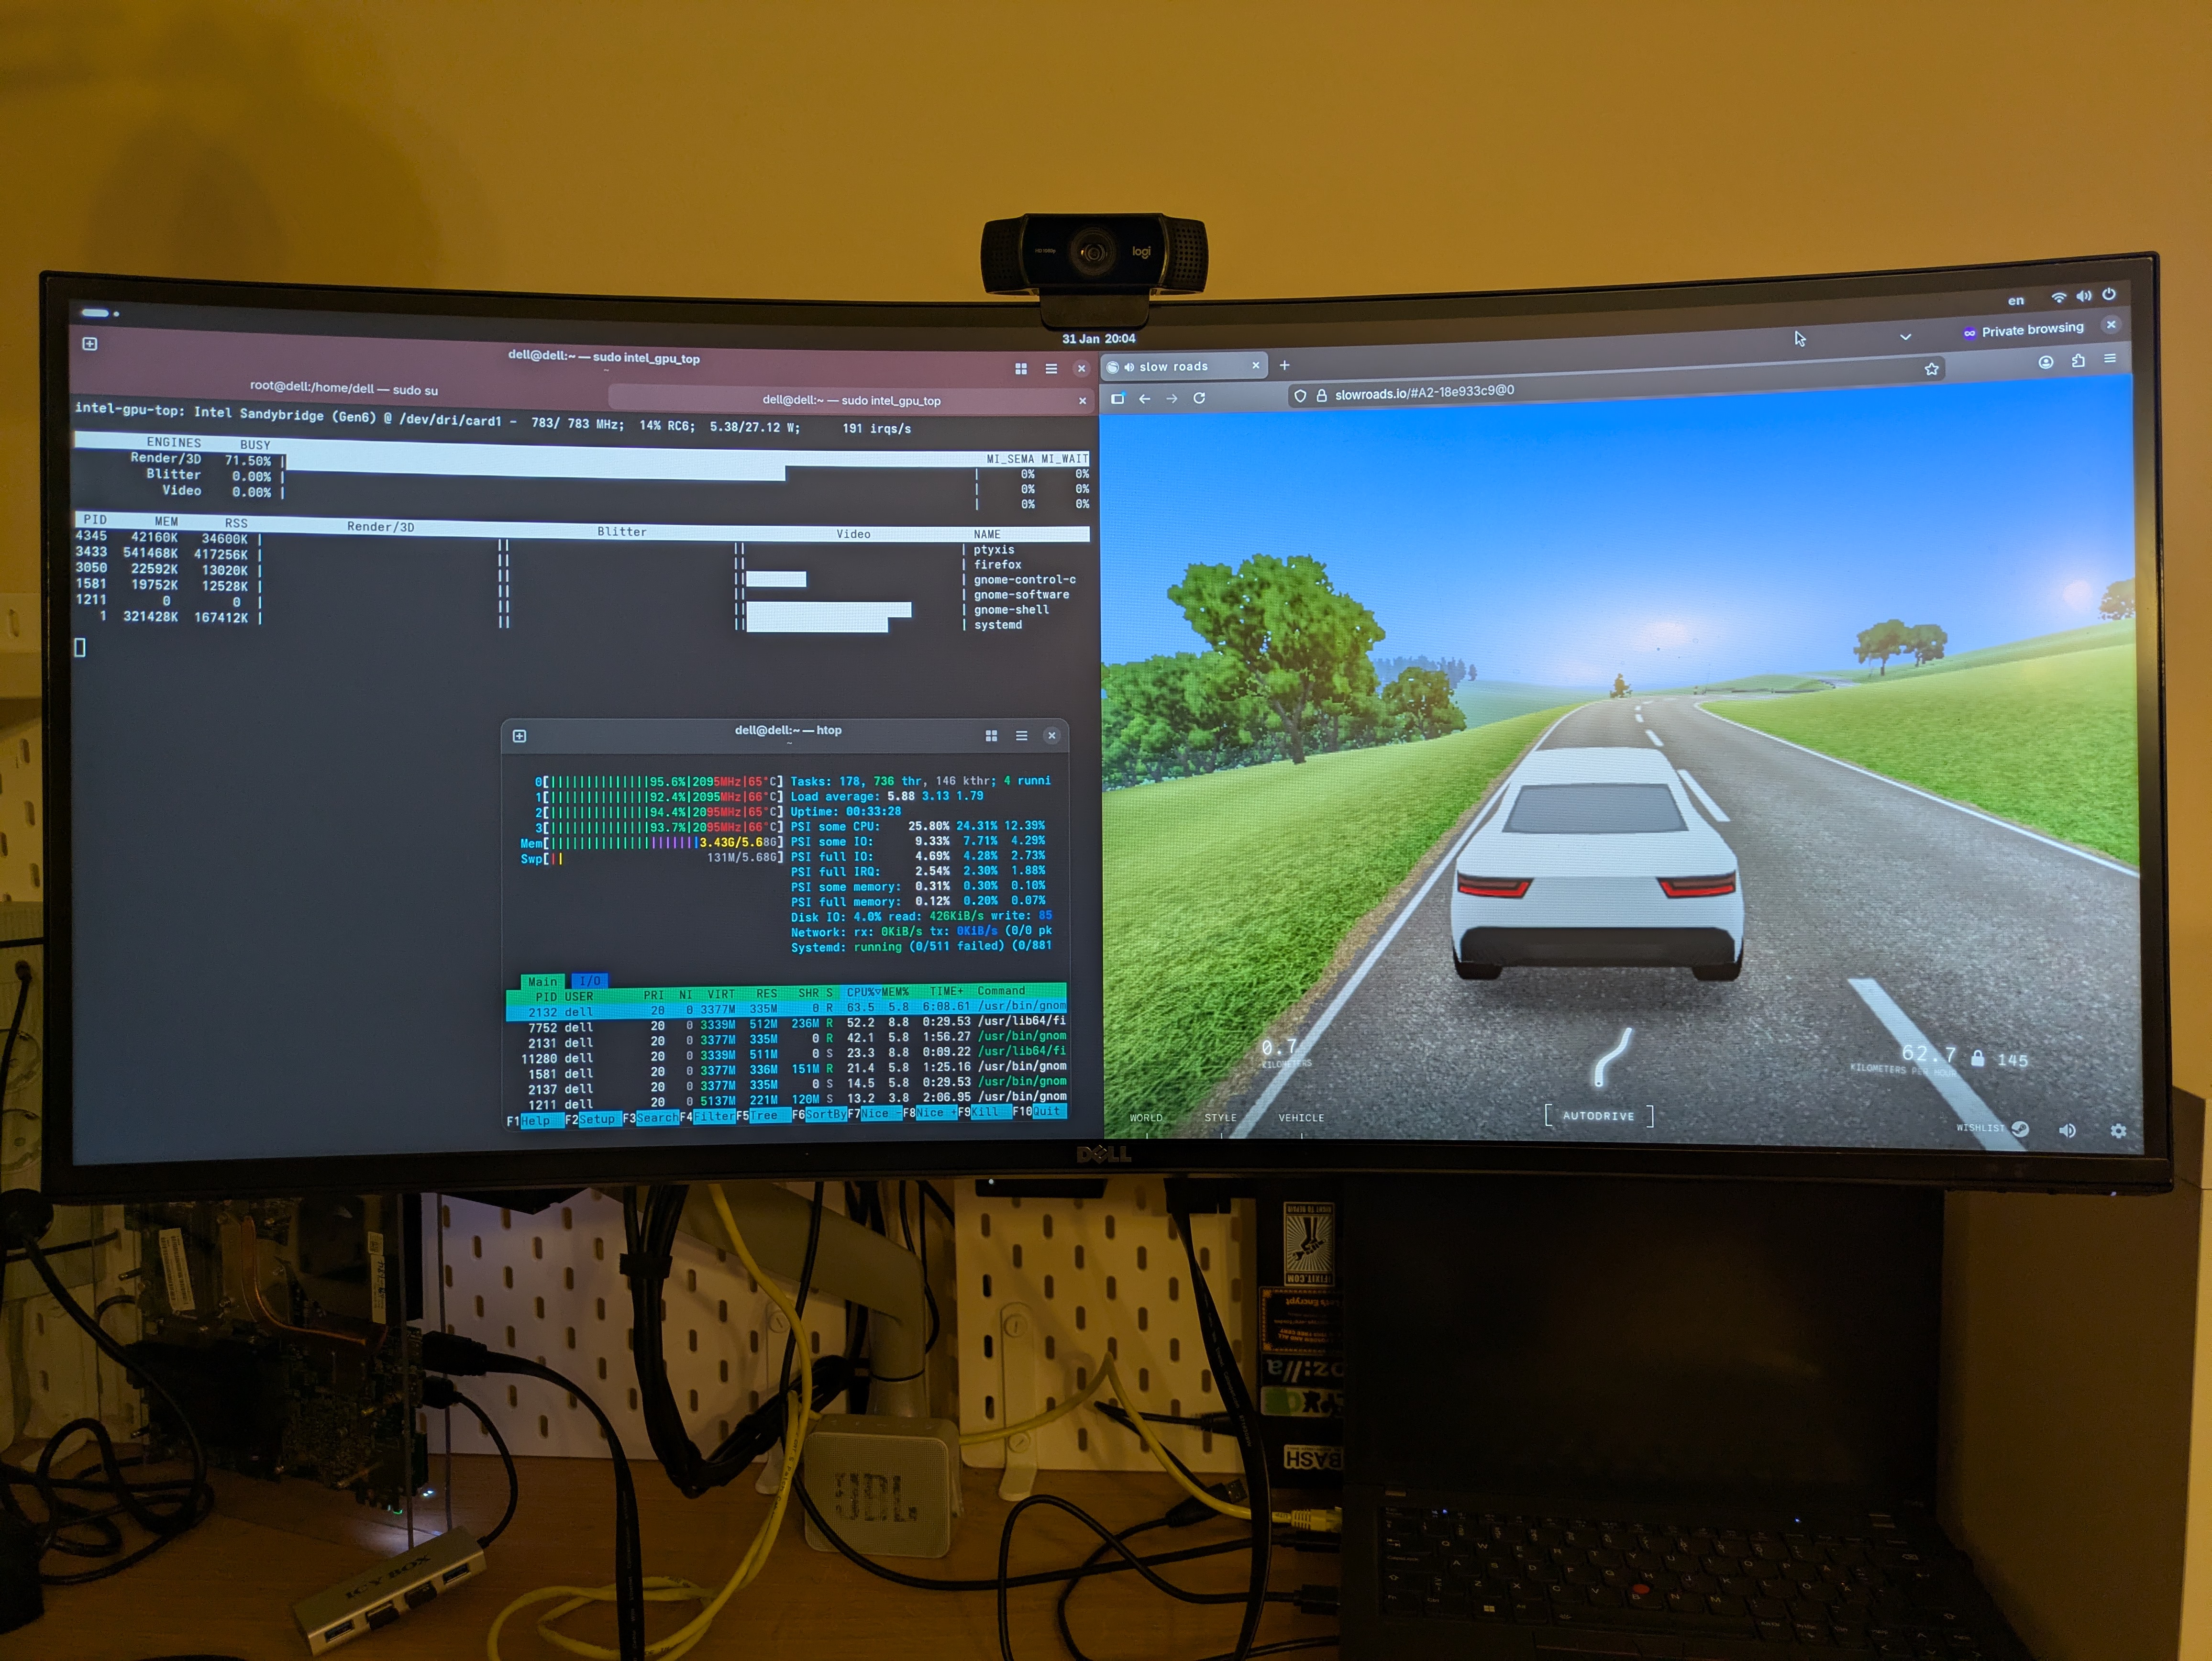
The machine still runs warm, but not nearly as hot as before. In its stock form and before any thermal paste replacements, it ran about 85+°C, but now it doesn’t seem to ever hit 70°C.
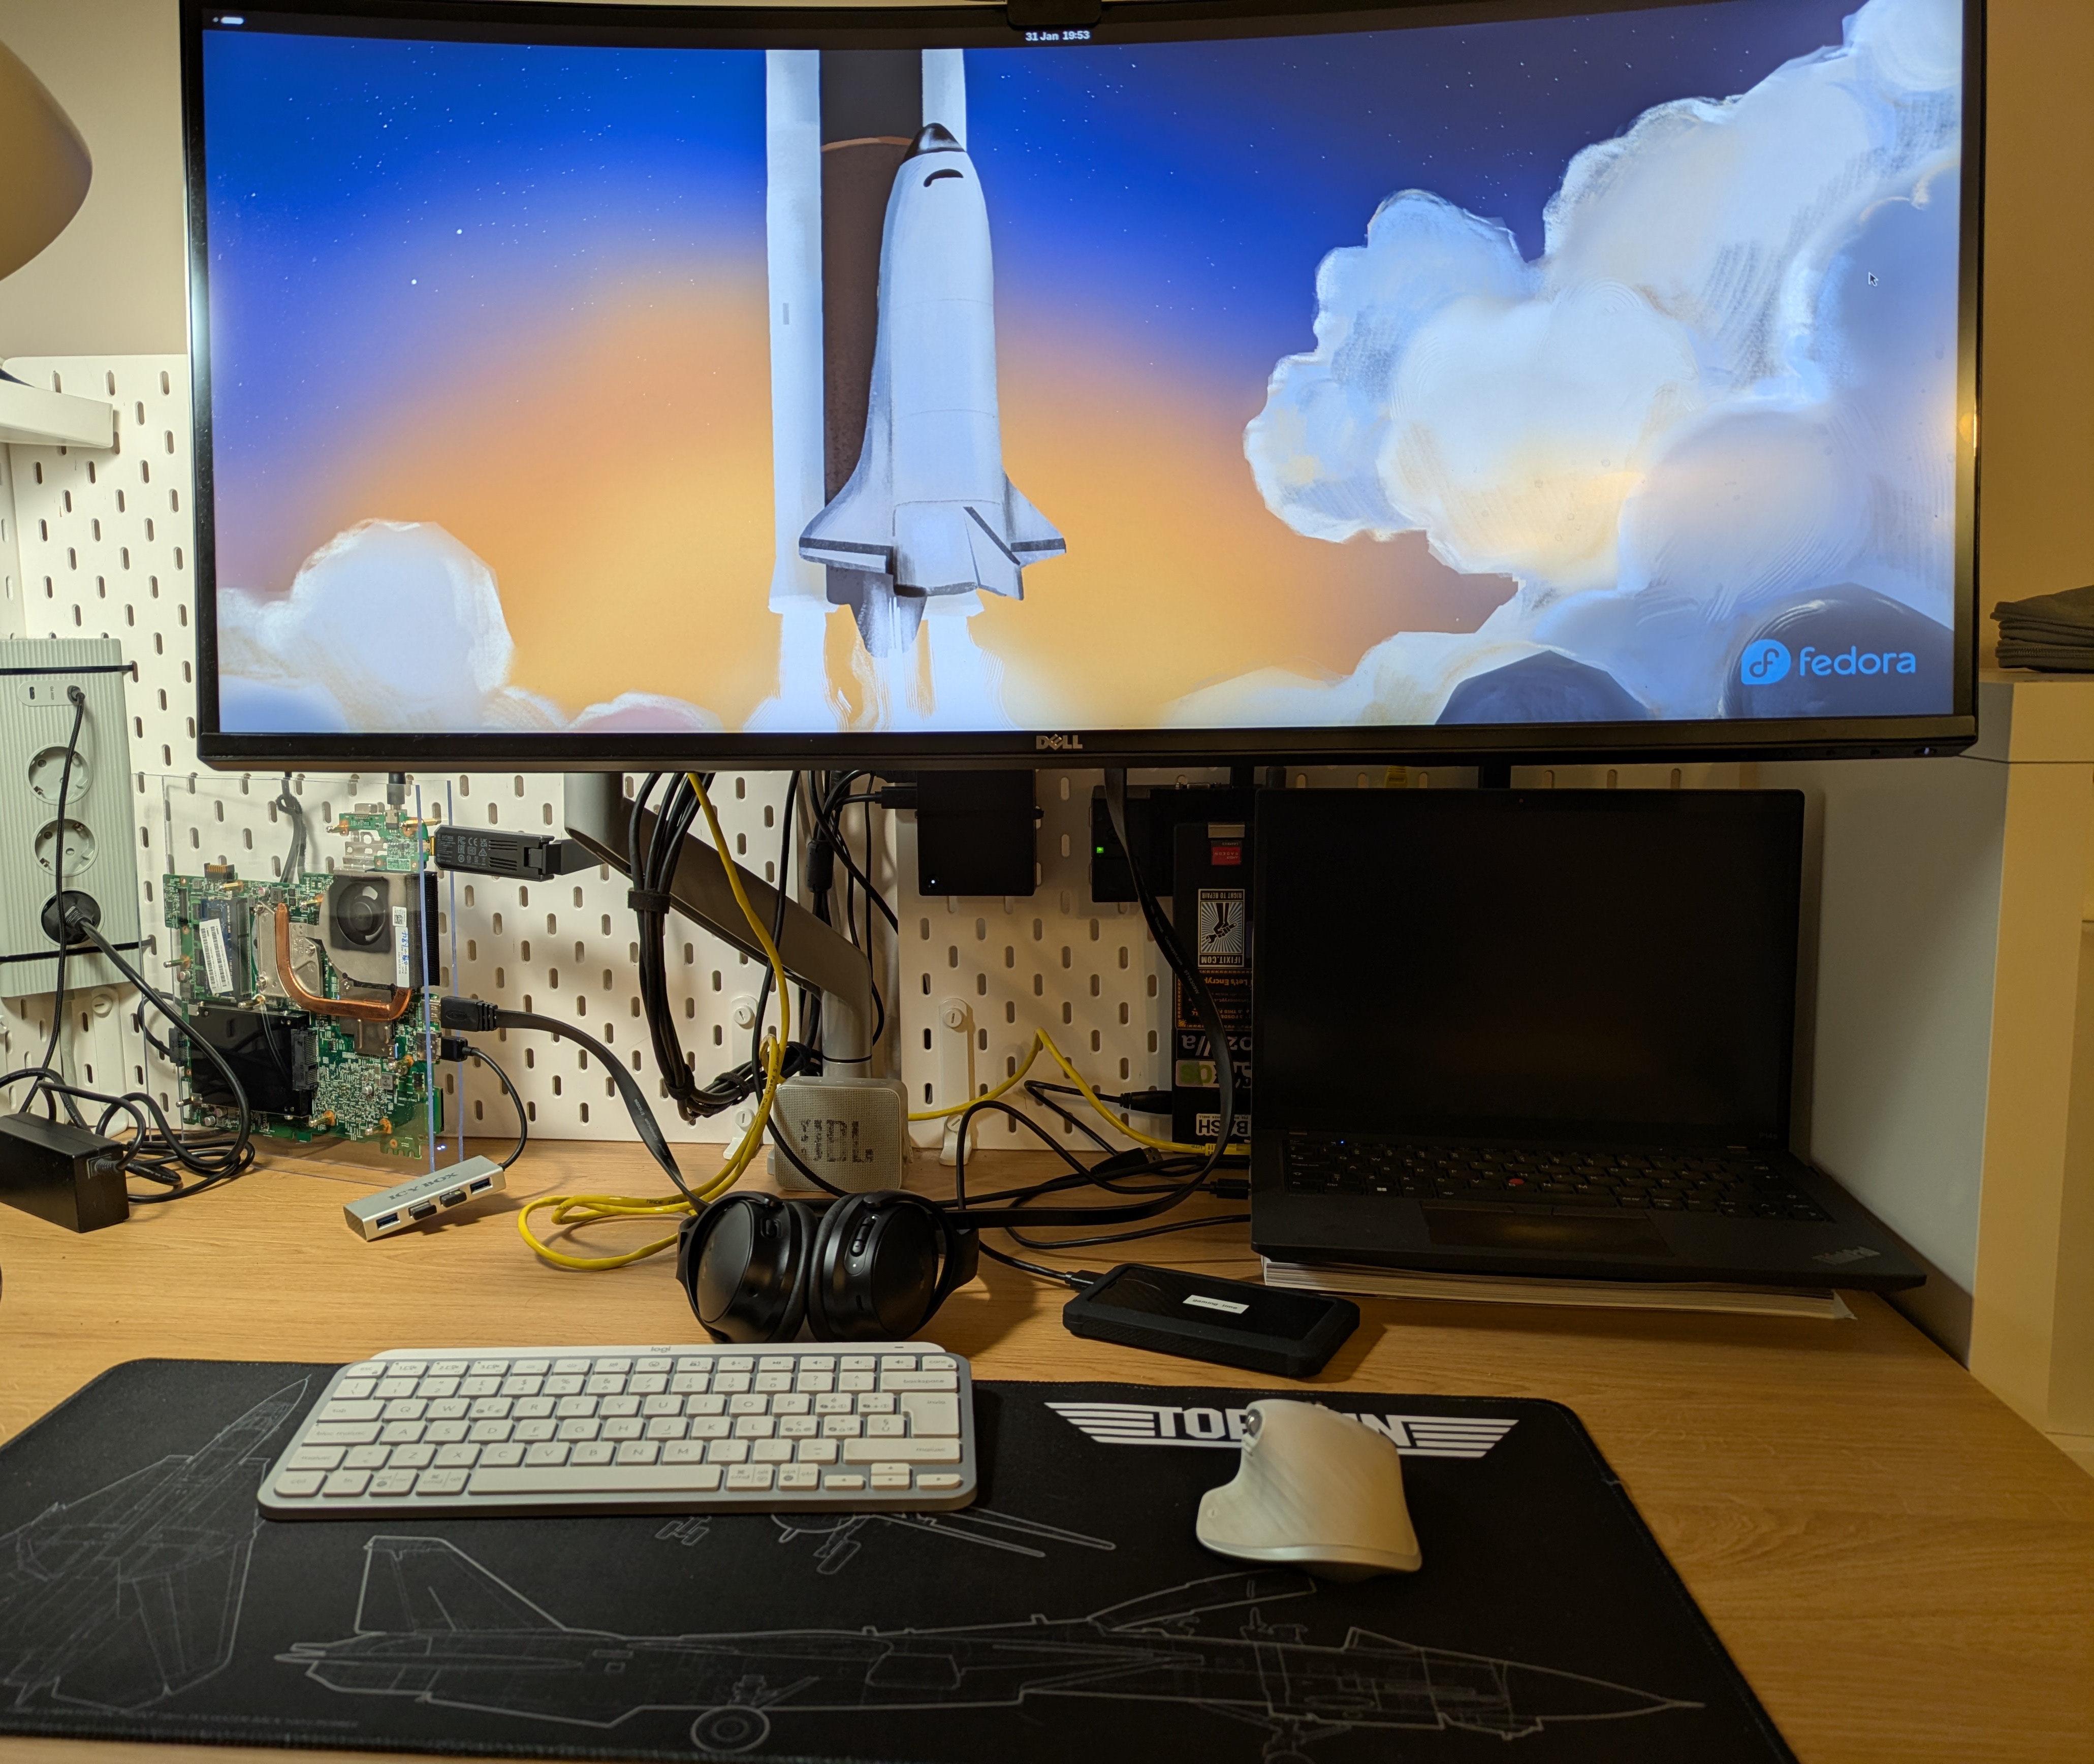
As a basic desktop PC, assuming that you’re not trying to run a 1440p or 4K display, the experience feels completely usable!
If you’re thinking about setting this up as a media player PC, then you’re limited to H.264 playback. H.265 was just too much for this machine. If you use Kodi with Jellyfin, then it is luckily possible to enforce transcoding content to H.264, ensuring a smooth experience on the client side.
Other notes
I wish that this laptop supported a “power on with AC attach” type feature that turns the laptop on once the power adapter is connected, that would’ve made it more useful as a crappy little home server. If you don’t mind extended downtime during a power outage, then it can still do that job well enough, but it’s just something I was slightly annoyed with.
The board has a small SATA port that can be converted to a normal SATA port, plus an eSATA port, making it perfectly plausible to add two drives to this and to totally turn it into a home server.
I tried running Windows 11 on it once, but I tried to do that with the official installer and didn’t get past the “lol your hardware is too old” view. I know that you can remove that limitation, but given the 6GB of RAM and Windows 11 being awful with using resources, it was probably for the best to give up here.
The fan is audible when doing things. I did in fact take it apart and added some silicon oil inside the center to give
it a fighting chance and it did improve the acoustics, but it’s something to keep in mind if you’re doing similar
projects with these old laptops. There does seem to be a way to control the fan by writing values to dell_smm kernel
module controls in /sys/class/hwmon/, and if you overwrite the pwm value often enough, like in a 0.1 second loop,
then you can definitely overpower the BIOS fan control on this board. The control does not seem to be fine-tuned, it’s
either off, on, or full speed, but at least you can get some control over the fan speed if you really need to.
Alternatively, you can slap a huge heat sink on the CPU and GPU if you want to, and you should be getting away with it.
The CPU throttles heavily once you hit 80°C while playing back video, so that seems to be the soft temperature ceiling for this laptop.
Conclusion
Overall, I’m happy I did this project. There were way more obstacles and challenges associated with this project that I expected, but the end result looks cool, so that makes it worth it in my view. It was also a good trial run to work with plexiglass and brass standoffs, and I will very likely do something cooler in the future based on this experience.
I hope that this inspires more people to reuse older hardware instead of just throwing it into the e-waste pile, especially with new computer parts sometimes experiencing price spikes due to the economy doing weird things.
If you’ve built something similar, then do share a link to it (ideally in blog post format) and I will happily link to it here!
2026-02-22 update
There was something missing from the garbage PC.
A garbage OS.
So I went ahead, connected the internal display temporarily, and installed Windows 10 on it. The included activation key did not work on it.
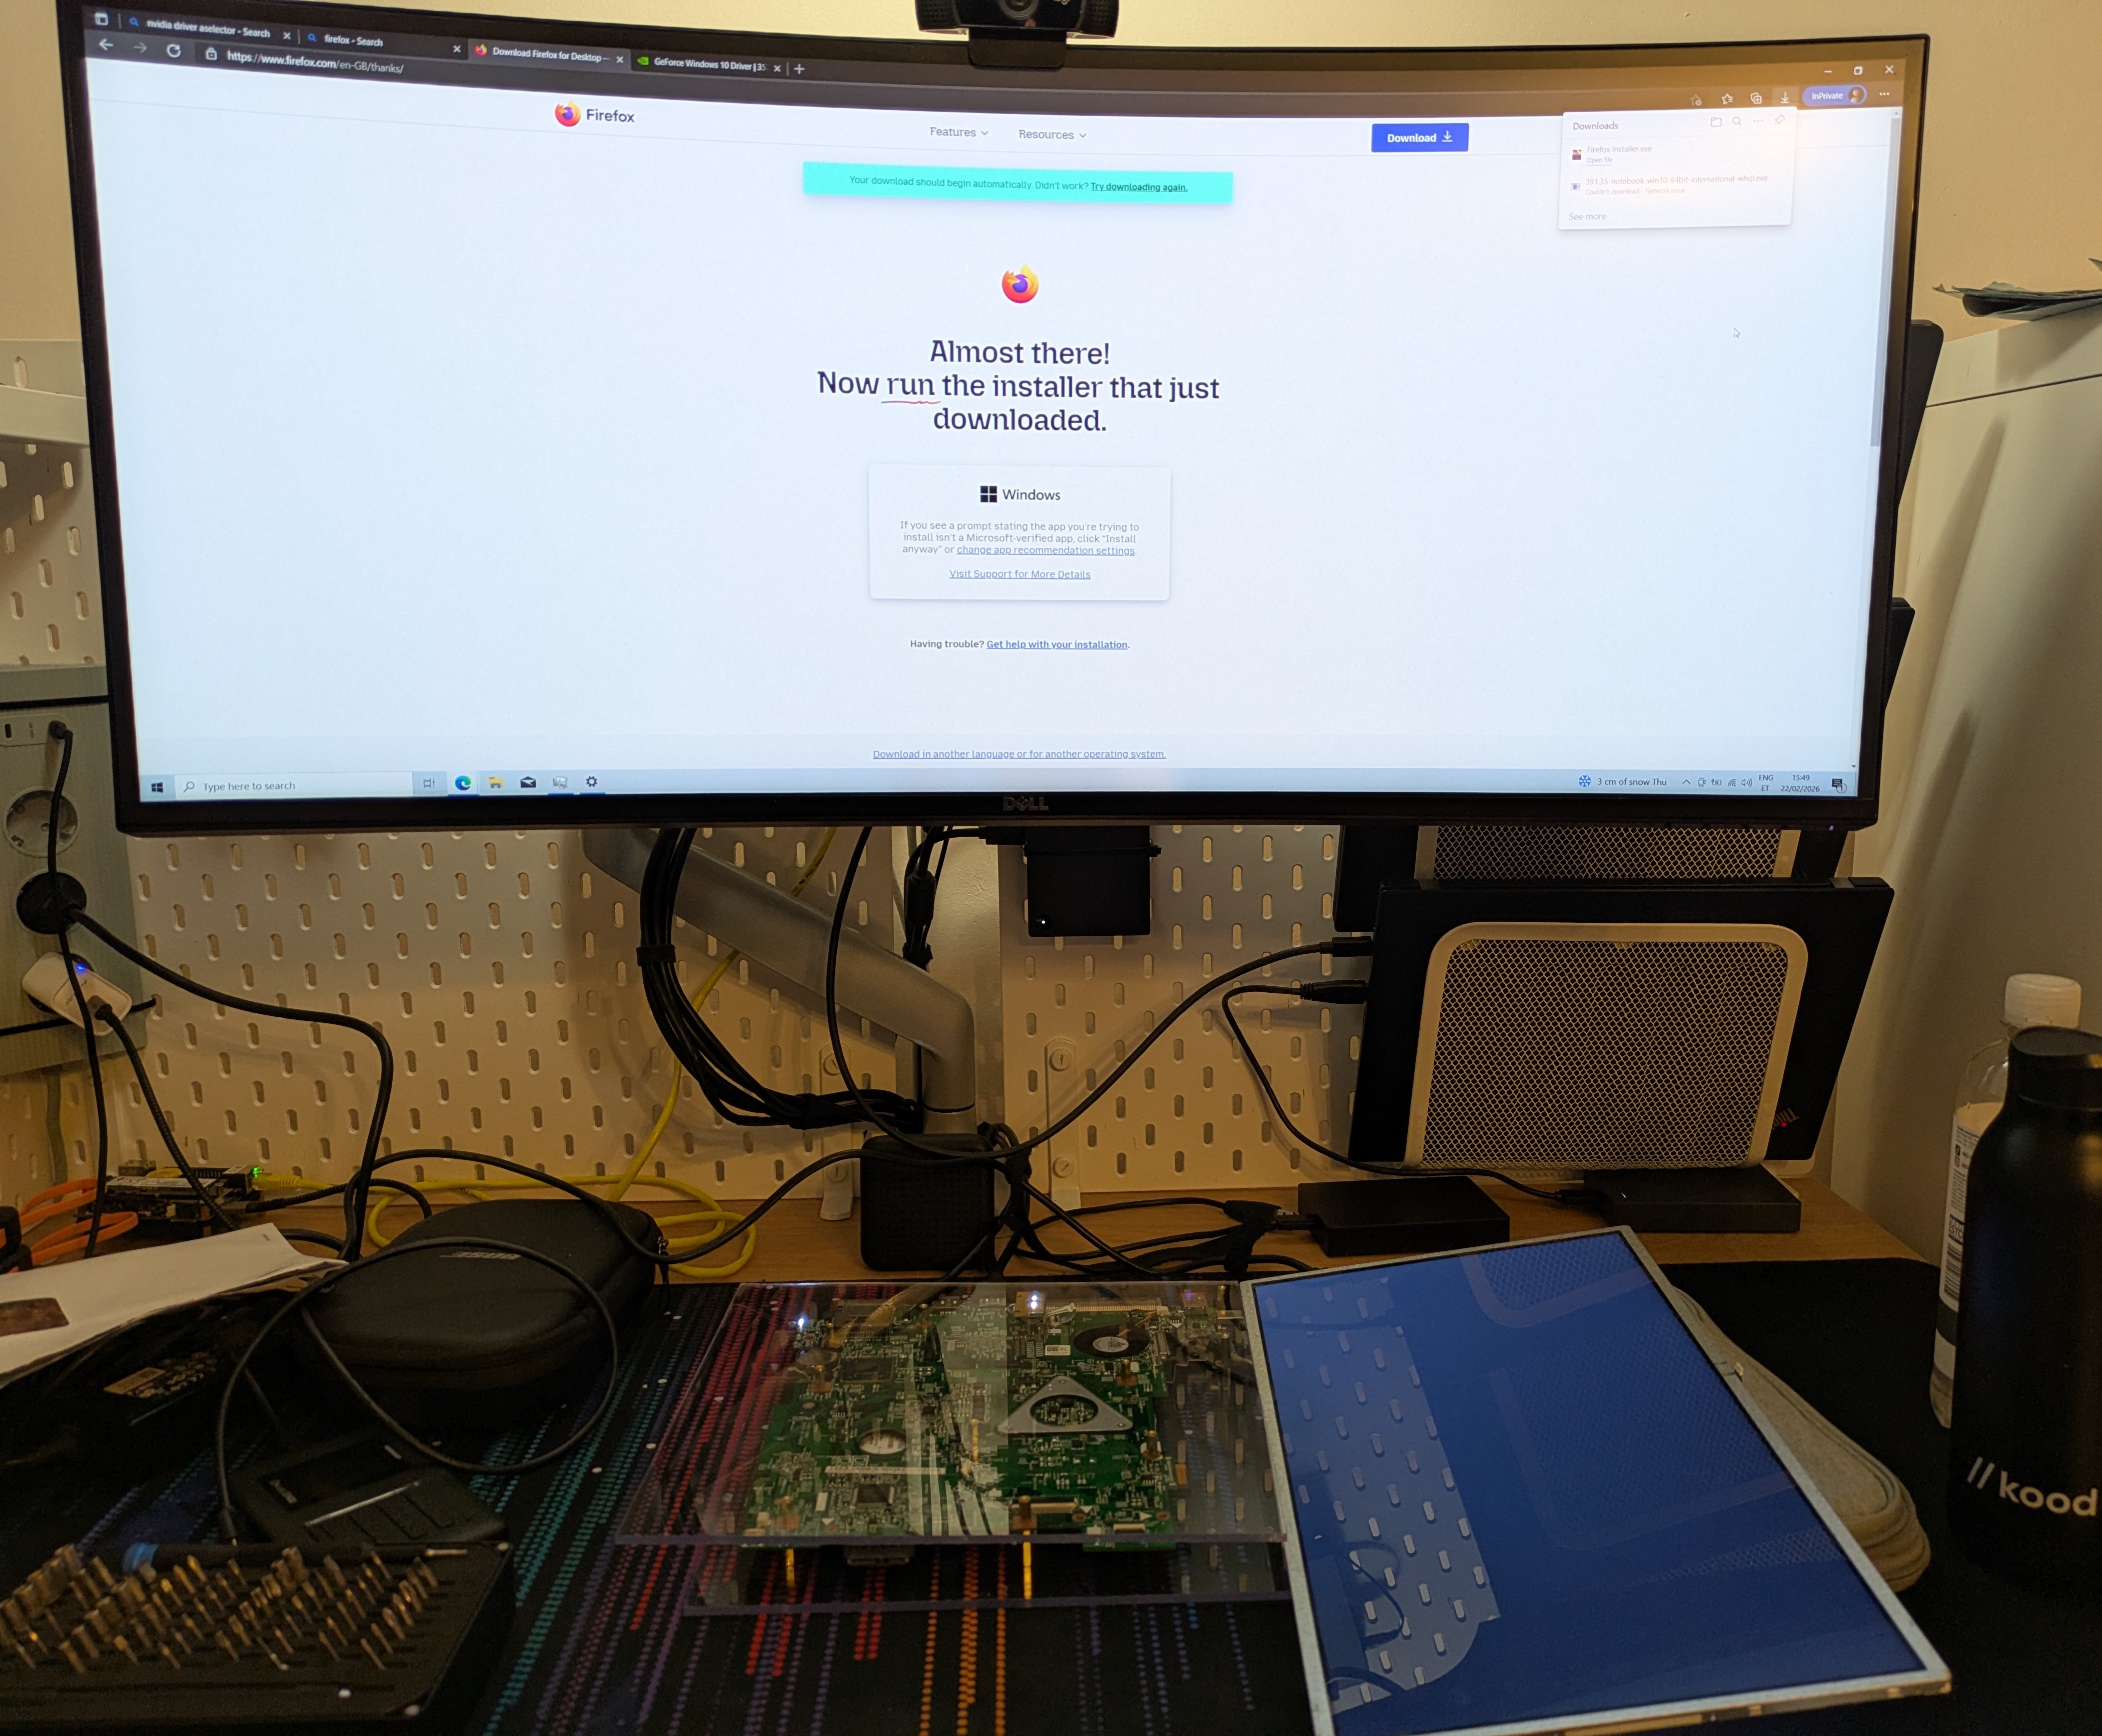
The GPU is confirmed to be a NVIDIA GT 525M. Latest supported drivers are version 391.xx, and had to be downloaded manually.
Unless you use higher resolutions like 3440x1440p, the experience is not bad at all, actually, and Kodi does a superb job playing back videos, even in H.265 format.
I hate to say it, but installing a legacy OS over Linux seems to be the best way forward for this particular combination of Dell and NVIDIA horribleness. Just don’t open any shady links on the internet with it, or connect it to the internet at all.
Microsoft seems to allow you to get security updates on it for a year for free, but only if you sign up with a Microsoft account, otherwise it’s paid. Sneaky. Still not falling for it.
2026 June update
The lack of a connected internal display was a real limiting factor in making this setup useful, so I attached it.
This display has some of the most horrific viewing angles of any display that I’ve used in the past decade, so I’ll probably have to add some adjustable hinges to it to make using it bearable. Alternatively, I’m considering getting the cheapest possible monitor arm that’s freely adjustable and attaching it there to turn this into the crappiest iMac-like experience that you can get.

Subscribe to new posts via the RSS feed.
Not sure what RSS is, or how to get started? Check this guide!
You can reach me via e-mail or LinkedIn.
If you liked this post, consider sharing it!